
The discussion around All-In-One (AIO) CPU coolers versus custom loops will always be ongoing. However, recently there has been a lot of innovation in the AIO market by manufacturers to try to match the performance and customizability of custom loops. Corsair, not to be outdone by its competitors, is launching its next-generation AIO CPU cooler, the iCUE LINK Titan RX RGB. The Titan combines Corsair's latest advancements in cooling engine technology, replaceable pump caps, and iCUE LINK RX120 fans in hopes of being your next CPU cooler.
In addition to the Titan AIO, Corsair supplied me with three of its CapSwap modules. This review will examine the iCUE LINK LCD Screen, VRM Fan, and Pump Cap Groove modules. Is the Titan good enough to topple another AIO I've recently reviewed, the Cooler Master 360 Ion? Continue reading to find out.
![]()
What is there to say about the Corsair 4000 series of mid-tower cases that has not been said already? They are very well-reviewed cases with many of the usual suspects putting out a fast review already. Luckily, mine was delayed in shipping so I was able to spend some time with this lovely case, built in it 3 times already, and give the usual sacrifice before putting virtual pen to screen and tell you my adventures. I instantly knew the airflow was for me and they sent it right over. Despite the delay and my daughter deleting all my initial photos I am delighted with the case, so please join me in a quick photo essay about this handy box to keep all the internet and cat memes in.
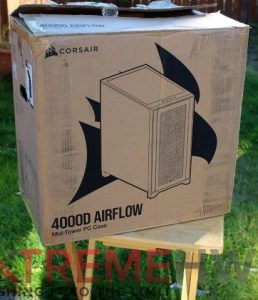
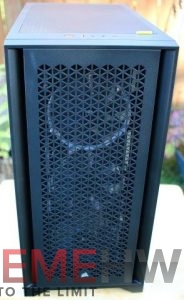
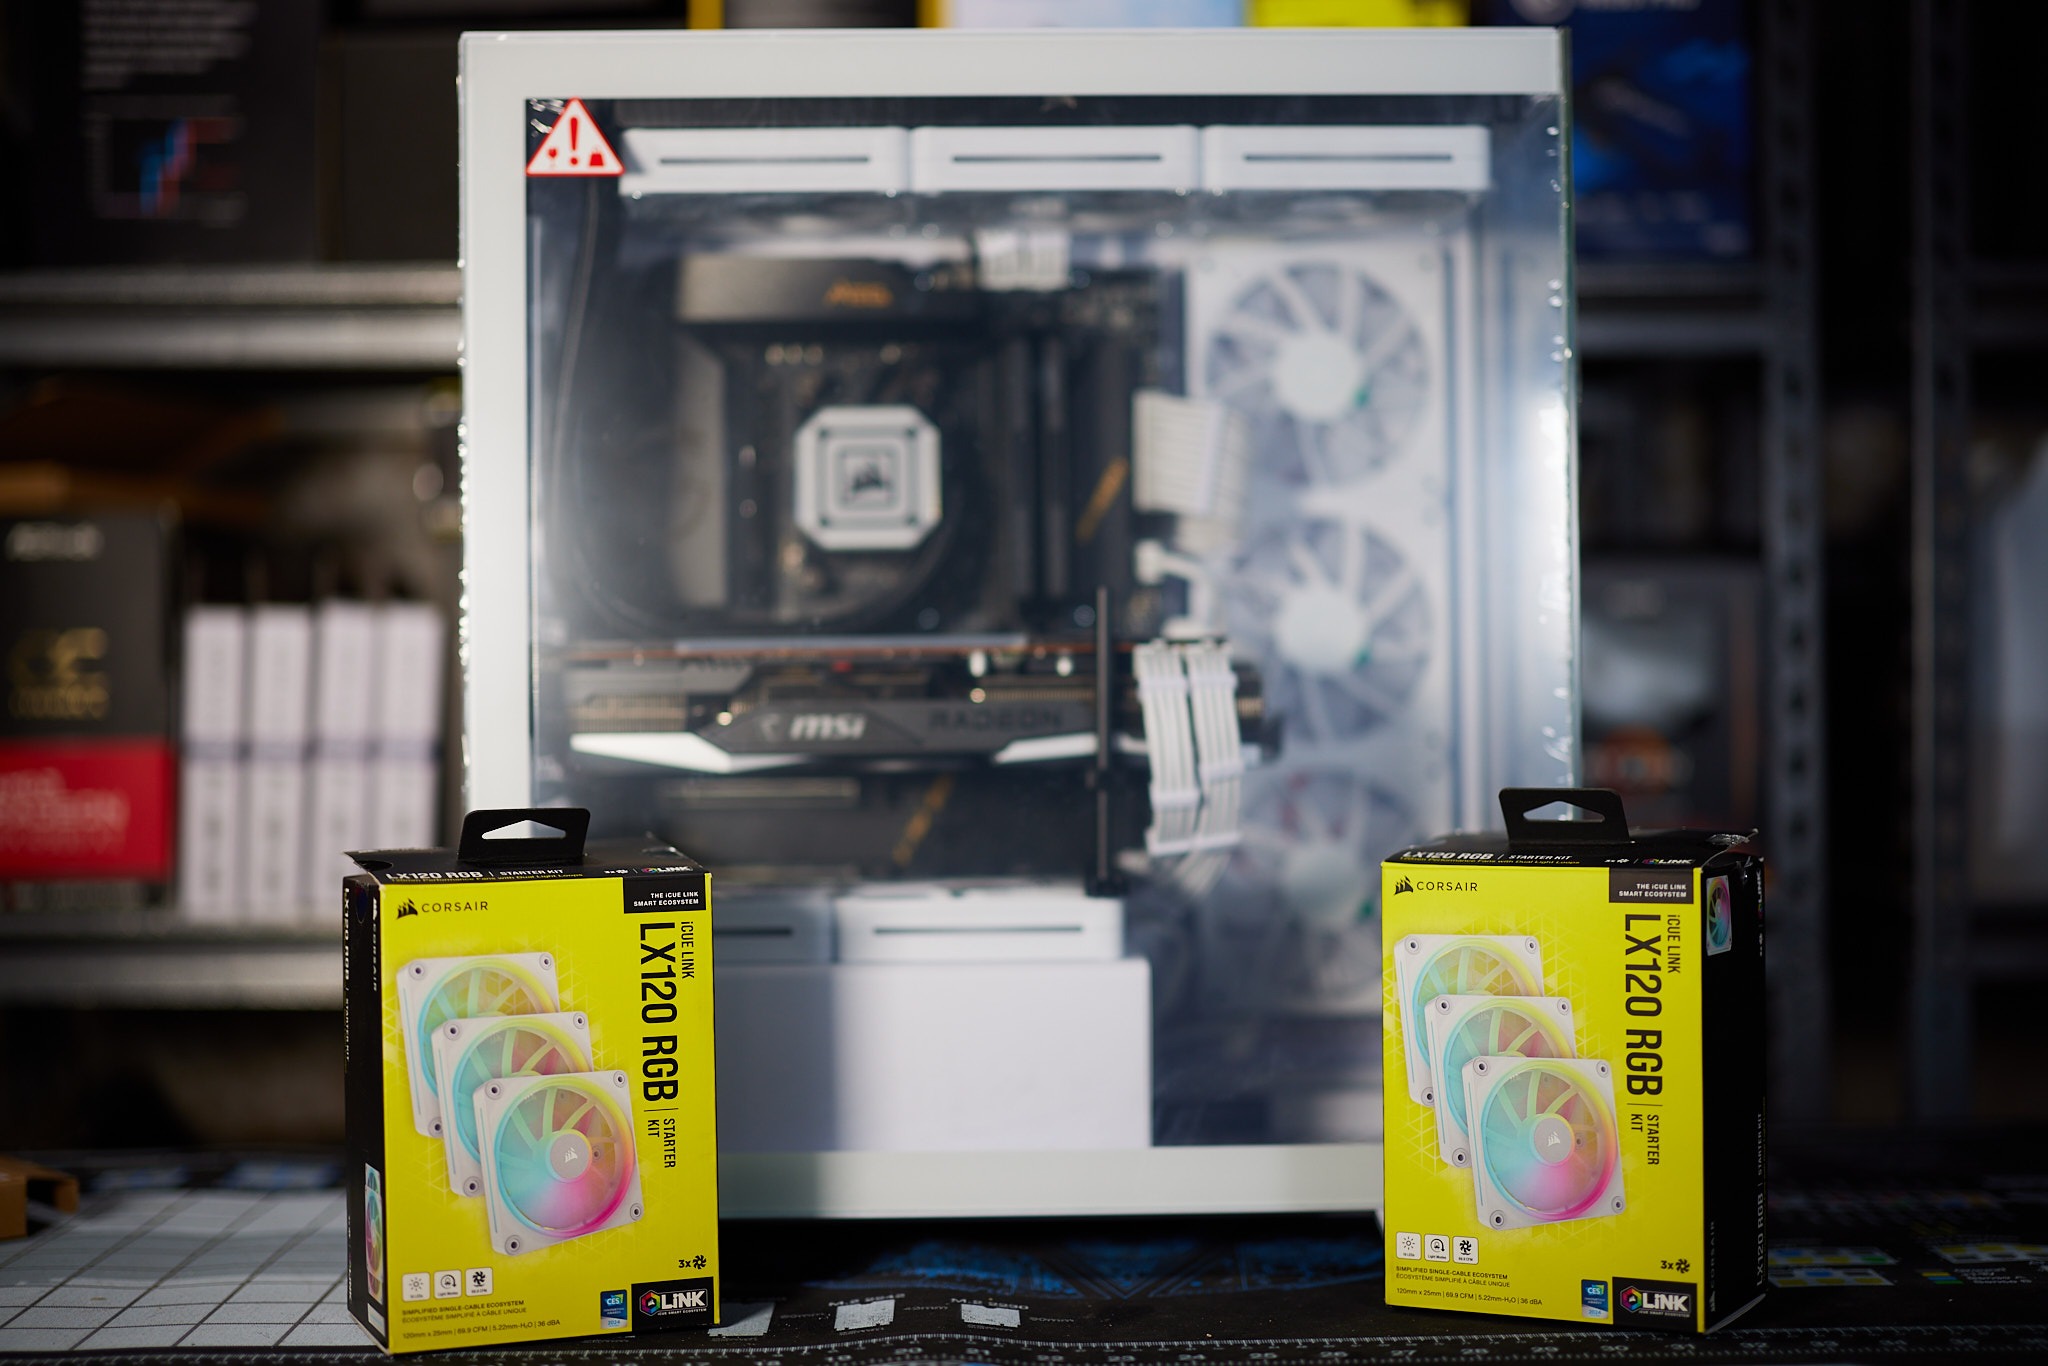
This review is the 4000D Airflow black version with 2 120mm AirGuide fans with anti vortex fins: 1 front and center behind a mesh panel and a second fan in the back. These seem to be nice fans tweaked and optimized for use in cases. The other 4000D version has a solid front center panel for solidness while the edgy X version is upgraded to RGB with 3 RGB fans in the front and none in the back. All 3 variants come in black or white giving a lot of options on one chassis. That means we get to look at the eye-catching hexagons made of triangle mesh front center panel for this review.
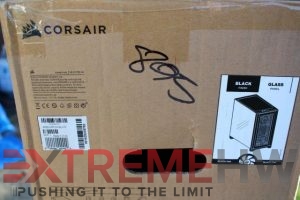
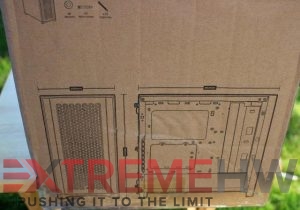
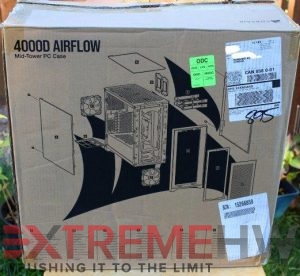
It arrived in a trusty brown shipping box with plenty of information and Corsair logos on it. It suffered some scuffs and bruises as the messengers were not gentle with it, but it survived the ordeal quite well. So well done to Corsair for packing well!


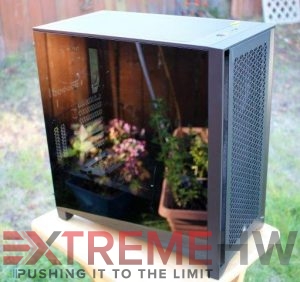
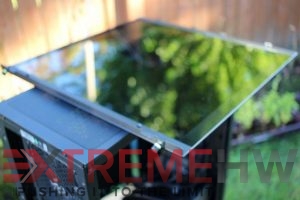
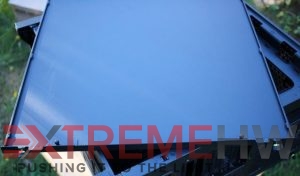
Freeing it from its cardboard cocoon was easy and I quickly shed the plastic bag and oh so satisfying protective film. What emerged was a very handsome young case with a combination of shine and darkness that is very hard to capture in pictures. The darkly tinted tempered glass hides a very simple interior with most of the classic Corsair design ques muted and simplified. Corsair calls it distinctive yet minimalist and I concur. That is, except for the striking bright yellow highlights.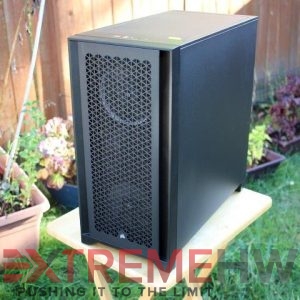
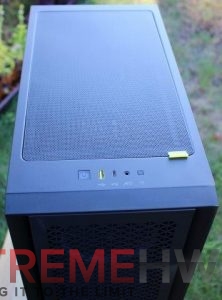
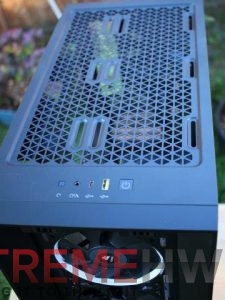
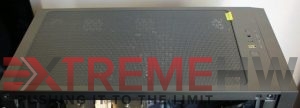
The top has a very snug dust filter that would be impossible to remove without the distinctive yellow neoprene tab.
The front has a mesh plate with deep air intake vents. The choice of front plates is the main variation between the two 4000D variants.
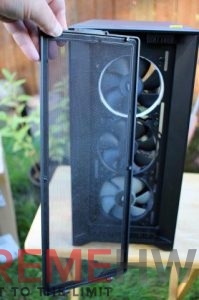
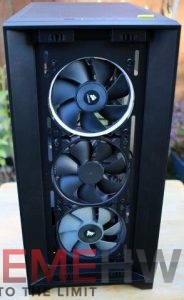
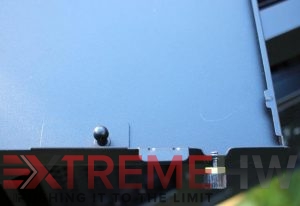
While generous side vents run the full height of the case, this additional mesh lets in all the air. It is also extremely easy to remove, with just 4 of the ball clips holding it securely until you tug at it. Under that is an easy to remove light mesh filter held in place by 2 bottom tabs, 2 magnets, and a handle to pop it out when needed. This gives such convenient access for cleaning filters and changing fans.
The glass front side and solid back side panel are both held in place with a combination of captive thumbscrews (with yellow O-rings) and pull out ball connectors. They slide in and are held with tabs along the front edge making the door easy to pull on or off but without the coolness or expense of full hinges. That practicality while looking good seems to be the theme of the case. Some anti-noise/vibration padding would have been a nice touch but perhaps redundant in such an airflow optimized case.

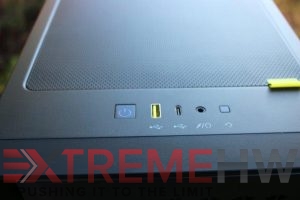
On the top is the aforementioned top dust filter with a hint of yellow. The I/O is modern and minimal, with 1x USB 3.0 Type-A, 1x USB 3.1 Type-C, audio/mic jack, power, and reset. Both buttons are shiny and flush with a subtle icon printed in the power button and small white icons printed for the rest.
The underneath is even more sparse with just 4 large nonslip feet, a PSU air-vent cut out and a slide-in air filter.

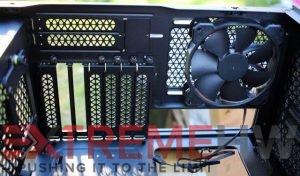
The back has all the usual items including a maximum 120mm fan, I/O cut out, PCI slots and vertical GPU PCI cutouts, and a flexible PSU mounting bump.


Moving inside the enhancements are equally subtle, some hard to notice until you have built-in it. You get a massive interior space with most of the interesting bits hidden behind the eATX mobo tray or shrouded. Right in the center is one of my favourite things for actually building a system. The center mobo standoff is an easy-to-miss handy thing, and I loves it. Standoffs are one of the most frustrating parts of building a system, up there with forgetting the I/O panel (thank you integrated I/O shields!) and this little stick seems to help more than its simplicity would auger.

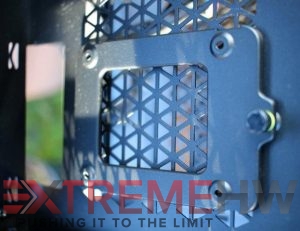
The PSU cage is perfectly sized with the same shape vent holes and a big cutout in the front. This shape of vent holes is repeated on the PCI slot cover, top panel, back vents, and anywhere they want air to get past. Years of watching HGTV home-flipping made this consistency even more familiar and professional. The mesh vent top of the PSU shroud can be the home of up to 2 SSD caddies or be breathing room for a vertically mounted GPU.
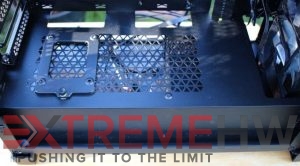
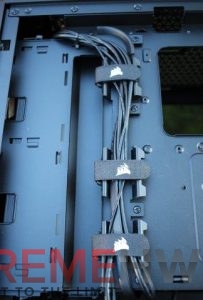
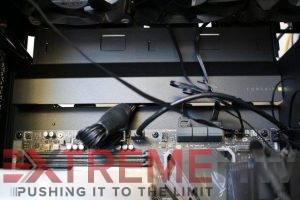
The large mobo tray is distinctive due to the lack of cable pass through cut-outs. Most cases would have cutouts with some rubber grommets to move from beautiful front to cable mess back. What this case has is a covered access bar running the length of the case. The cable bar can be moved to fit up to 277mm-wide motherboards while still providing a simple and fast way to route your cables. No more guessing, bending, or cursing the sharp edges. It makes plugging things in much easier. The yellow bit of branding on it is debated but I think it is perfect, a nice touch of colour.

If you turn your head sideways you will look odd but also see an extra 2 PCI slot cutouts above the regular assortment. This is for the vertical GPU mounting. Nice! I wish I had a cable to test it. My 4x mining cables are all gone and also 4x. But I will test the mounting later. Be sure to read on my friend.
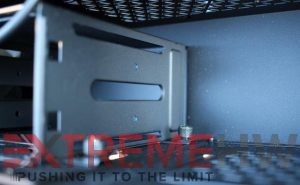
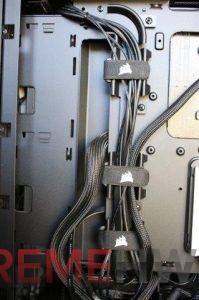
So, let’s flip it over and look at the secret place. 3 cool things jump out, 2 SSD mounting sleds, the “Rapid Route” cable management path and the HDD cage in the PSU shroud area. The second half of the Rapid Route cable management system is a Jefferies tube running top to bottom with a jaunty curve on top and 3 preinstalled branded zip tie ribbons. Most of the case wires are already snugged up and adding your wires on installation is simple. It does seem to do a great job, only a few cables don’t benefit from it. With careful planning, it can do the bulk of cable management.

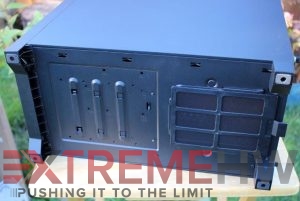
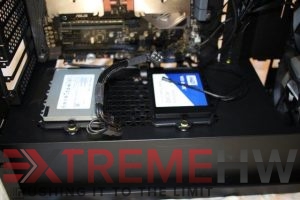
The 4000s fit up to 2x SSDs and 2x HDDs. Corsair prioritized flexibility instead of jamming more capacity in there. The HDD cage is easy to remove or move over. Moving it gives a lot more room for longer PSU’s and cables. However, this does push it up to the front, blocking airflow if you have 3 fans and having less room for radiators. I had 3 fans in and the fan noise created after moving it forward was so loud and shocking I thought I had done something to the fan. Seems it didn’t like the restriction. 2 works just as well as far as my testing shows….. I also found the 2 thumb screws were on very tight and I needed to fit a driver in there. All I had that would fit was needle-nose pliers so I had to be careful. But they were easy to deal with once they started moving so that was a very minor bump. Putting 2 SSD in there also looks funny! They are so tiny. But adding big HDD was some of the easiest tool-less work I have done. They snap right in!
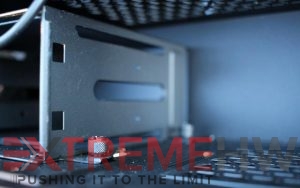
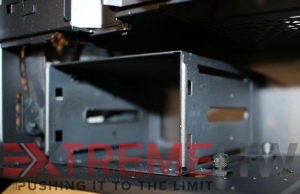
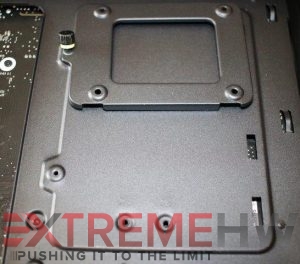
The 2 relocatable SSD trays are even easier to move and almost as easy to load up with drives. They have the familiar yellow washer on the captive thumbscrews and that is all it takes to pop them off and affix them on the rear bumps or on the PSU shroud in the main chamber. Corsair provides an ample number of SSD screws as well. The sleds seem over engendered for what they hold but they do their job well. I wish they had been able to hold 2 drives each, over/under, but that may be asking for the moon on my part. It took me a second to figure out how to put them on an off because I was expecting it to be more complicated. They look like they should be complicated but they are not. I can see people wanting to put 2 in front and 2 in back. They are available on the Corsair web page but not able to add to cart there or on any of the links. They do sell several accessories and replacement bit though including a 2 SSD sled for the HDD bay. Tempting.


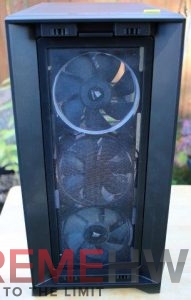
With all of that build up its time to build. This might be a bit anticlimactic as the build went well. I took advantage of all the features that I could, gave the required sacrifice, and shoved my current system in there. There was not a sharp edge on the case that I could find. The only difficulty was of my own making, I seem to have lost my needed PSU cables so can only put in 3 drives. This case gave me plenty of options to make that easier as most cases would have had difficulty mounting the third SSD close enough to the others. As I said, I had extra fans so there are 3 in these pictures but only 2 working at the moment. I could move the drive cage and activate the third but the air already flows well. I did not have to smoke test or use tissue paper as I can feel the air intake pressure by hand. For a system as quiet as this that is impressive! The third fan did not even increase the loudness when unobstructed. Visually, I can not tell the difference between the older Corsair fans and their new “Air Guide” fans that utilize anti-vortex vanes to concentrate airflow and enhance cooling” however after a few days the new fan has a lot more dust captured in the filter. Perhaps the PR is correct, I would not have expected that.


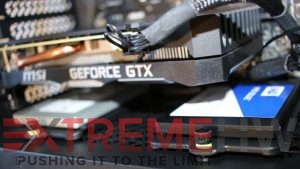
It did solve one problem I had in the old case. I use a distinctively coloured and very large CPU cooler. Because of the ram and built-in I/O shield I had to keep only 1 fan or put the second offset. This worked unless I wanted to close the door. There is plenty of room in this case to return the second fan. Oddly though, as you may see in the pictures, I did not. The flow of air is such that I did not find it needed. The case fans seem to provide enough flow to keep the fins cool.
In conclusion, this case hits all my checkmarks: bang for the buck, great looks, ease of building, and flexibility. I will be keeping it on my desk. I will have to play with angles so that I stop seeing my movement in games, the dark tint is a bit of a mirror and I have not done well at Fortnight since. Can I blame my deaths on case reflections? Sure, that’s the ticket. Its price is already nice but if you can pick it up during the upcoming prime turkey-based holidays I highly recommend it. Just pick the one that fits your aesthetics in black or white, solid, mesh, or RGB. There will be one to fit your needs. It is also worth mentioning that if you are looking for an AIO to pair up with this case, you may want to check out our review of the Corsair H115i Elite Capellix Liquid CPU Cooler.
Lastly I would like to thank Corsair for providing me the opportunity to review the 4000D.
Cheers
Kip

Want to discuss this product or give your views and feedback from your own usage? Discuss on the ExtremeHW Forums
Like our content? Please consider Donating to help us to continue our writing.
Related Posts
This Post Has 2 Comments
Leave a Reply
You must be logged in to post a comment.
You made a few good points there. I did a search on the theme and found a good number of persons will have the same opinion with your blog.
Concise and written well, thanks for the post