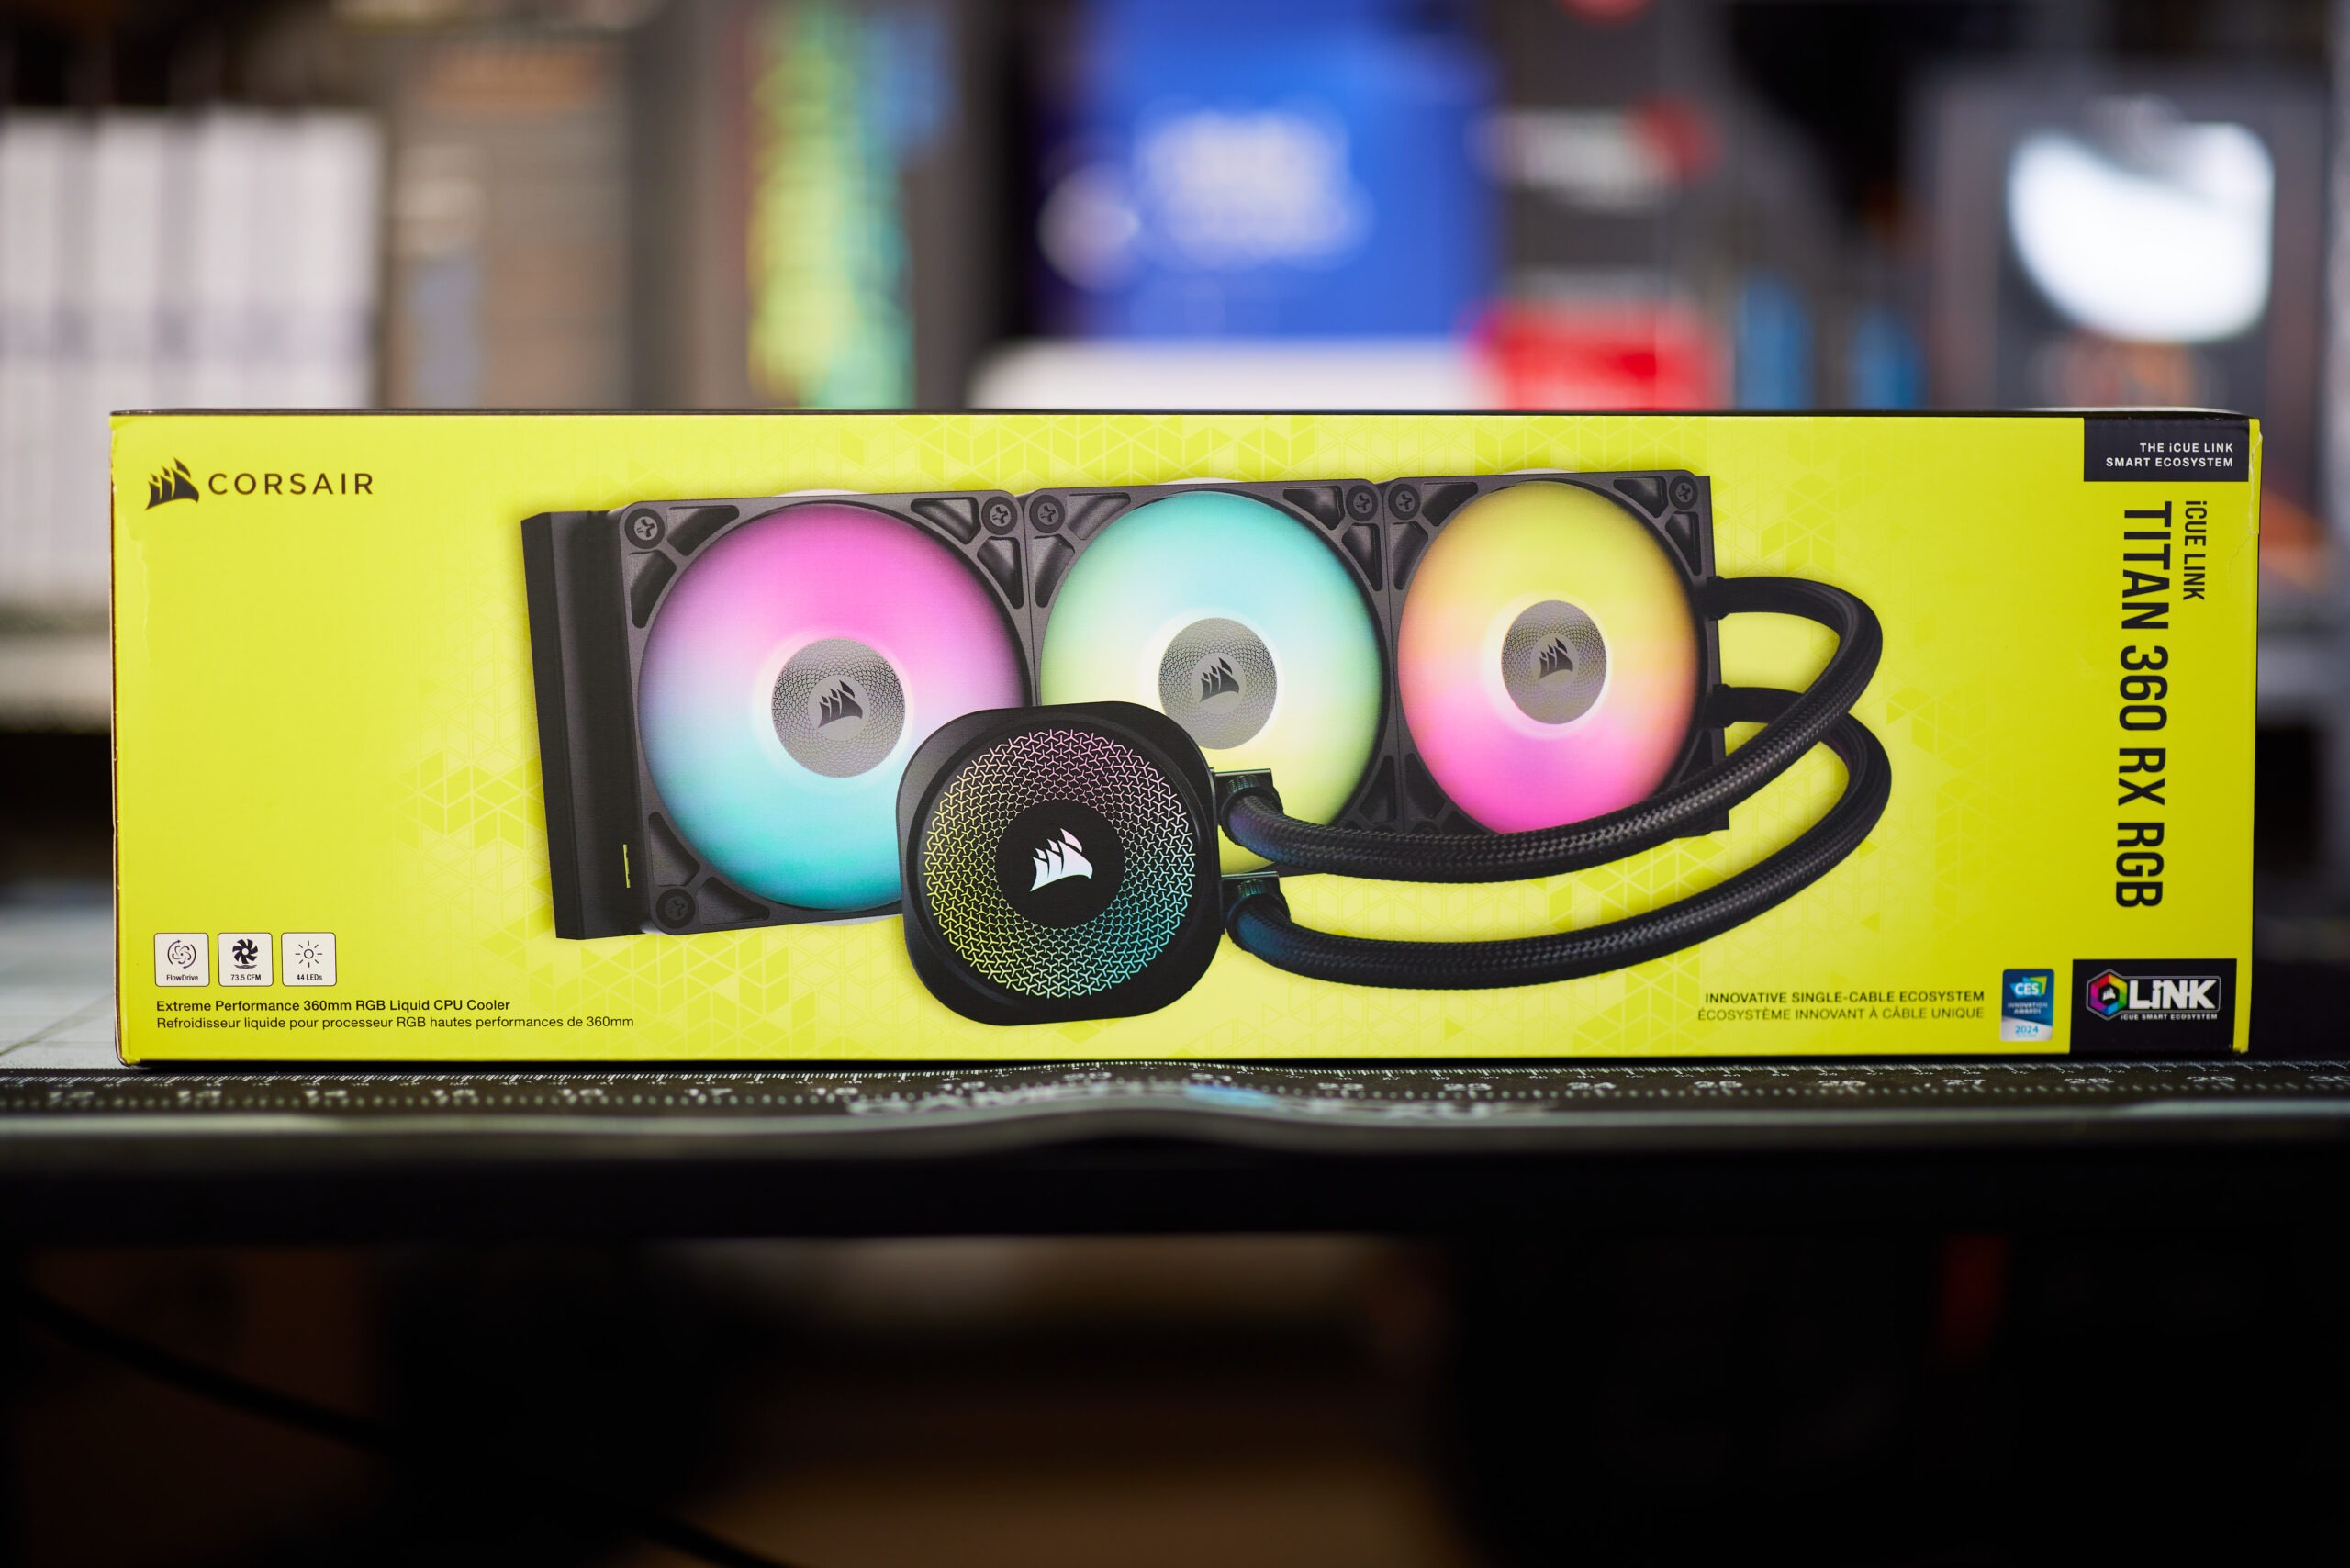
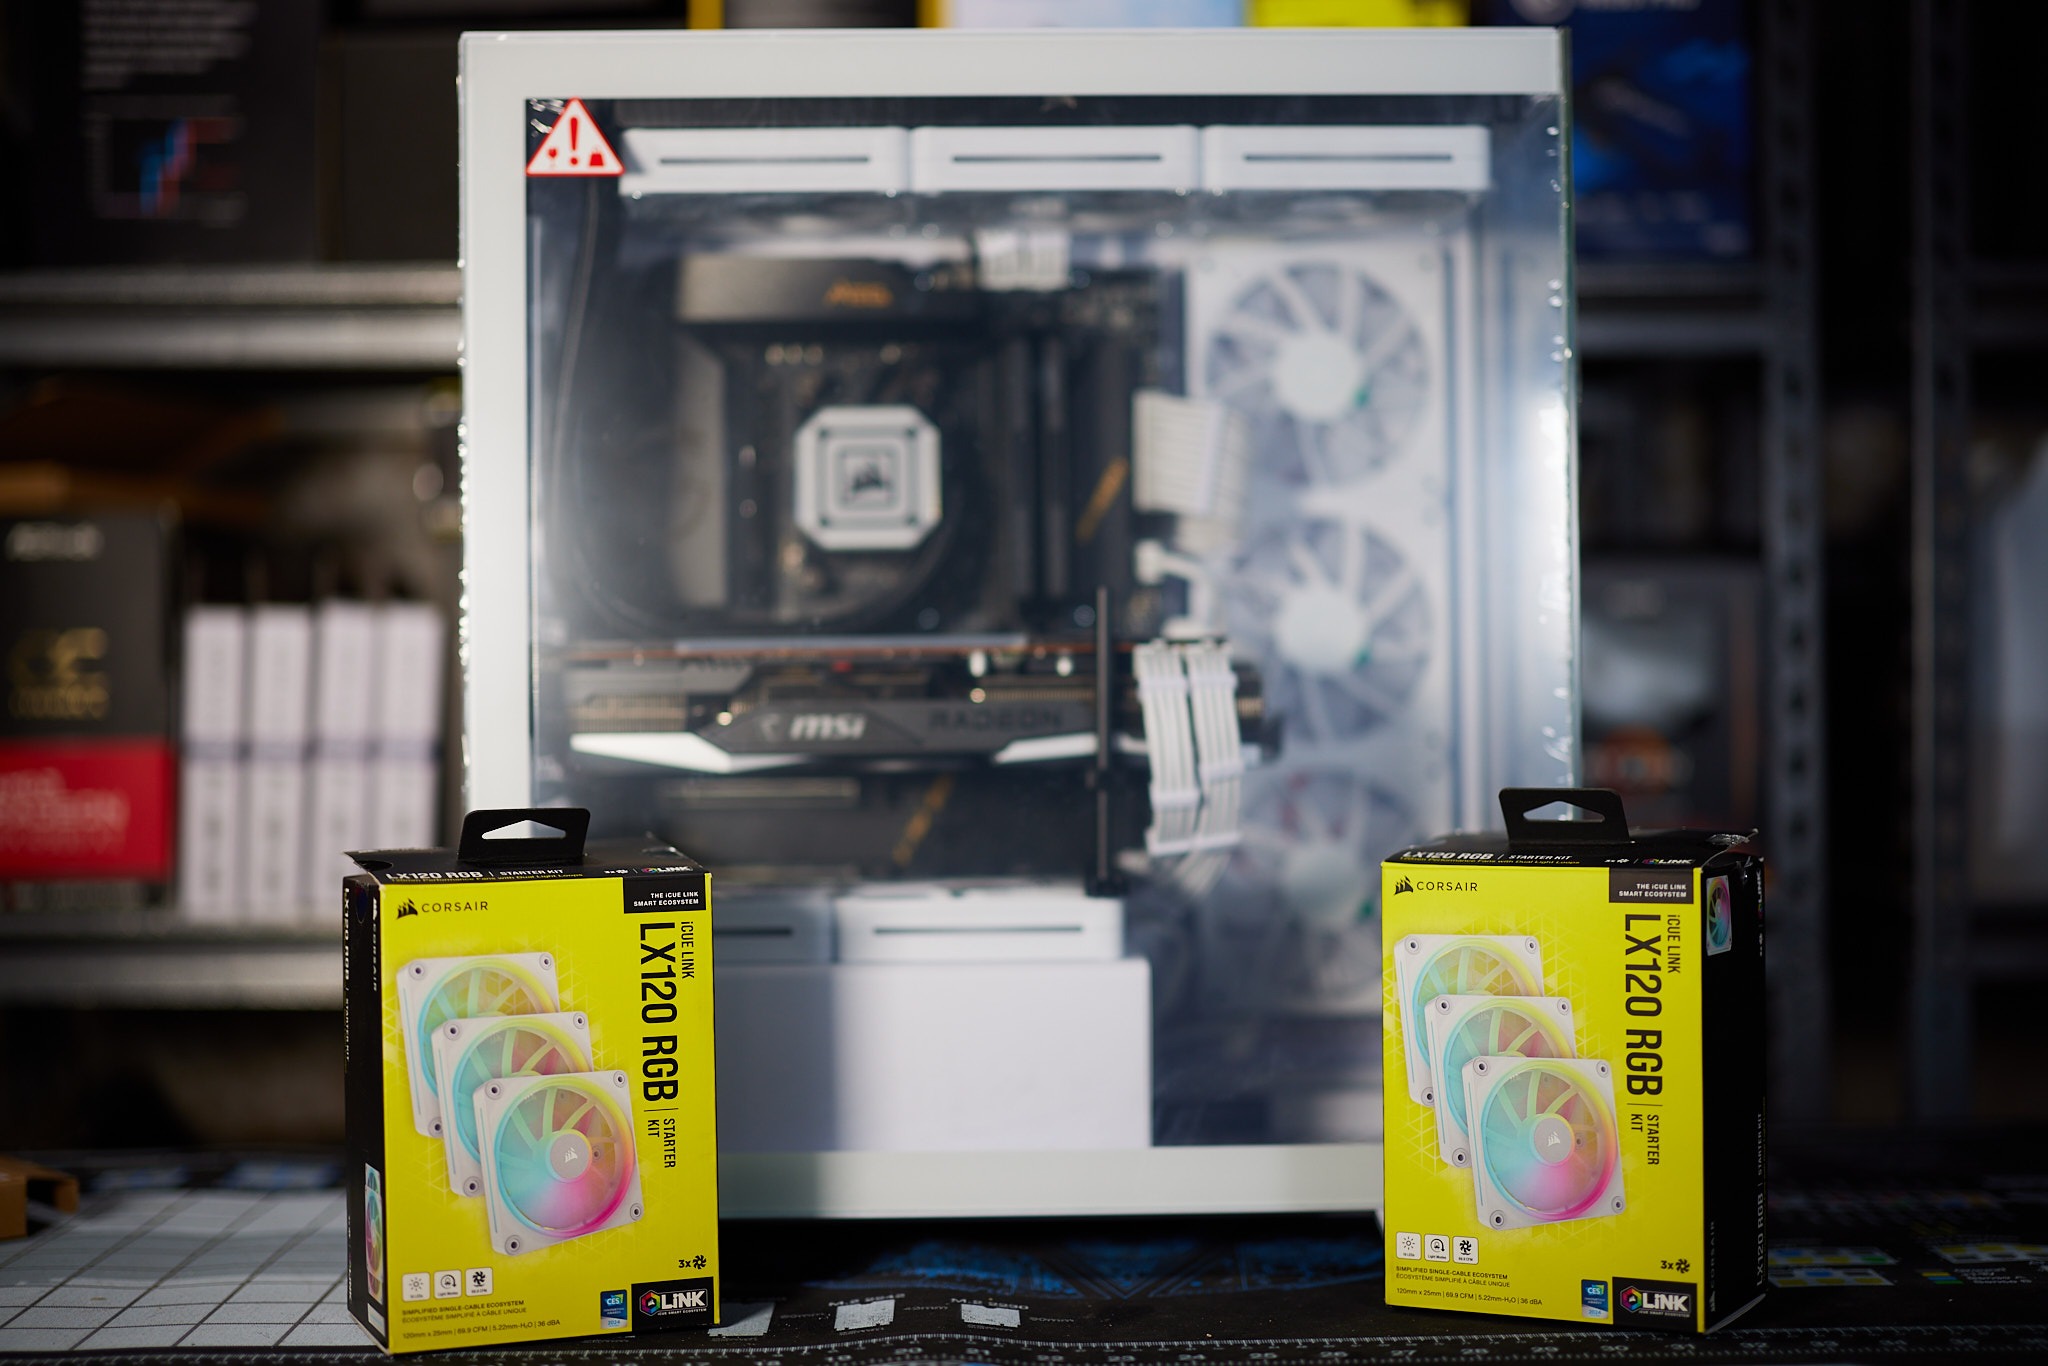
The discussion around All-In-One (AIO) CPU coolers versus custom loops will always be ongoing. However, recently there has been a lot of innovation in the AIO market by manufacturers to try to match the performance and customizability of custom loops. Corsair, not to be outdone by its competitors, is launching its next-generation AIO CPU cooler, the iCUE LINK Titan RX RGB. The Titan combines Corsair's latest advancements in cooling engine technology, replaceable pump caps, and iCUE LINK RX120 fans in hopes of being your next CPU cooler.
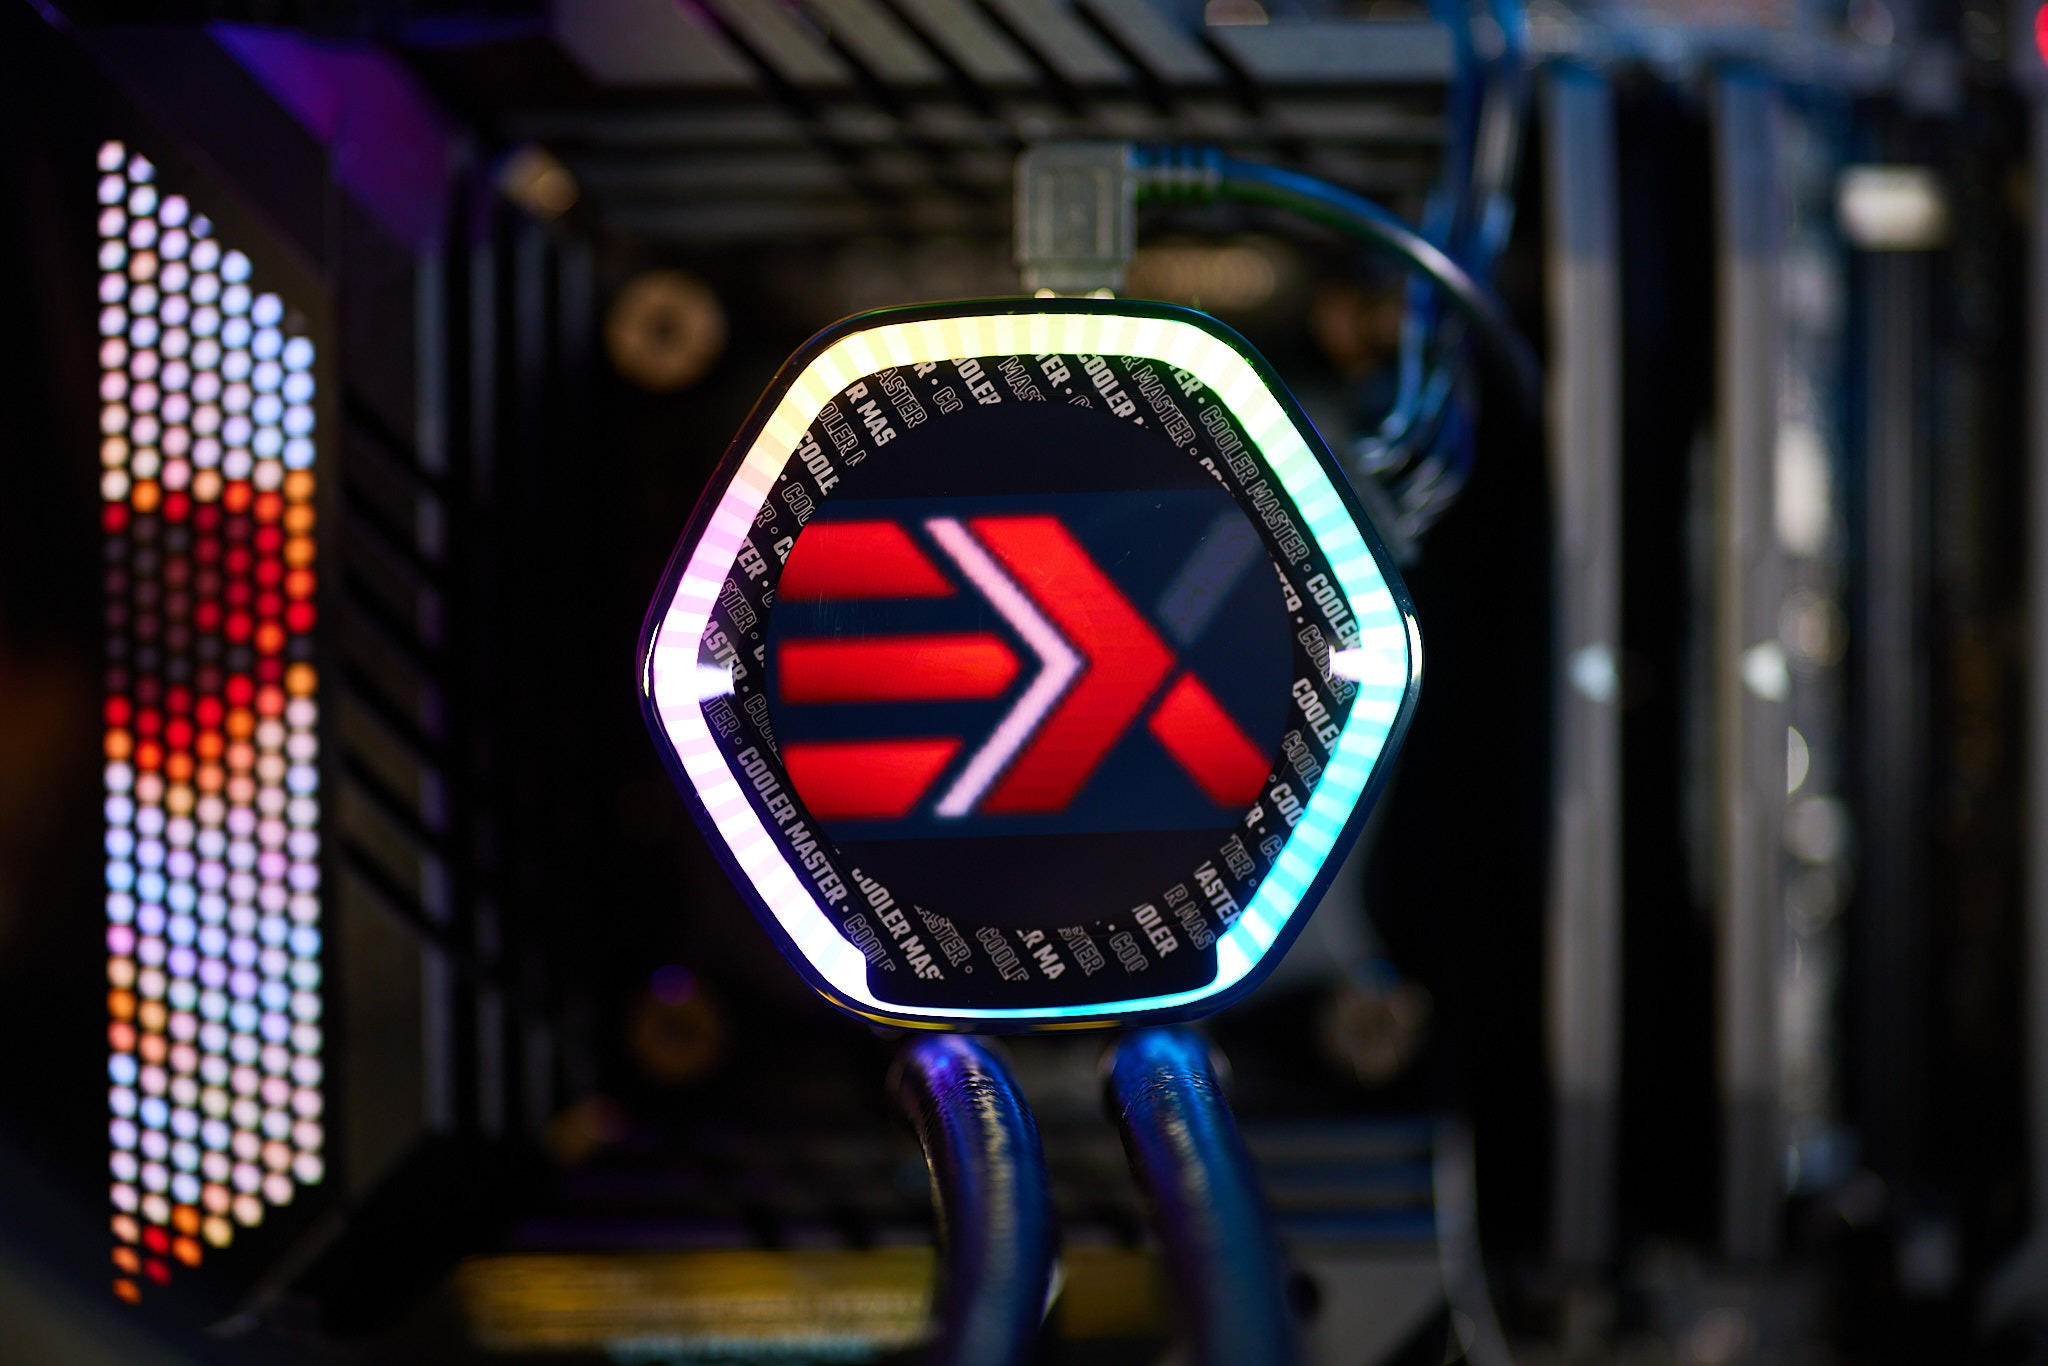
In addition to the Titan AIO, Corsair supplied me with three of its CapSwap modules. This review will examine the iCUE LINK LCD Screen, VRM Fan, and Pump Cap Groove modules. Is the Titan good enough to topple another AIO I've recently reviewed, the Cooler Master 360 Ion? Continue reading to find out.
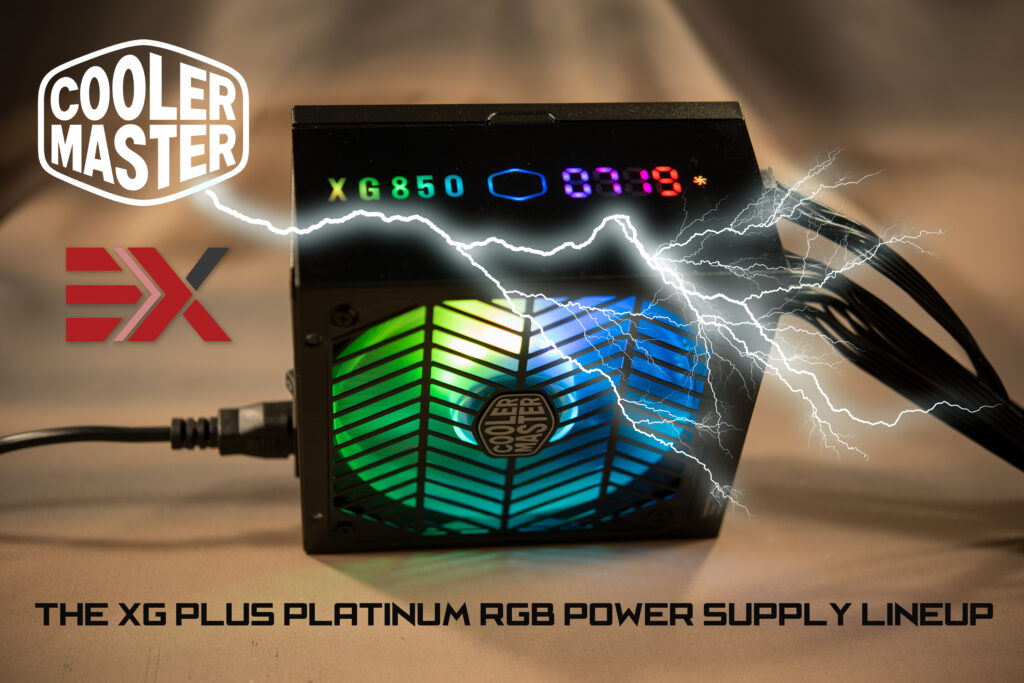
Fully Modular 80 Plus Platinum ARGB Power Supplies with Digital Options
Introduction
While no stranger to the low, medium & high end PC power supply markets, Cooler Master’s latest offerings—their XG Plus Platinum Line—are the first power supplies Cooler Master designed in-house . Cooler Master claims their recently introduced XG850 Plus and XG750 Plus Platinum power supplies “provide next-level efficiency, rigid design, and sturdy performance to fulfill all your daily computing and gaming needs.”
Today, we’ll take a closer look at some of those claims and see just how well they hold up to outside scrutiny.
Boxed, the power supplies in Cooler Master’s XG Plus Platinum Line look very similar. The only real differences among them include maximum power out (wattage), and the number of supplied accessory cables (see the Manufacturer Specifications section below, which details the information for the XG750 and XG850 Plus power supplies; the XG650 Plus will not be covered in this overview):
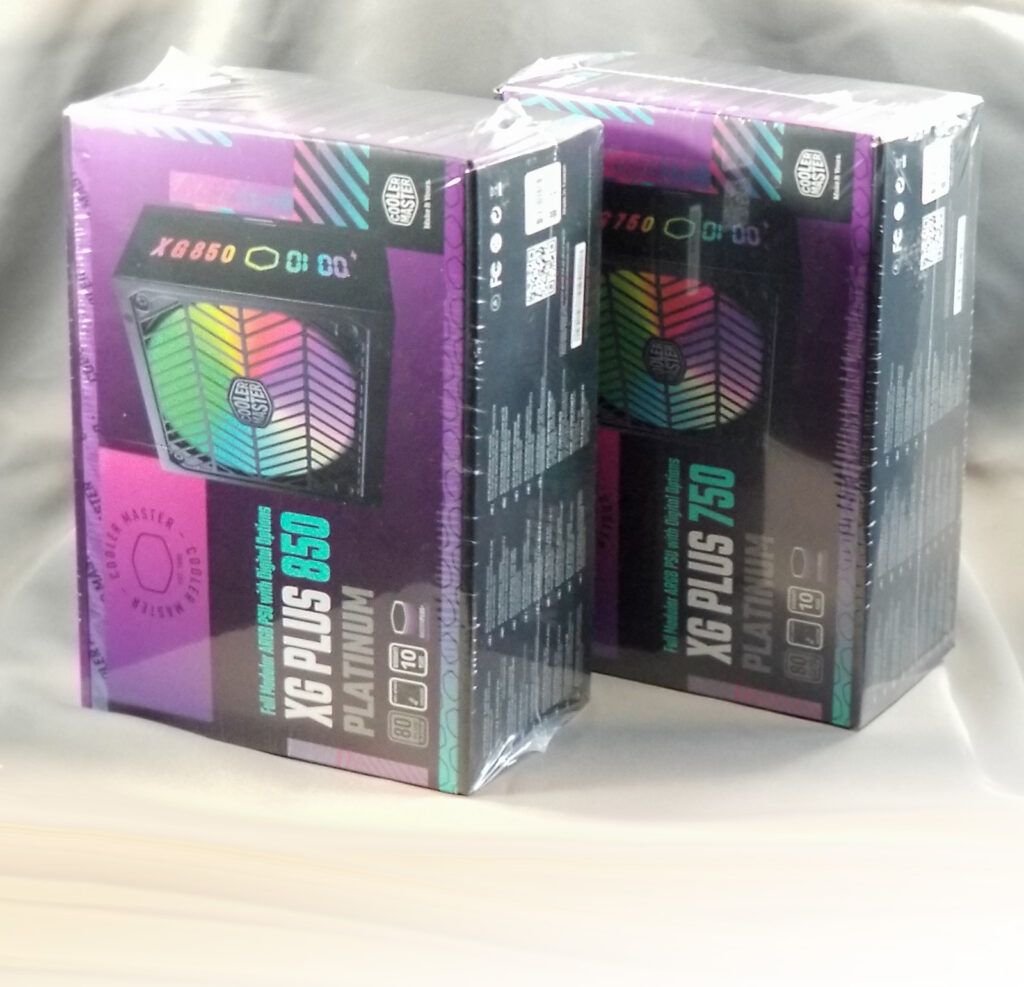
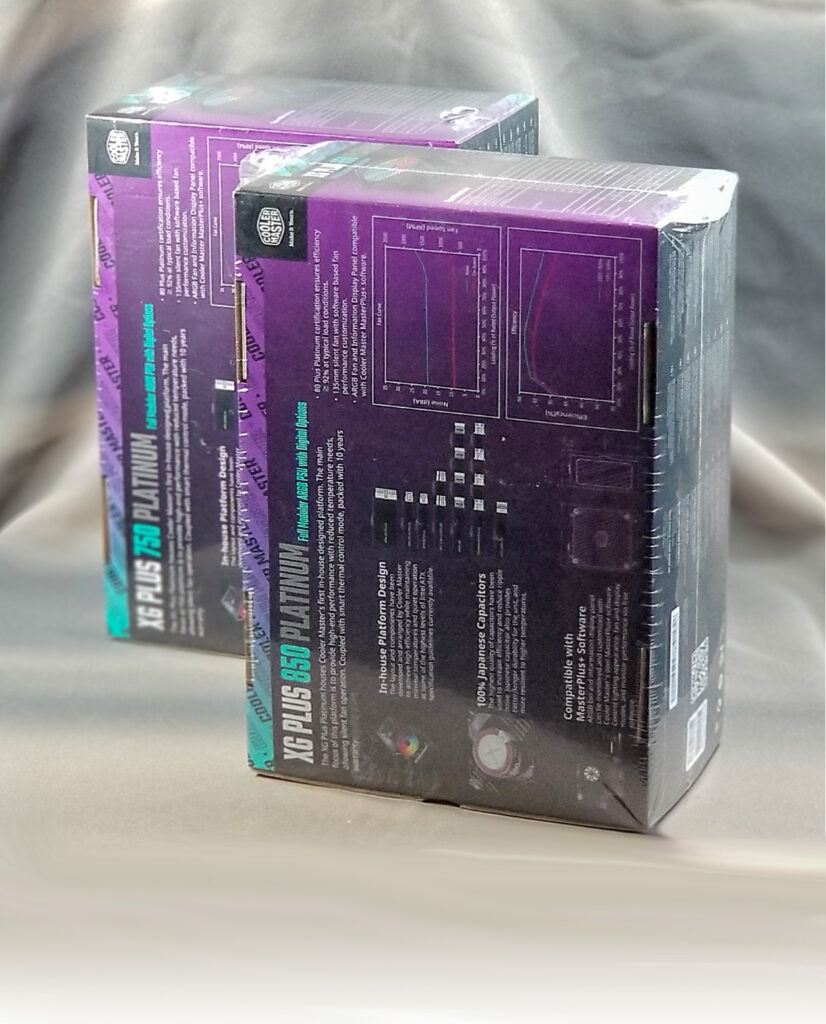
Given the similarities mentioned above and for the purpose of this overview, our focus in this article will be placed on the XG850 Plus Platinum PSU.
Notable Features of the XG850 Plus Platinum Power Supply
- Full Modular 80Plus Platinum ARGB Power Supply with Digital Options;
- Intel ATX 12V Version 2.53;
- 80PLUS Platinum Certified:
Note: reference 80 Plus; also see the certifying authority’s—Clearesult—test record, also available here); - Quiet ARGB 135mm Silent Fan;
- Built-in Information Display Panel;
- Full-Modular Cabling with 100% Japanese In-Line Capacitors;
- 10-Year Warranty.
1.1 Unboxing
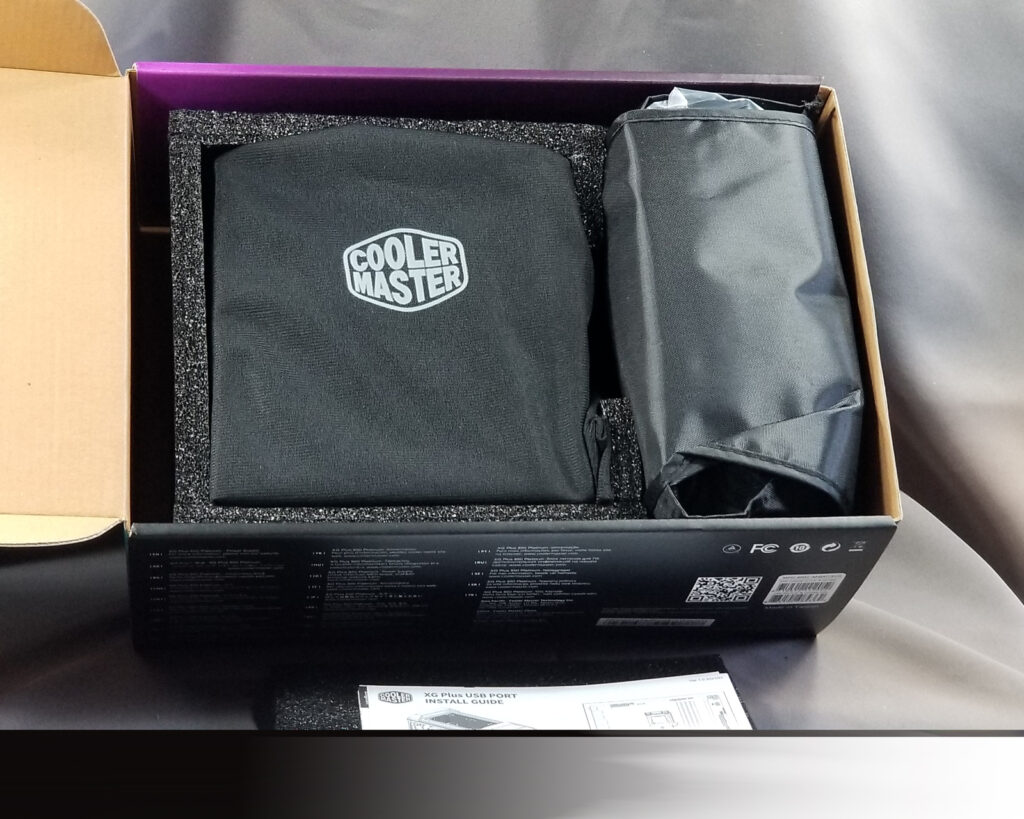
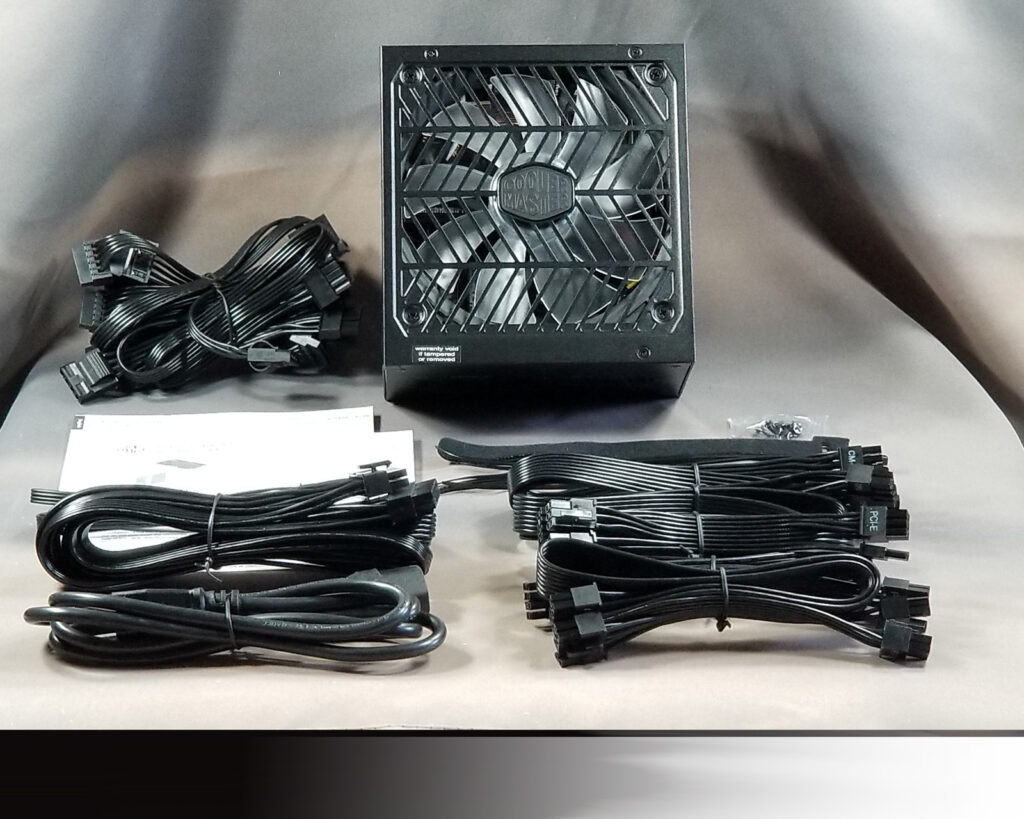
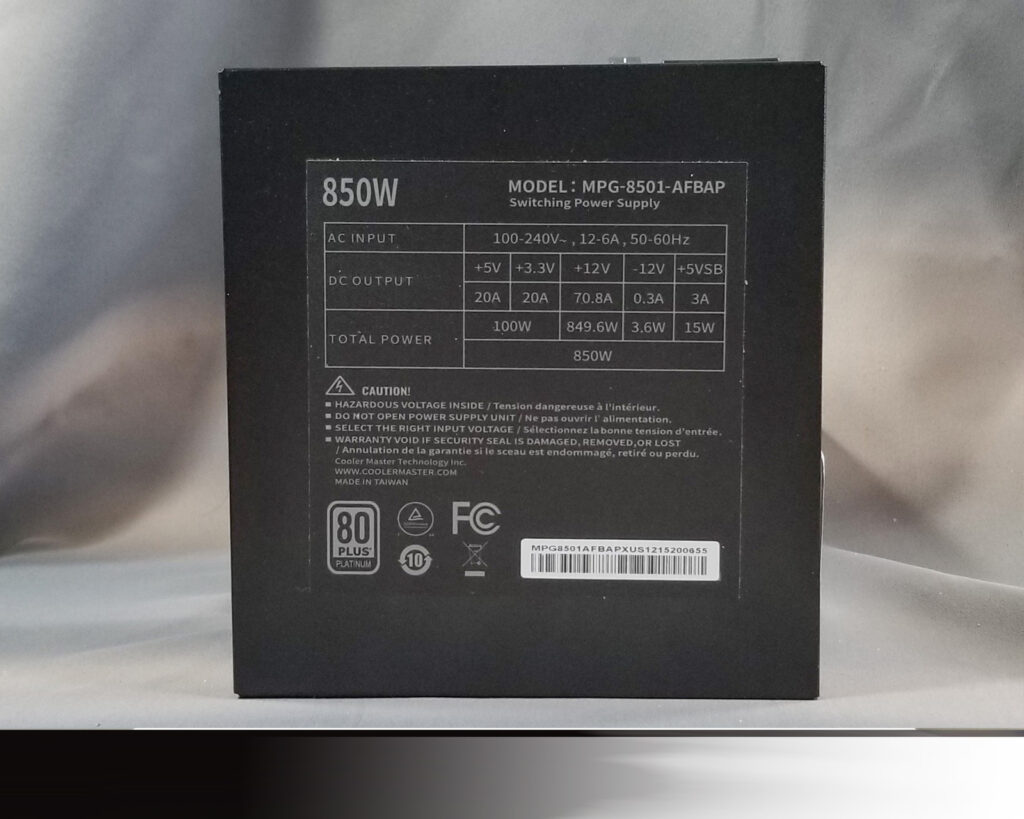
Reference the images and Manufacturer Specifications table following below.
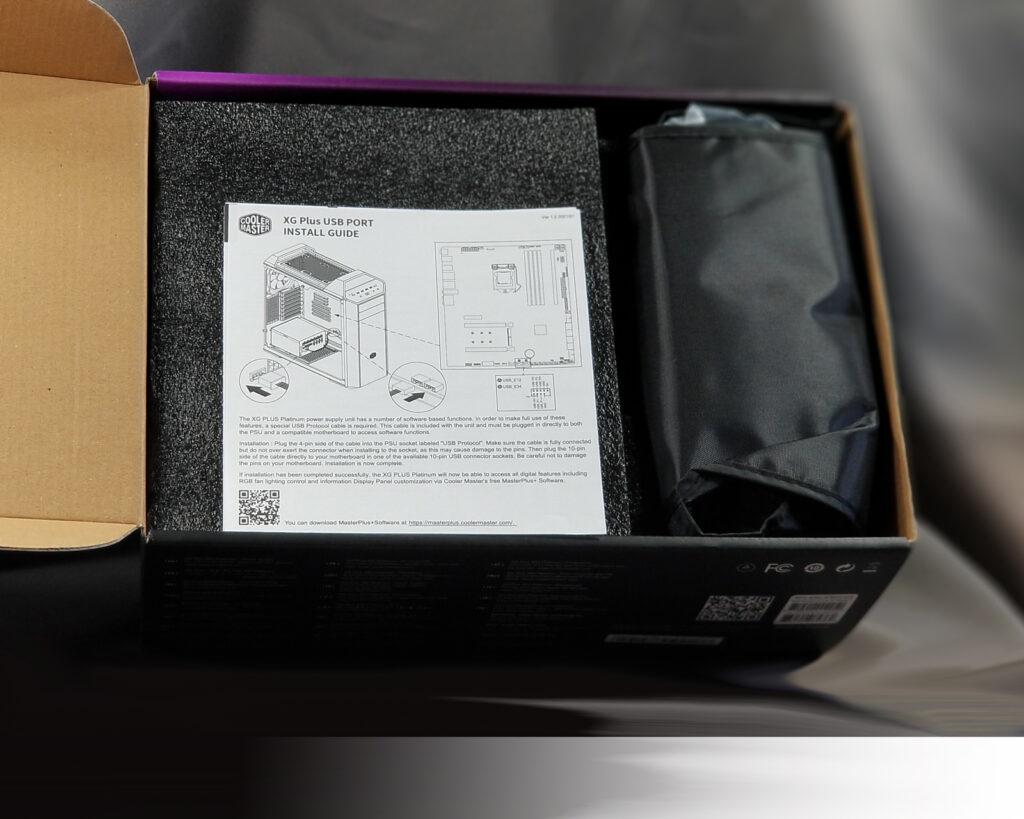
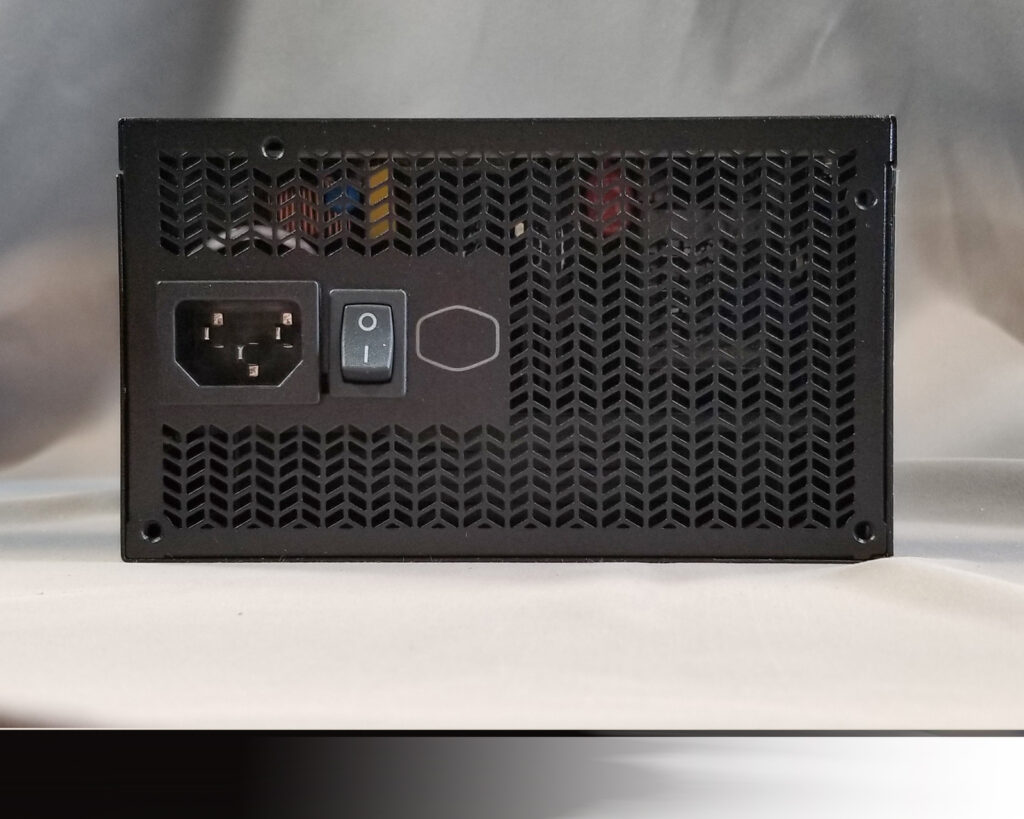
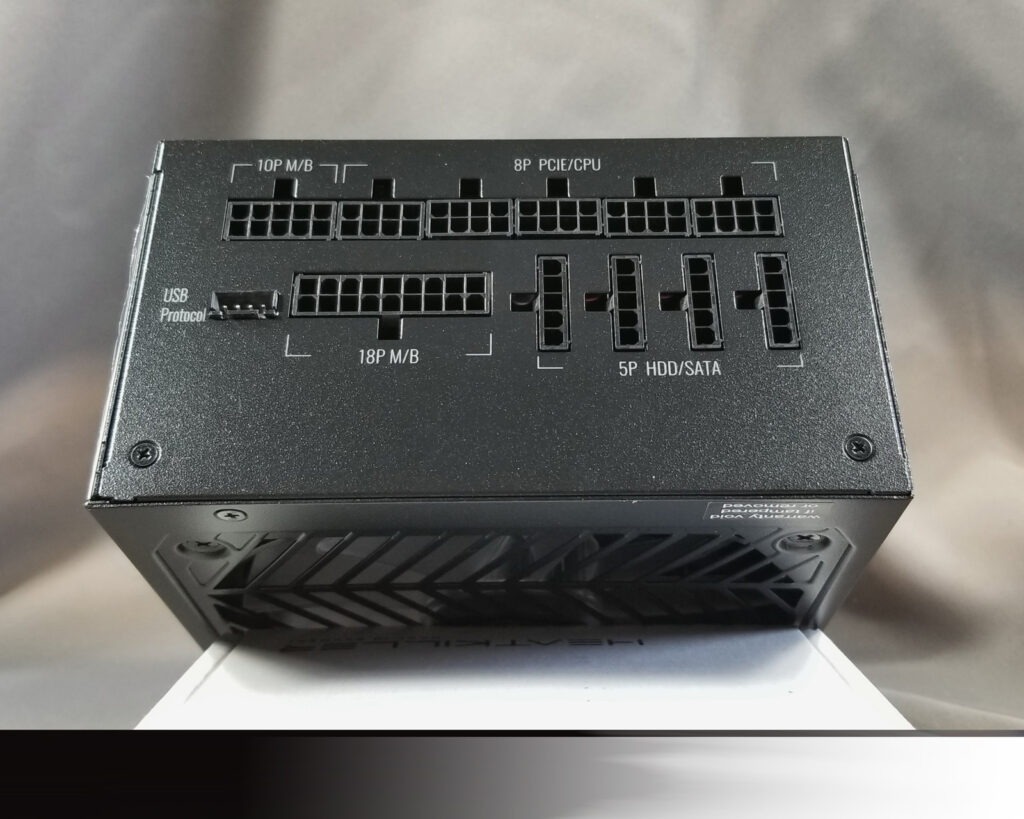
Cooler Master’s power supplies come neatly packed as a well-protected bundle. A limited number of accessories are provided which include cabling that is tailored to each power supply in the lineup by what appears to be wattage rating. A special USB cable is also included that allows connecting the power supply to a motherboard’s nine pin USB female header. This special cable is used to communicate via USB with Cooler Master’s proprietary MasterPlus+ software application (which is compatible with XG Plus Platinum powers supplies; Notes about the software application follow below).
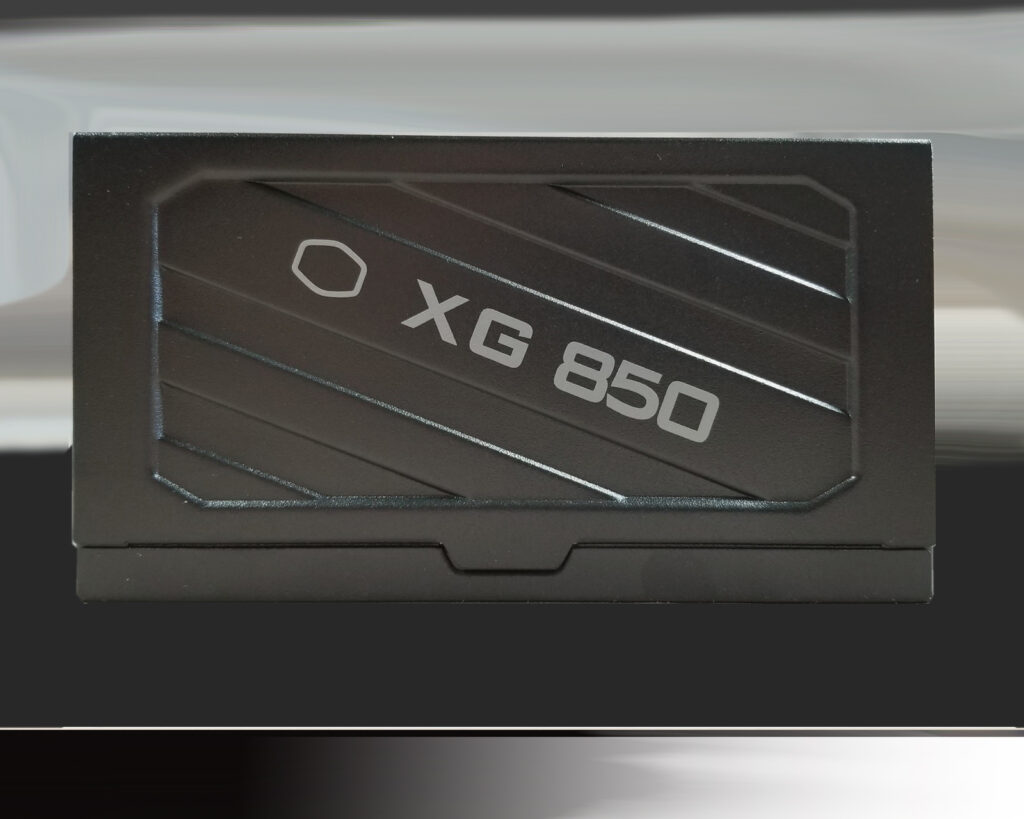
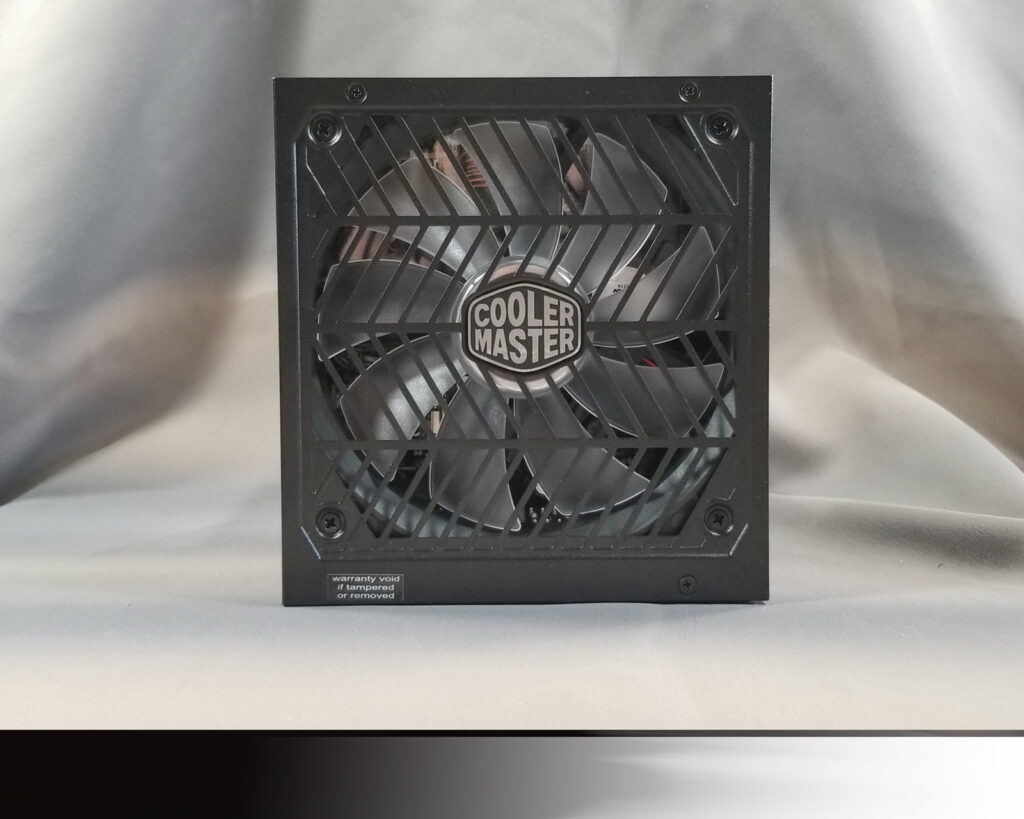
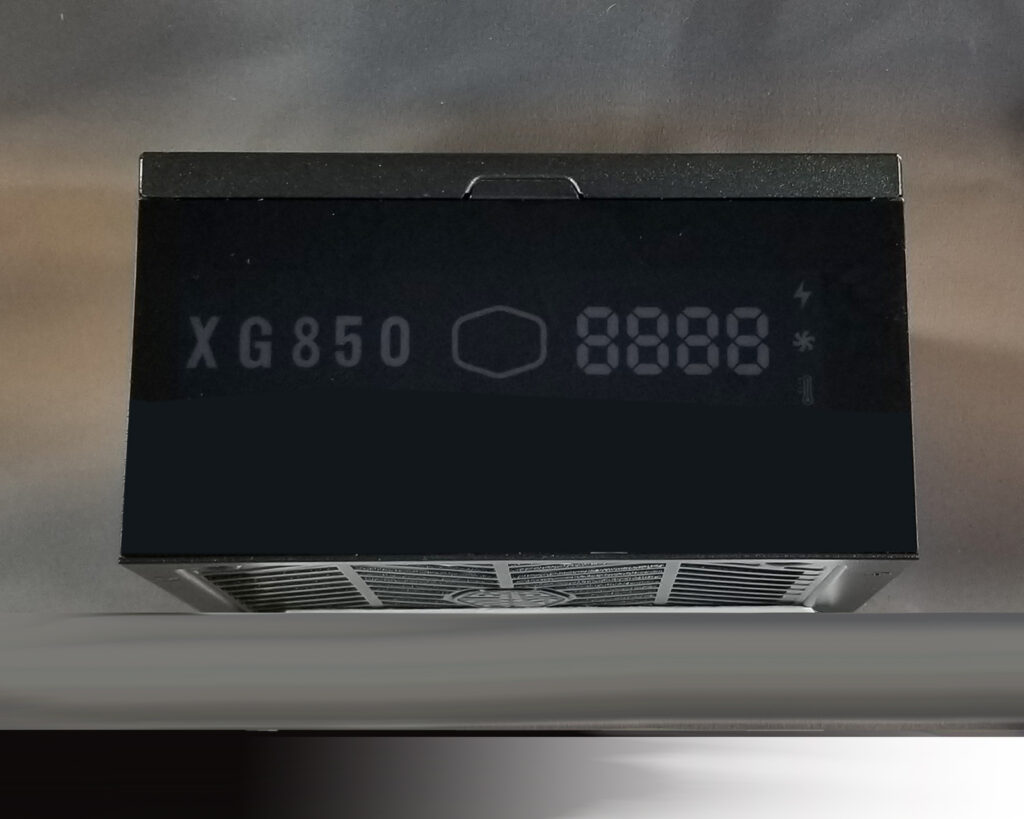
Figures 1-7 through 1-9 illustrate power supply outlet connections, and the power supply’s ARGB fan and display panel. The fan itself is a Cooler Master DF1352512FDHN, equipped with a hydrodynamic bearing, a transparent acrylic impeller, and an ARGB backlight. Its maximum speed is specified as 1800 rpm.
1.2 Disassembly & Inspection
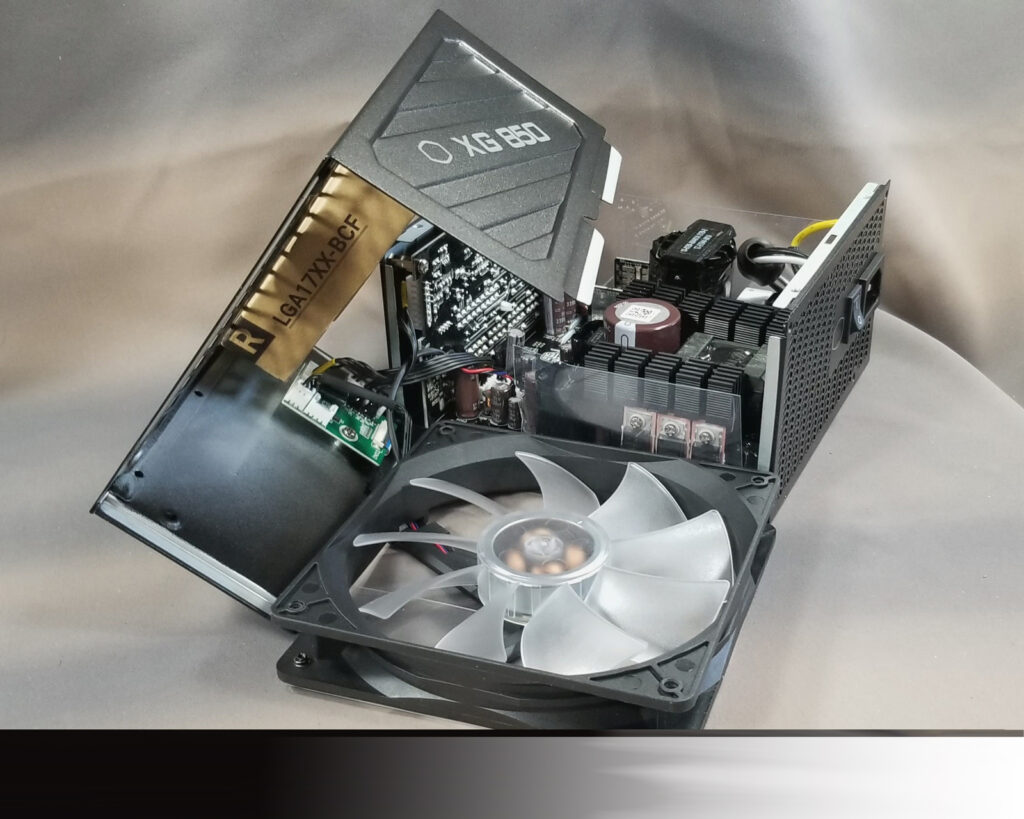
Moving on to disassembly and inspection of the power supplies, a total of six screws need to be removed to gain access to the XG850 Plus power supply’s internal components. One of those screws is hidden by a typical warranty disclaimer that states “Warranty void if tampered or removed”; but it’s my understanding that such stickers are illegal in the United States per the 1975 Magnuson-Moss Warranty Act (see ifixit’s 2018 article We’re Afraid of Warranty Stickers, but Really, Manufacturers Should Be for more info about that).
Before continuing with Disassembly & Inspection, a word of caution is appropriate:
Unless you truly know what you’re doing and thoroughly understand the risks involved, you shouldn’t be opening up components like power supplies. Doing so not only risks causing irreparable damage to such components by the heavy fingered, but more importantly could result in serious injury or possibly even death. Electricity kills. ‘Nuff said.
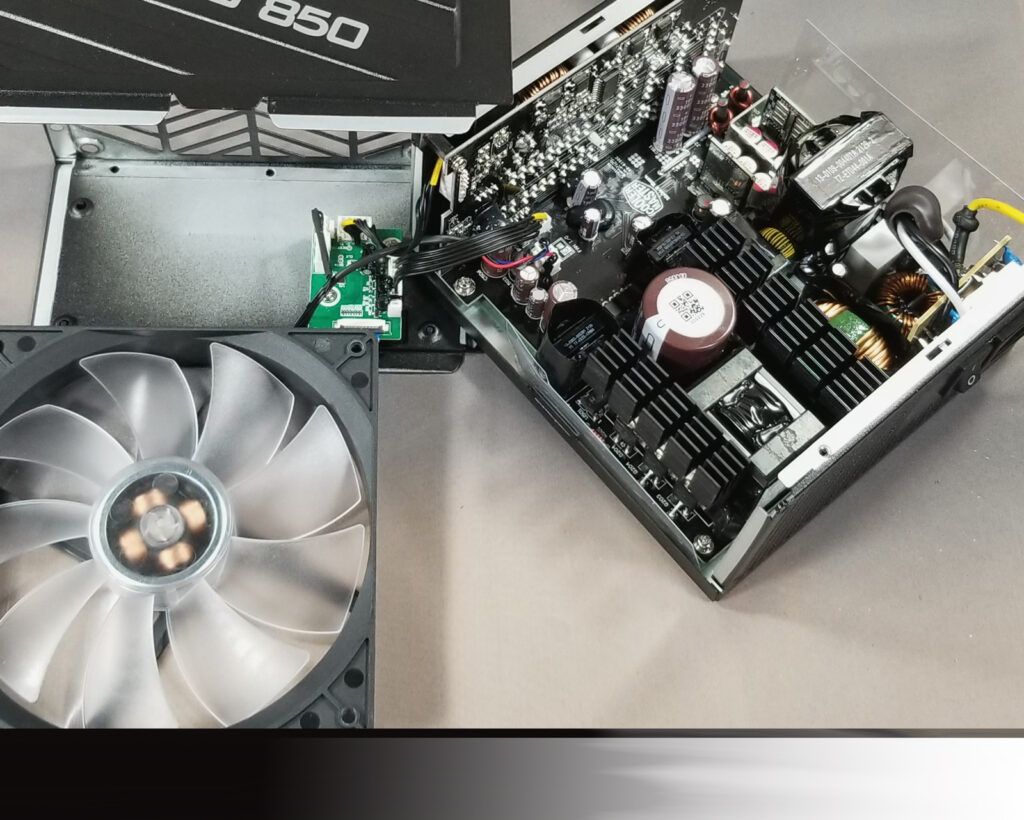
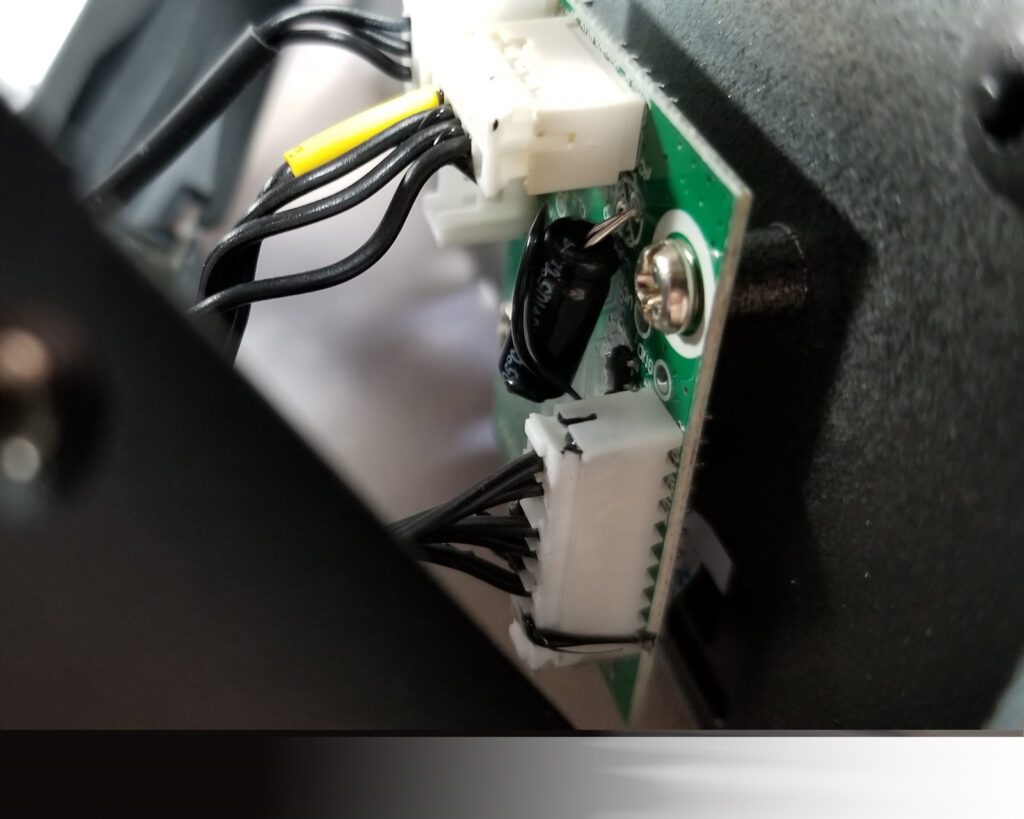
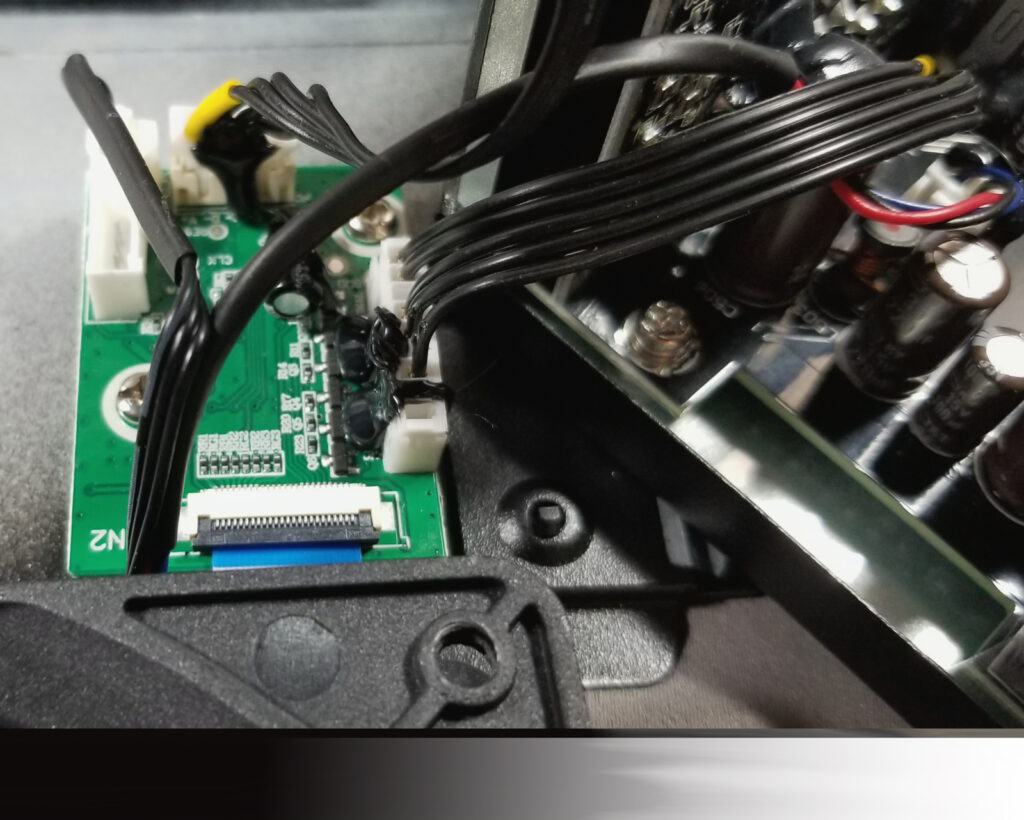
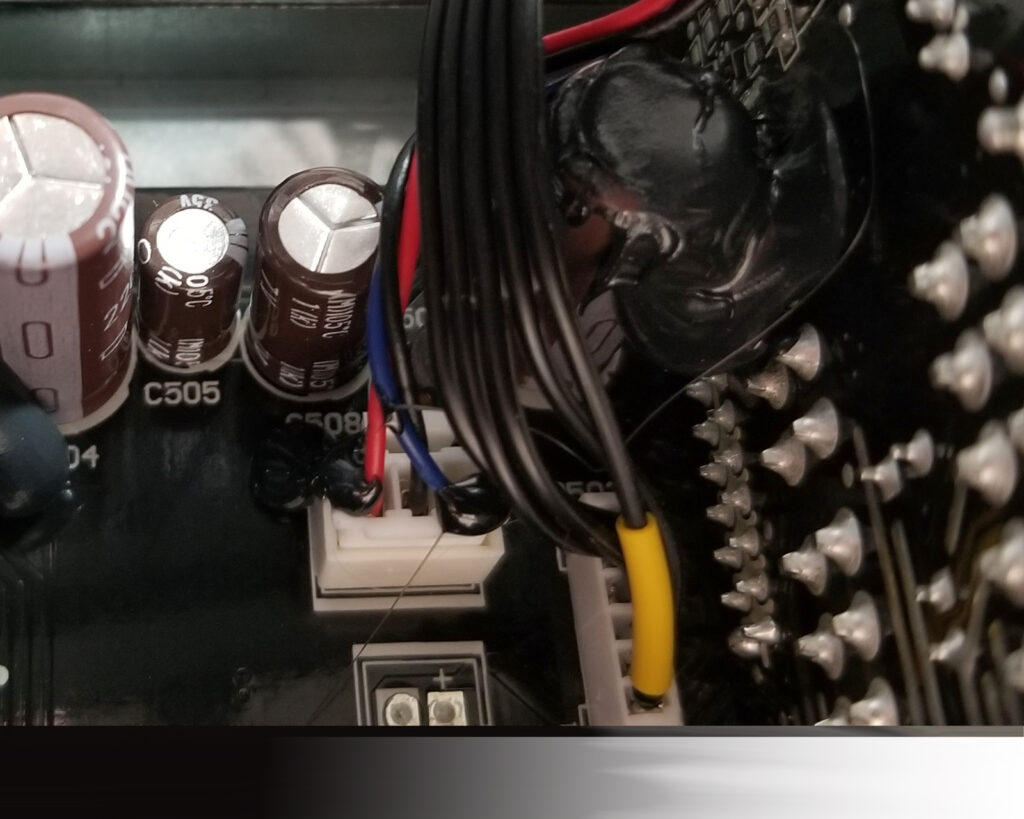
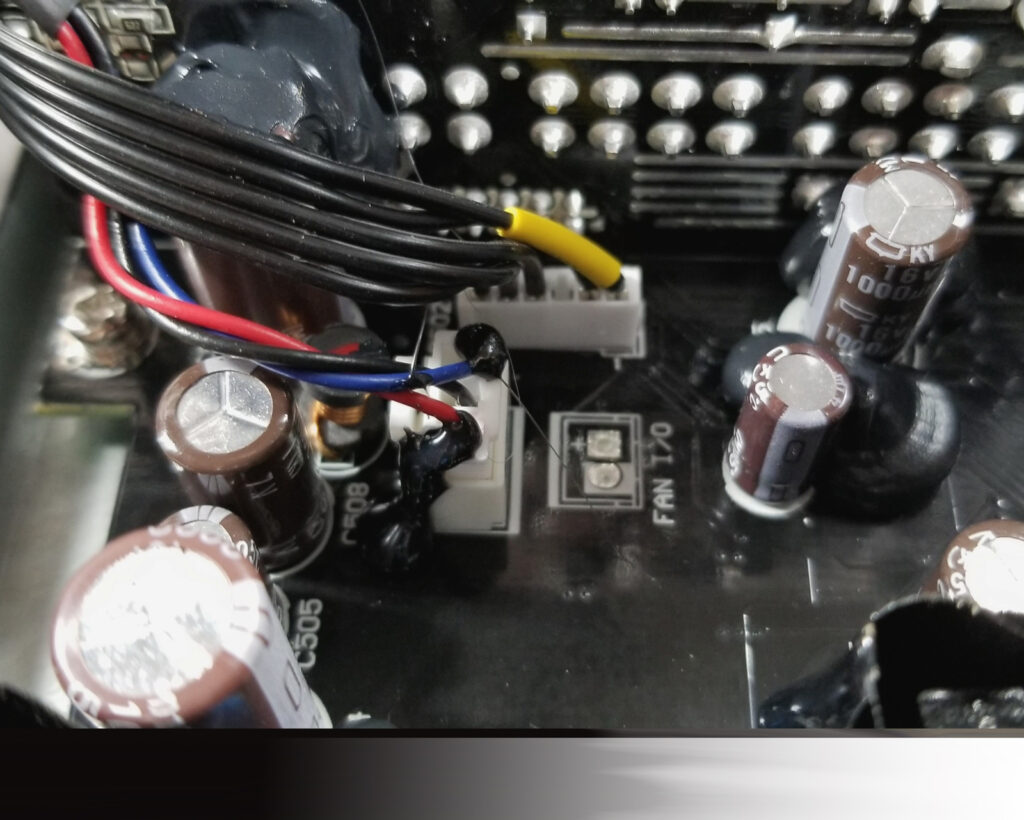
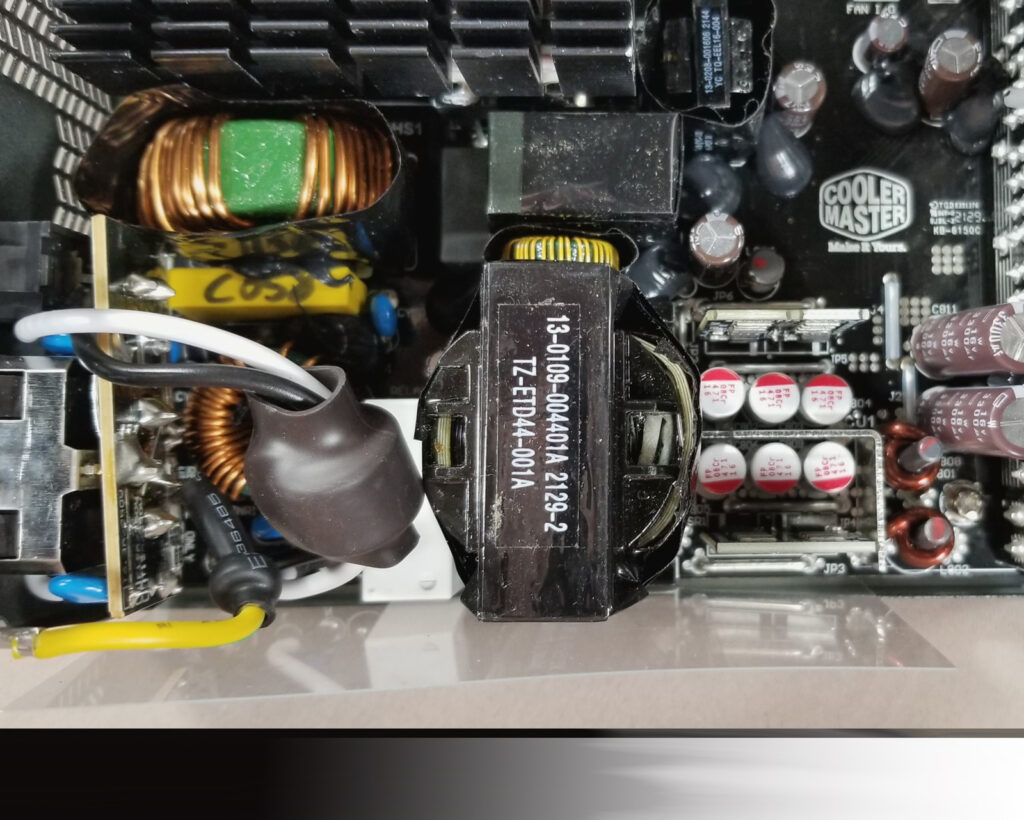
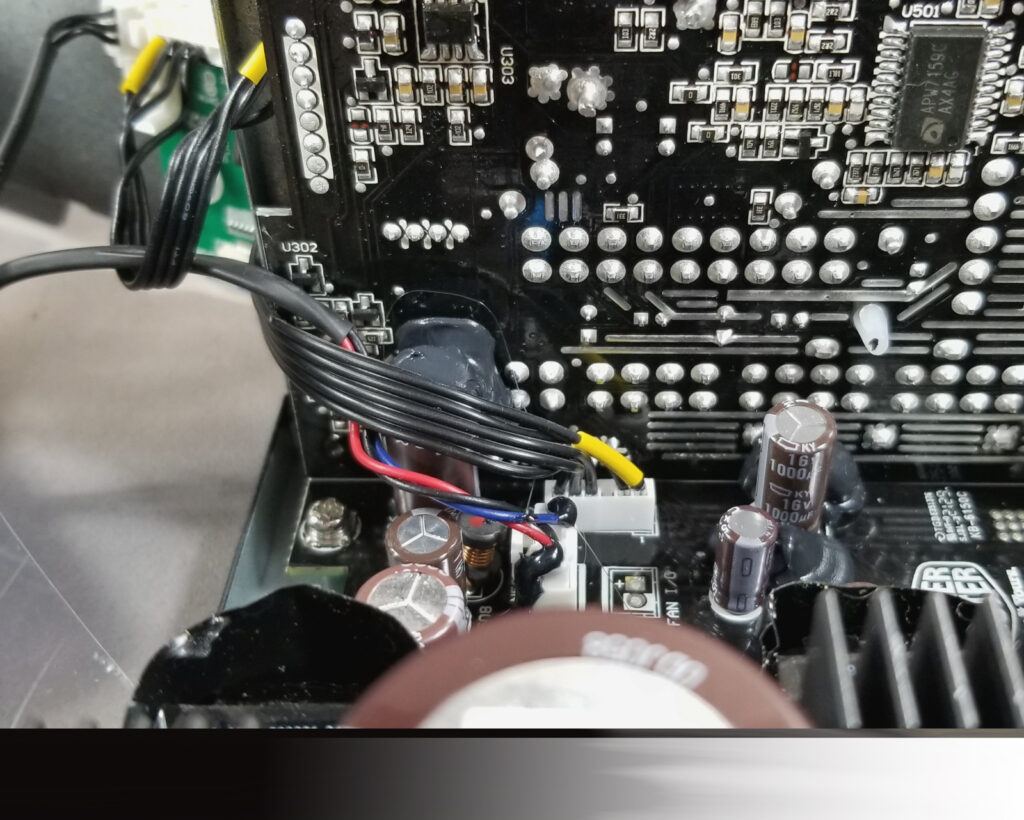
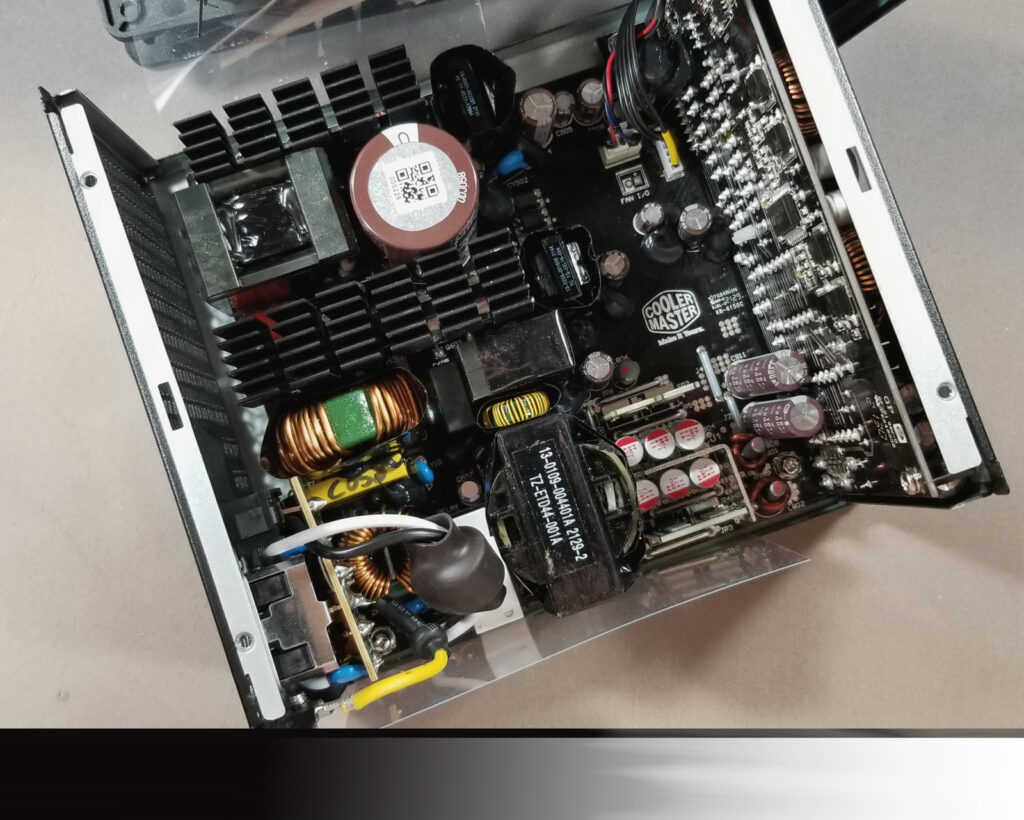
Once access is gained to the inside of the power supply, opening it fully can be tricky (reference Figures 2-2 through 2-6). The manner in which the wiring harness and its connections between the side ARGB display panel and the power supply’s main PCB are strung and connected makes for fairly tight work, especial since those connections can be easily damaged. Furthermore, black RTV was added to those connections during manufacturing, likely to help keep them secured from the risks excessive vibration might impose.
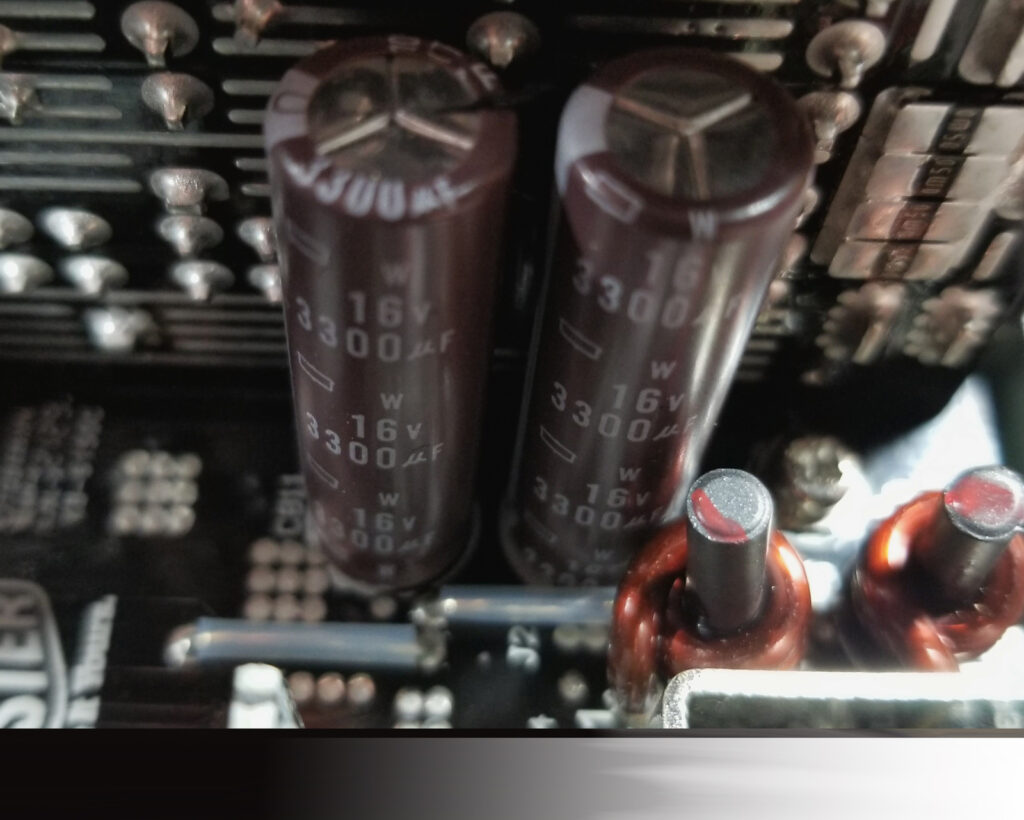
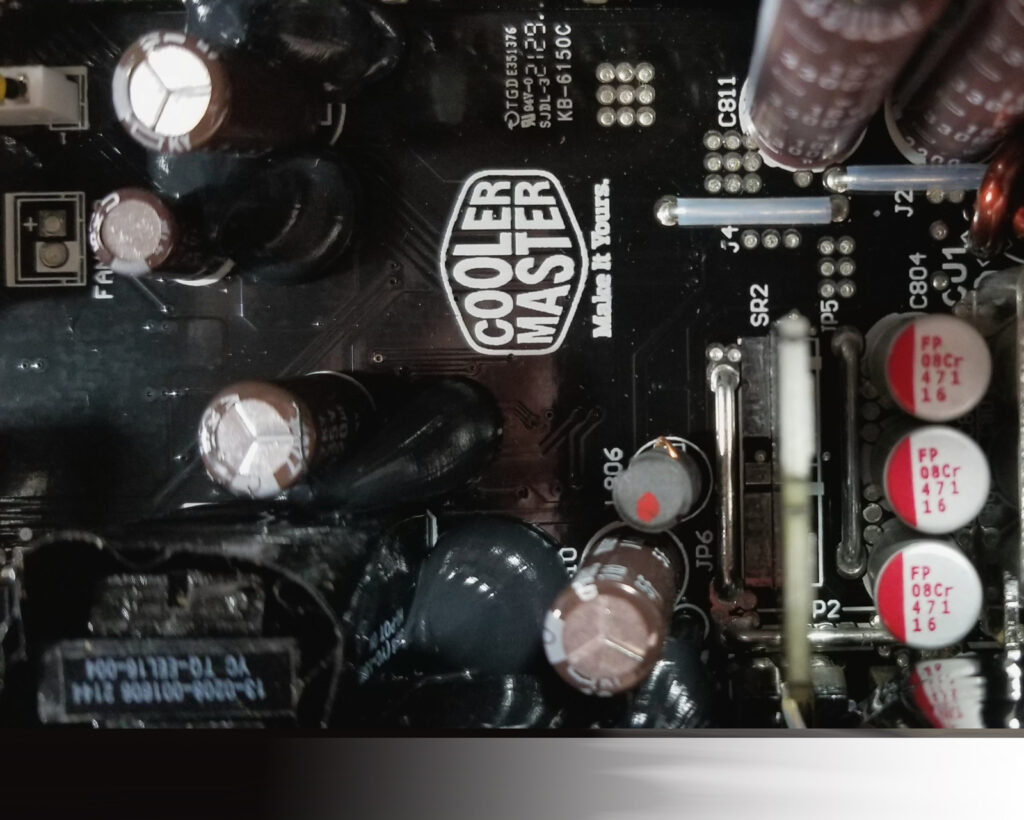
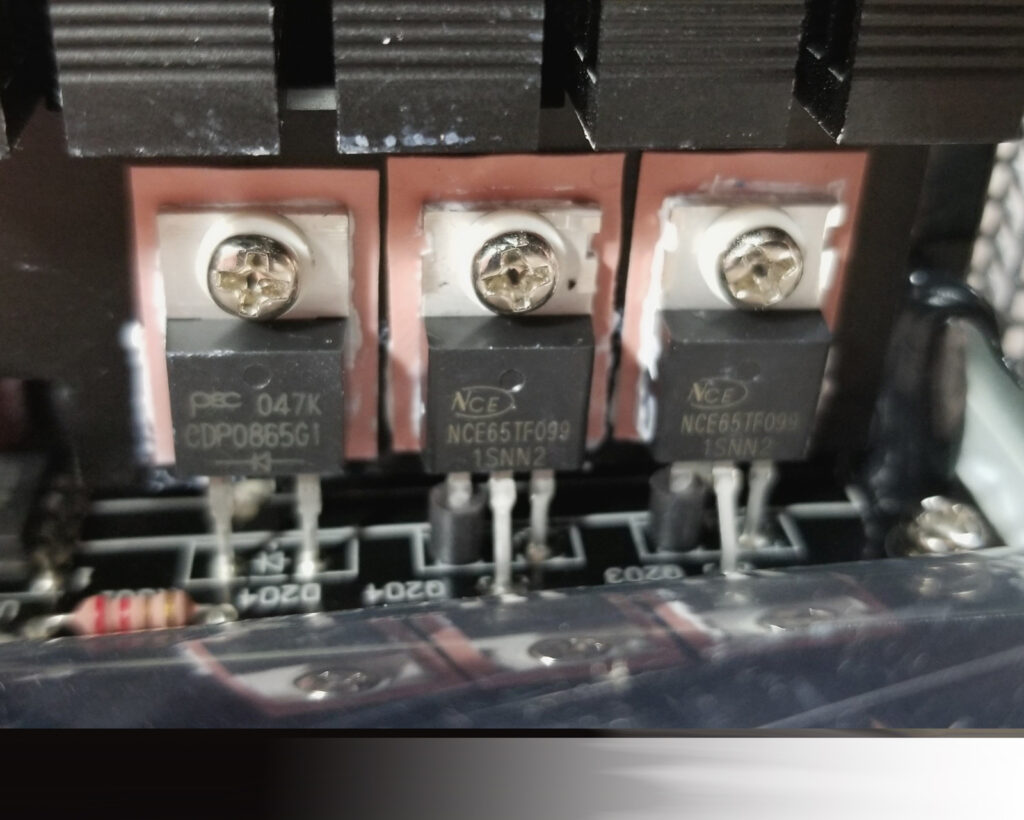
Further examination of the power supply’s internals reflect the use of Japanese capacitors (e.g., NIPPON CHEMI-CON, Figures 2-7, 2-8), fairly neat layouts and clean wave soldering technique, as well as Taiwanese components like those manufactured by PANJIT Semi Conductor and NCE Power (e.g., the Silicon Carbide Schottky Diode and Mosfets used in the module pictured in Figure 2-12).
1.3 Manufacturer Specifications
Table 1: XG750 Plus & XG850 Plus Power Supplies Manufacturer Specifications
| SPECIFICATION | XG850 PLUS | XG750 PLUS |
|---|---|---|
| ATX Version | Intel ATX 12V Ver. 2.53 | Intel ATX 12V Ver. 2.53 |
| PFC | Active PFC | Active PFC |
| Input Voltage | 100-240V | 100-240V |
| Input Current | 12-6A | 10-6A |
| Input Frequency | 50-60Hz | 50-60Hz |
| Dimensions (L x W x H) | 160 x 150 x 86 mm | 160 x 150 x 86 mm |
| Fan Size | 135mm | 135mm |
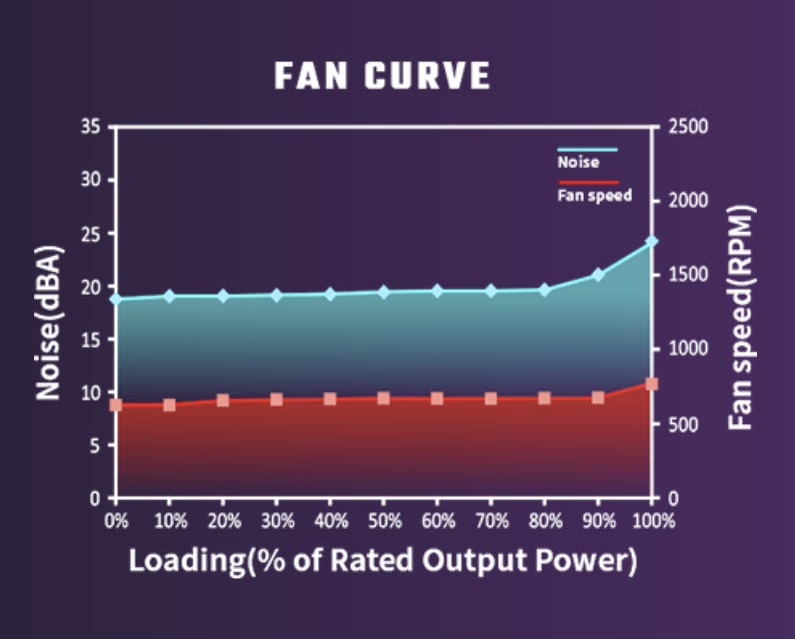
| Fan Speed | 1800 RPM | 1800 RPM |
| Noise Level @ 100% | ≤ 25 dBA | ≤ 25 dBA |
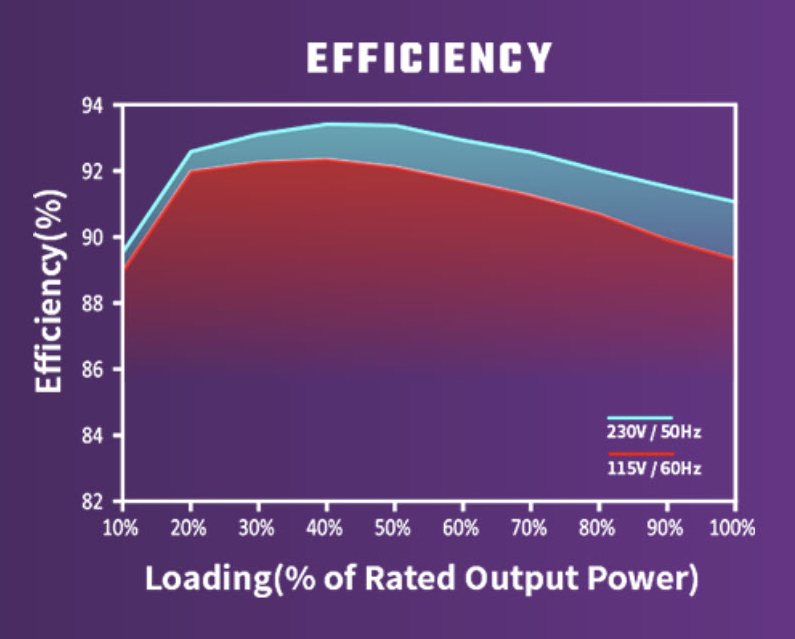
| Efficiency | ≥ 92% @ Typical Load | ≥ 92% @ Typical Load |
| 80PLUS Rating | 80 PLUS Platinum | 80 PLUS Platinum |
| ErP 2014 Lot 3 | Yes | Yes |
| Operating Temperature | 0-50°C | 0-50°C |
| Power Good Signal | 100 – 150 ms | 100 – 150 ms |
| Hold Up Time | ≥ 16ms | ≥ 16ms |
| MTBF | >100,000 Hours | >100,000 Hours |
| Protections*** |
OPP: Over Power Protection |
OPP: Over Power Protection |
| Regulatory | TUV, cTUVus, CE, BSMI, FCC, CCC, EAC, UKCA | TUV, cTUVus, CE, BSMI, FCC, CCC, EAC, UKCA |
| ATX 24 Pin Connectors | 1 | 1 |
| EPS 4+4 Pin Connectors | 1 | 1 |
| EPS 8 Pin Connector | 1 | 1 |
| SATA Connectors | 12 | 12 |
| Peripheral 4 Pin Connectors | 4 | 4 |
| PCI-e 6+2 Pin Connectors | 6 | 4 |
| USB Protocol 10P | 1 | 1 |
| Series | XG Series | XG Series |
| 80 Plus | Platinum | Platinum |
| Modular | Full Modular | Full Modular |
| Wattage | Above 750W | 500 to 750W |
| COOLER MASTER EAN NO. | MPG-8501-AFBAP-X** | MPG-7501-AFBAP-X** |
**The last two digits of the EAN part number specify the input power cable accompanying the power supply. Refer to Cooler Master’s site for further information.
***Protections Defined:
OVP (Over Voltage Protection): A power supply feature which shuts down the unit, or suspends the output, when the voltage exceeds a preset level. It is generally activated when the voltage output exceeds 110% to 130%.
OPP (Over Power Protection): Prevents damage resulting from excessive power output. This is usually activated when the power to connected components reaches 130% to 150%.
OCP (Over Current Protection): Protects against the potential dangerous effects of pushing too much current into the PSU. This can cause the unit to overload or short-circuit, potentially creating a faulty current and damaging a power supply unit or connected components such as the motherboard. It will be activated when the export current reaches 130% to 150%.
Ironically, this protection setting is often the main reason systems can be unstable. This is because sometimes the motherboard and the graphics card are pushed to the point that current needs set of this protection prematurely, as in the system is working properly, but the amount of current is outside the predetermined range of safety, ultimately triggering the OCP and shutting down the system.
SCP (Short Circuit Protection): Prevents the motherboard from burning due to high temperature output.
OTP (Over Temperature Protection): Shuts down the power supply when the internal temperature exceeds the maximum safe operating temperature.
BOP (Brown Out Protection): Prevents a power supply unit from being damaged due to a sudden drop in voltage from inconsistent electrical grids.
1.3.1 XG850 Plus Platinum Voltage Rail Specifications
XG850 Plus Platinum Voltage Rail SpecificationsAC INPUT | 100-240V; 50-60 Hz |
||||
DC OUTPUT | +3.3V | +5V | +12V | -12V | +5Vsb |
20A | 20A | 70.8A | 0.3A | 3A |
|
TOTAL POWER | 120W | 850W | 3.6W | 15W |
|
850W |
|||||
1.3.2 Power Supplies Fan & Efficiency Curves (provided by Cooler Master)
1.3.3 Cable Length
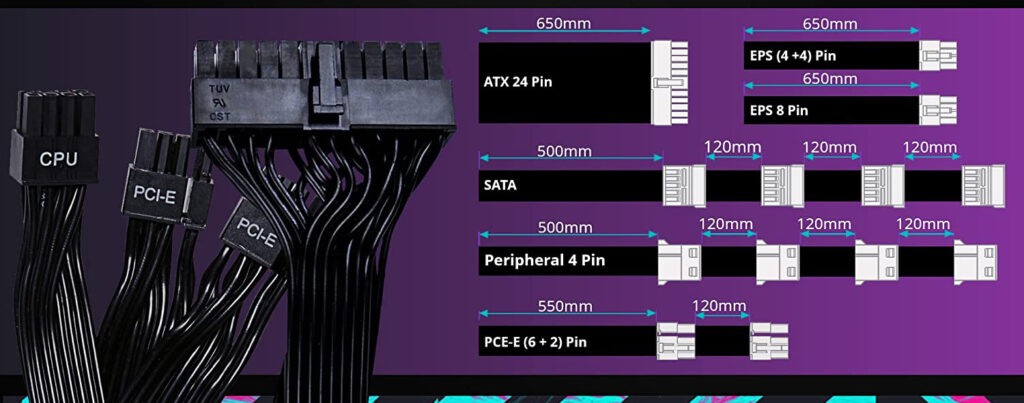
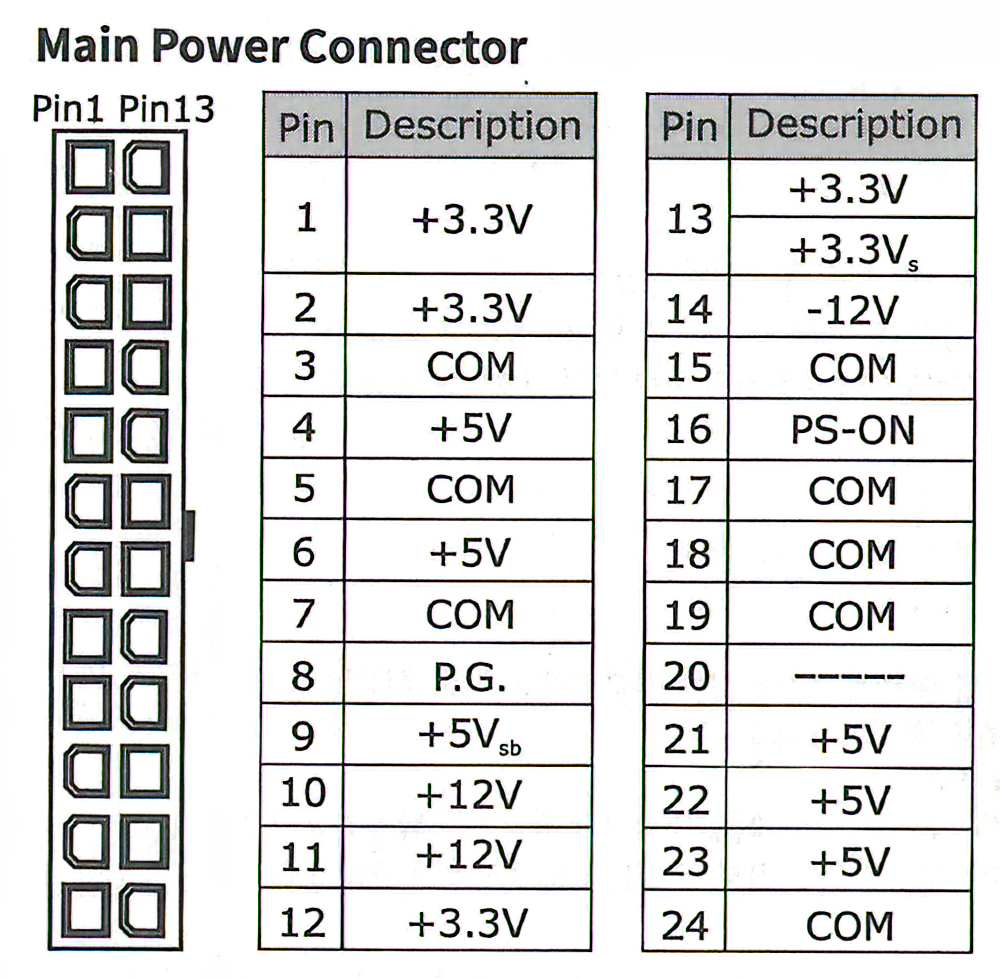
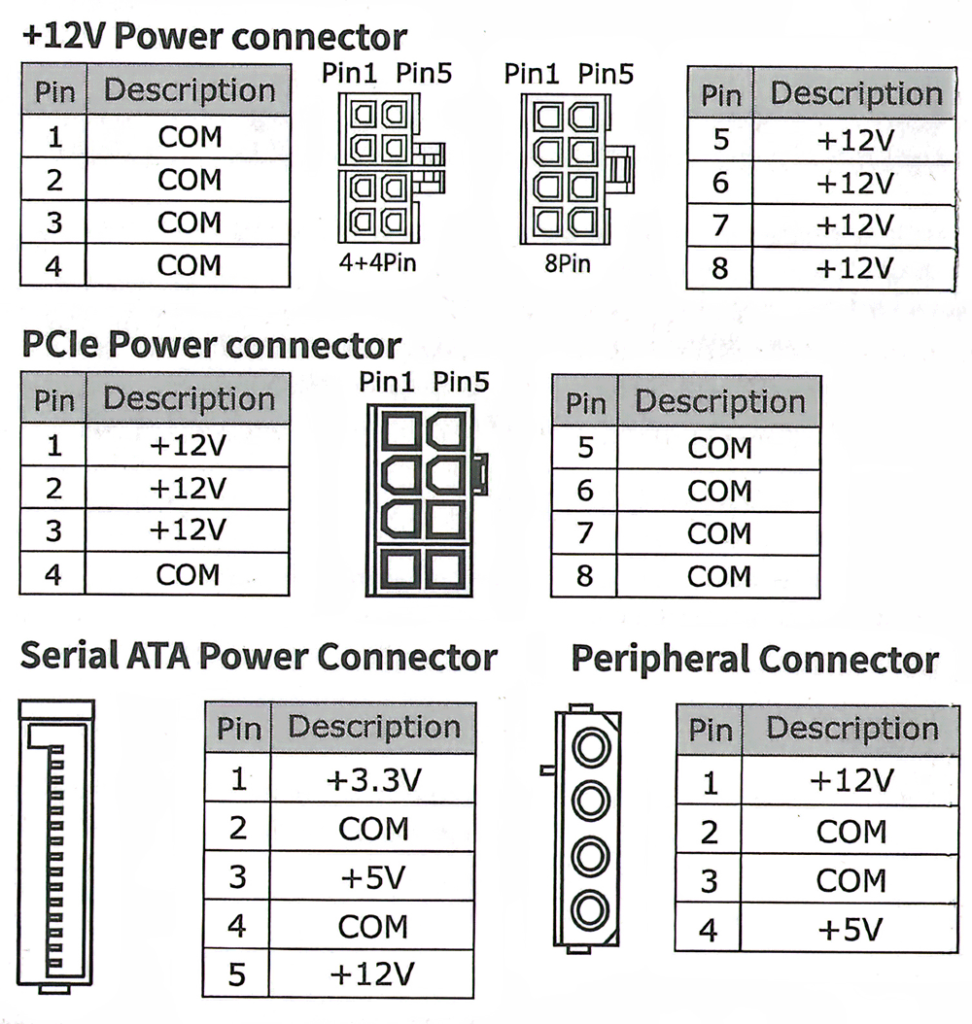
1.3.4 Cable Pinouts
1.4 Power Supplies Testing
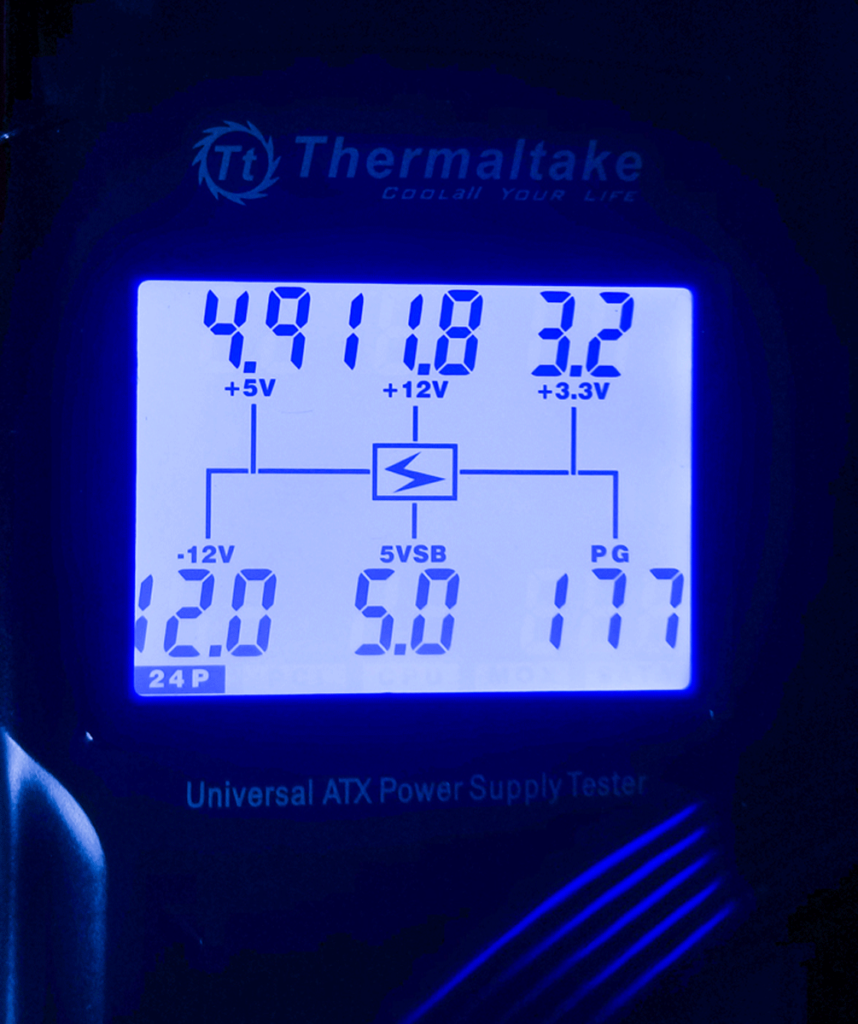
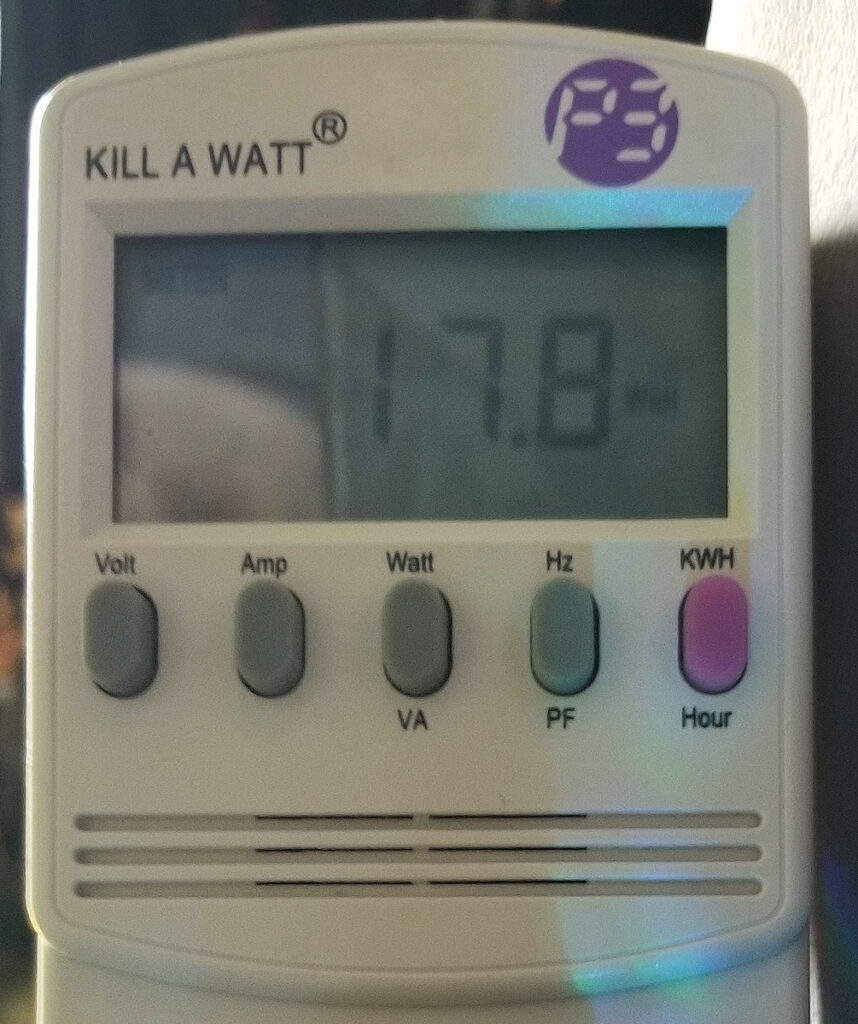
While elaborate testing of the power supplies wasn’t a requirement for the purposes of this overview, simple testing was performed using the XG850 Plus Platinum power supply, a Thermaltake Dr. Power II Universal ATX Power Supply Tester, and a P3 International Kill A Watt meter.
The following image illustrates this simplified test setup:

The testing that was accomplished simply indicated that:
- the power supply would turn on;
- basic ARGB functionality appeared to work;
- output power per the ATX specification was in spec when not under load, albeit possibly lower than preferred*.
*Given the slightly lower +5, +12, and +3.3 voltage rail readings (especially unloaded), it would be difficult to make any valid conclusions without involving far more thorough testing under full load (e.g., including power quality/ripple testing using current probes and special oscilloscope power analysis software/accessory addons). Additionally, who’s to say that what was read on the Thermaltake Dr. Power II was actually accurate?
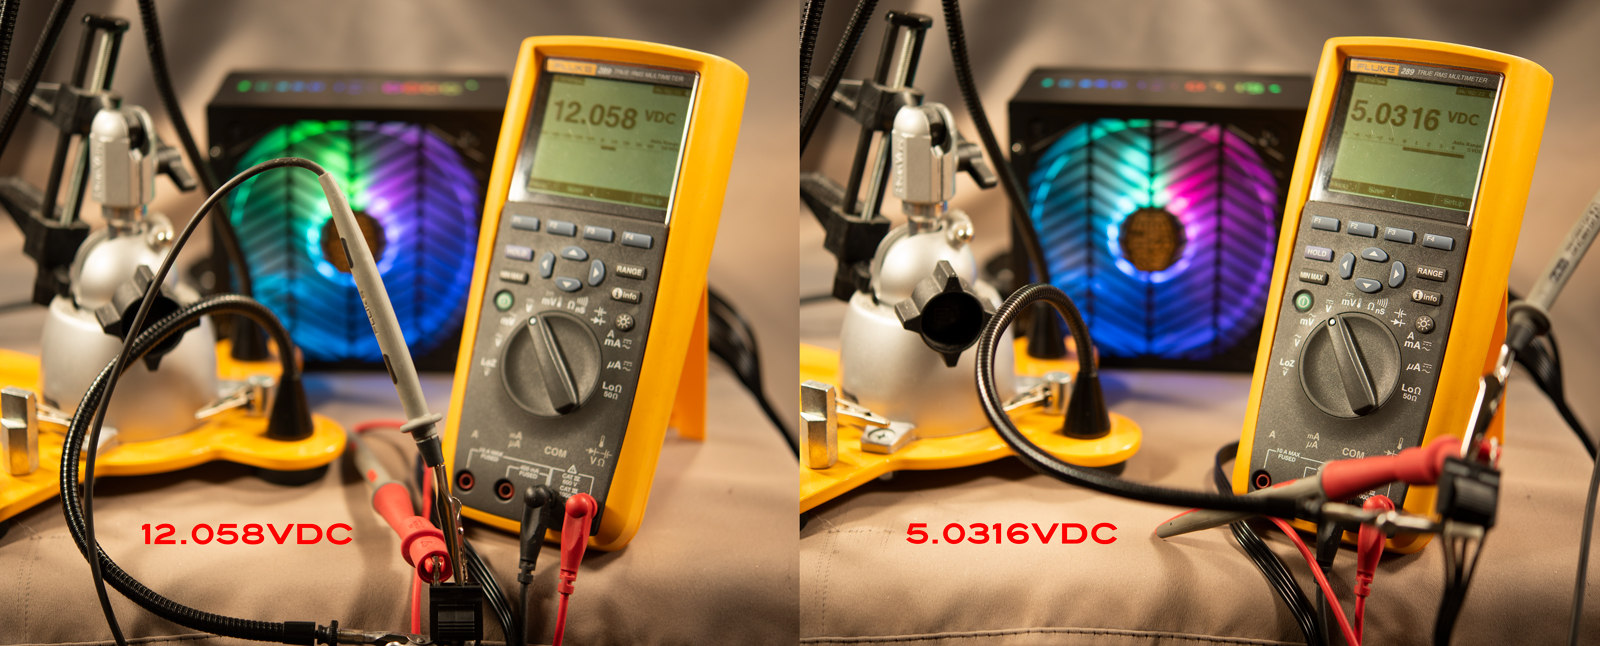
Note to self: doublecheck output voltages using my Fluke 289 multimeter.
…a little later, I retested the +5VDC and +12VDC rails using my Fluke 289 in combinatio0n with one of the accessory 4 pin “Molex” cables connected to the PSU:
Sure enough, the voltages checked out fine, at least per my meter.
Best to remember that while the ThermalTake’s Dr. Power II might might make for a quick check of a power supply’s output voltages, it’s just a quick tester. Also best to remember (again) that reliable test data in this case can only really be collected while a power supply is under fairly full load, while testing using rigid, standardized processes.
1.4.1 Fan Noise
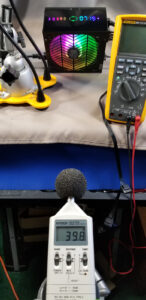
To be done properly, fan noise testing should be accomplished in an anechoic chamber. Unfortunately, I neither have access to one of those, nor do I have the room to keep one. FWIW, I do have a fairly accurate sound level meter though and I did make an attempt to measure noise levels (see the image which follows):
Given that others have reported noise levels much closer to manufacturer specifications, it’s obvious a casual noise level test won’t really tell us much. Still, 39.8dB at 719RPM (no load condition) is fairly comfortable to the ear (even if that does include additional background noise).
1.5 Cooler Master MasterPlus+ Application/Hardware Testing
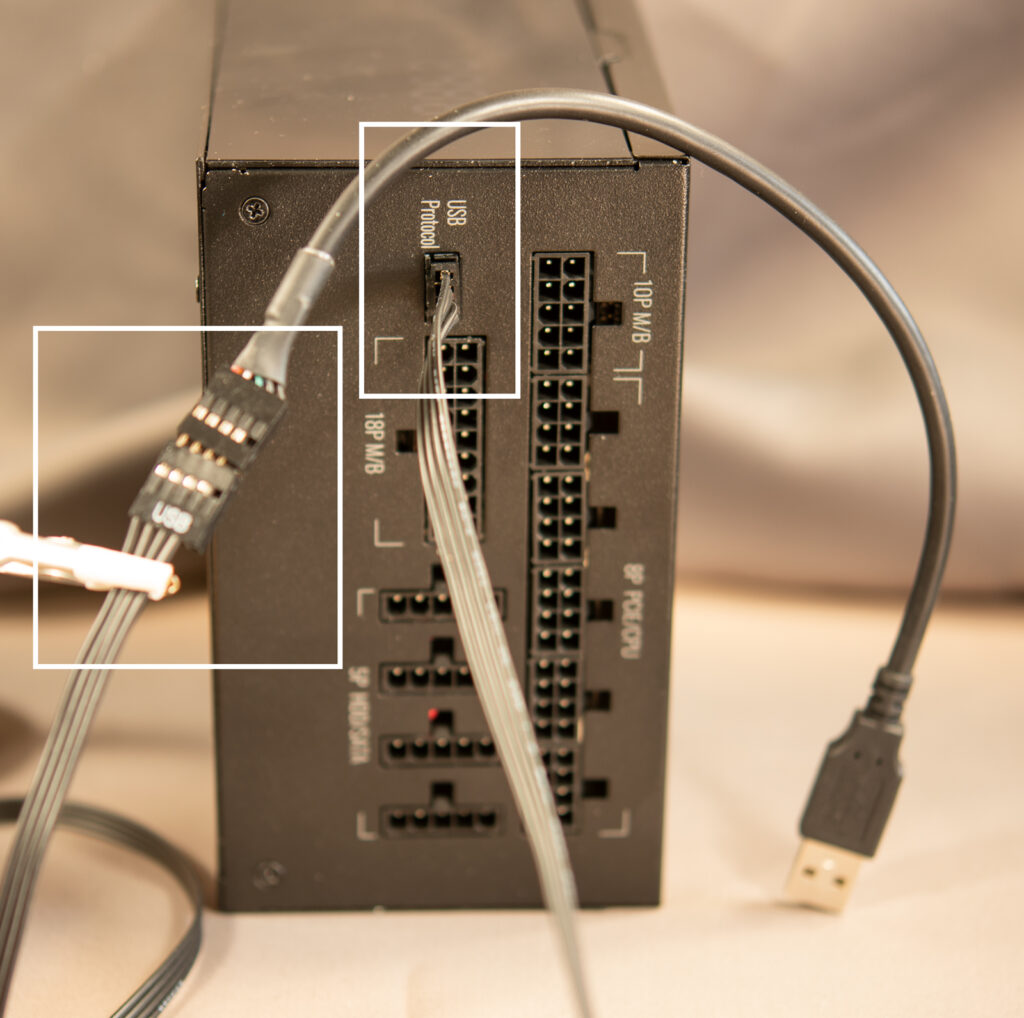
Each of the three power supplies currently available in Cooler Master’s XG Plus Platinum Line (the XG850, XG750 and XG650) are compatible with Cooler Master’s MasterPlus+ software application, which allows users to customize ARGB lighting, record performance logs, and review the total system power consumption (in watts), fan RPM, and power supply temperatures. These power supplies are equipped with a USB interface port, which helps facilitate communication between the software application and ARGB portion of each power supply’s circuity:
At ~32.5 inches (~825mm) in length tip-to-tip, the special USB accessory cable that is included with the power supplies should be long enough to reach its mating connection on most motherboards in most cases. Given how I’m shooting photographs for the purposes of this article though, I had to purchase and modify an adapter cable (plugged in partially in the image below; it’s the short upper cable) to be able to reach a Type A USB connector on the back of the motherboard currently installed in my bench:
The MasterPlus+ software application itself is free and Cooler Master makes it available via a page on their website.
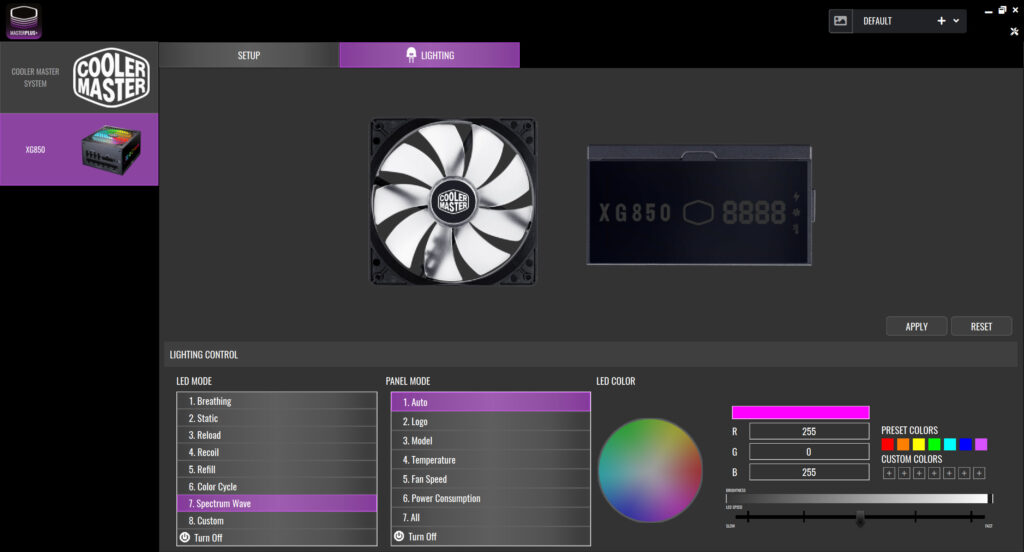
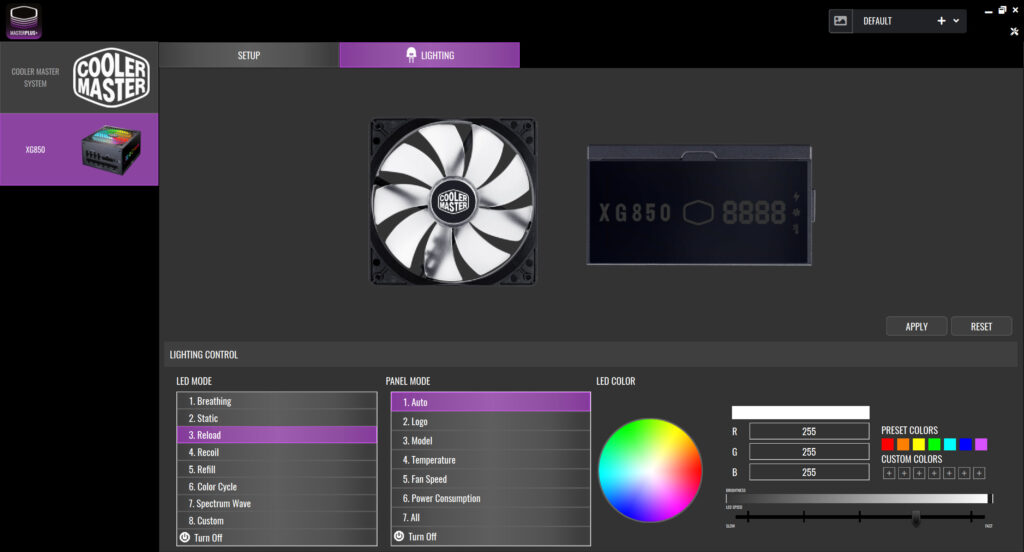
Since I typically lean toward less RGB than more in my builds, I was curious to see the quality of white color the output of the ARGB leds provided. I was fairly happy with the results, which the following images and videos will attest to (for comparison sakes, included are the results of a typical full spectrum output as well):
The XG PSU model number is displayed on the side face, the Cooler Master logo is displayed in the center, and on the right is a four-digit value that updates regular to reflect real-time PSU fan speed, component temperature and output power (each value is indicated by a corresponding icon).
Currently, XG Plus models are the only power supplies that support the app; and thus far, functionality is limited to color temp, brightness and pattern changes, as well as synchronization with other Cooler Master products supporting the app.
Final Words (basic thoughts)
A lot of factors go into choosing the right power supply for any given computer build. The savvy consumer looking for a PSU that suits their needs would do well to consider the following main factors when making their choice:
- a power supply’s maximum supported output wattage (a given);
- a power supply’s efficiency (also a given, though may not be as high a priority as some of the other factors, depending on use case/needs);
- their computer’s total wattage requirements (don’t forget to add in a 100–150W buffer to expected usage; doing so provides some flexibility in case of miscalculations; and helps allow for further expansion down the road, should the addition of more drives, fans, or add-in cards be desired in the future);
- whether or not overclocking one or more components will be involved (overclocked CPUs & GPUs can a lot of power, depending on just how much overclocking and which types of components are involved; indeed, upcoming high-end GPUs currently in the pipeline like the latest from nVidia and AMD will be shipping with ATX/PCIe 5 compliant 16pin/12V cables and are expected to consume as much as 600watts on their own, if not more);
- the accessory cables and the connections available for them on the psu (users should ensure their PSU of choice ships with enough of the correct output connectors to support the hardware in their system; cable lengths may or may not be as much of a concern; after-market, custom extensions are typically available for them and/or can be made given the know-how and access to the correct parts).
There are other factors that might be considered of course, like video gaming requirements, desired framerates and resolutions, etc., but those mentioned above are typically the most important ones, if not the most critical.
So then, who are the power supplies covered in this overview for?
Likely not:
- overclocking enthusiasts owning very high end components who like to push their gear to its ultimate limits. For example, someone with a 12th Gen i9-12900K/KS running one or more RTX 3090 GPUs (load will vary from build to build; but such a build would exceed the power limits of the PSUs in question.);
- those looking to buy the new and upcoming ATX PCIe 5 equipped GPUs that will gobble up as much as 600+ watts (or more) of Edison’s finest (e.g., x080, x090, etc.);
- those who aren’t into RGB anything.
More likely:
- those with mid-tier GPUs and CPUs that aren’t as power hungry as their higher end siblings;
- those who don’t spend night and day worrying about their HWBOT scores.
- those looking for a somewhat compact PSU, albeit still fairly capable one at 850 watts;
- those who’d like to add an RGB power supply to their build(s).
Cooler Master’s XG850 80PLUS Platinum power supply is certainly a very attractive option for the user looking for a PSU with its sort of attributes and specifications. It operates quietly and efficiently, while looking great at the same time. Providing functionality like its ARGB fan, as well as it’s ARGB display panel (which reports real-time data like PSU temperature, fan RPM, and wattage being consumed), it offers consumers something new and unique, not currently offered by other PSU manufacturers. Top that off with access to Cooler Master’s MasterPlus+ control app, and Cooler Master may just have a hit.
Cooler Master XG Plus Platinum Power Supply Line Pros & Cons*
| Pro's | Con's | ||||
|---|---|---|---|---|---|
| Quiet operation; | None at all. | ||||
| 80Plus Platinum efficiency; | |||||
| 100% Japanese capacitors; | |||||
| Clean, modern design; | |||||
| Solid soldering work; | |||||
| Adequate set of 16AWG cables and connectors; | |||||
| Nicely done ARGB Fan and Data Readout Side Panel; | |||||
| MasterPlus+ Software; | |||||
| 10-year warranty. |

Finally, a great big shoutout and thank you to Cooler Master for providing us with the power supplies highlighted in this this overview. Your support has been nothing short of wonderful!
Want to discuss this product or give your views and feedback from your own usage? Discuss on the ExtremeHW Forums
Like our content? Please consider Donating to help us to continue our writing.
This Post Has 4 Comments
Leave a Reply
You must be logged in to post a comment.


Well done Jan! Great shots of the internals and the fluke testing and decibel readouts were a great idea!
Thanks, bud!
I don’t understand all the technical stuff with PSUs, but I agree, was a great read, and loved the shots of the internals. Very well done.
Thanks, much appreciated!