
The discussion around All-In-One (AIO) CPU coolers versus custom loops will always be ongoing. However, recently there has been a lot of innovation in the AIO market by manufacturers to try to match the performance and customizability of custom loops. Corsair, not to be outdone by its competitors, is launching its next-generation AIO CPU cooler, the iCUE LINK Titan RX RGB. The Titan combines Corsair's latest advancements in cooling engine technology, replaceable pump caps, and iCUE LINK RX120 fans in hopes of being your next CPU cooler.
In addition to the Titan AIO, Corsair supplied me with three of its CapSwap modules. This review will examine the iCUE LINK LCD Screen, VRM Fan, and Pump Cap Groove modules. Is the Titan good enough to topple another AIO I've recently reviewed, the Cooler Master 360 Ion? Continue reading to find out.
Today we have been given the opportunity to review an entire “half” a computer package, if you will, courtesy of Cooler Master. This review will incorporate the newly released HAF 700 “Berserker” PC chassis, the XG850 Plus Platinum power supply, and their MasterLiquid PL360 Flux AIO water cooling kit. Cooler Master was founded in 1992, so they’re definitely not new to the table when it comes to PC components. They produce computer cases, power supplies, PC cooling for both CPU’s and GPU’s, laptop cooling pads, and computer peripherals. They’ve also produced cooling solutions for other major brands in the industry, and they’re a major sponsor of eSports competitions. Do these components we have today stand up to the ExtremeHardware standards? Well, let’s dive in and see!
Cooler Master HAF 700 “Berserker”

Taking a look today at the HAF 700, we certainly don’t have “half” a case here by any means. Cooler Master has certainly outdone themselves with this “Berserker” of a case. They claim,
Unparalleled hardware & cooling capabilities, mammoth water cooling support, exclusive tool-less technology, and ARGB Gen2 ready with MasterPlus+ integration.
Dual exclusive 200mm Sickle flow ARGB PWM “Performance Edition” fans tailored to strike a balance between performance potential and noise levels.
The chassis features a fully integrated PWM/ARGB Hub that allows for effortless cable management and control over multiple fans and ARGB devices.
The structure segregates non heat sensitive components so heat dissipation can be targeted towards heat sensitive components at an overall higher efficiency.
This is certainly no case to take “half” hearted. What do they include in this ultimate extreme case? How big is it? How fun is it to build in? Are there neat features they can bring to the table? Let’s take a look.
Notable Features:
- Up to 15x 120mm fans (or more if you modify)
- Up to 6 radiators
- Revolutionized Tool-less design
- ARGB Gen2
- Built in Fan Controller and RGB Controller
- Extremely modular design
- Tempered glass side panel
- Air, and a lot of it
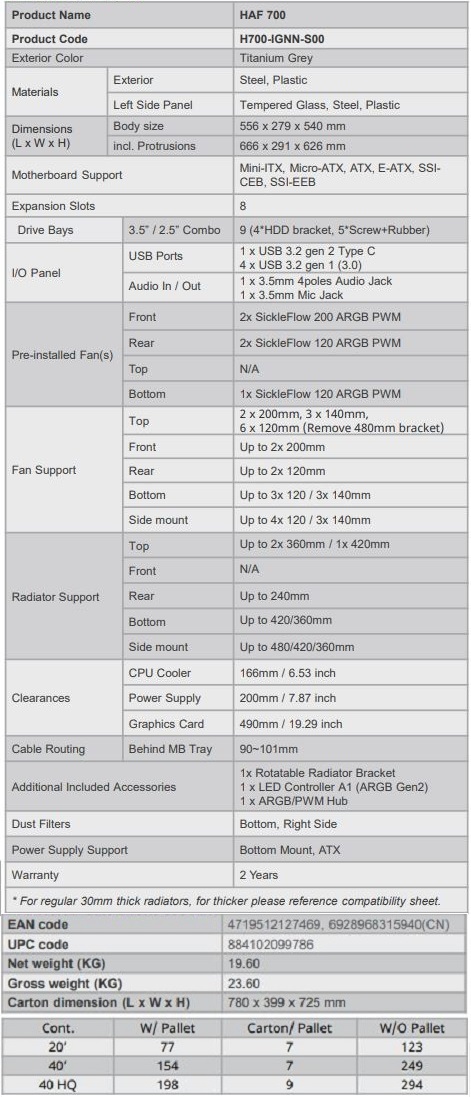
Specifications:
 Unboxing:
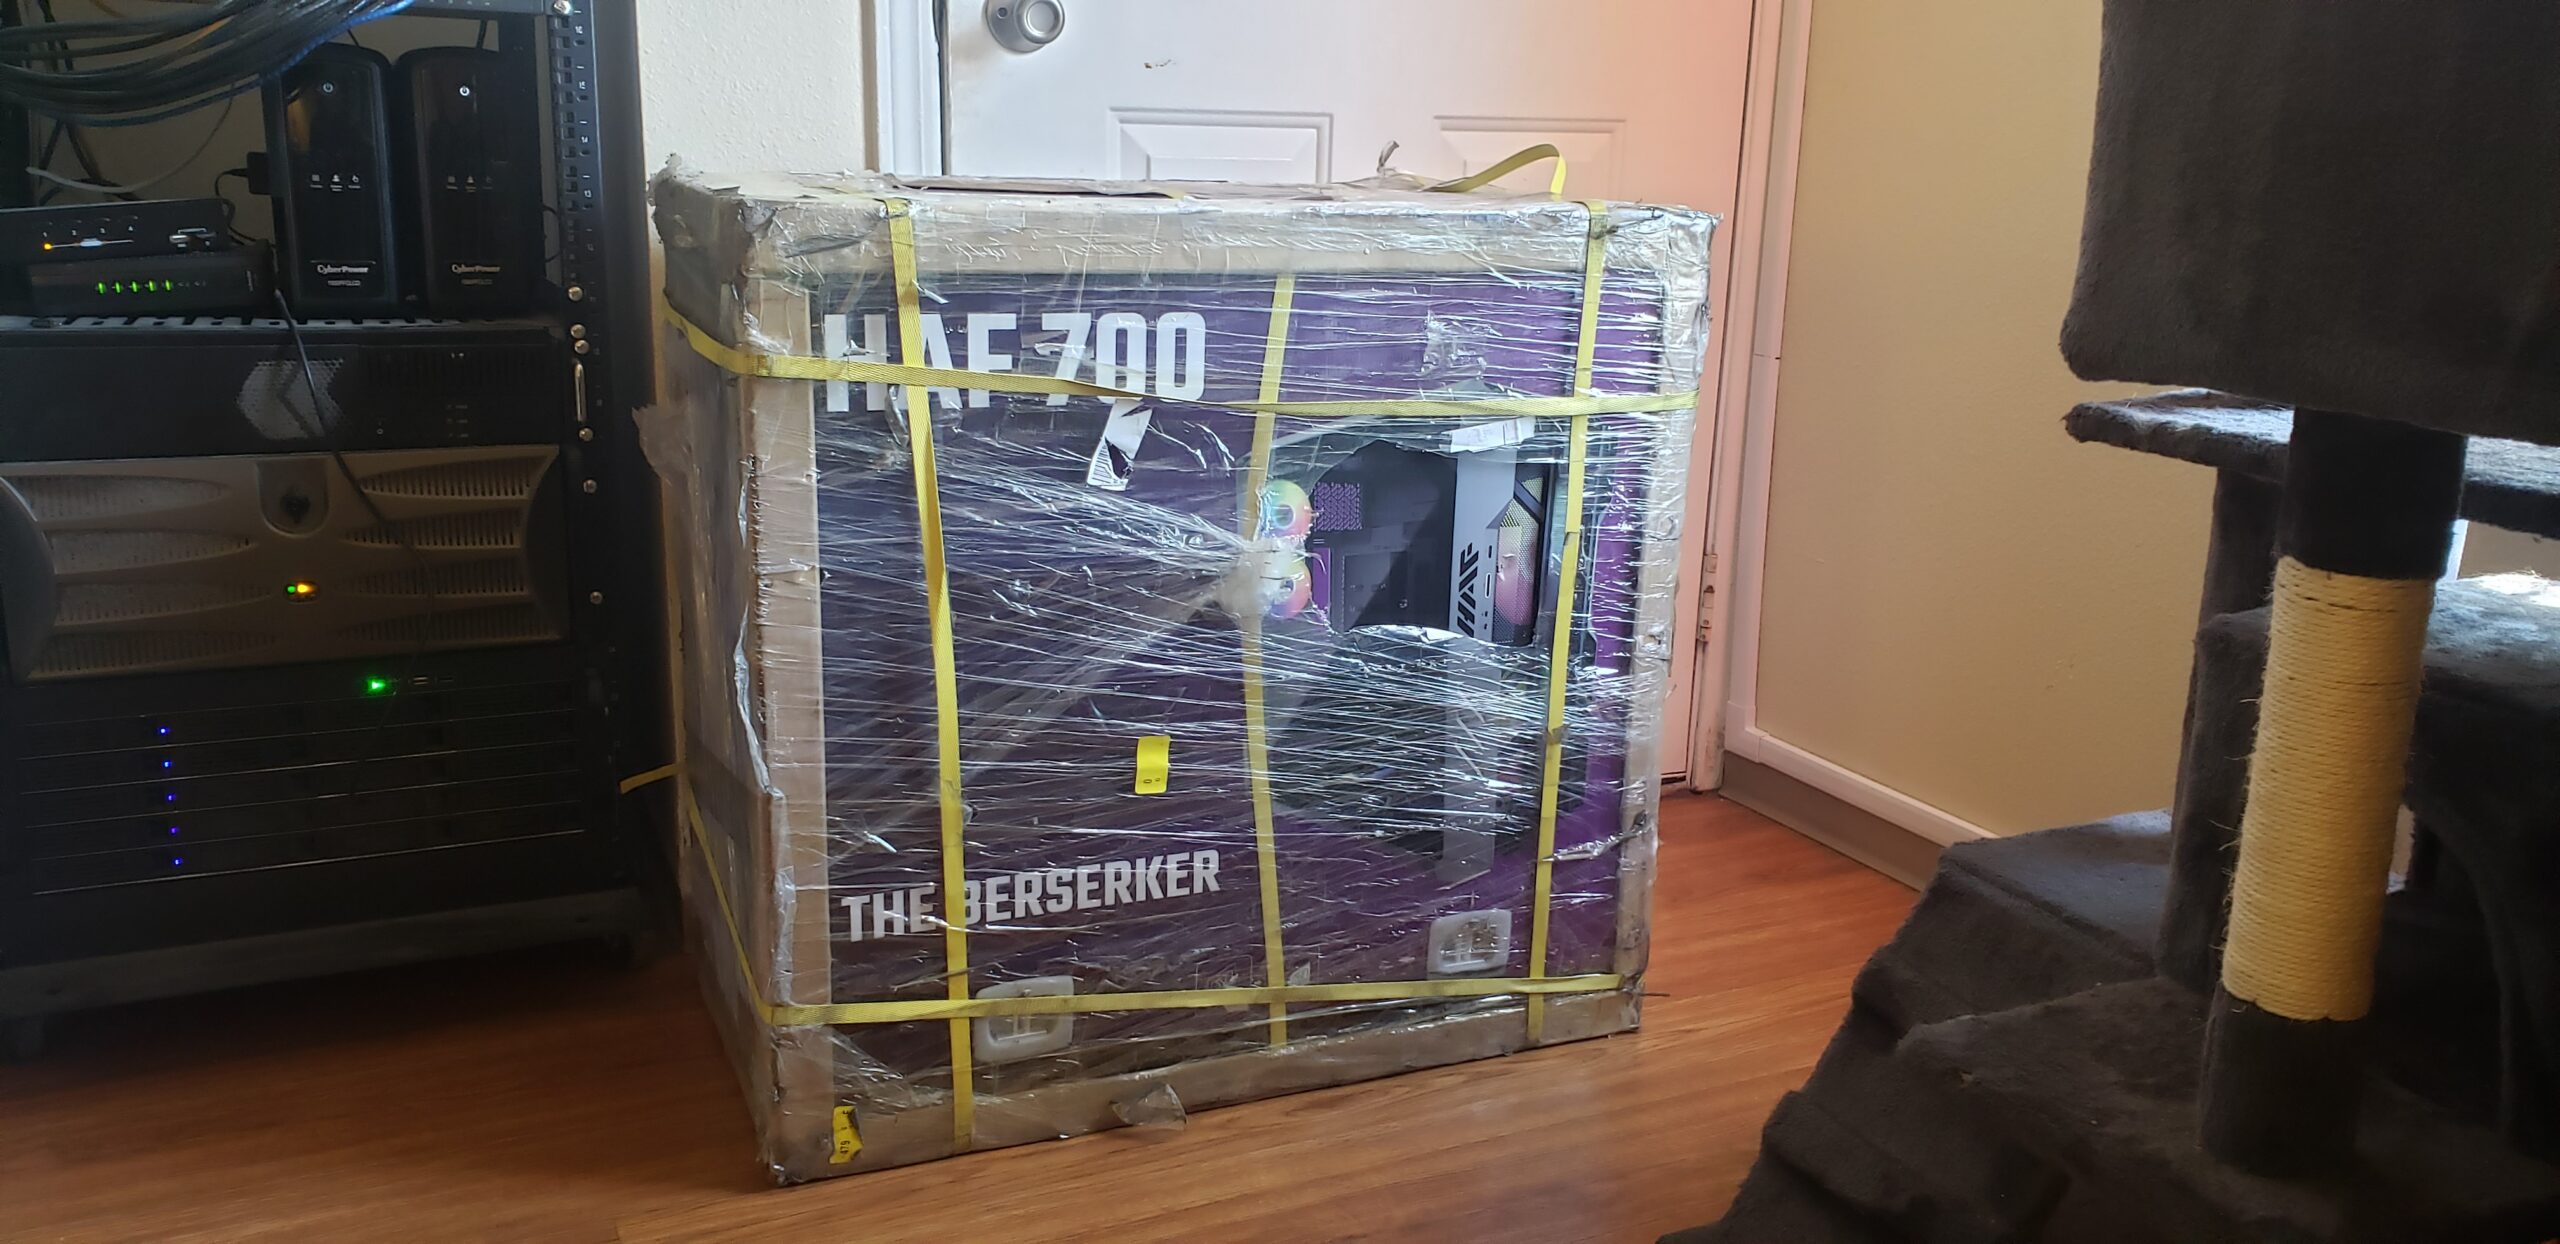
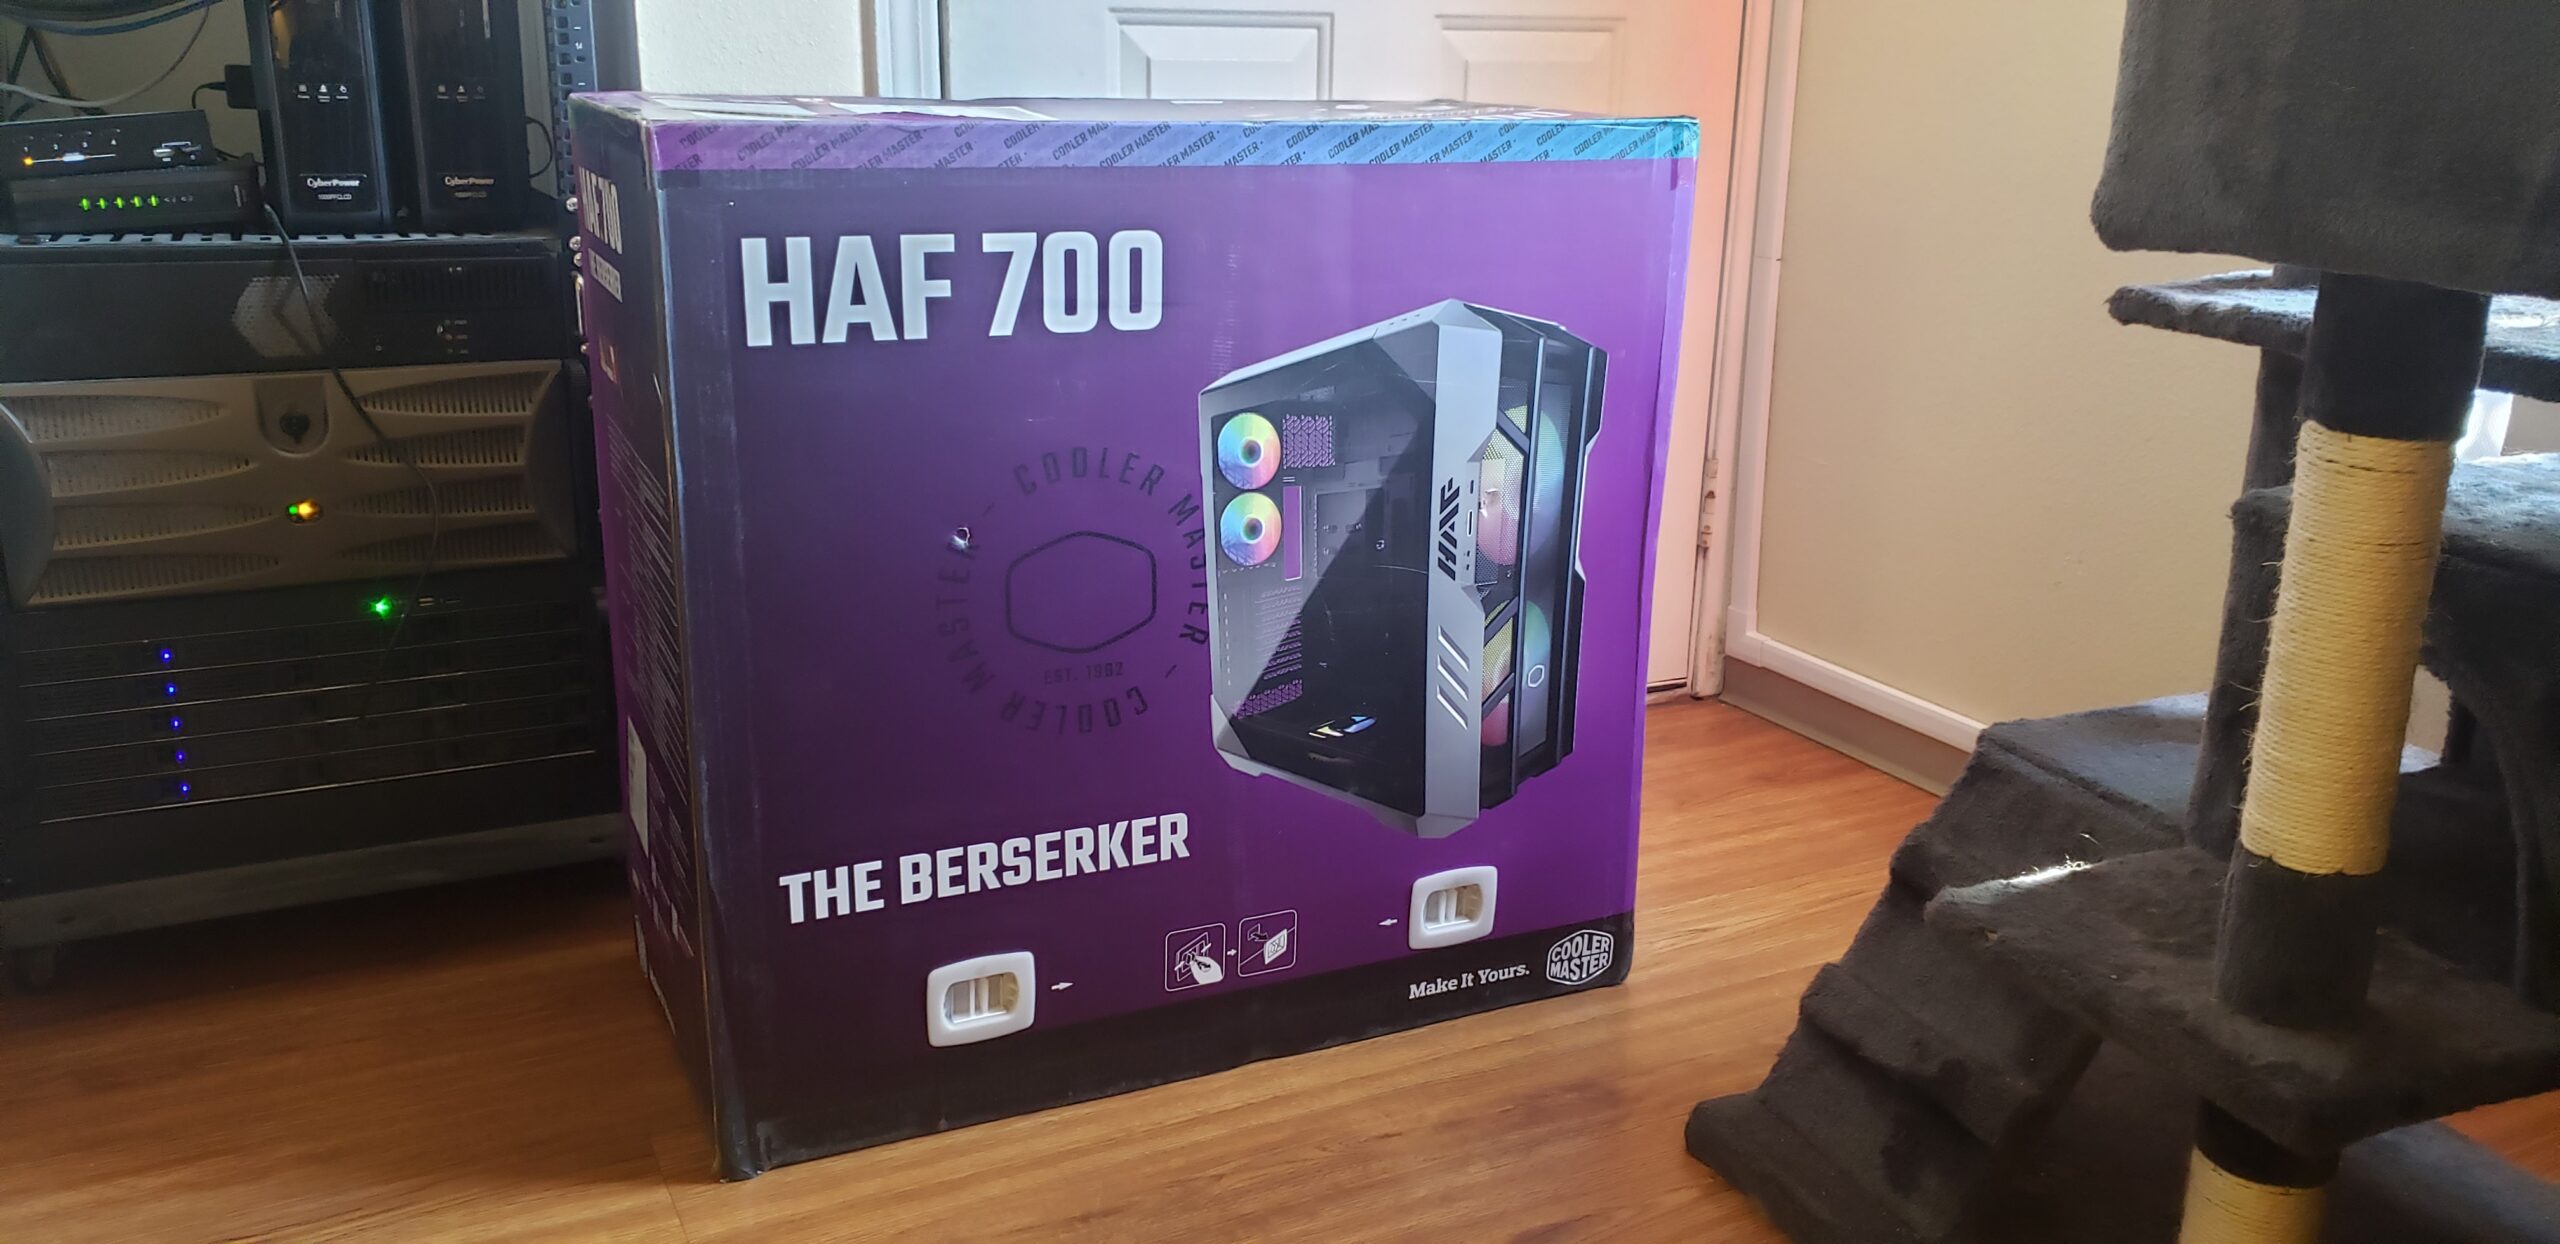
As we can see, this case comes wrapped up with “half” a pallet from the factory. I joke about it, but seriously, this packaging job is absolutely phenomenal. This package weighed in at 52 pounds, packaging is clearly a priority to ensure no damage in transit. Once we remove that outer “pallet” style wrapping on it, we can see the big beautiful box underneath with the words “Berserker” and “HAF 700” written on the side.

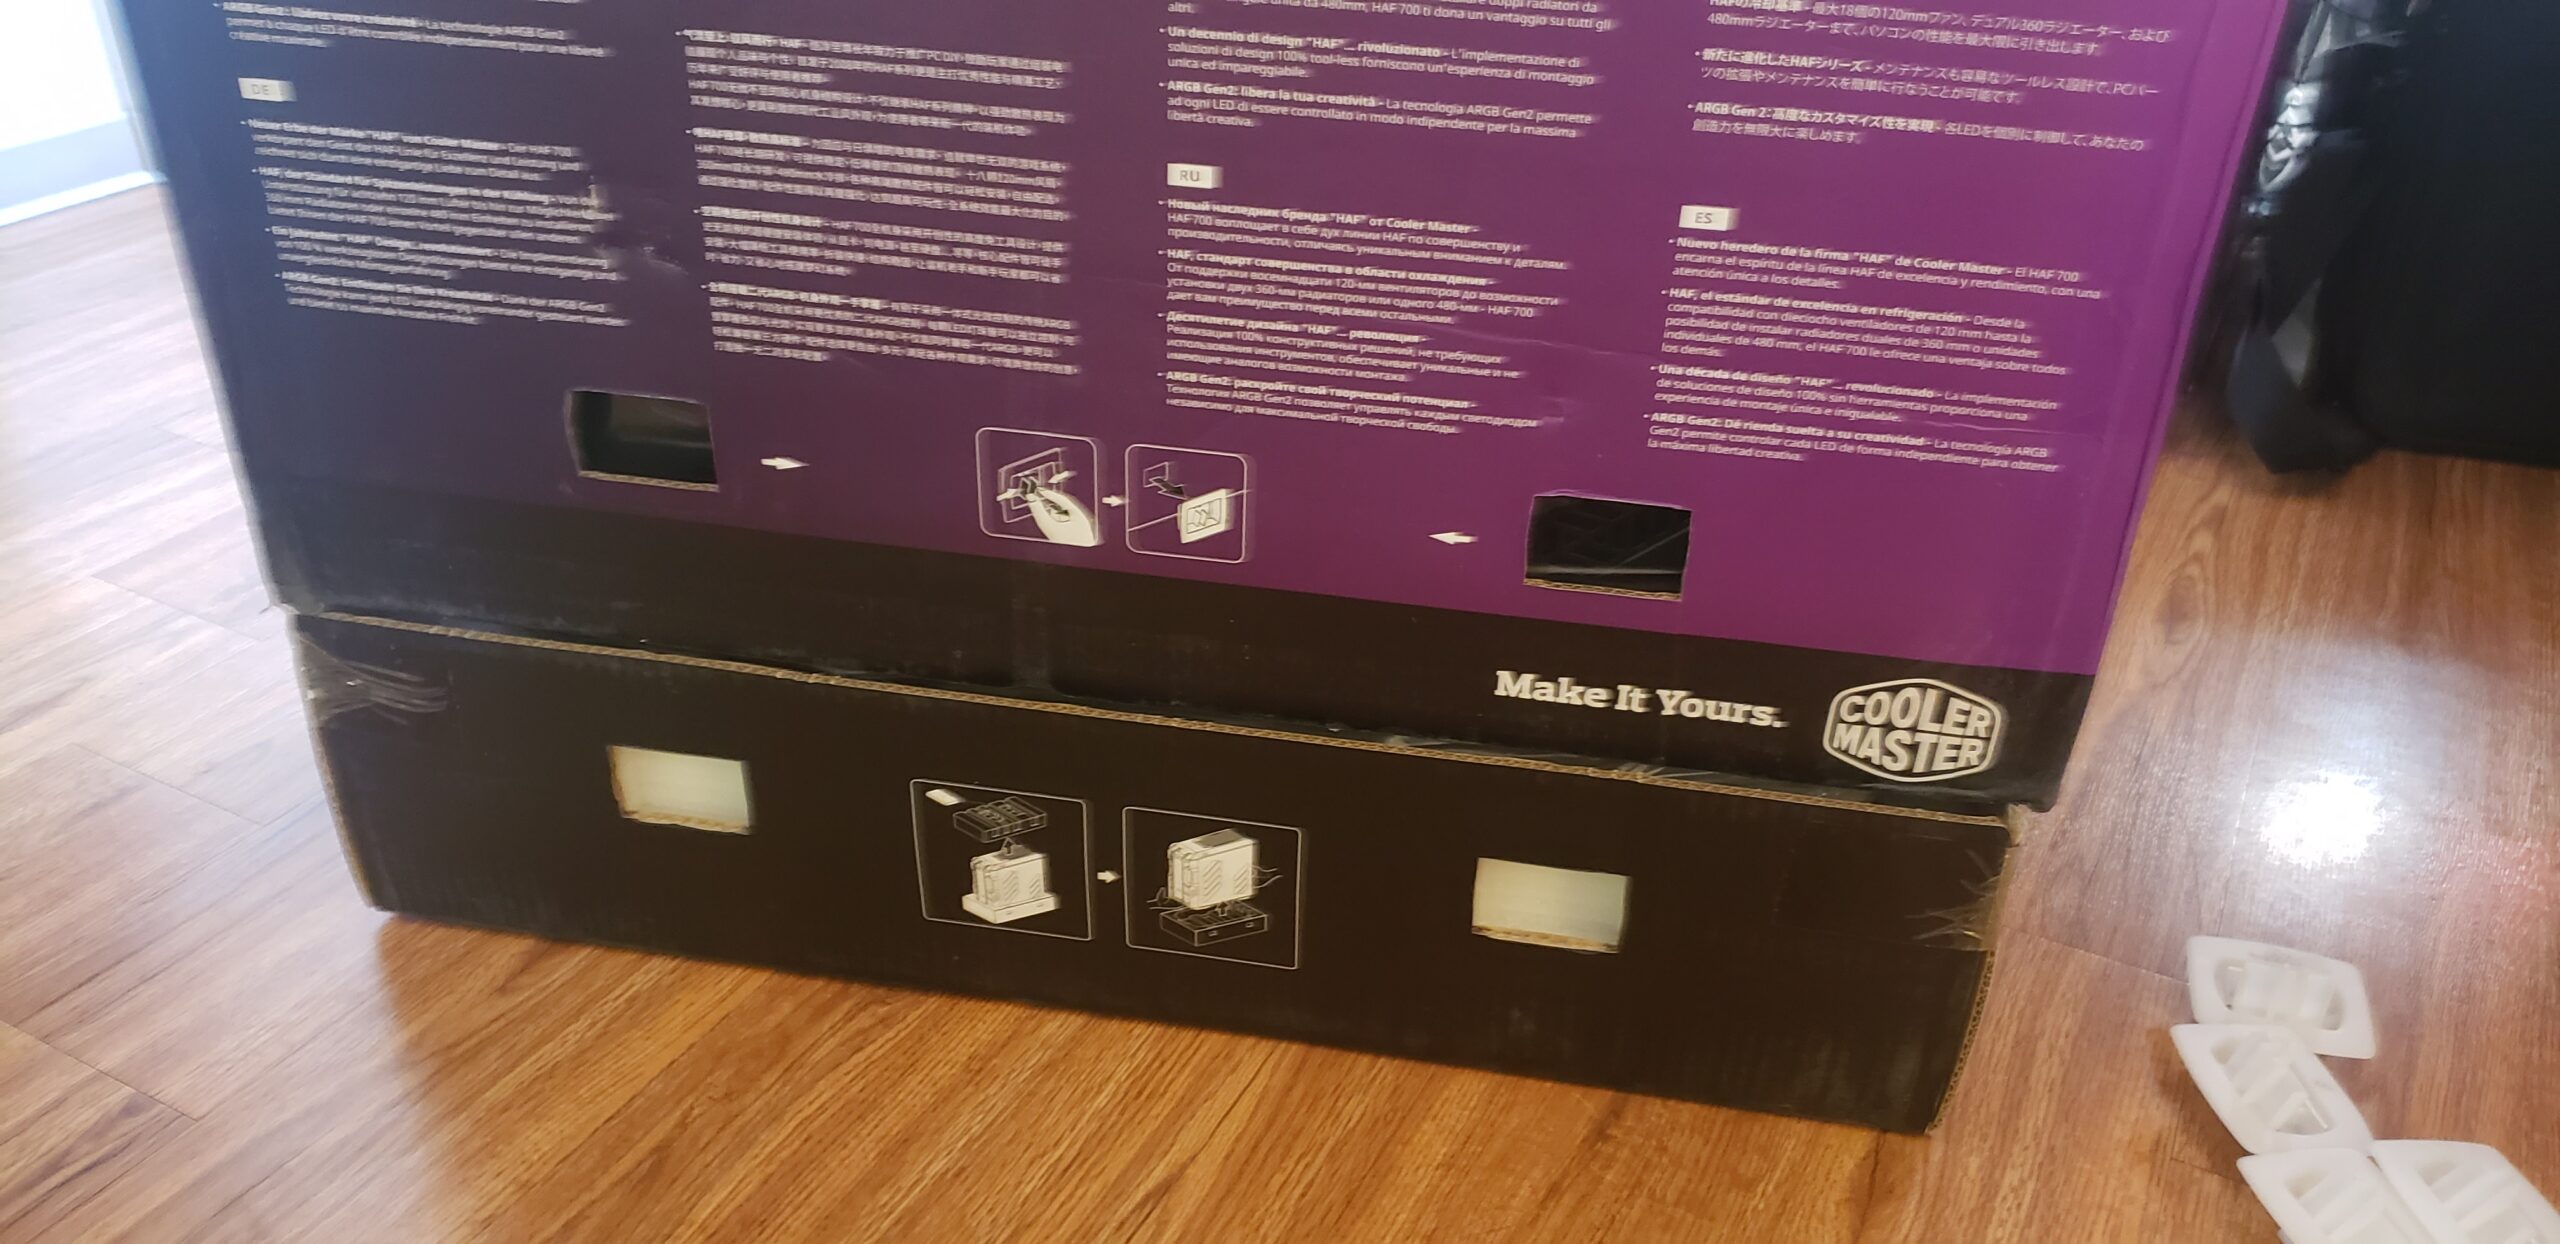

Cooler Master has made removing the case from it’s enclosure super easy! There were four clips as pictured above along the bottom of the box. Just squeeze the tabs, pull down and those clips remove from the cardboard. Once all four clips are removed, you can slide the box up and over the case and interior packaging to reveal what’s inside. Considering the size and weight of this case I definitely appreciate the ease of unboxing. I commend Cooler Master as this was by far the easiest case unboxing I’ve ever done in my life. So far, packaging gets a 10/10 from me and I’m not even into the case yet.
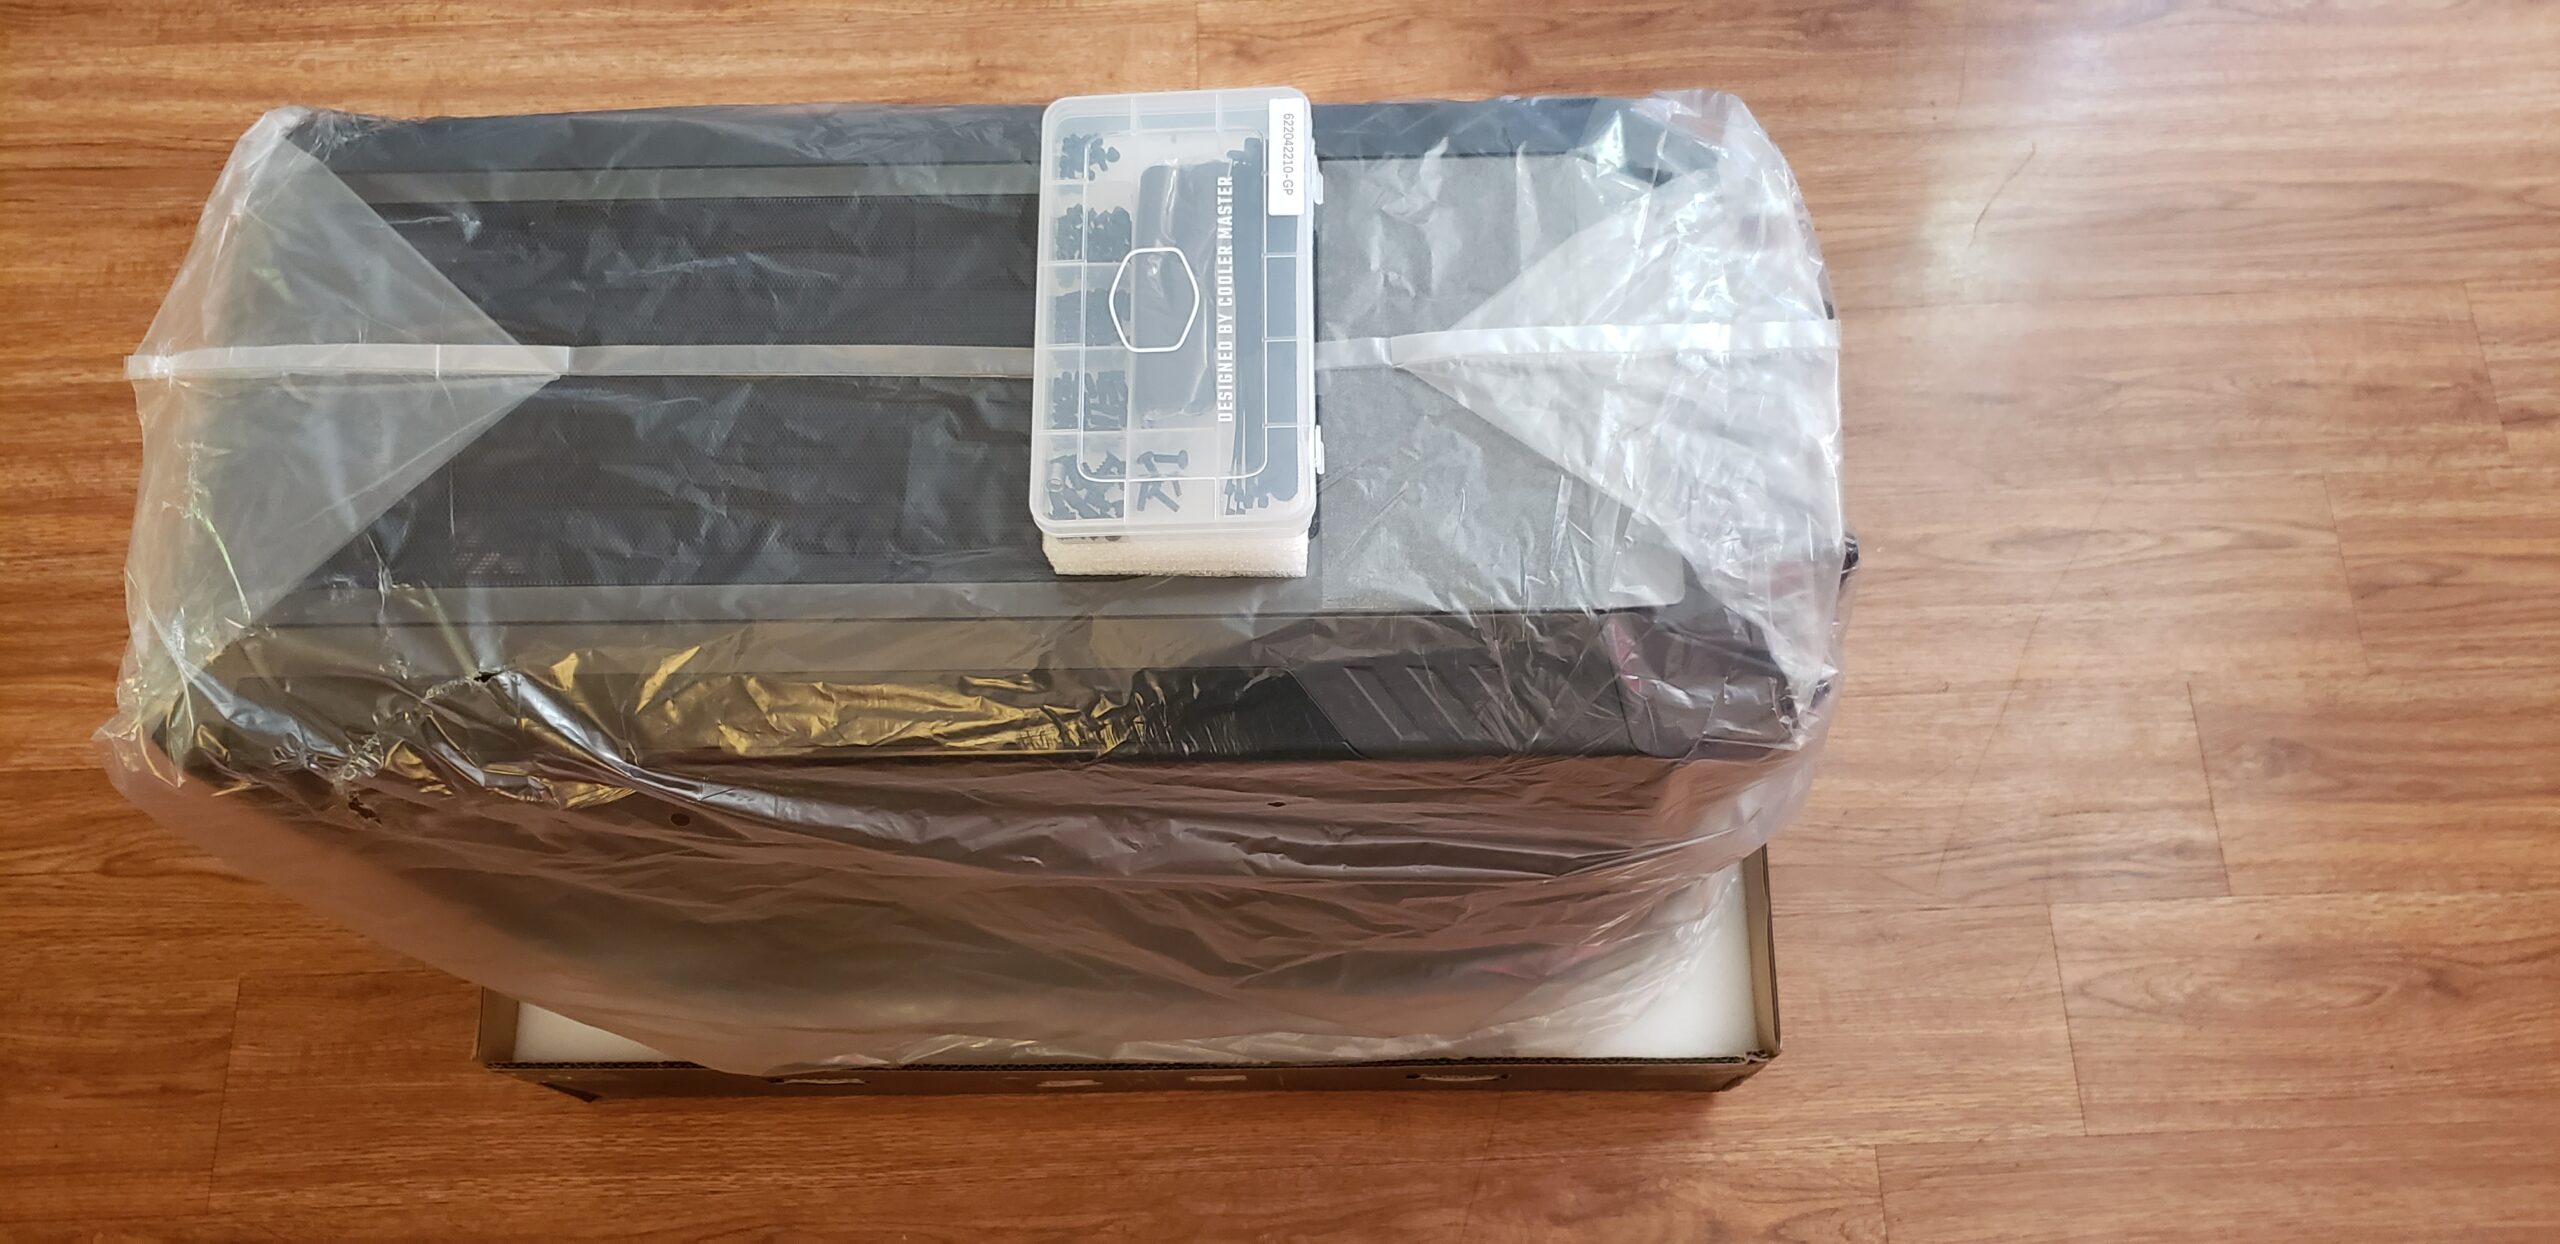
Once the outer shell of the box is removed, we see the manual and very nicely packaged box of accessories that includes screws, standoffs, zip ties, and even a microfiber towel. This box of accessories is a premium addition compared to cheaper cases.
Closer Look:
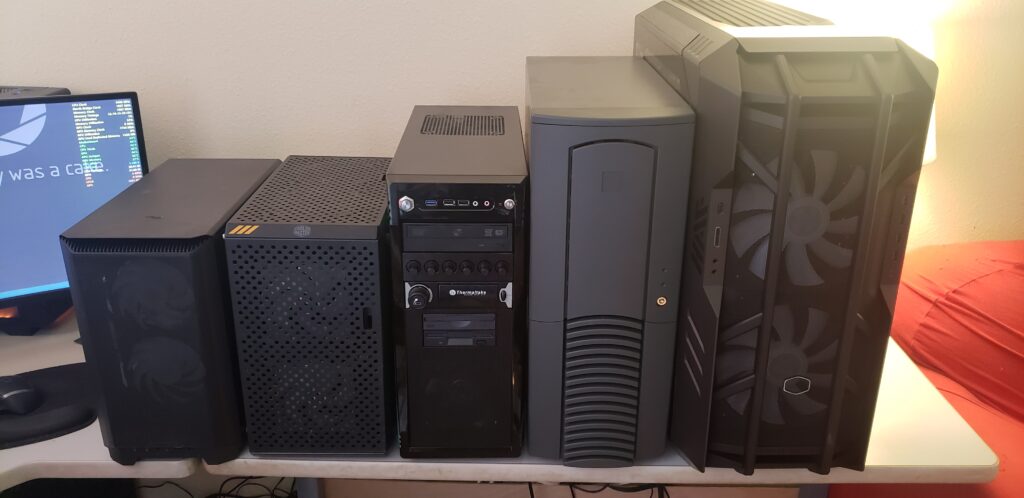
So now that we have it out of the box, how big IS this case really? Pictured above from left to right; Mini ITX tower, mATX Cooler Master MasterBox Q500L, ATX mid tower, E-ATX full tower and the HAF 700. Comparing this to other cases I have in my arsenal, the HAF 700 is certainly no slouch in physical greatness. Keep this in mind when shopping for cases, as this case is the biggest case I’ve ever owned to date.
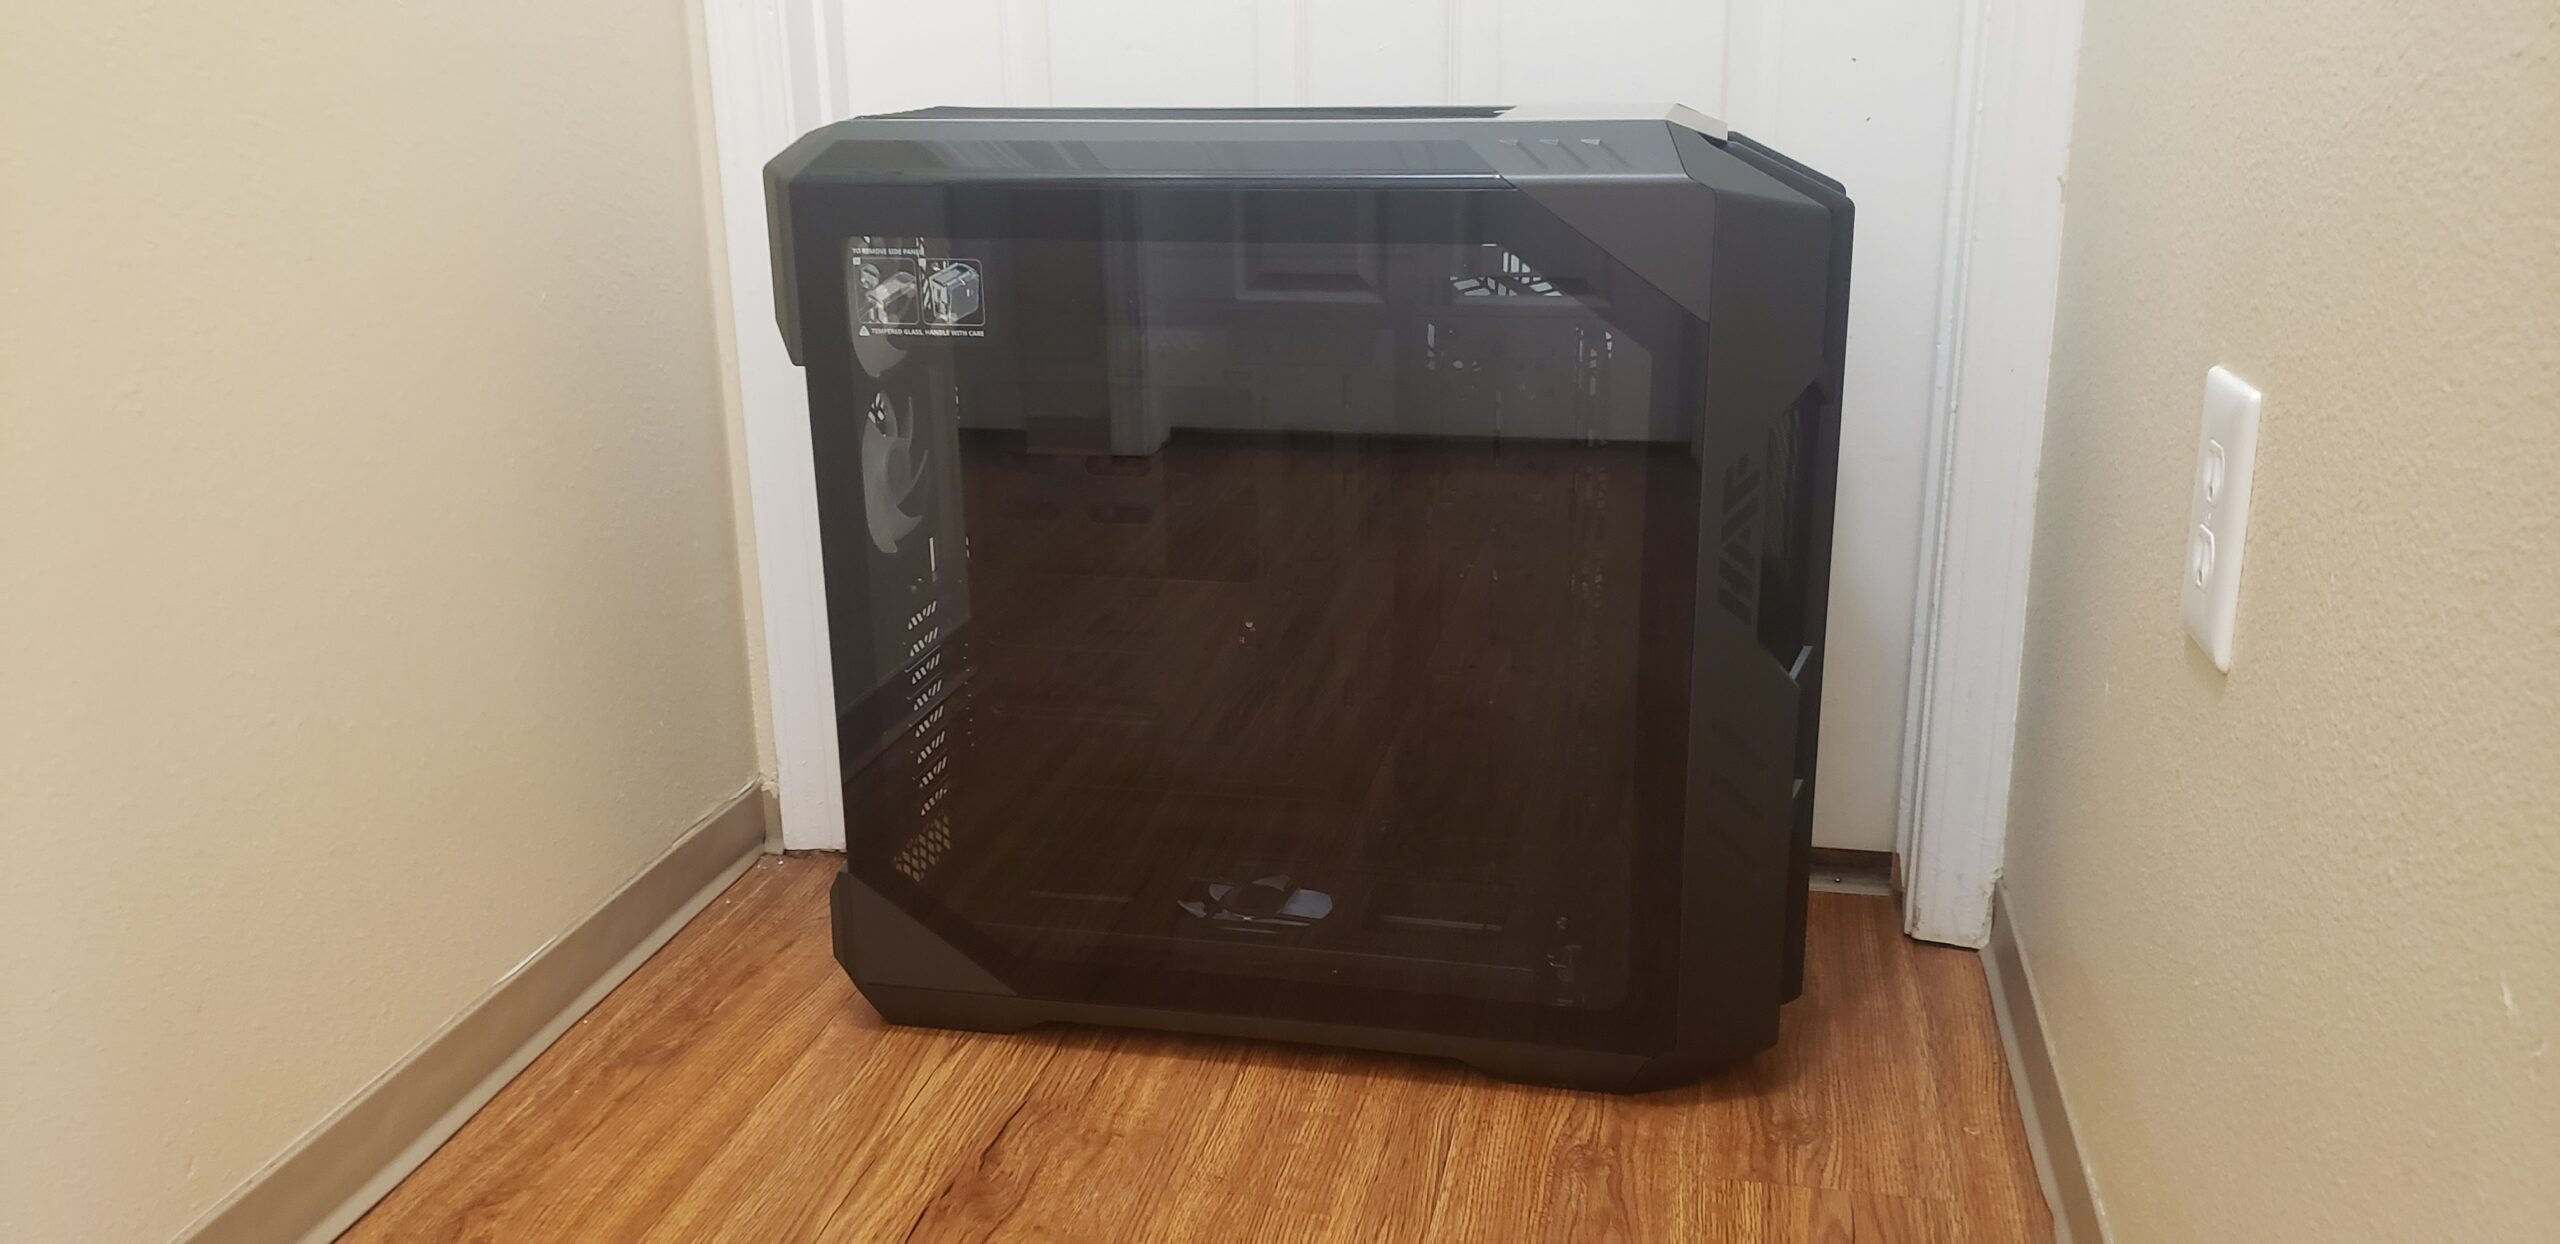
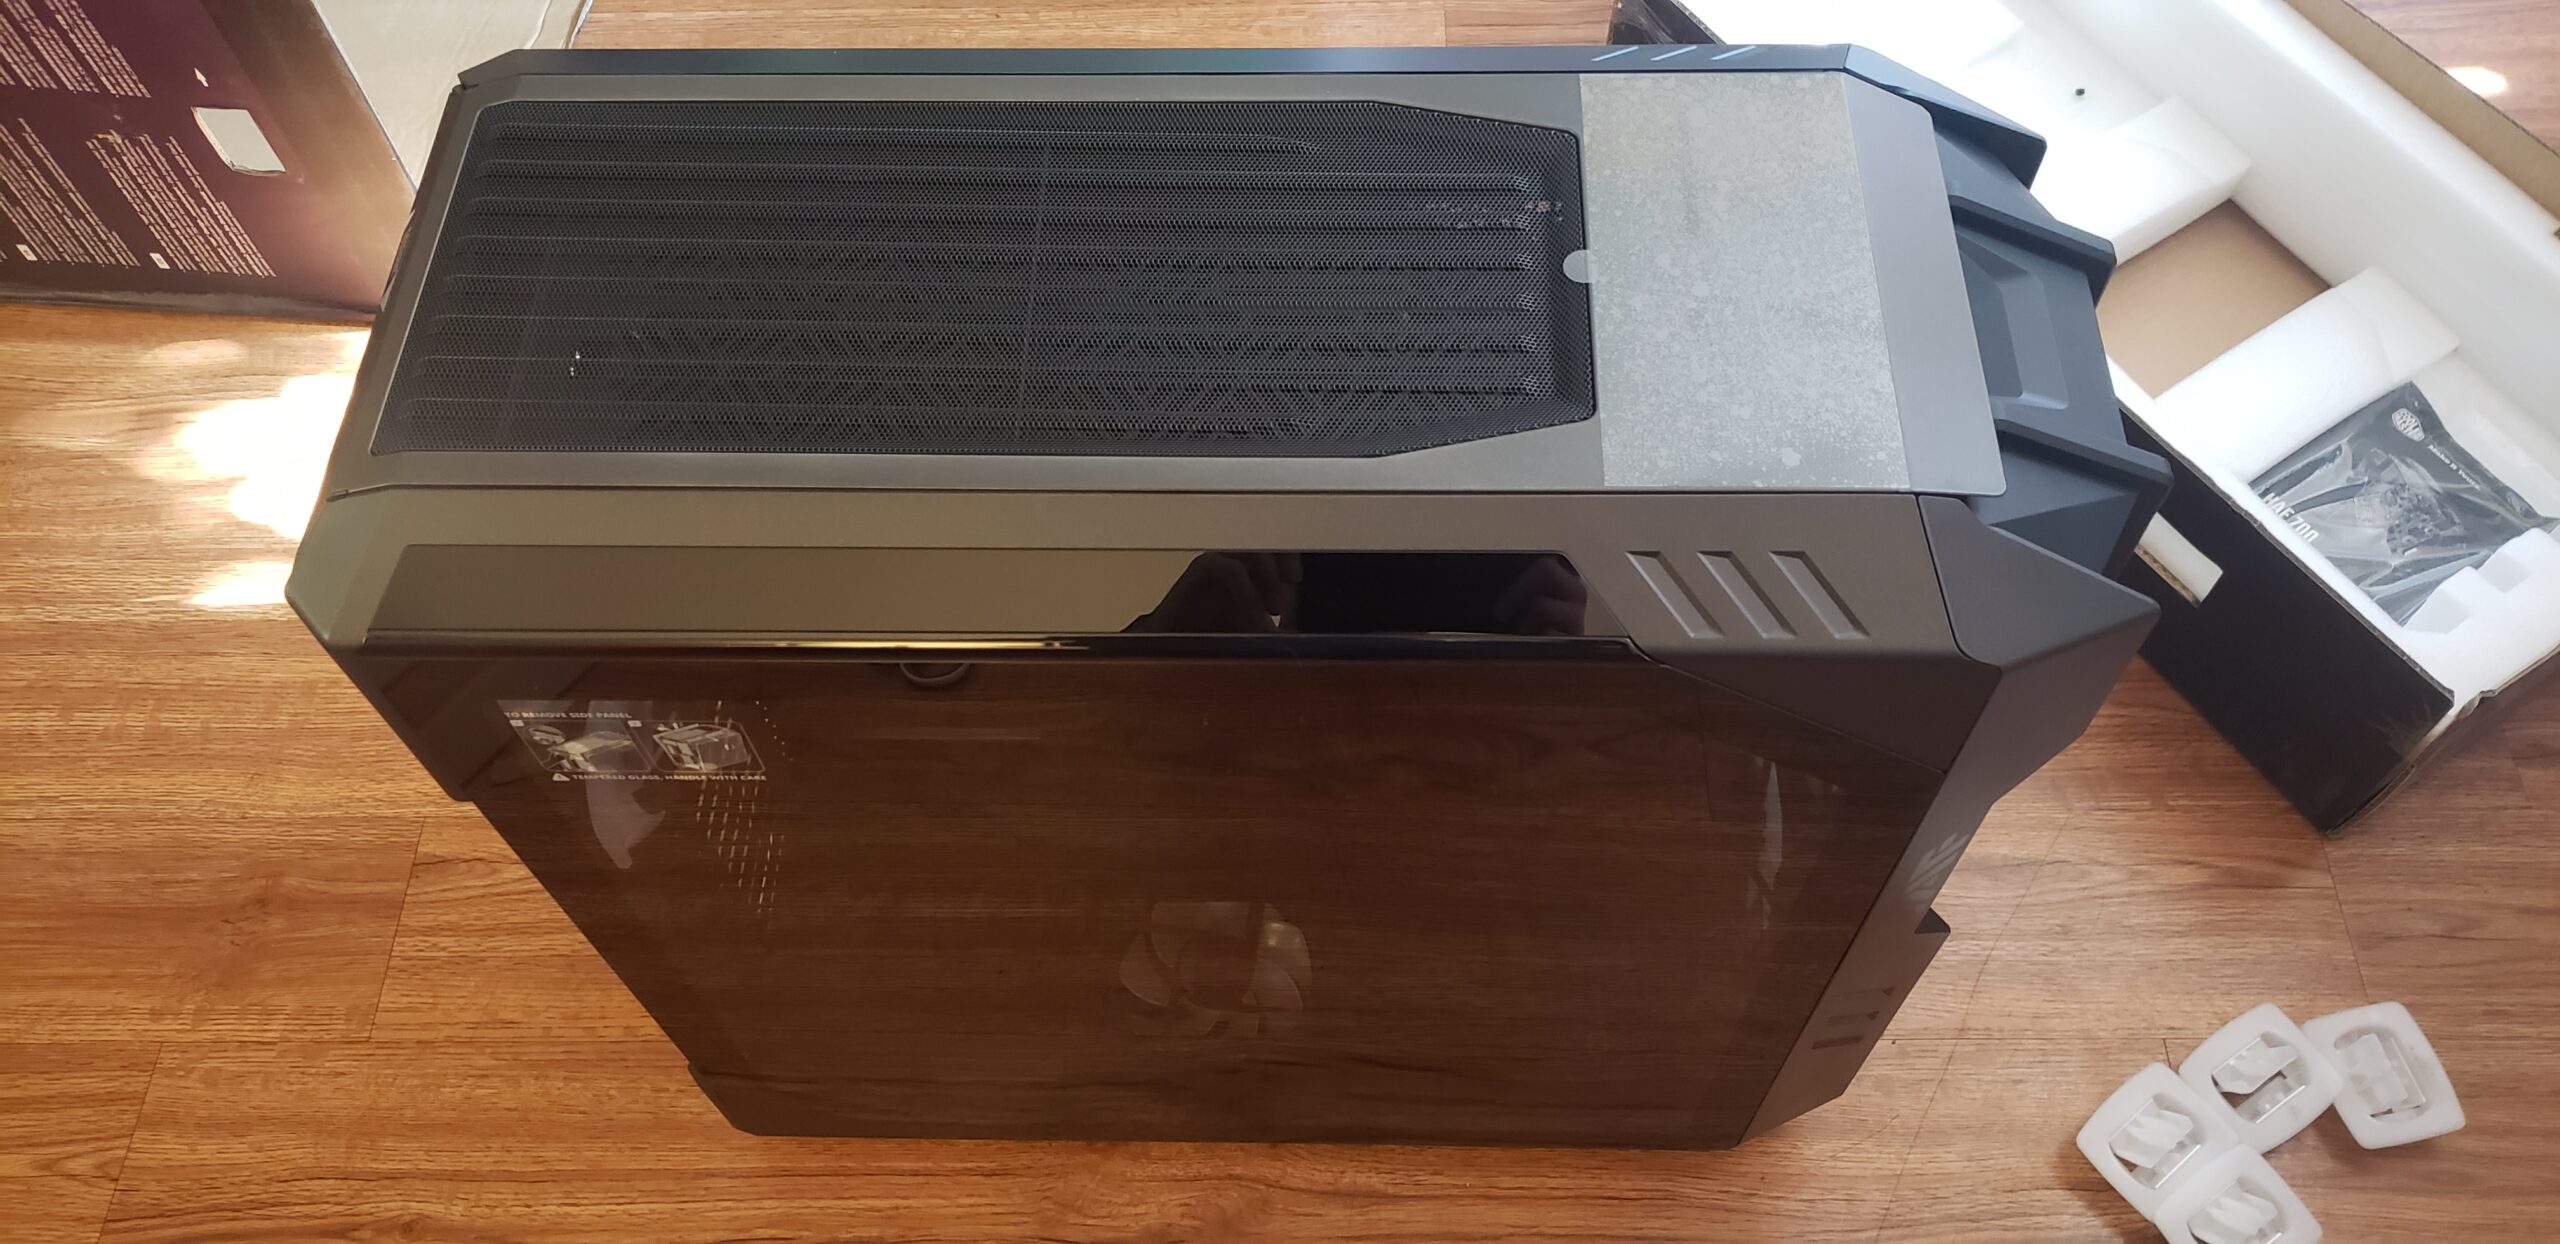
On the left side panel (viewing from front), we have a beautiful piece of tempered glass. There’s plenty of plastic and steel surrounding the glass and I feel confident it won’t shatter.
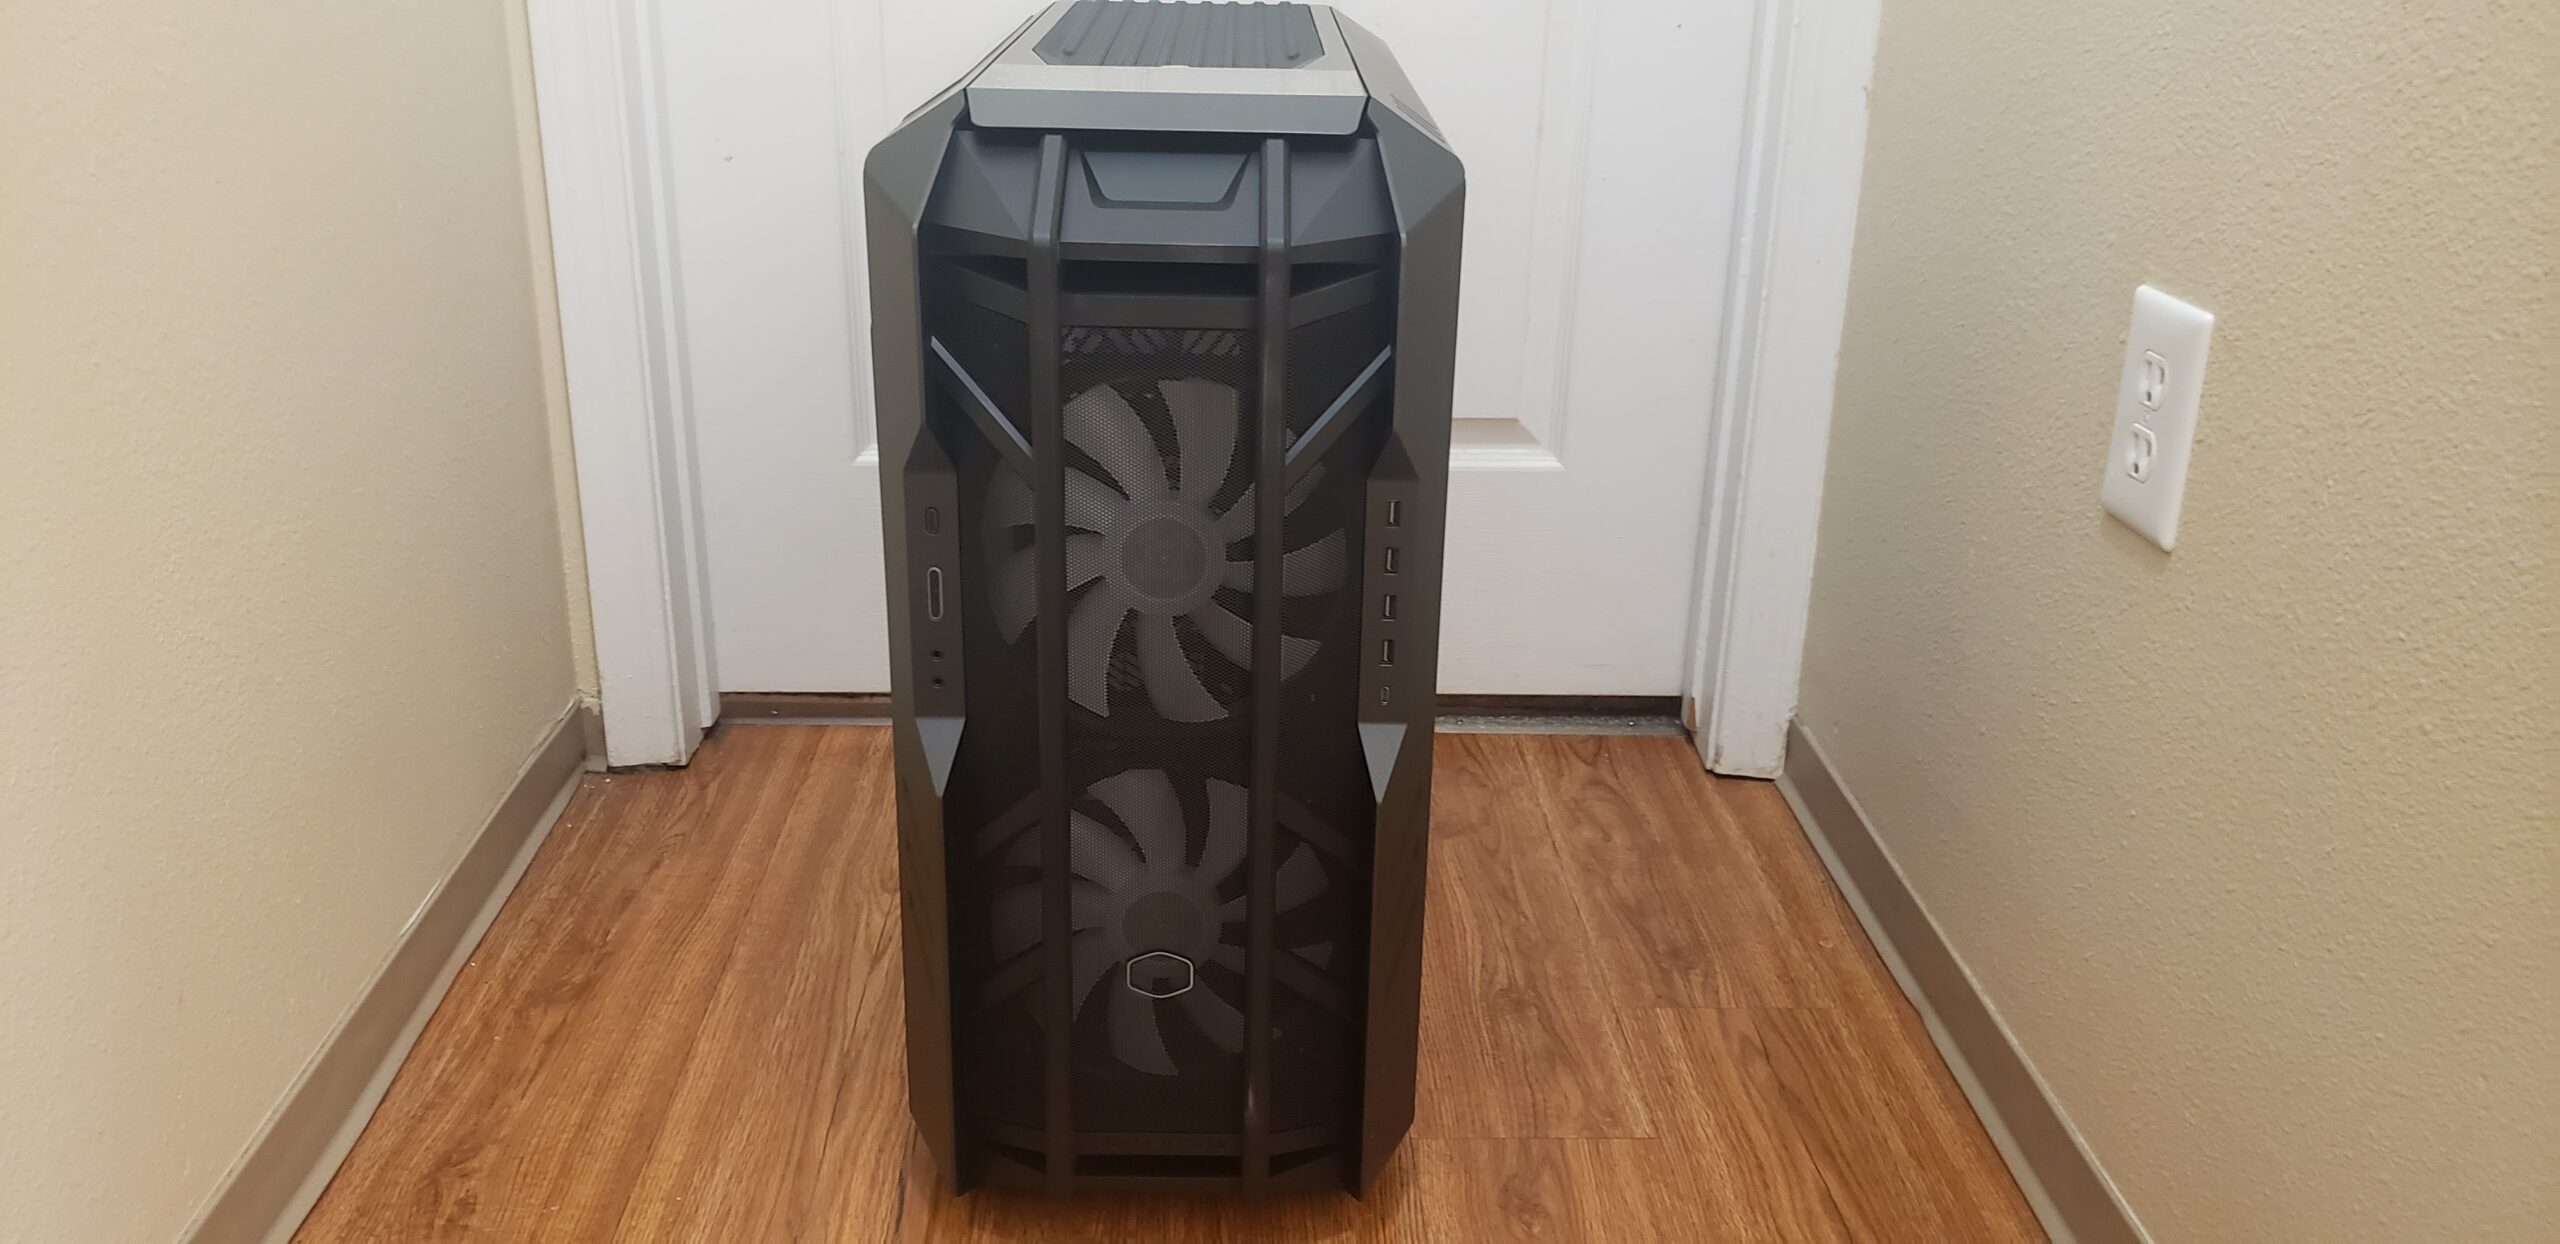
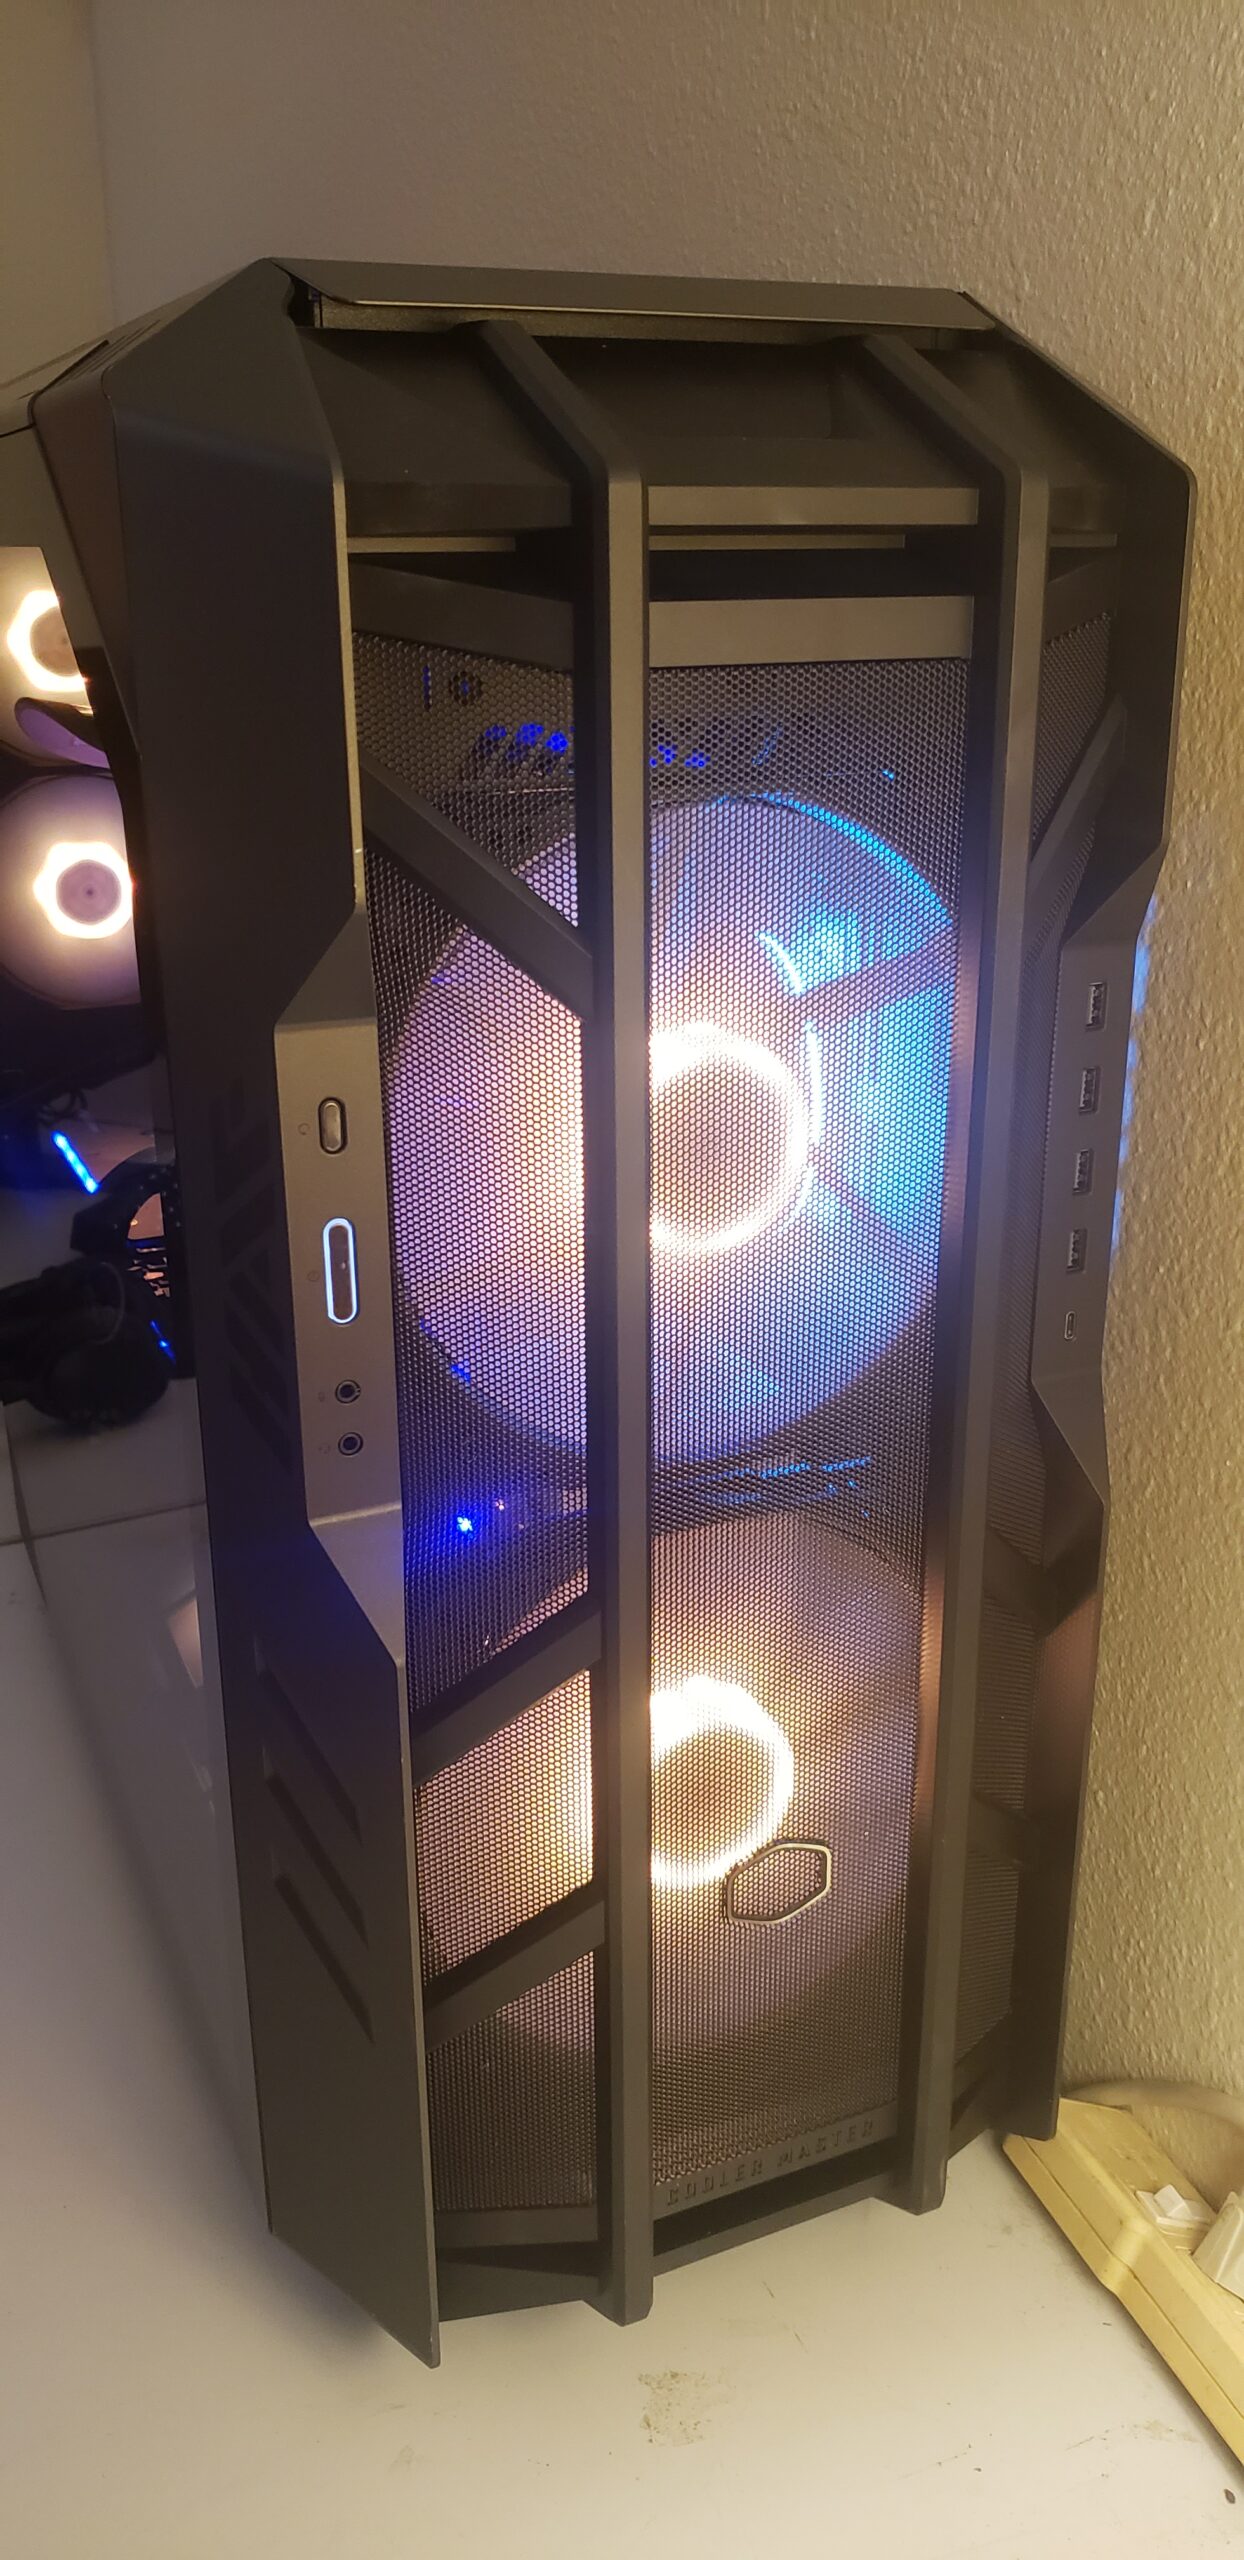
Looking at the front of the case, we have humongous 200mm SickleFlow ARGB fans and Cooler Master’s patented “FineMesh v2”. The plastic design around the front of the case is a HAF trademark look. There is no other case on the market that looks like the front of the HAF family of cases and this is no exception. There are ample expansion ports on the front including 3.5mm headphone and mic jacks, 4x USB 3.2 Gen1 Type A plugs and one USB 3.2 Gen2 Type C.
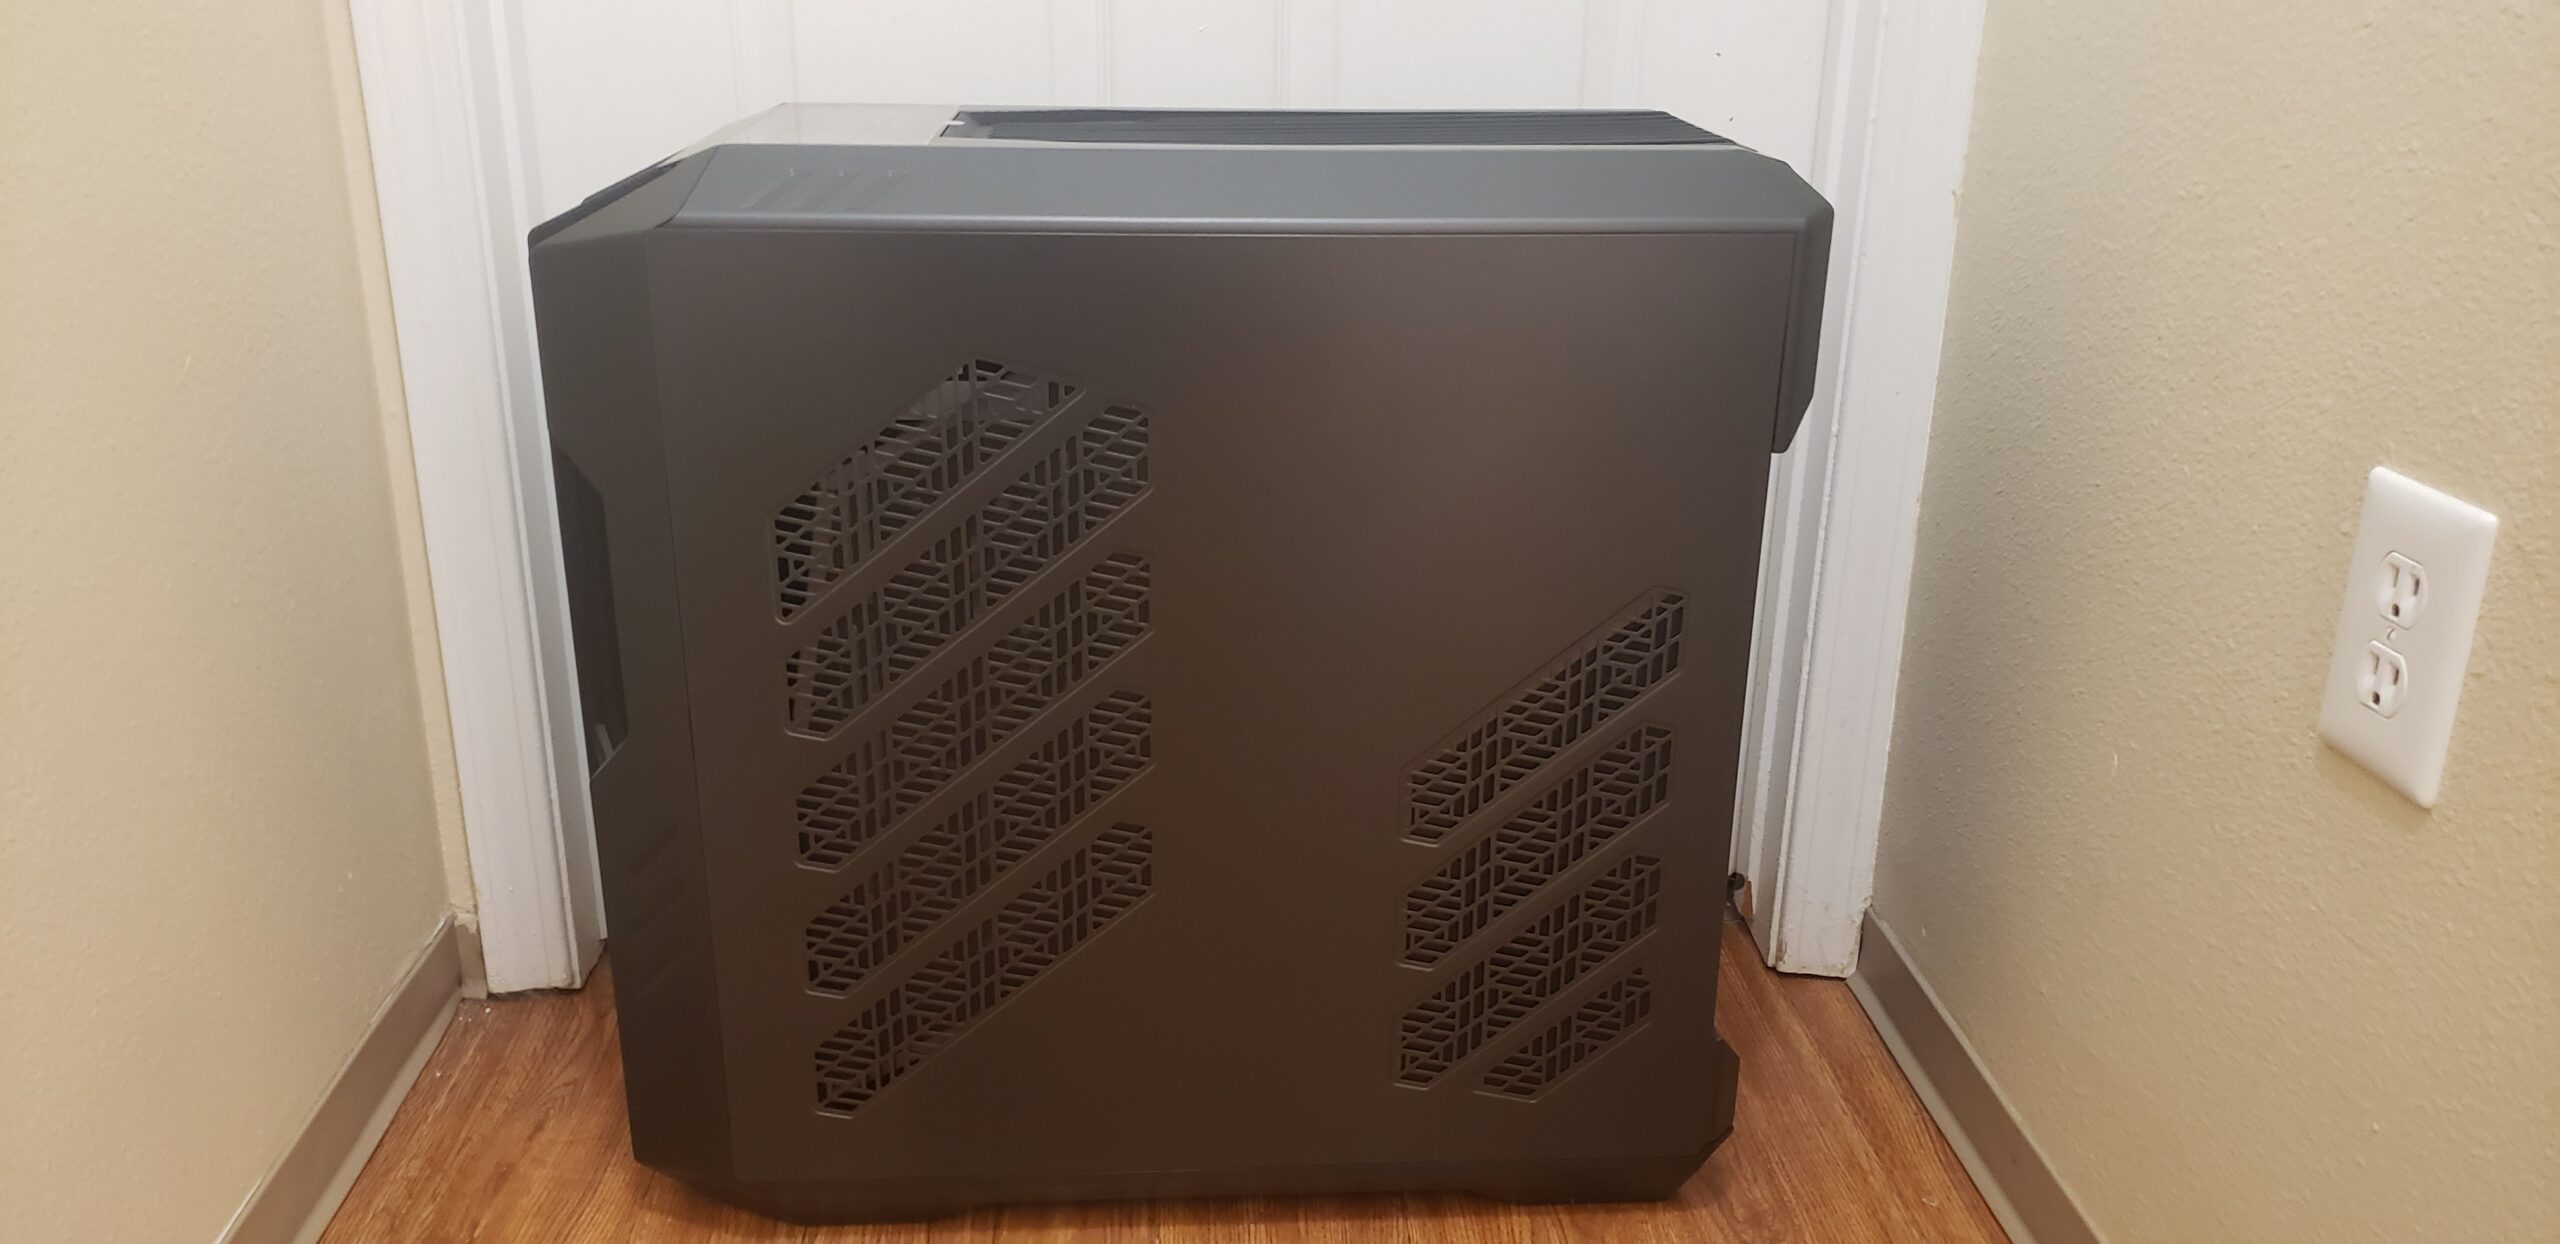
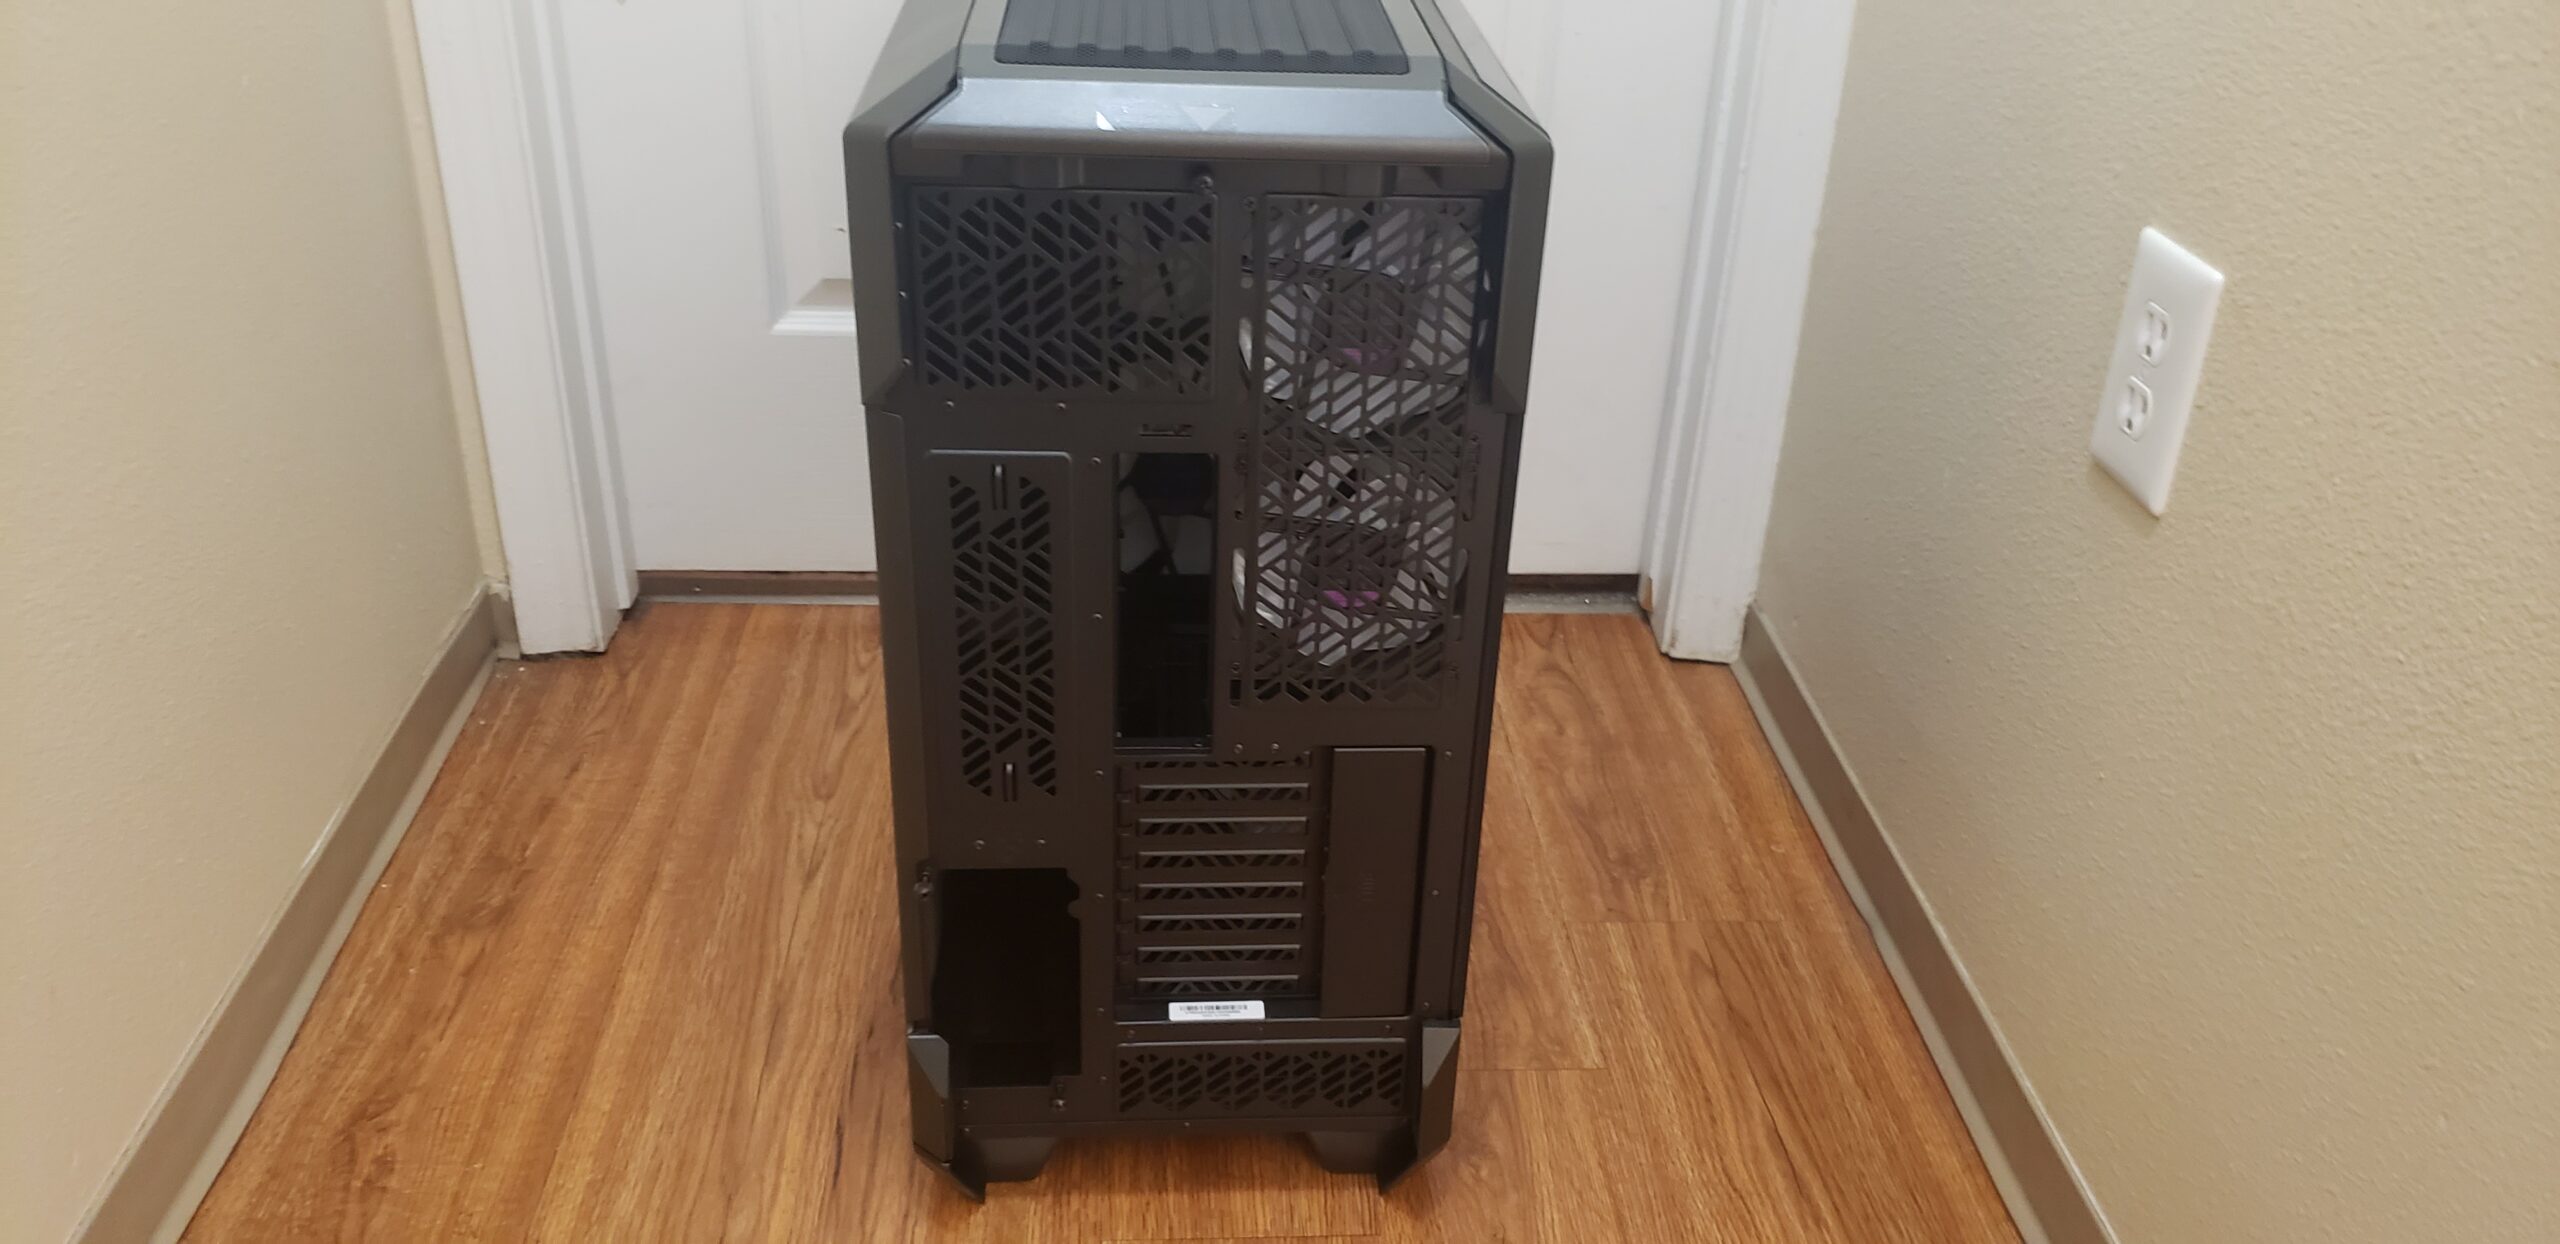
The back side panel is by no means the business side. There’s ample ventilation for 4x120mm fans on the inside and ventilation for the PSU once installed. It has unique styling all its own.
The rear end of the Berserker has exactly what you’d expect; Tool-less PSU mount, 8 Expansion Slots, ventilation for the four rear-mounted drive bays, mounts for two included 120mm SickleFlow ARGB fans (alternatively a 240mm radiator) and even more ventilation for the plethora of cooling options.
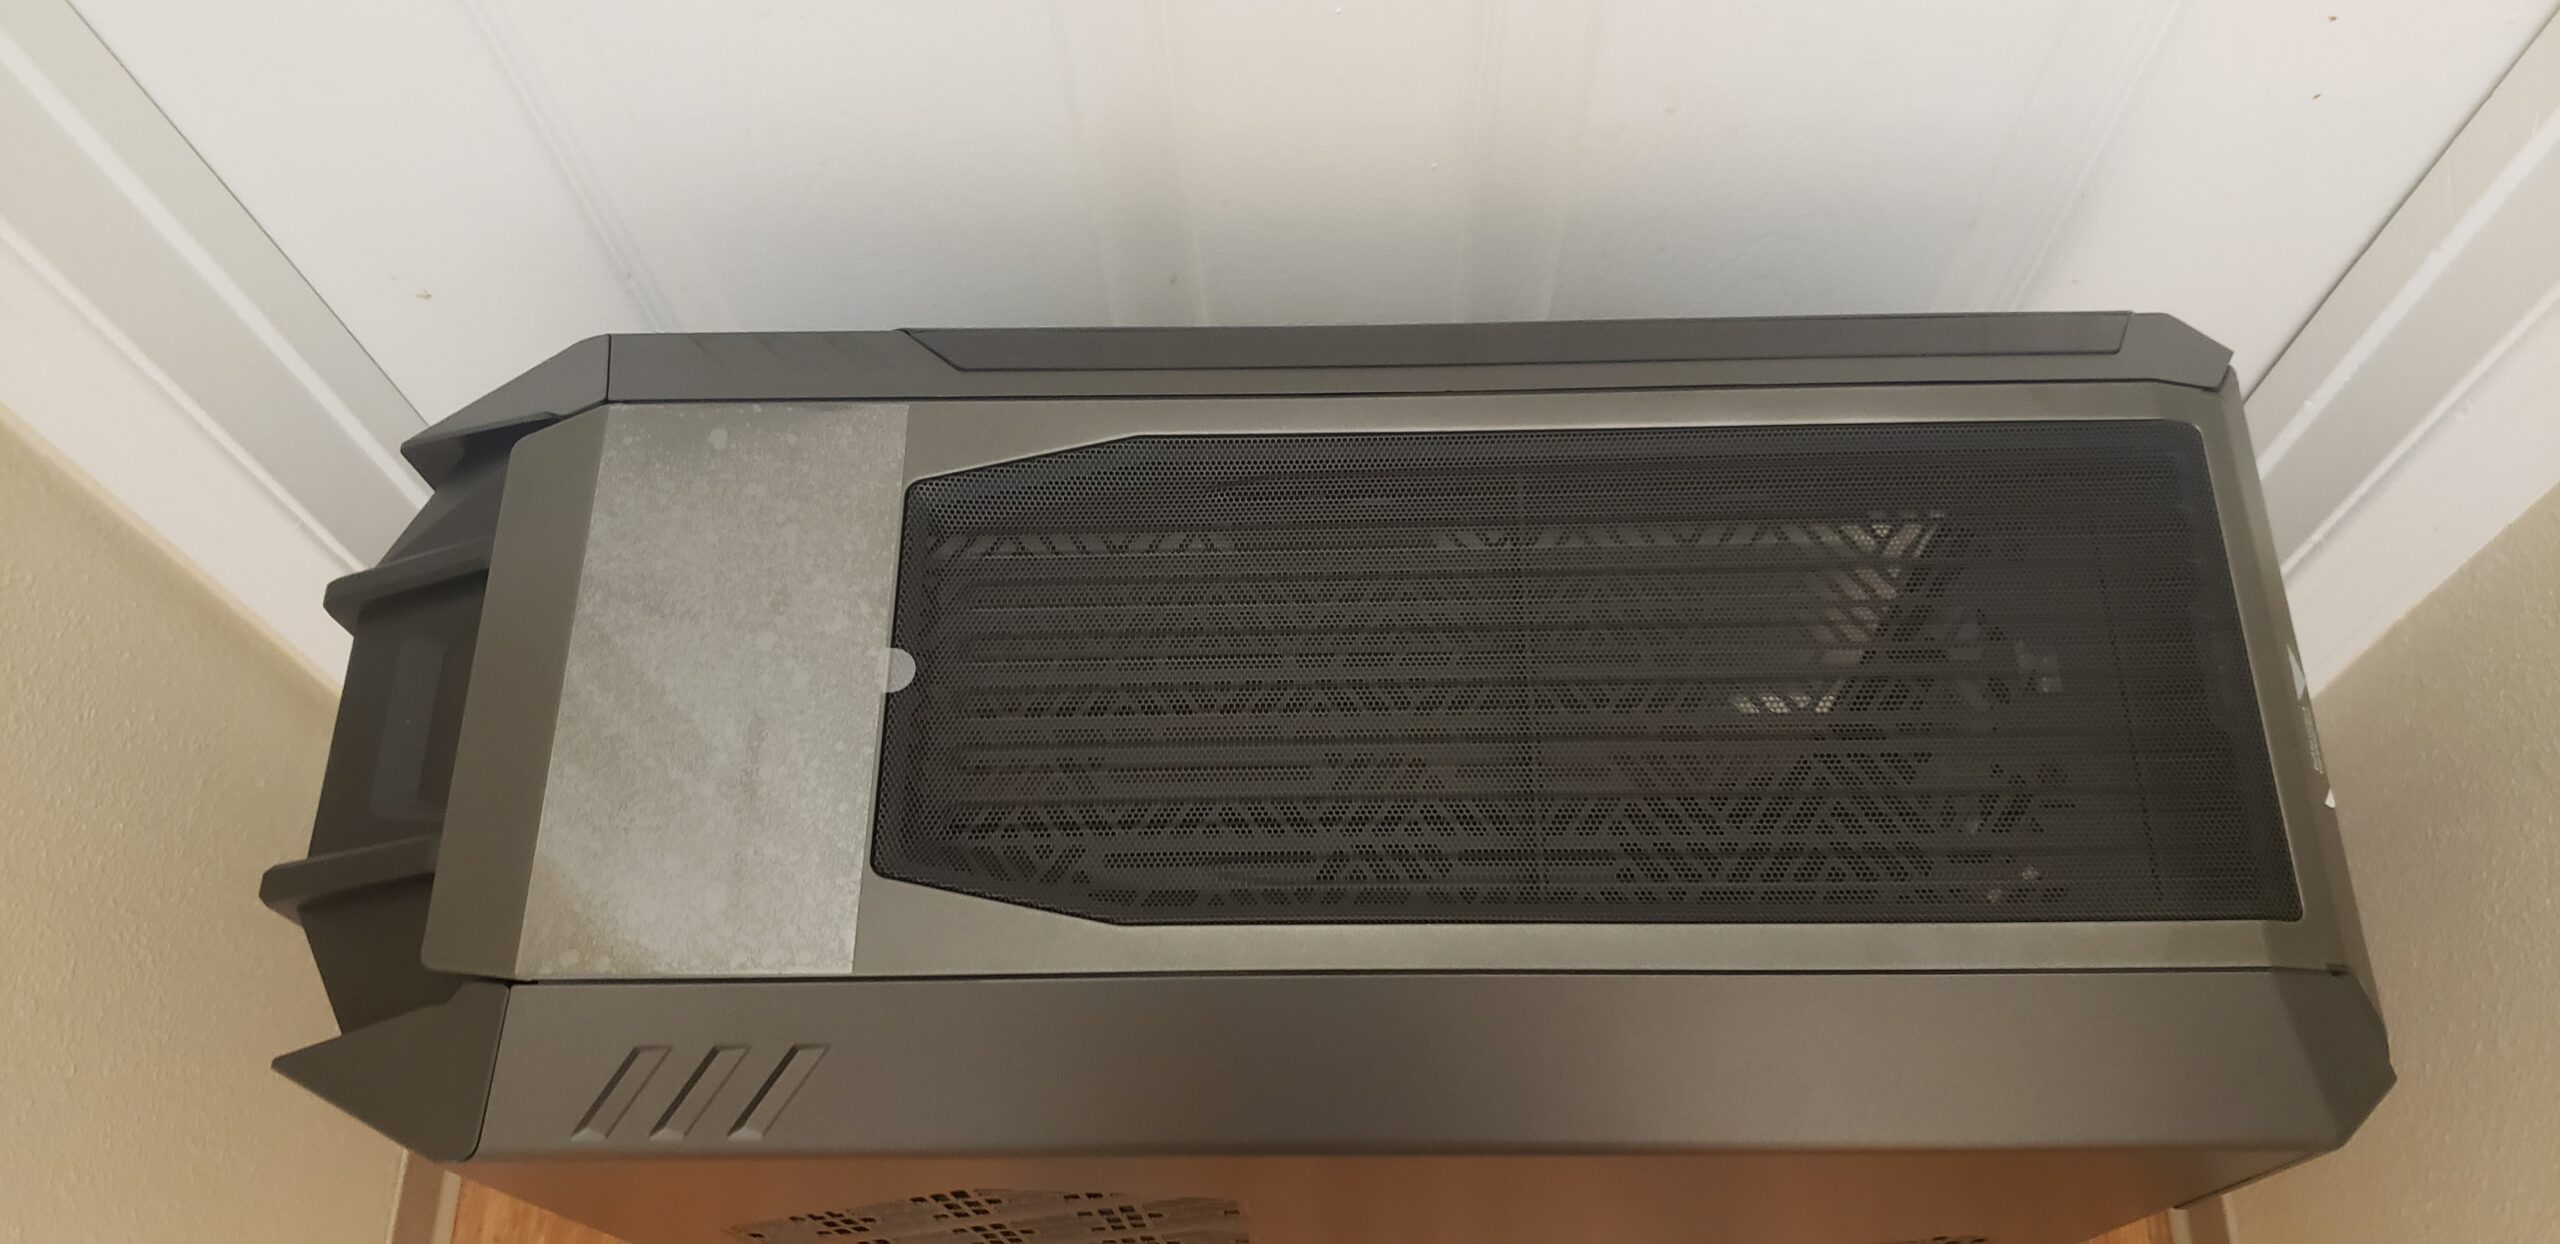
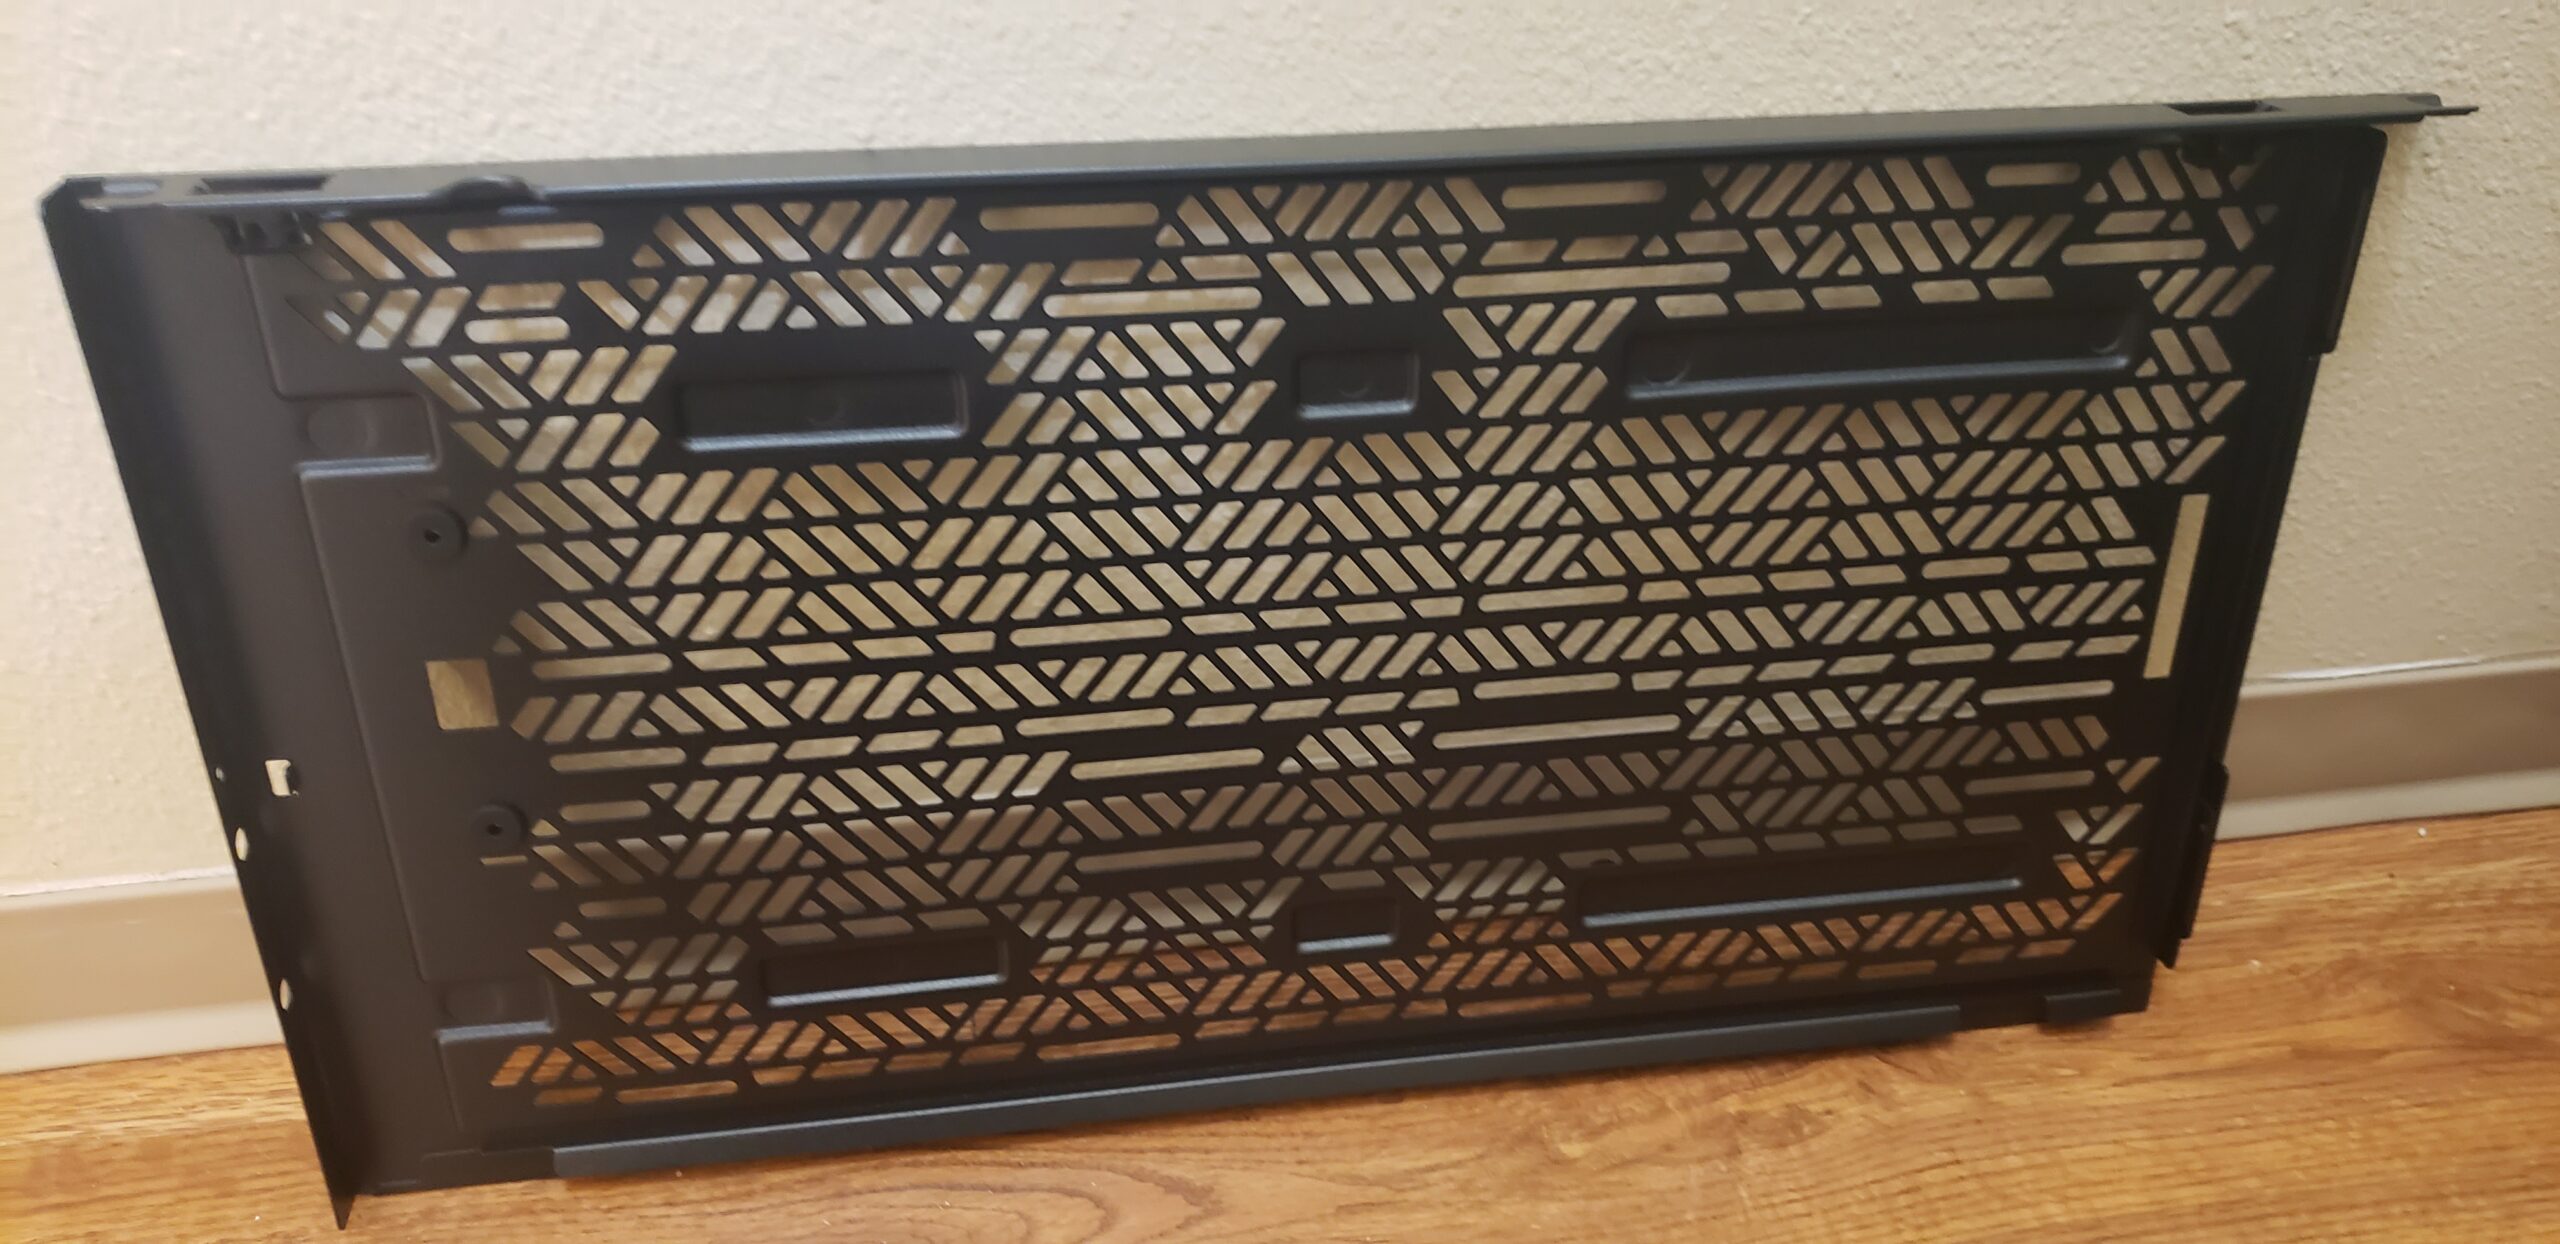
The top panel can house “half” a wind turbine’s worth of 120mm fans. This panel also has ample air flow capabilities and can hold upwards of 6x 120mm fans or 2x 360mm radiators. The grill is stylish and matches the rest of the case nicely.
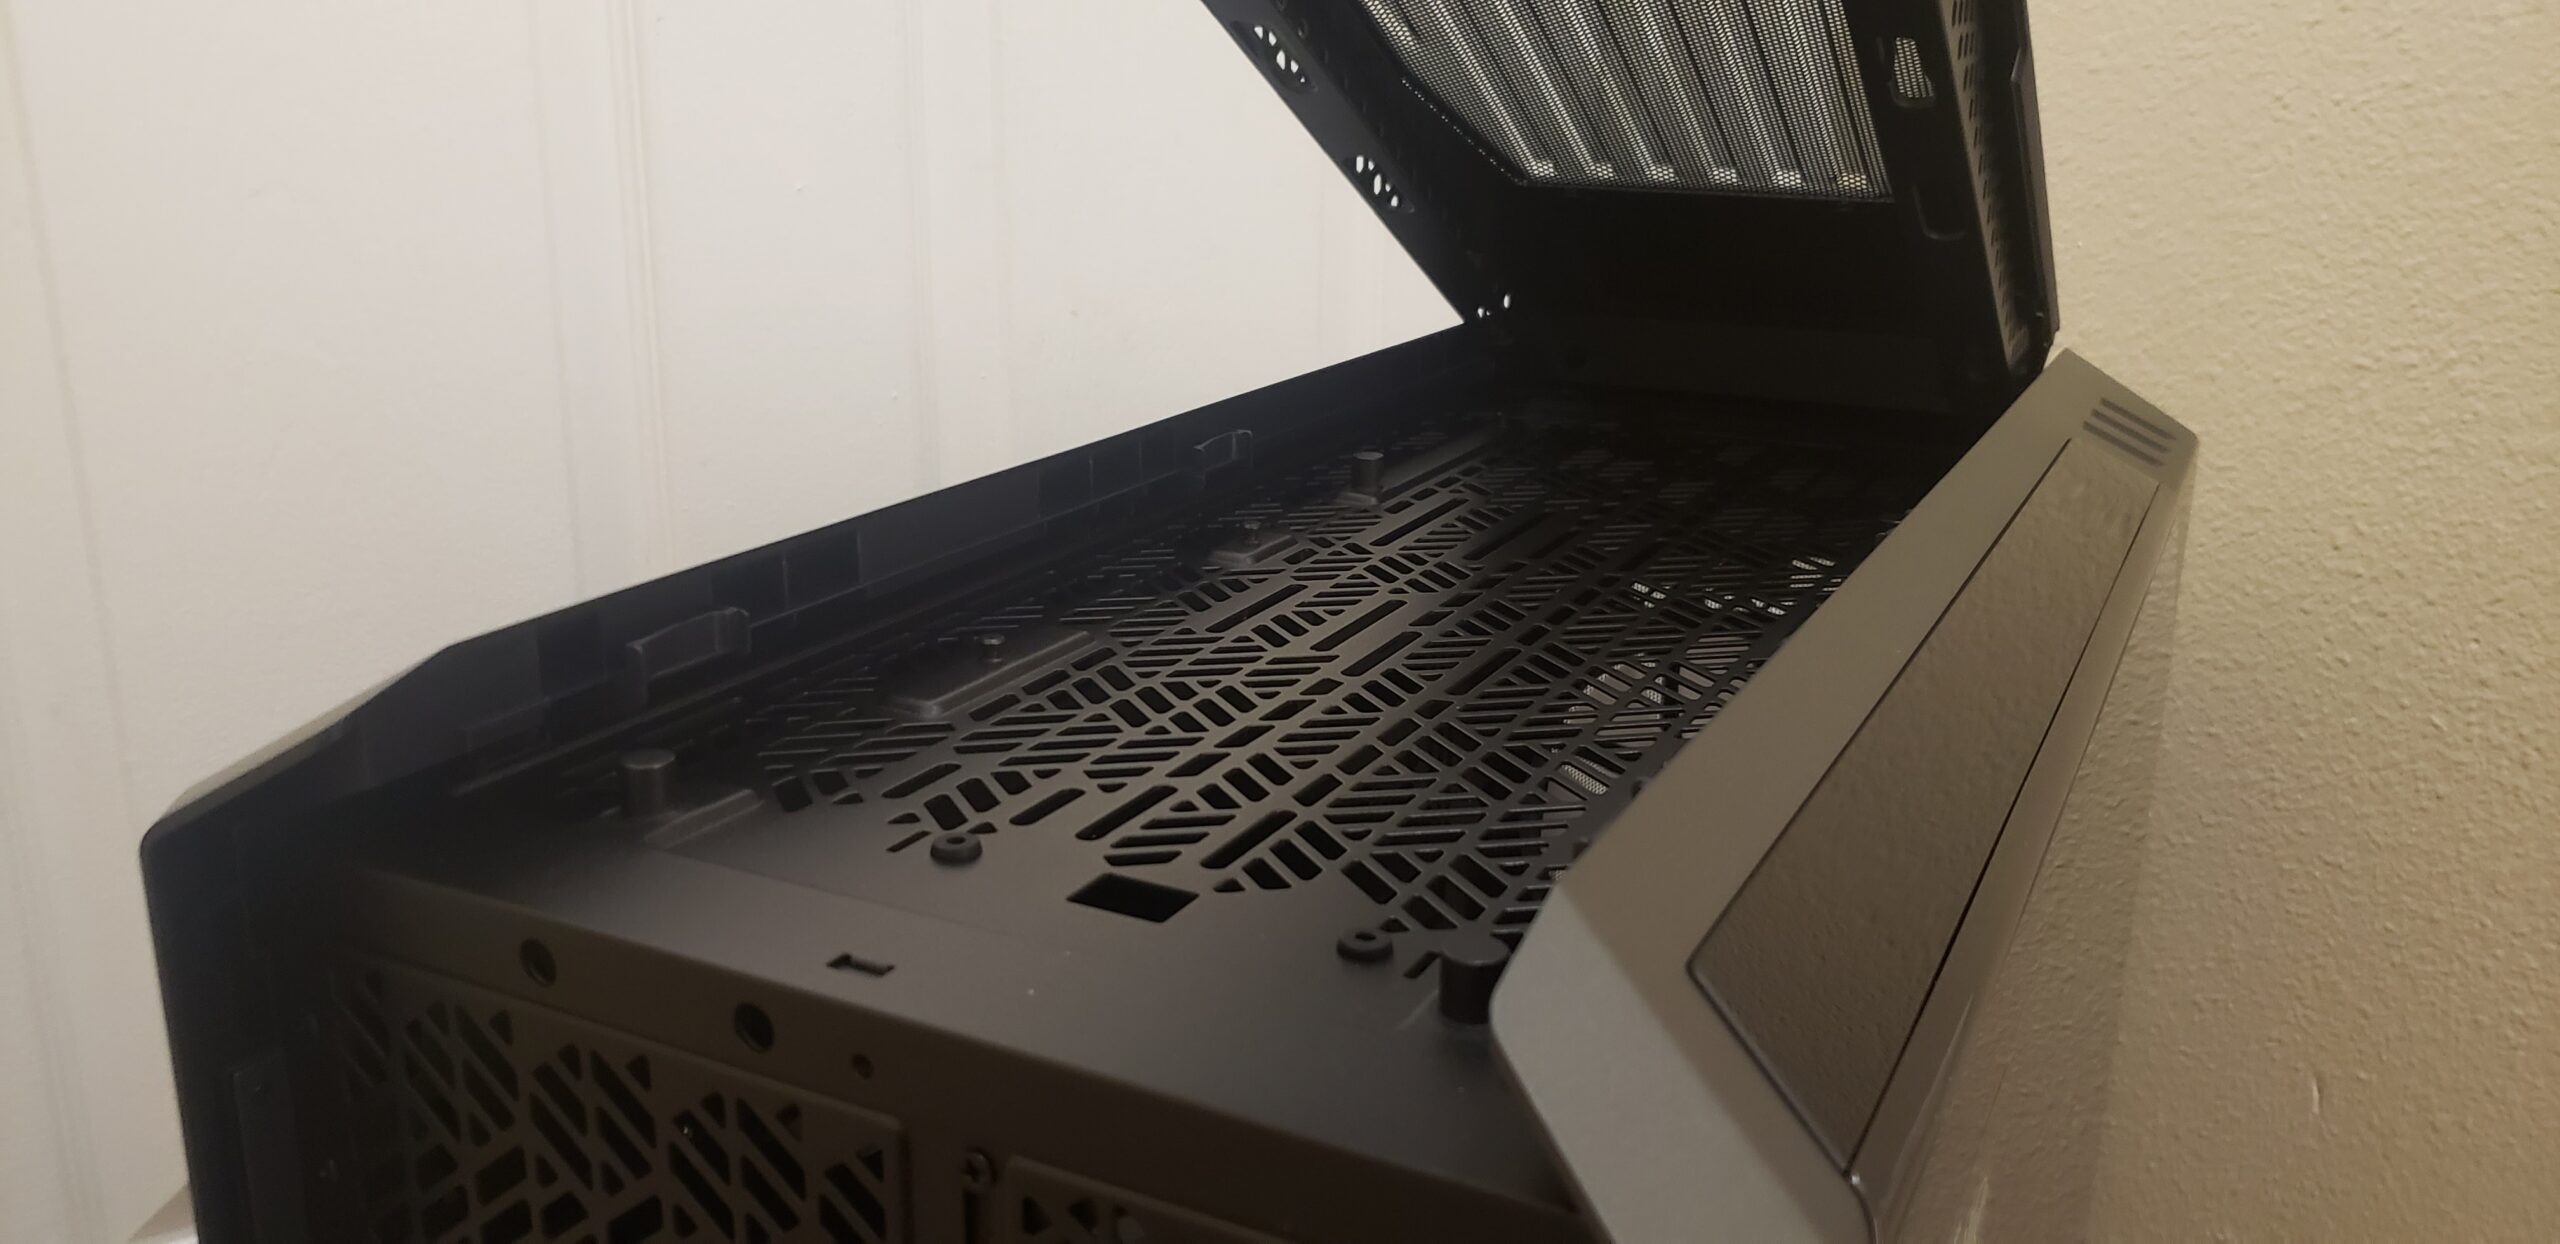
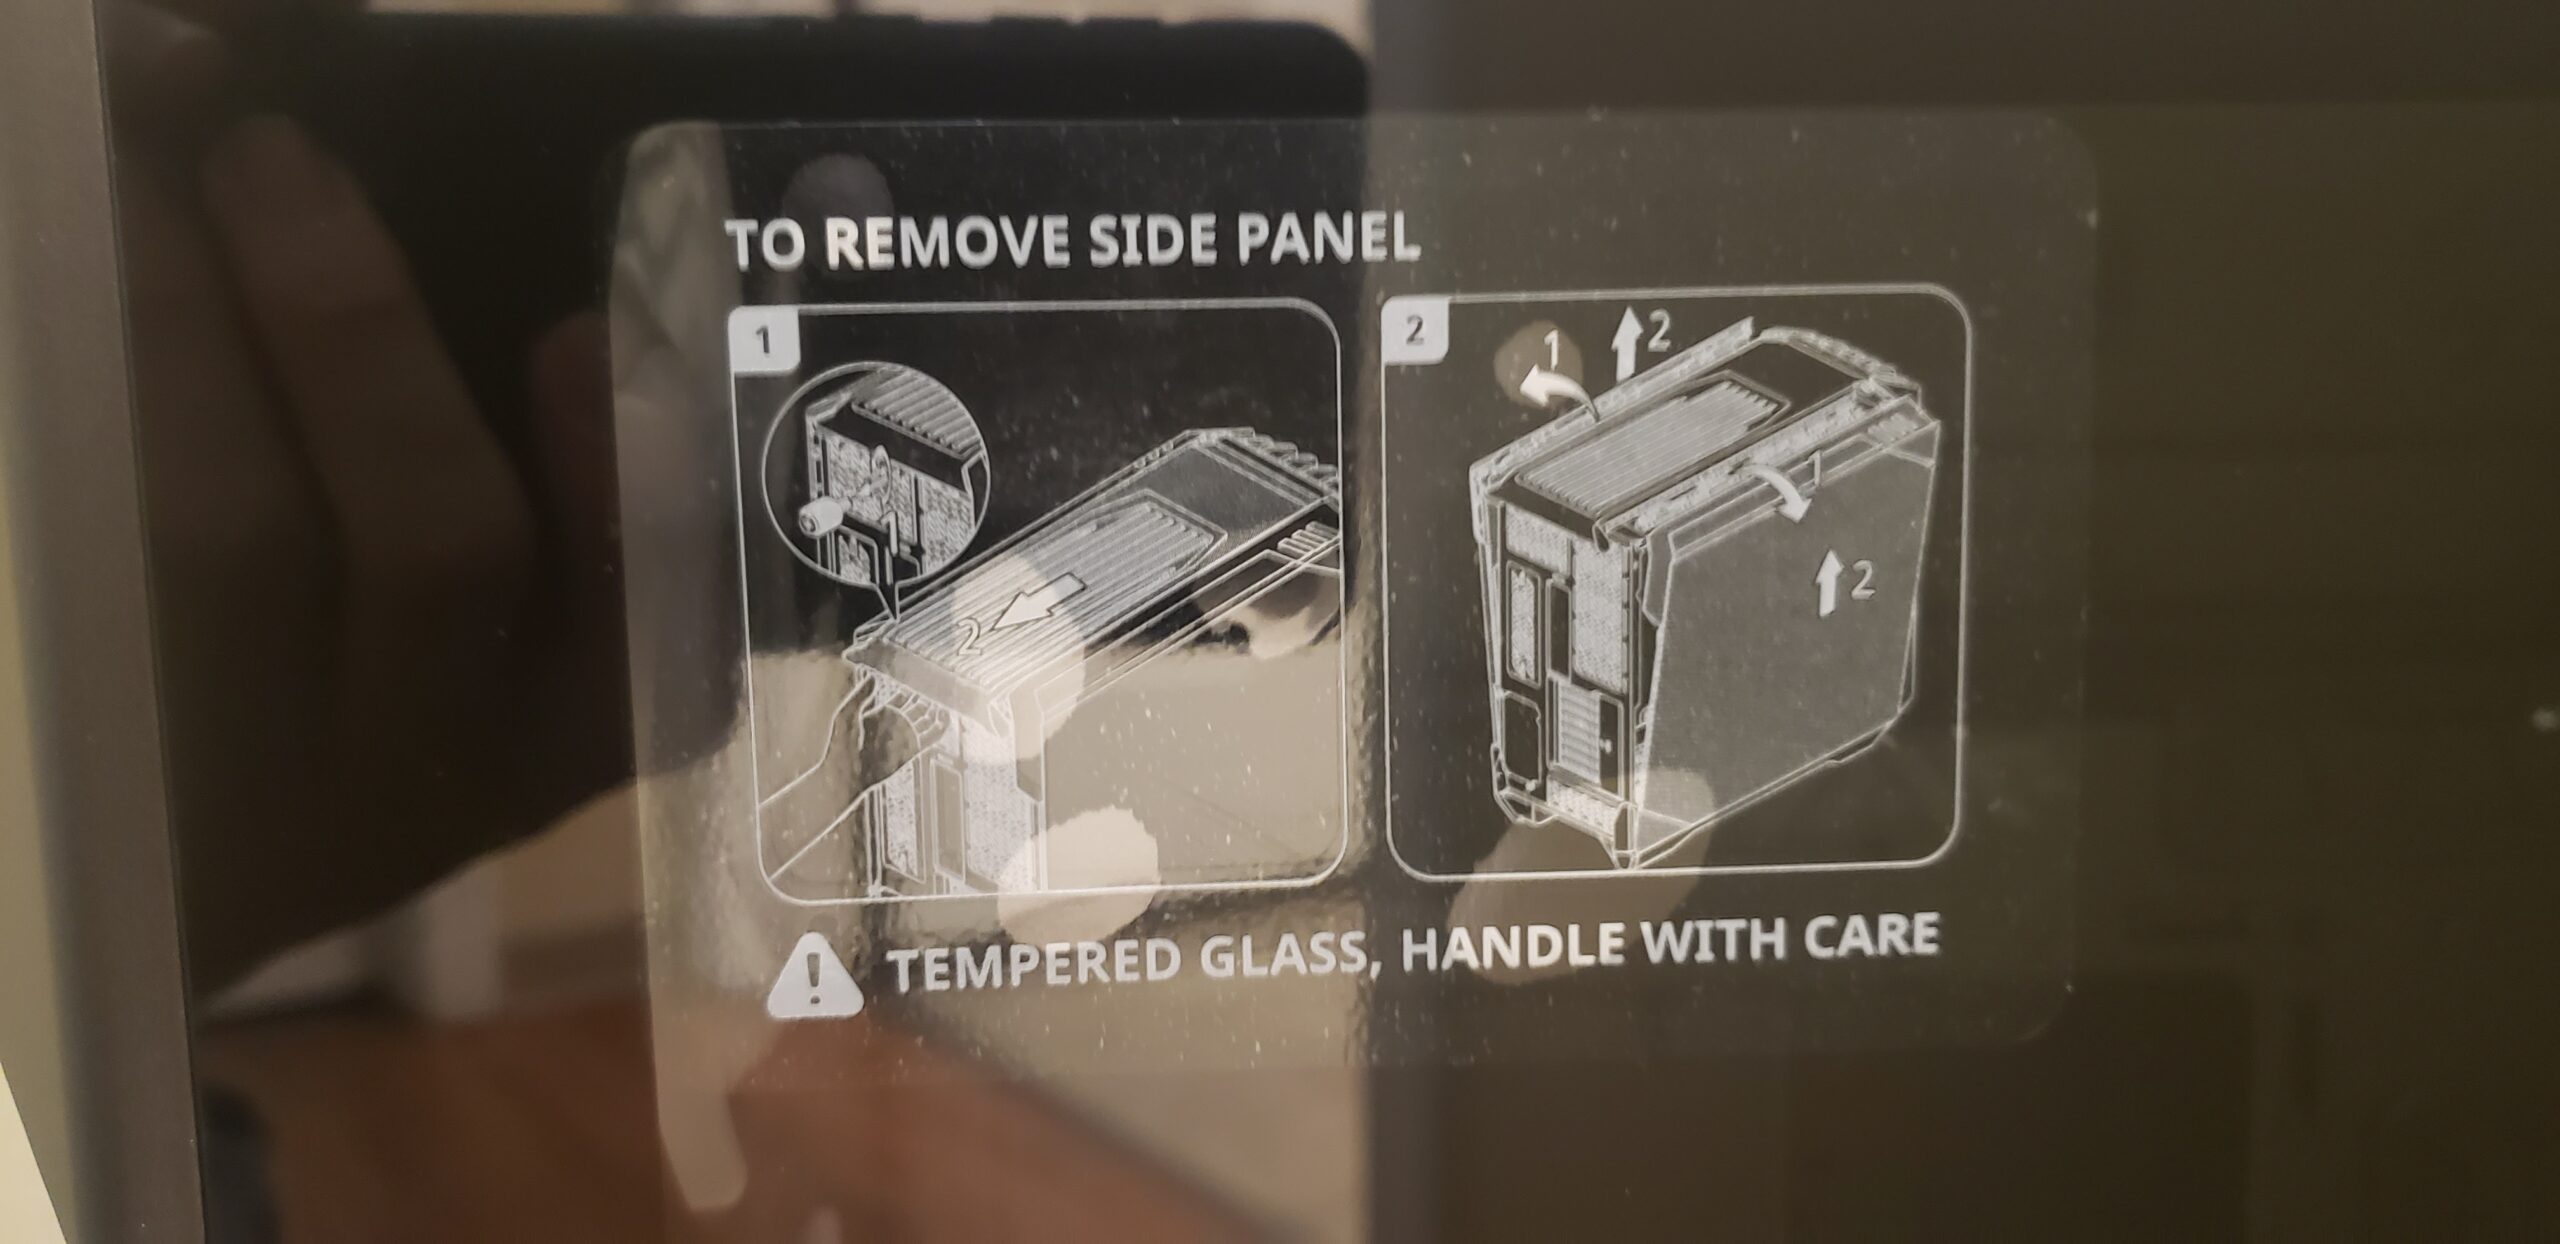
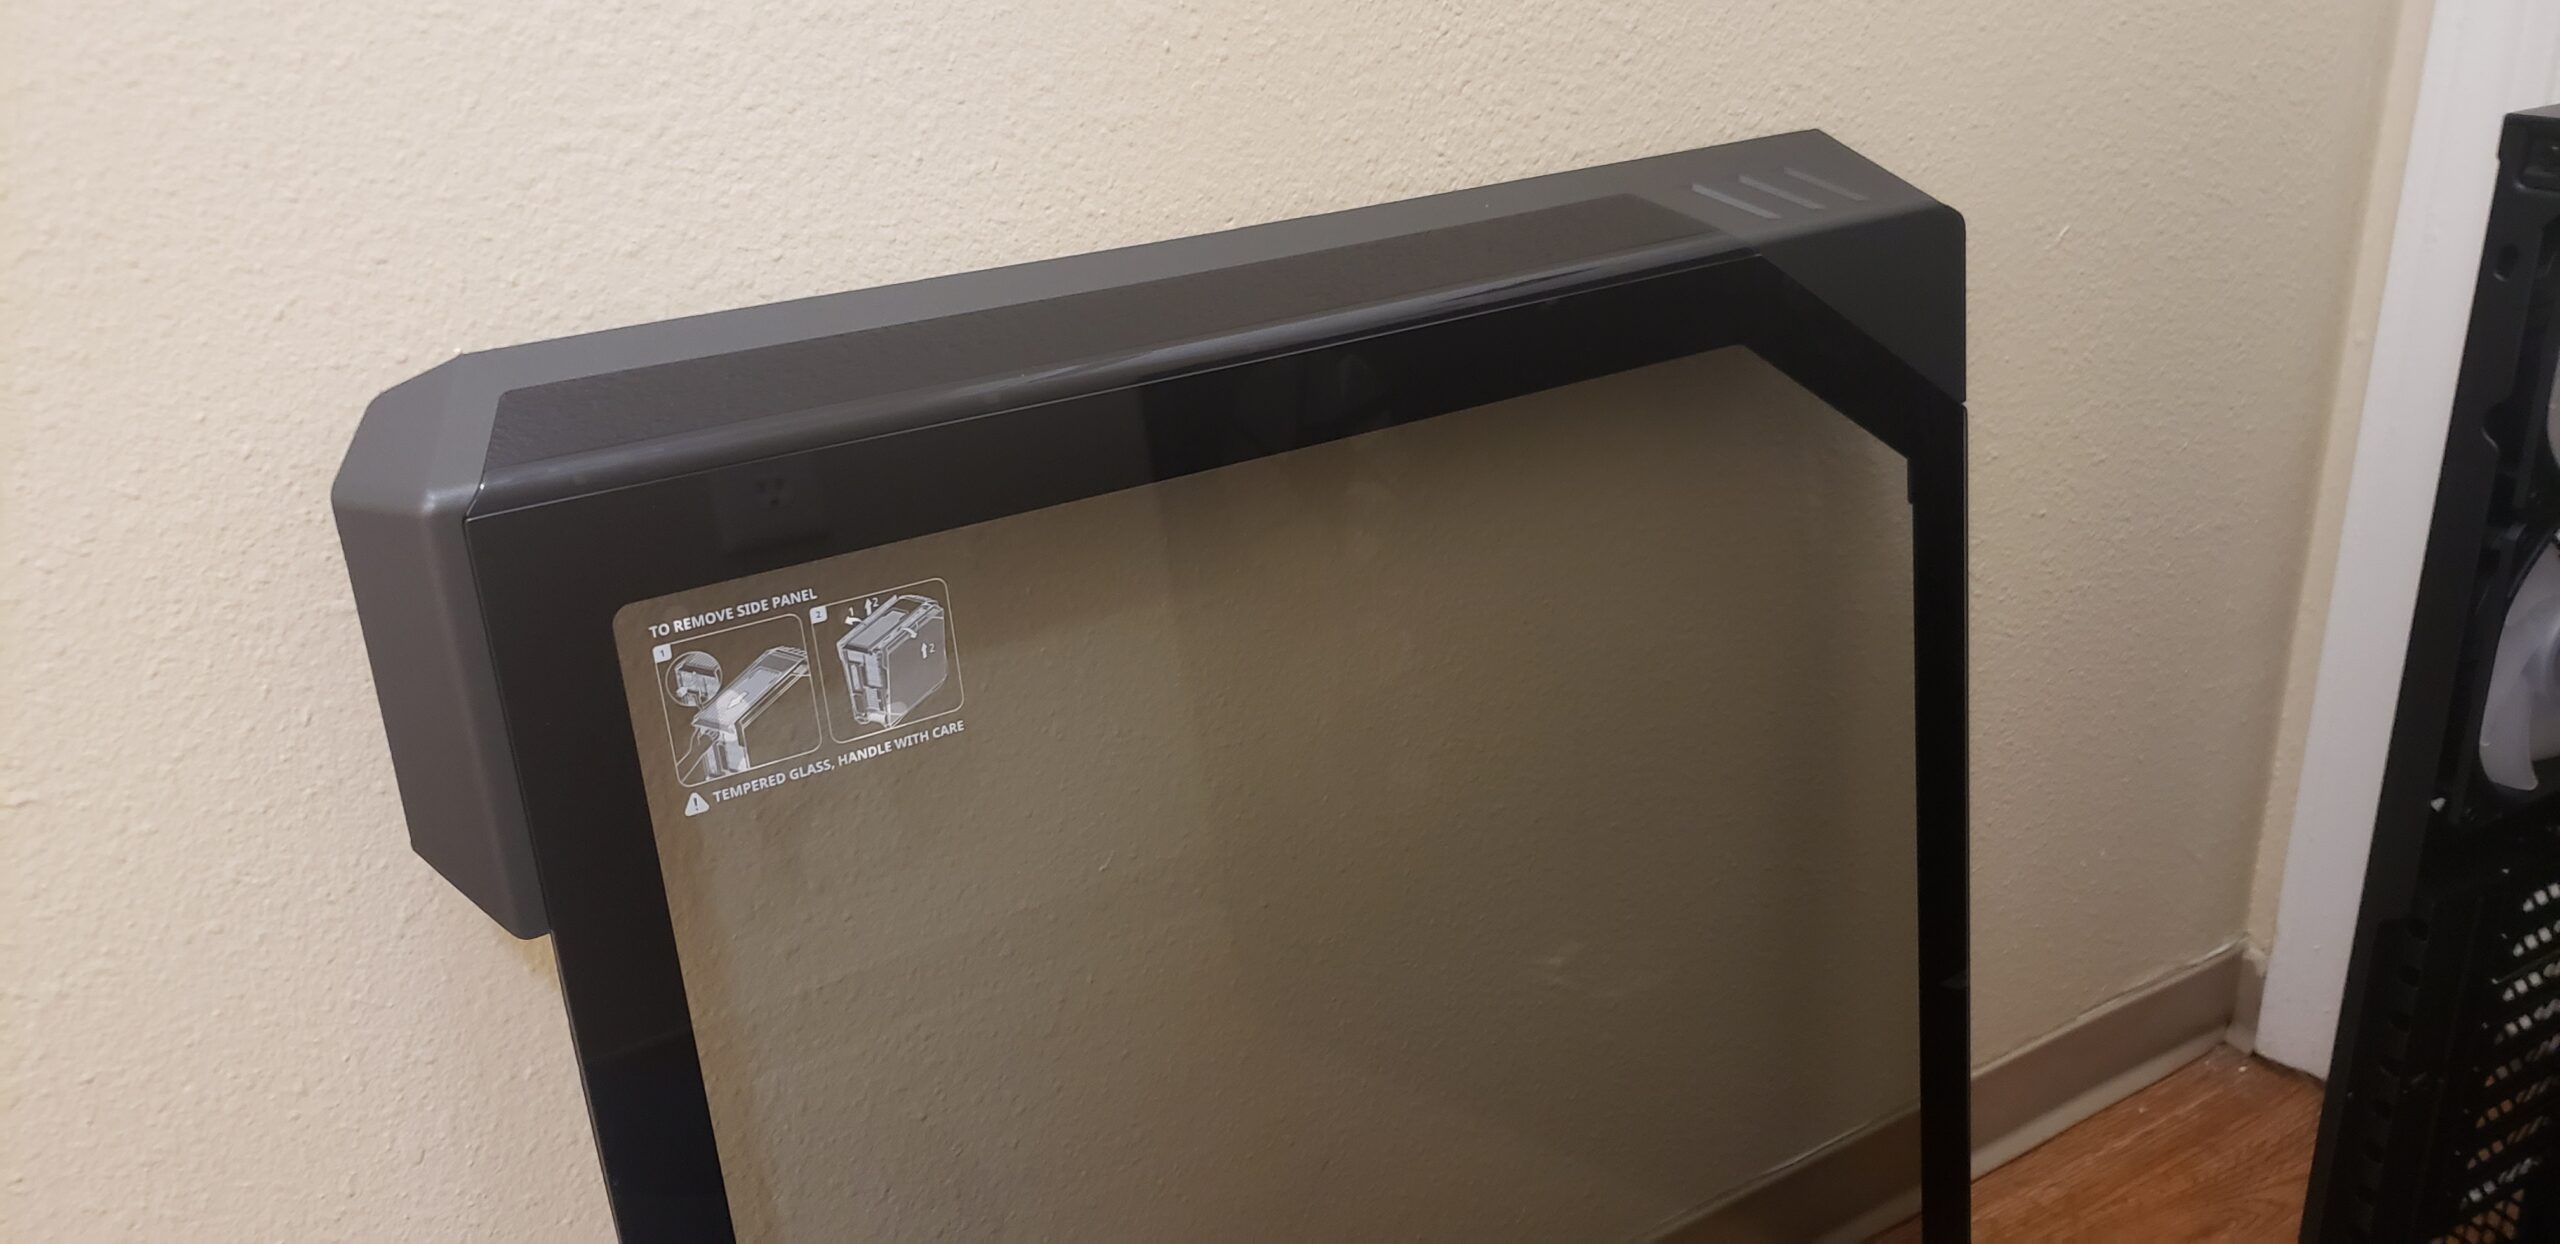
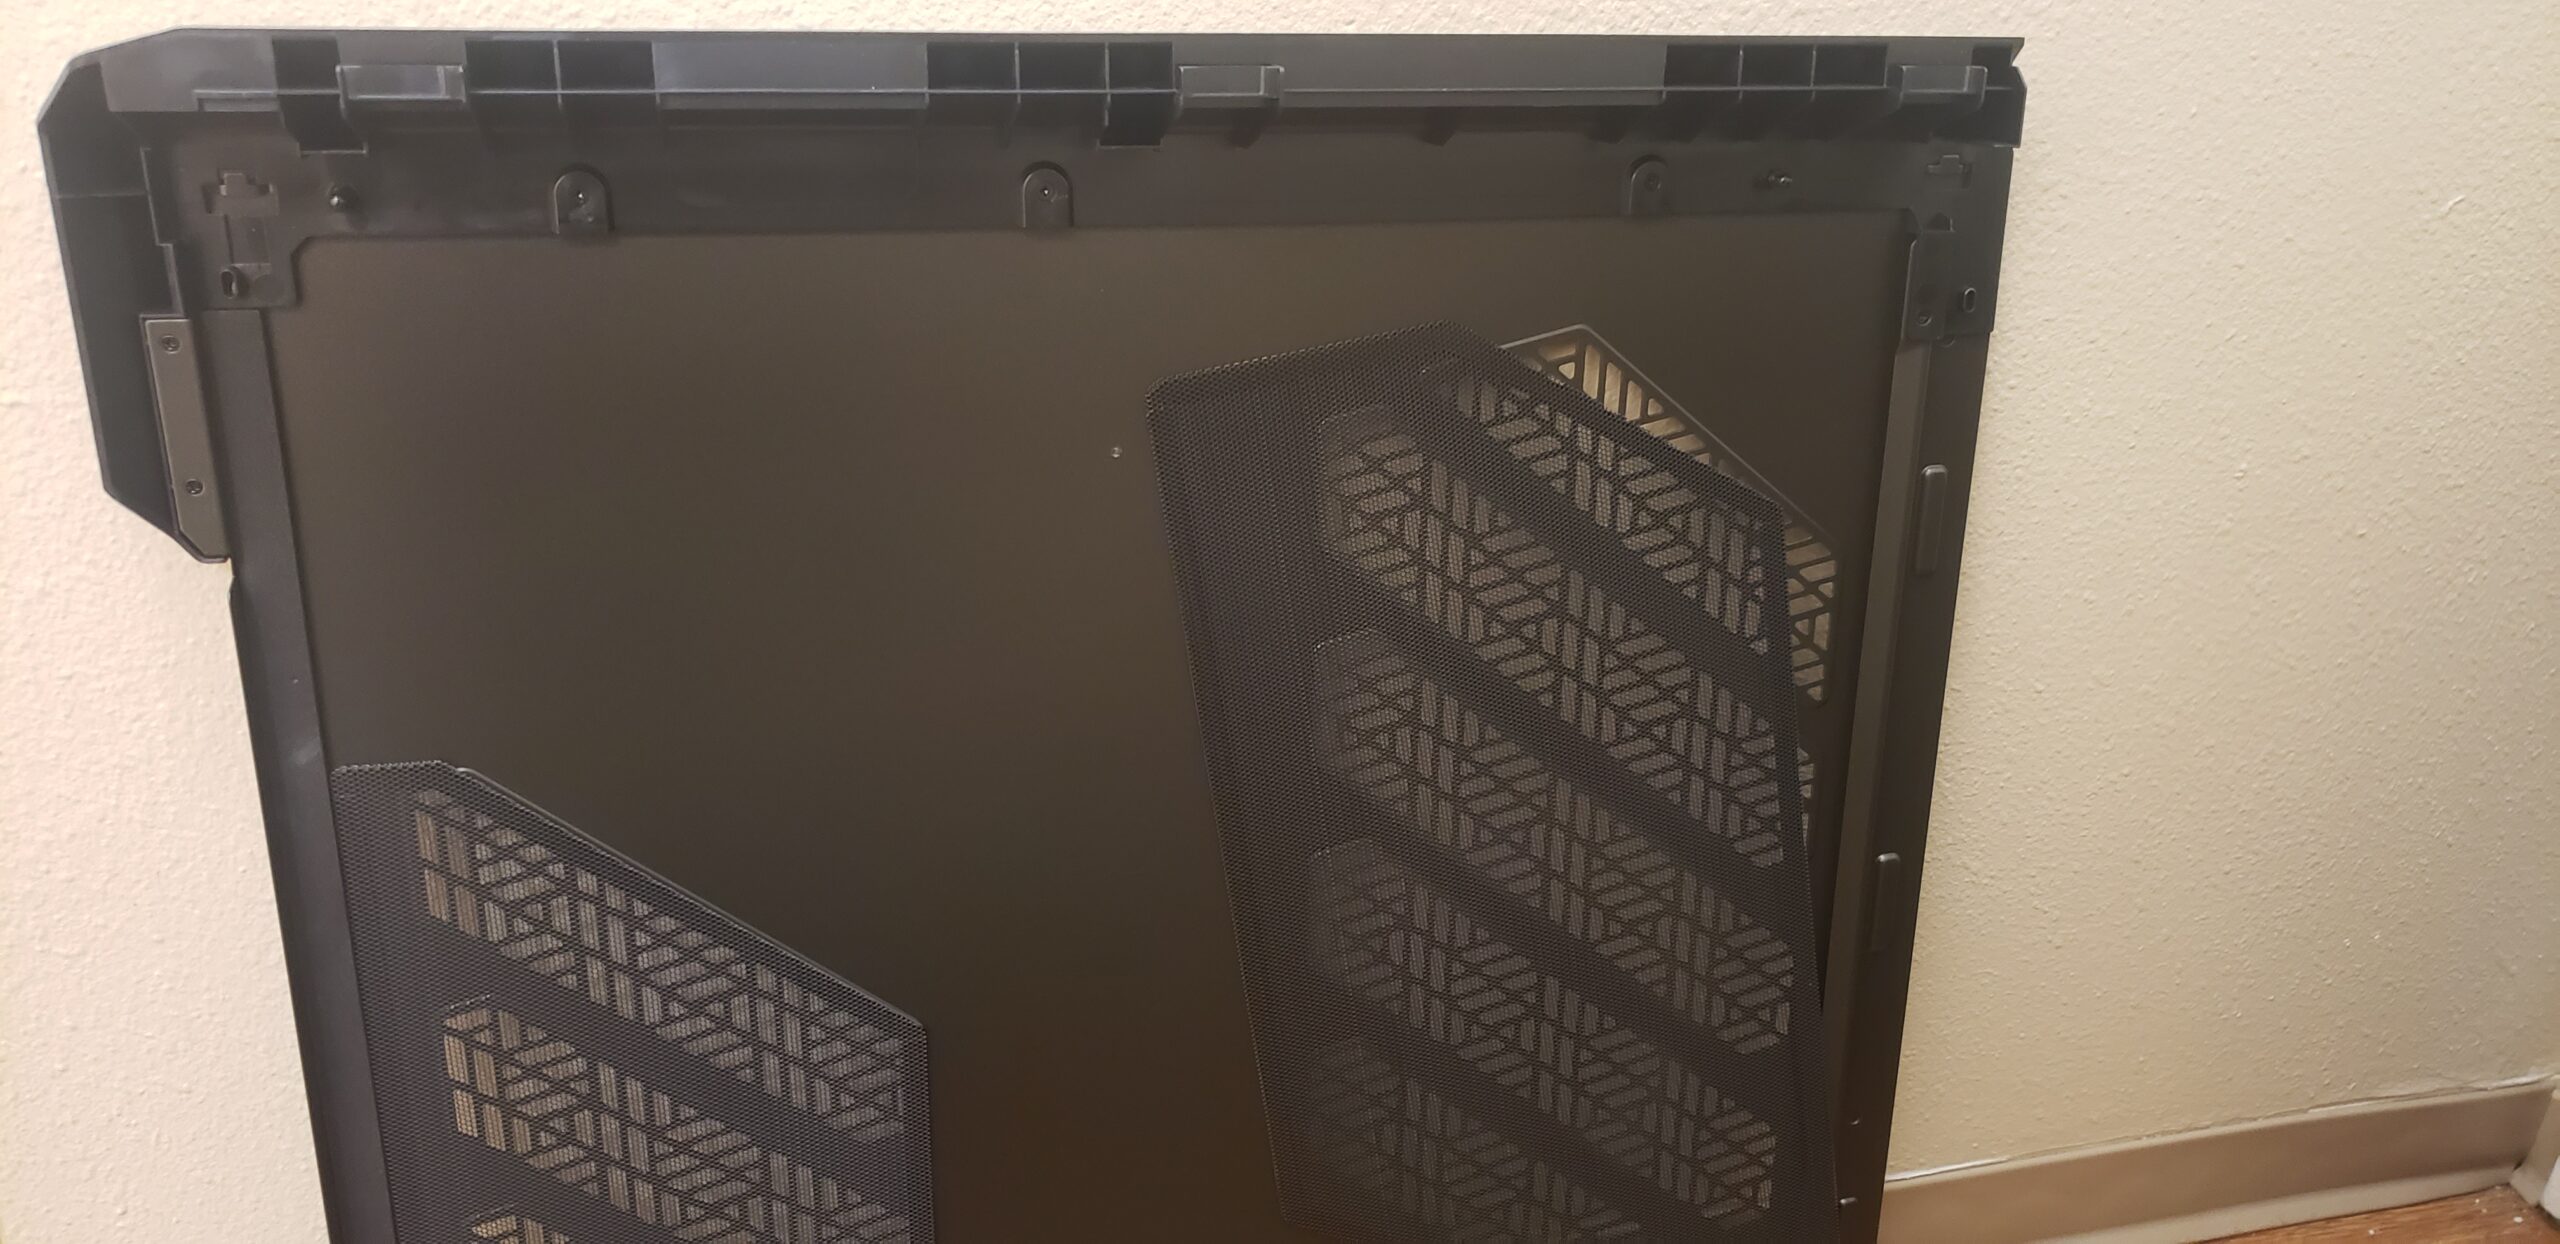
Cooler Master has accounted for the mundane reality of cleaning and maintenance. Removing all three of the panels on the HAF 700 is easily accomplished by removing a single (un-retained) thumbscrew and sliding the top cover to the rear. From there, the two remaining side panels angle out-and-up, giving ample access to the ginormous interior.

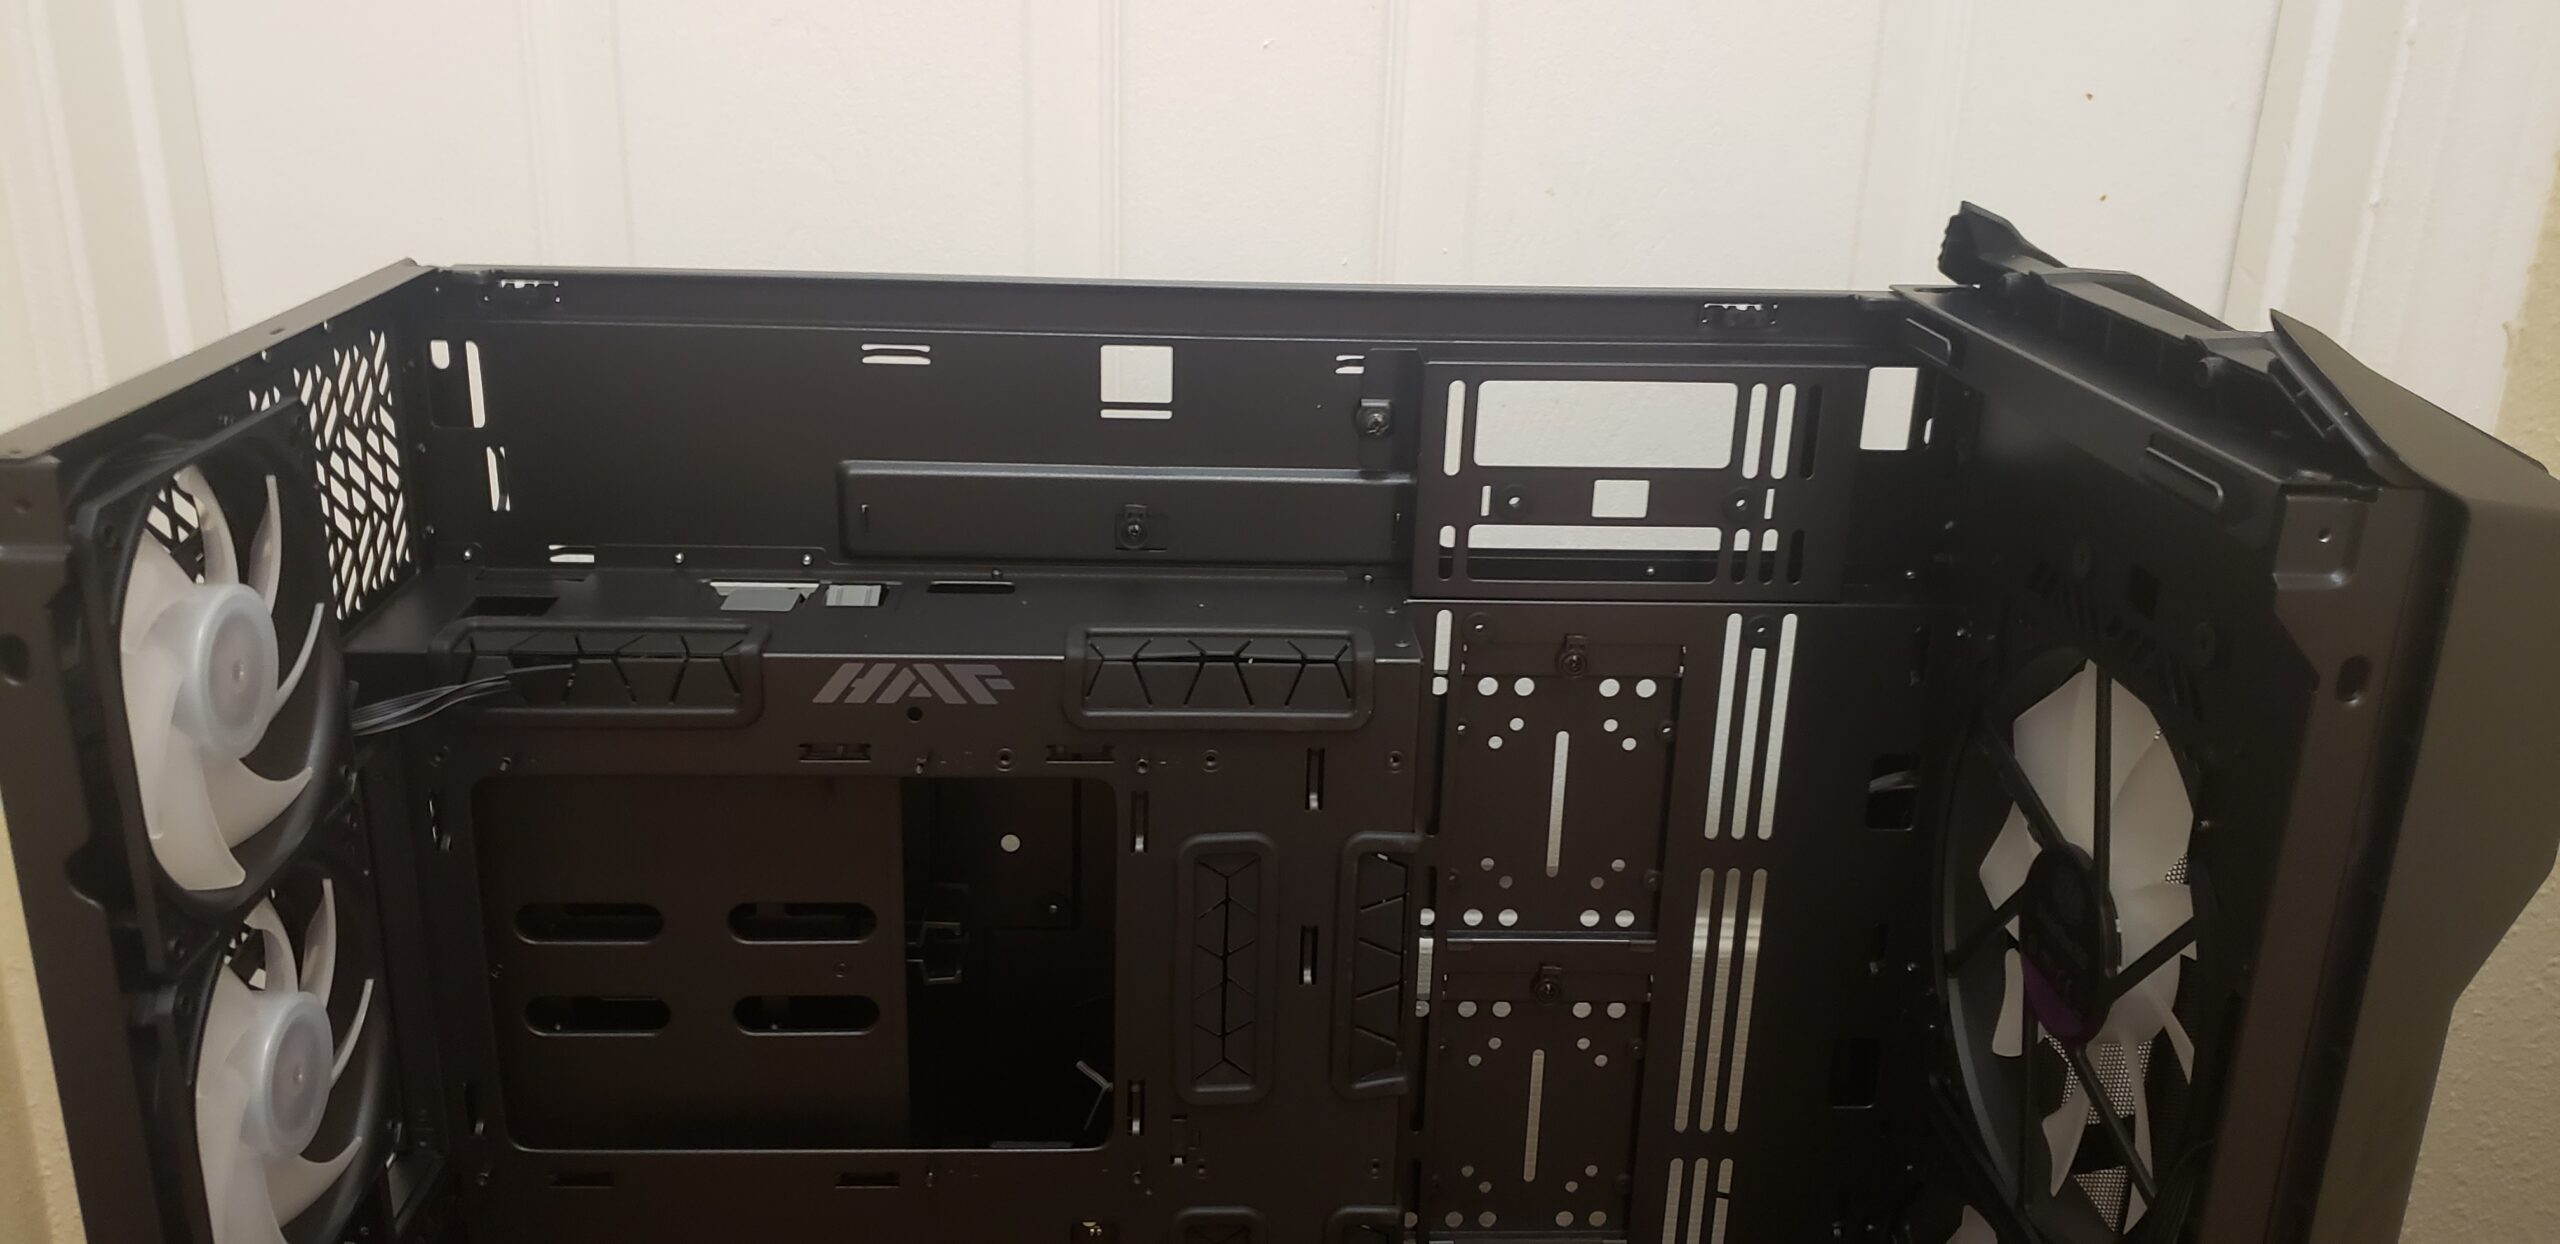
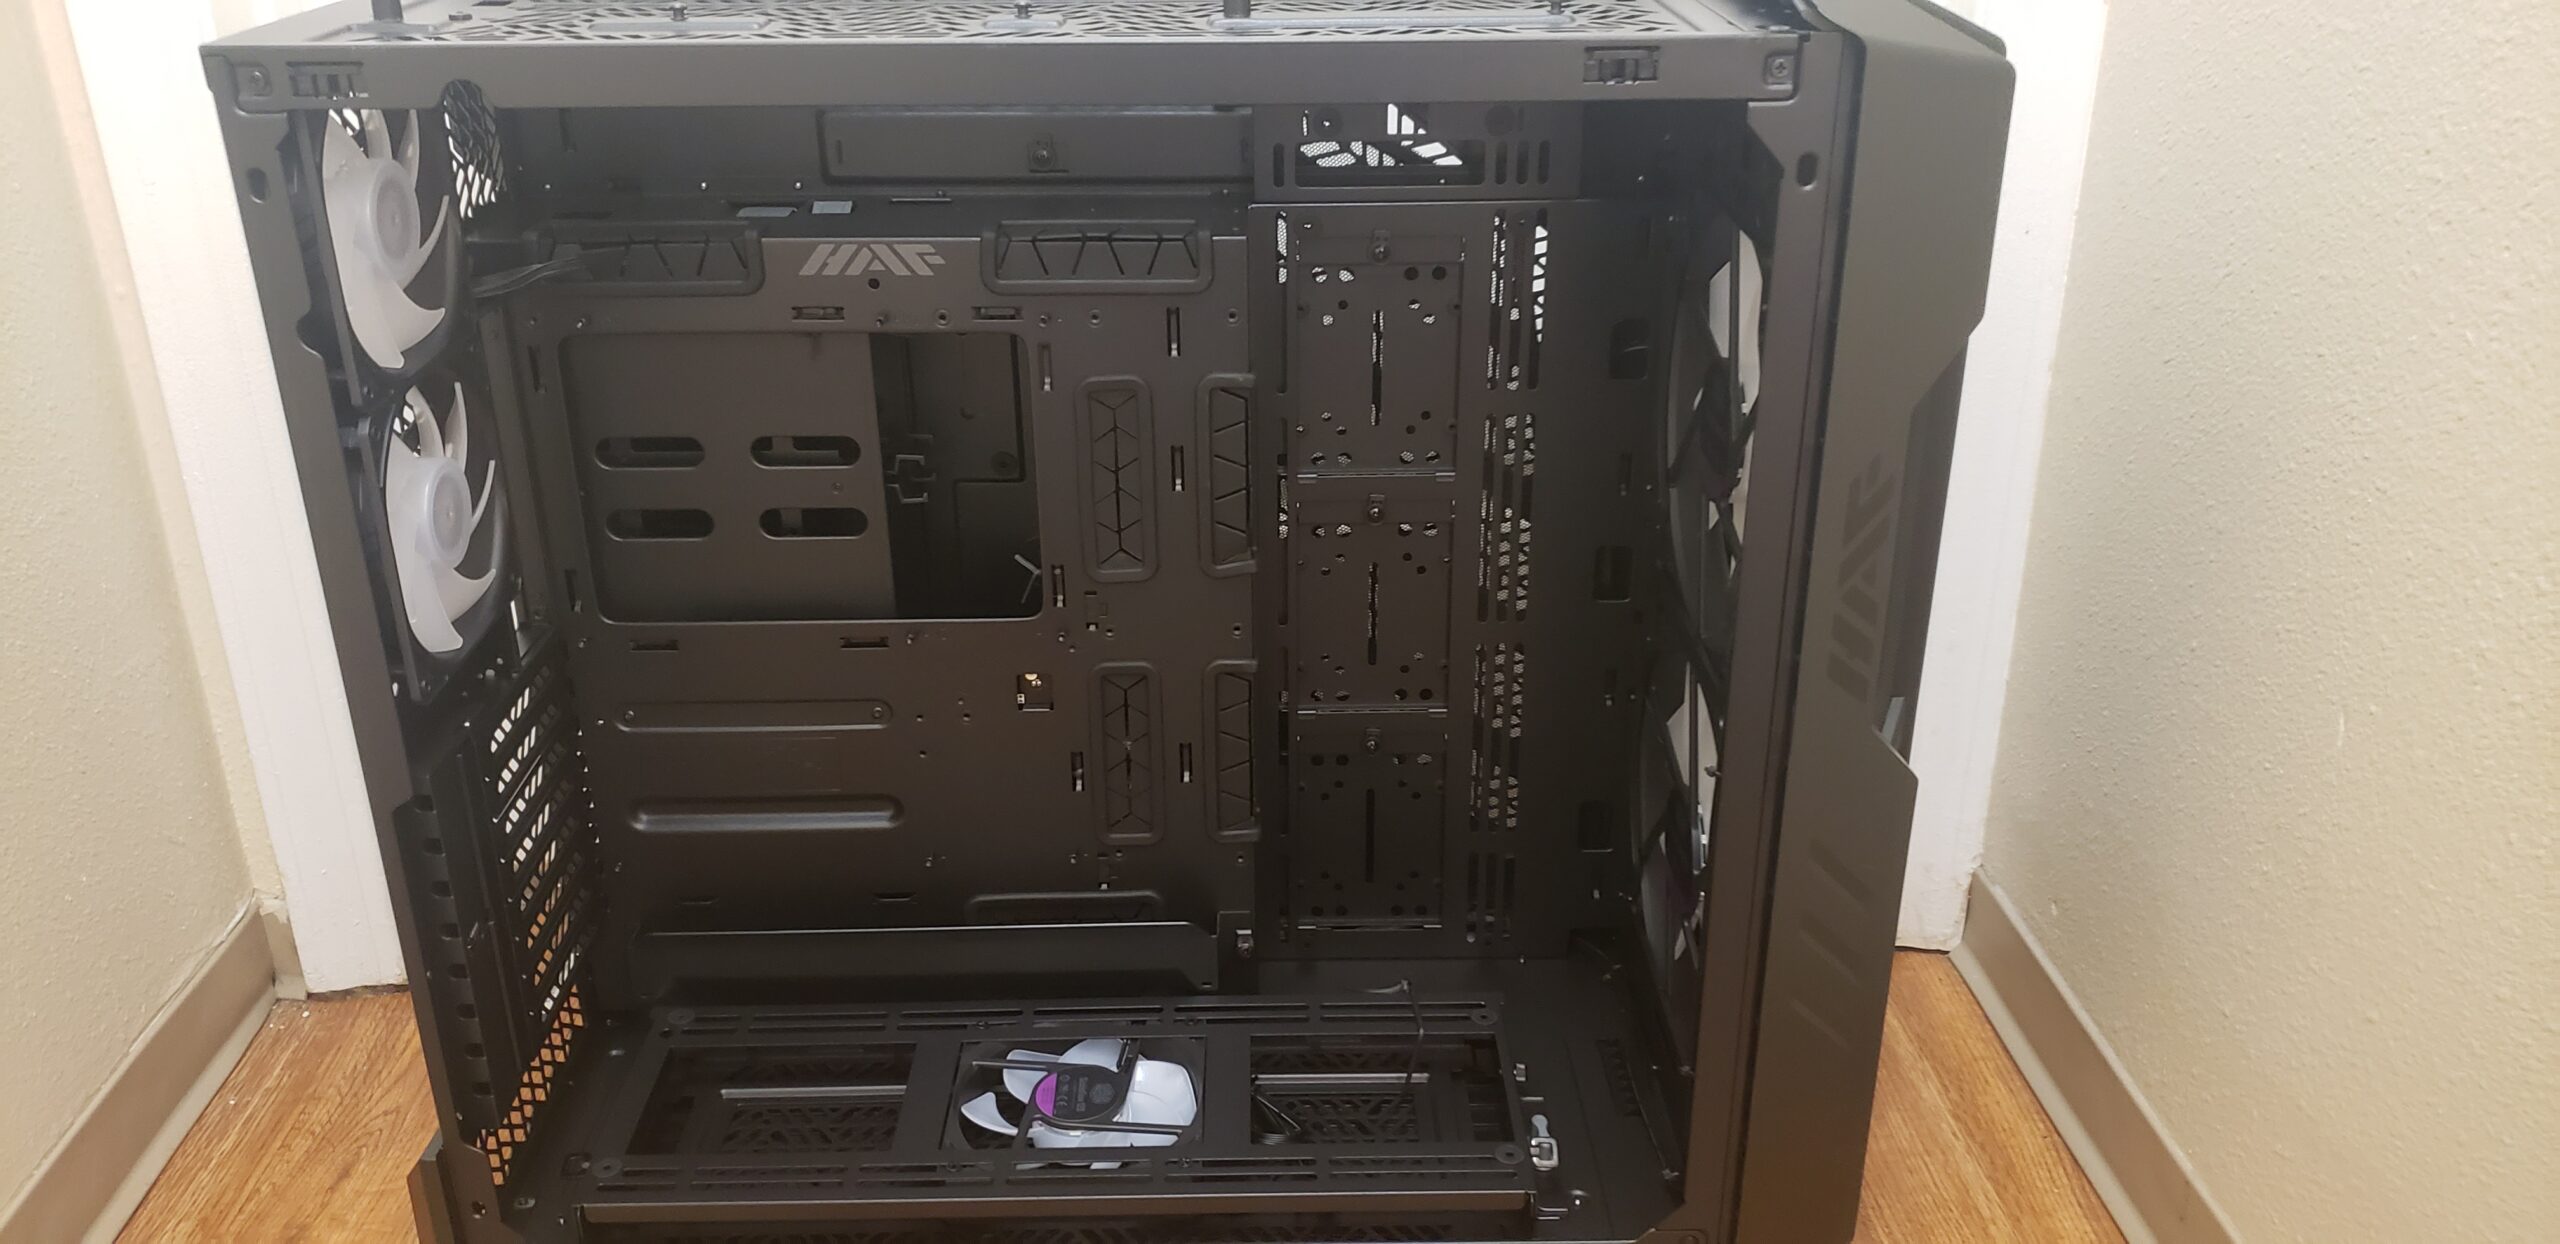
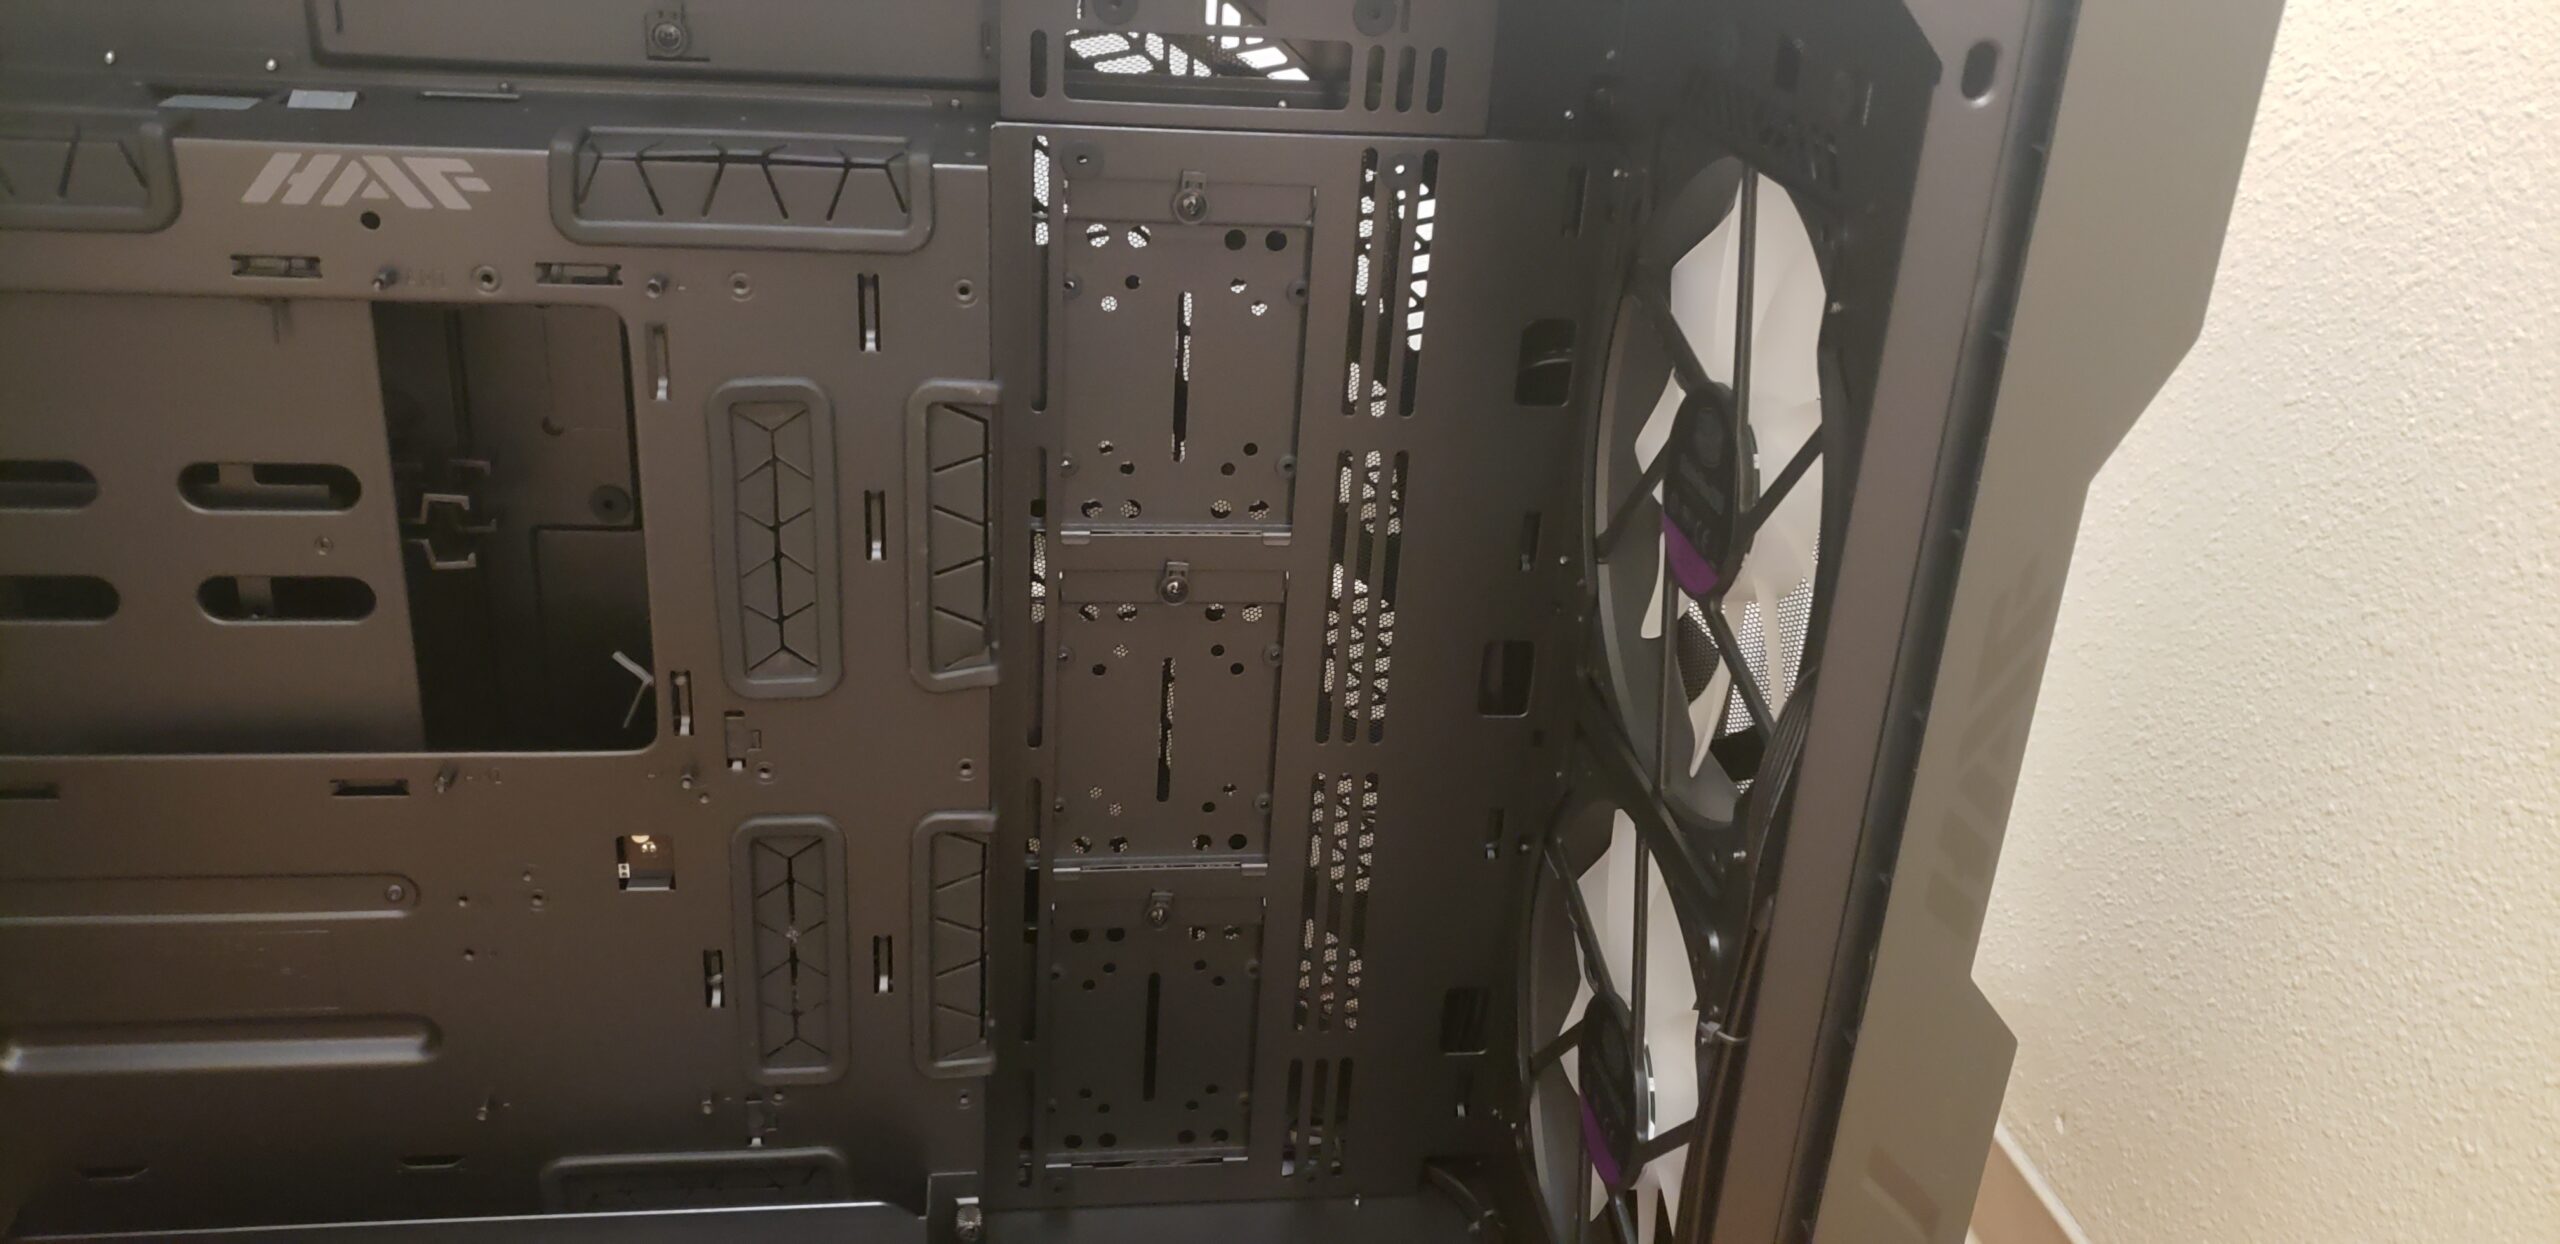
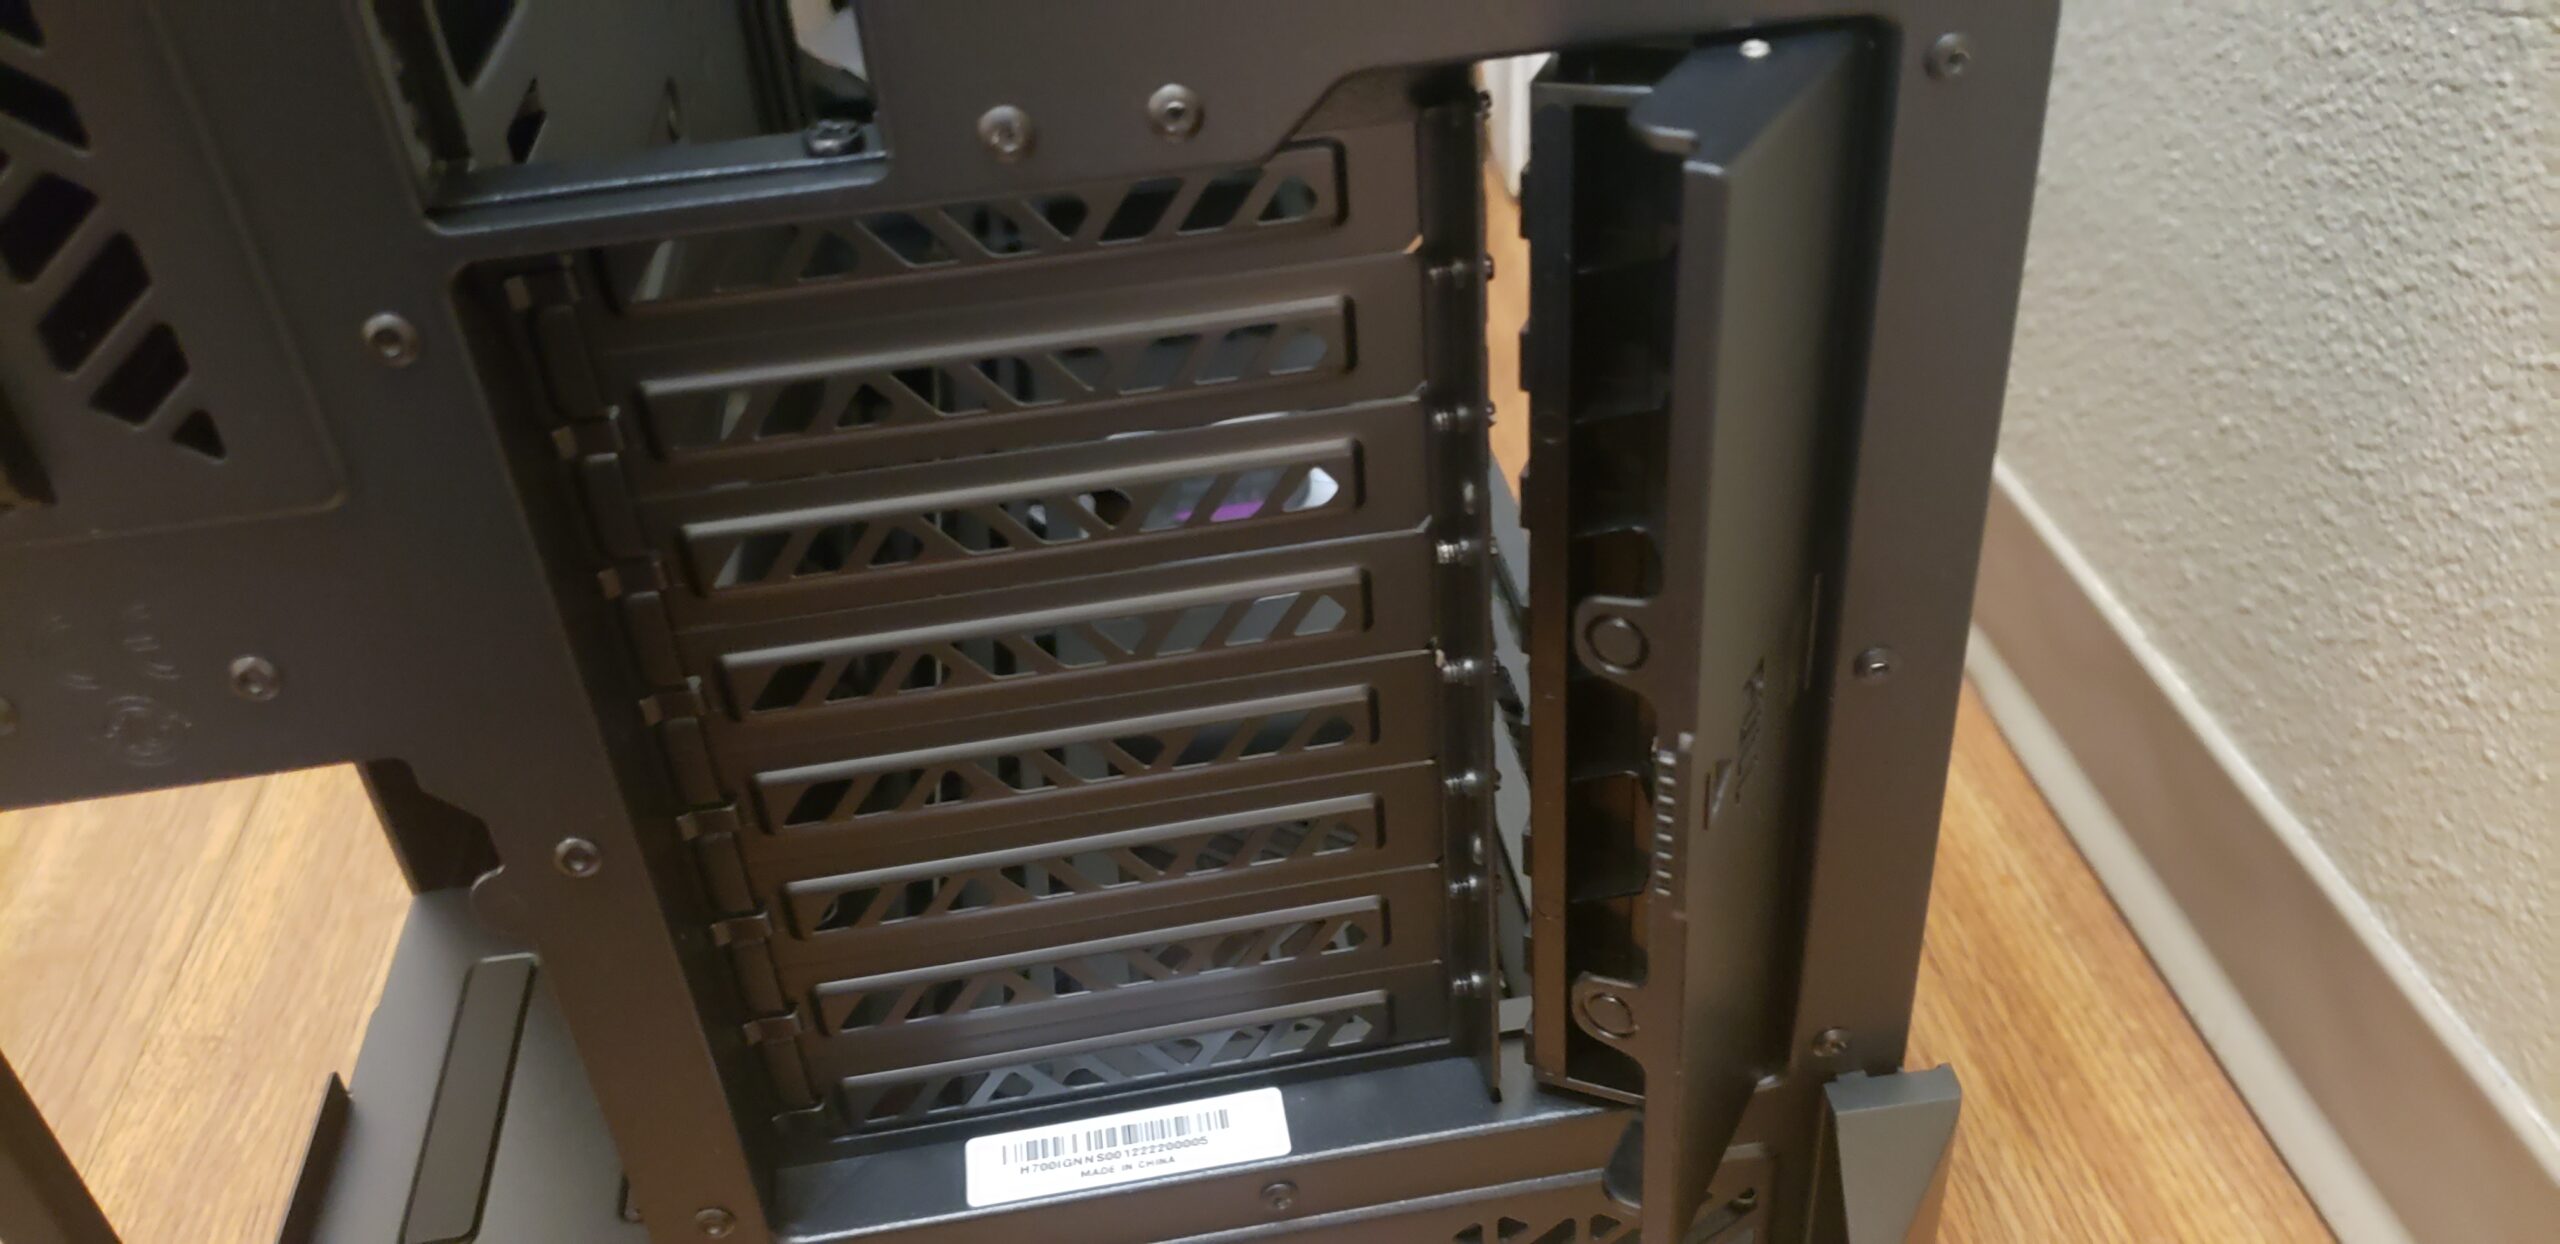
Once inside, you can remove the two screws holding the top metal panel in place and the full top comes off! This makes it easy for water cooling or getting into your rig for maintenance. Inside there’s a ton of cable management rubber grommets. We also find three modular brackets that hold a multitude of devices. These brackets are engineered to accept 2.5″ and 3.5″ drives, as well as common pumps and reservoirs for a custom loop. These mounts can be removed if you want to place up to 4x 120mm fans, up to a 480mm radiator, your favorite Funko Pop character, a crowbar, whatever you want.
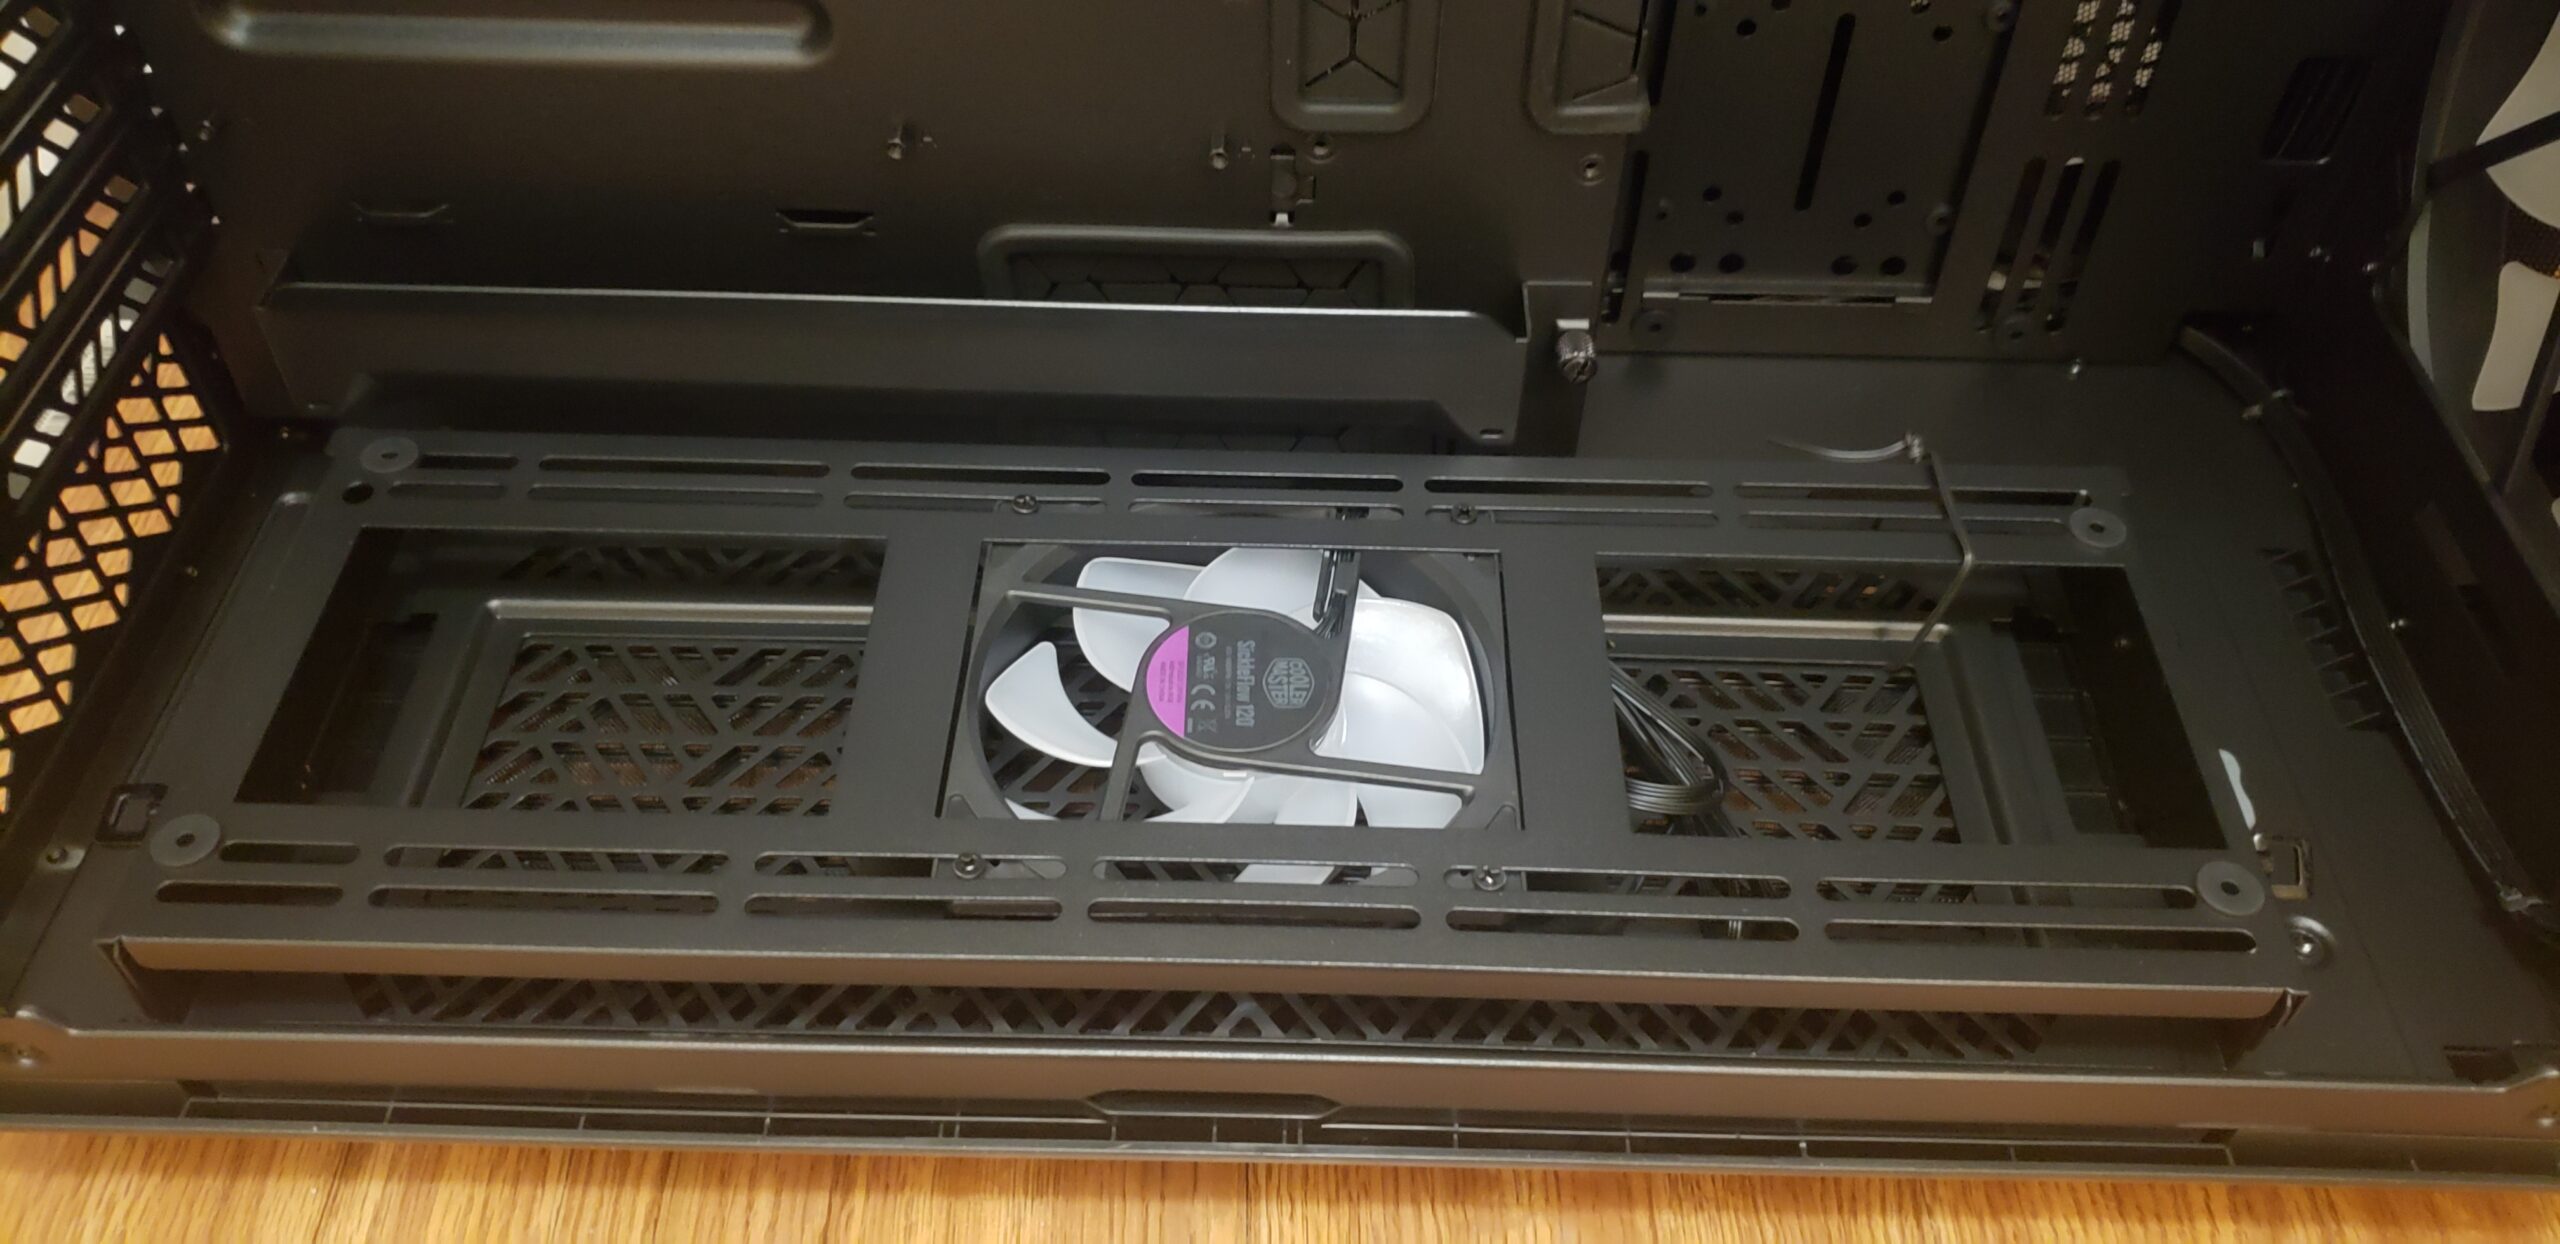
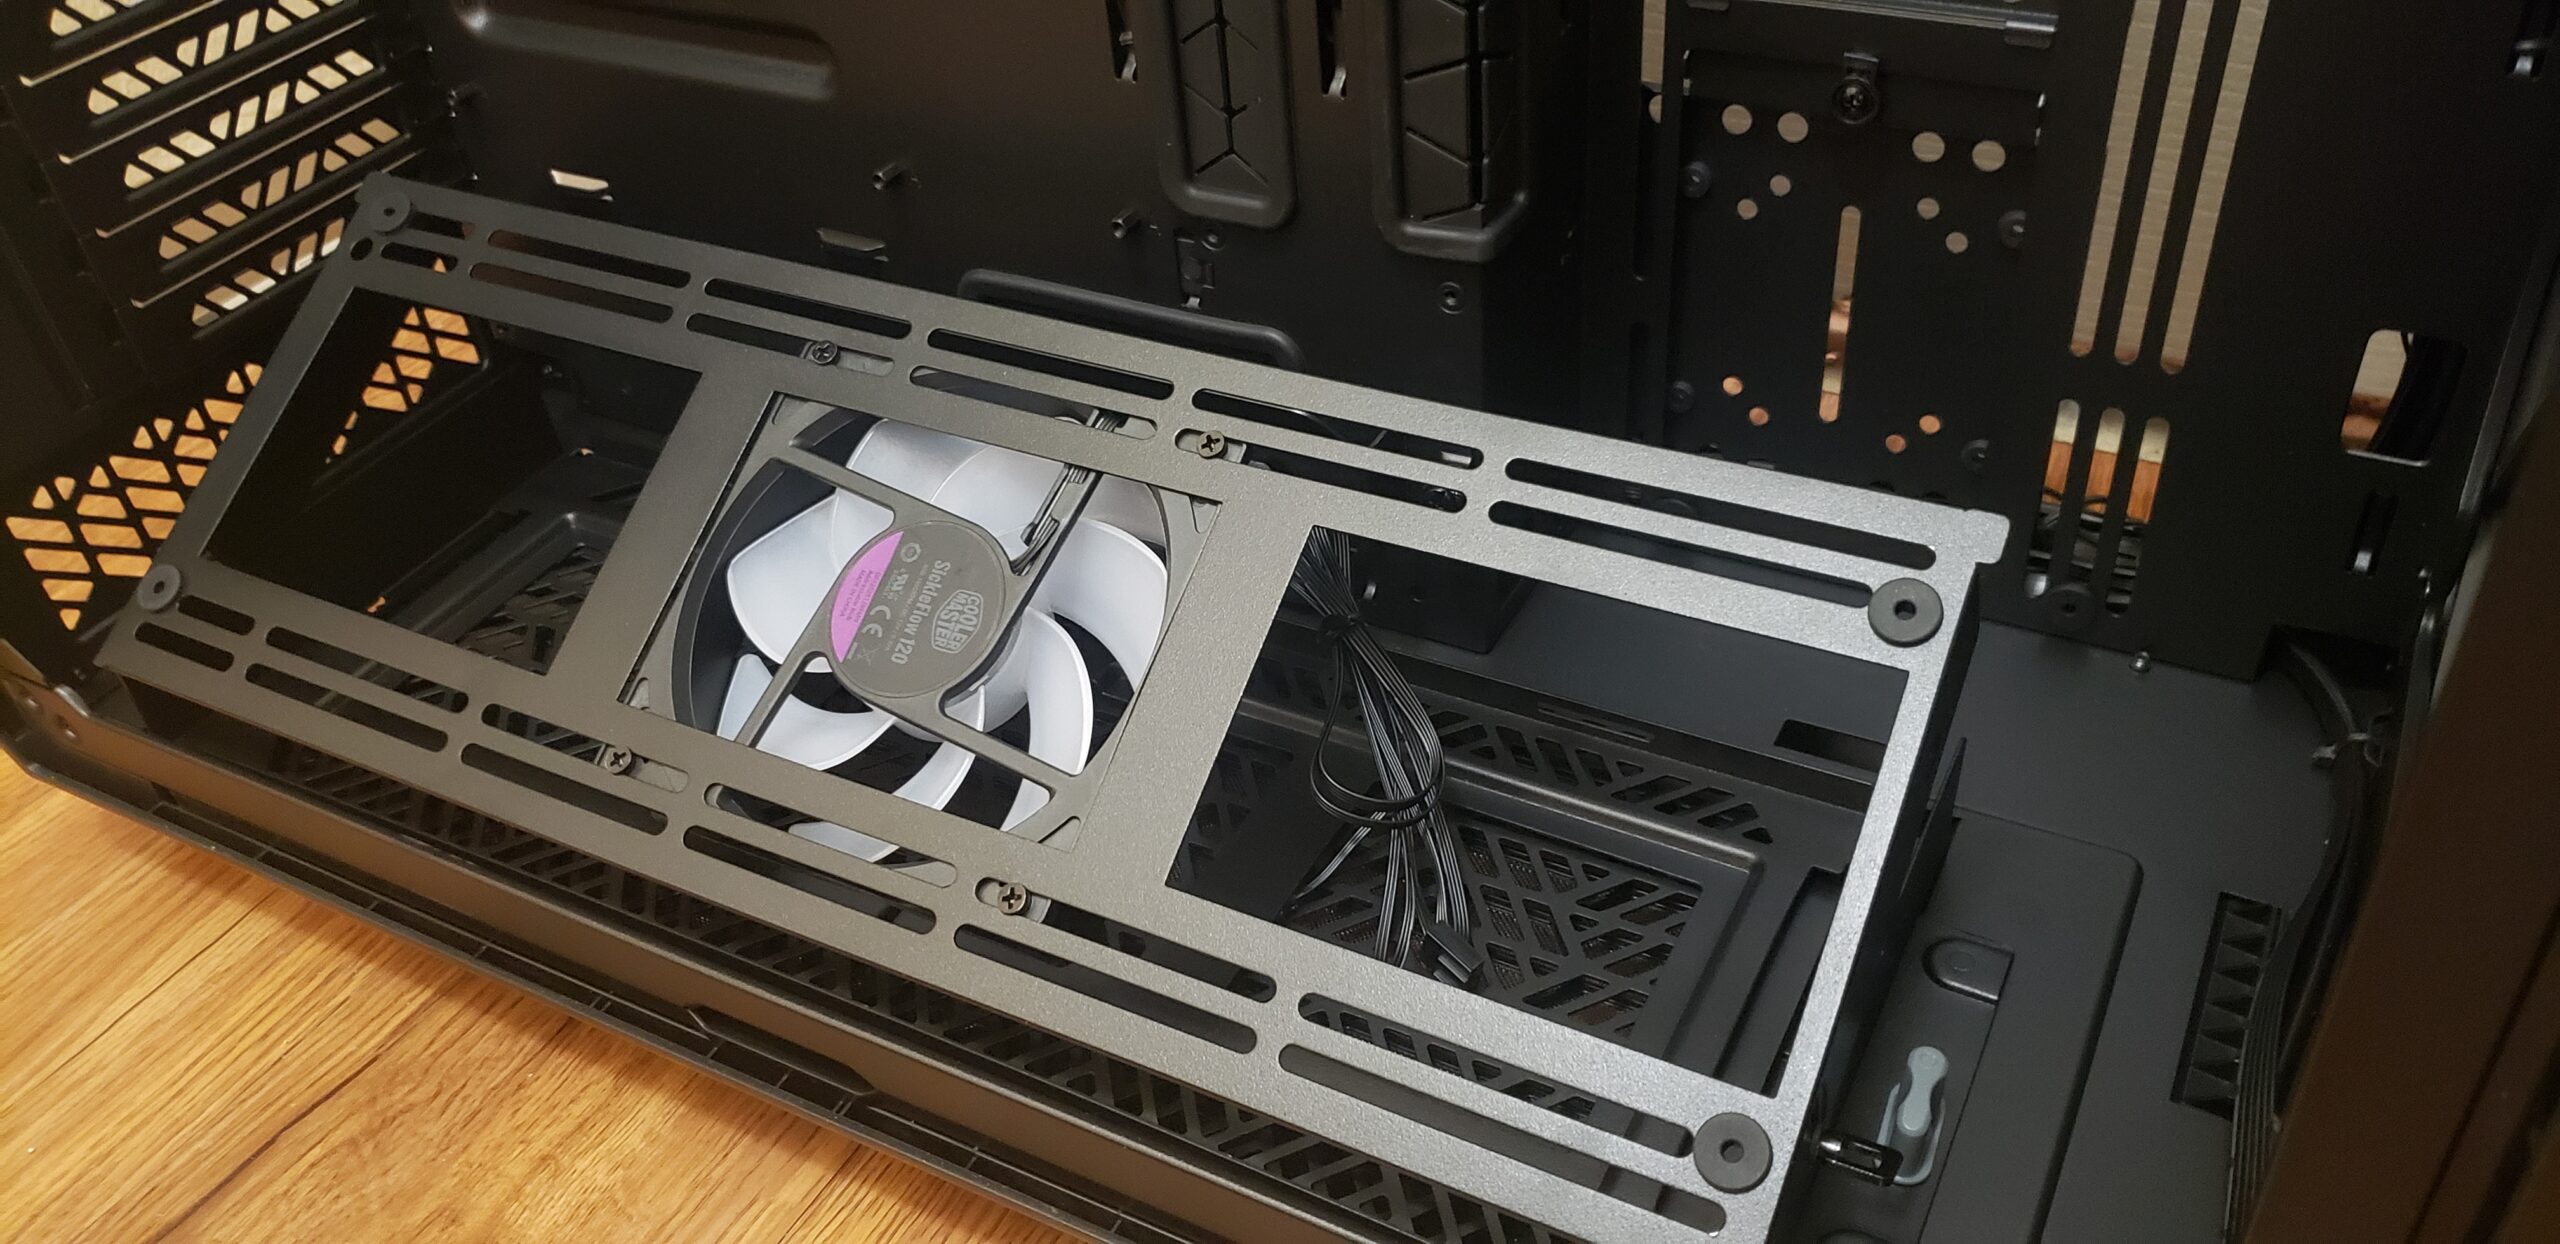
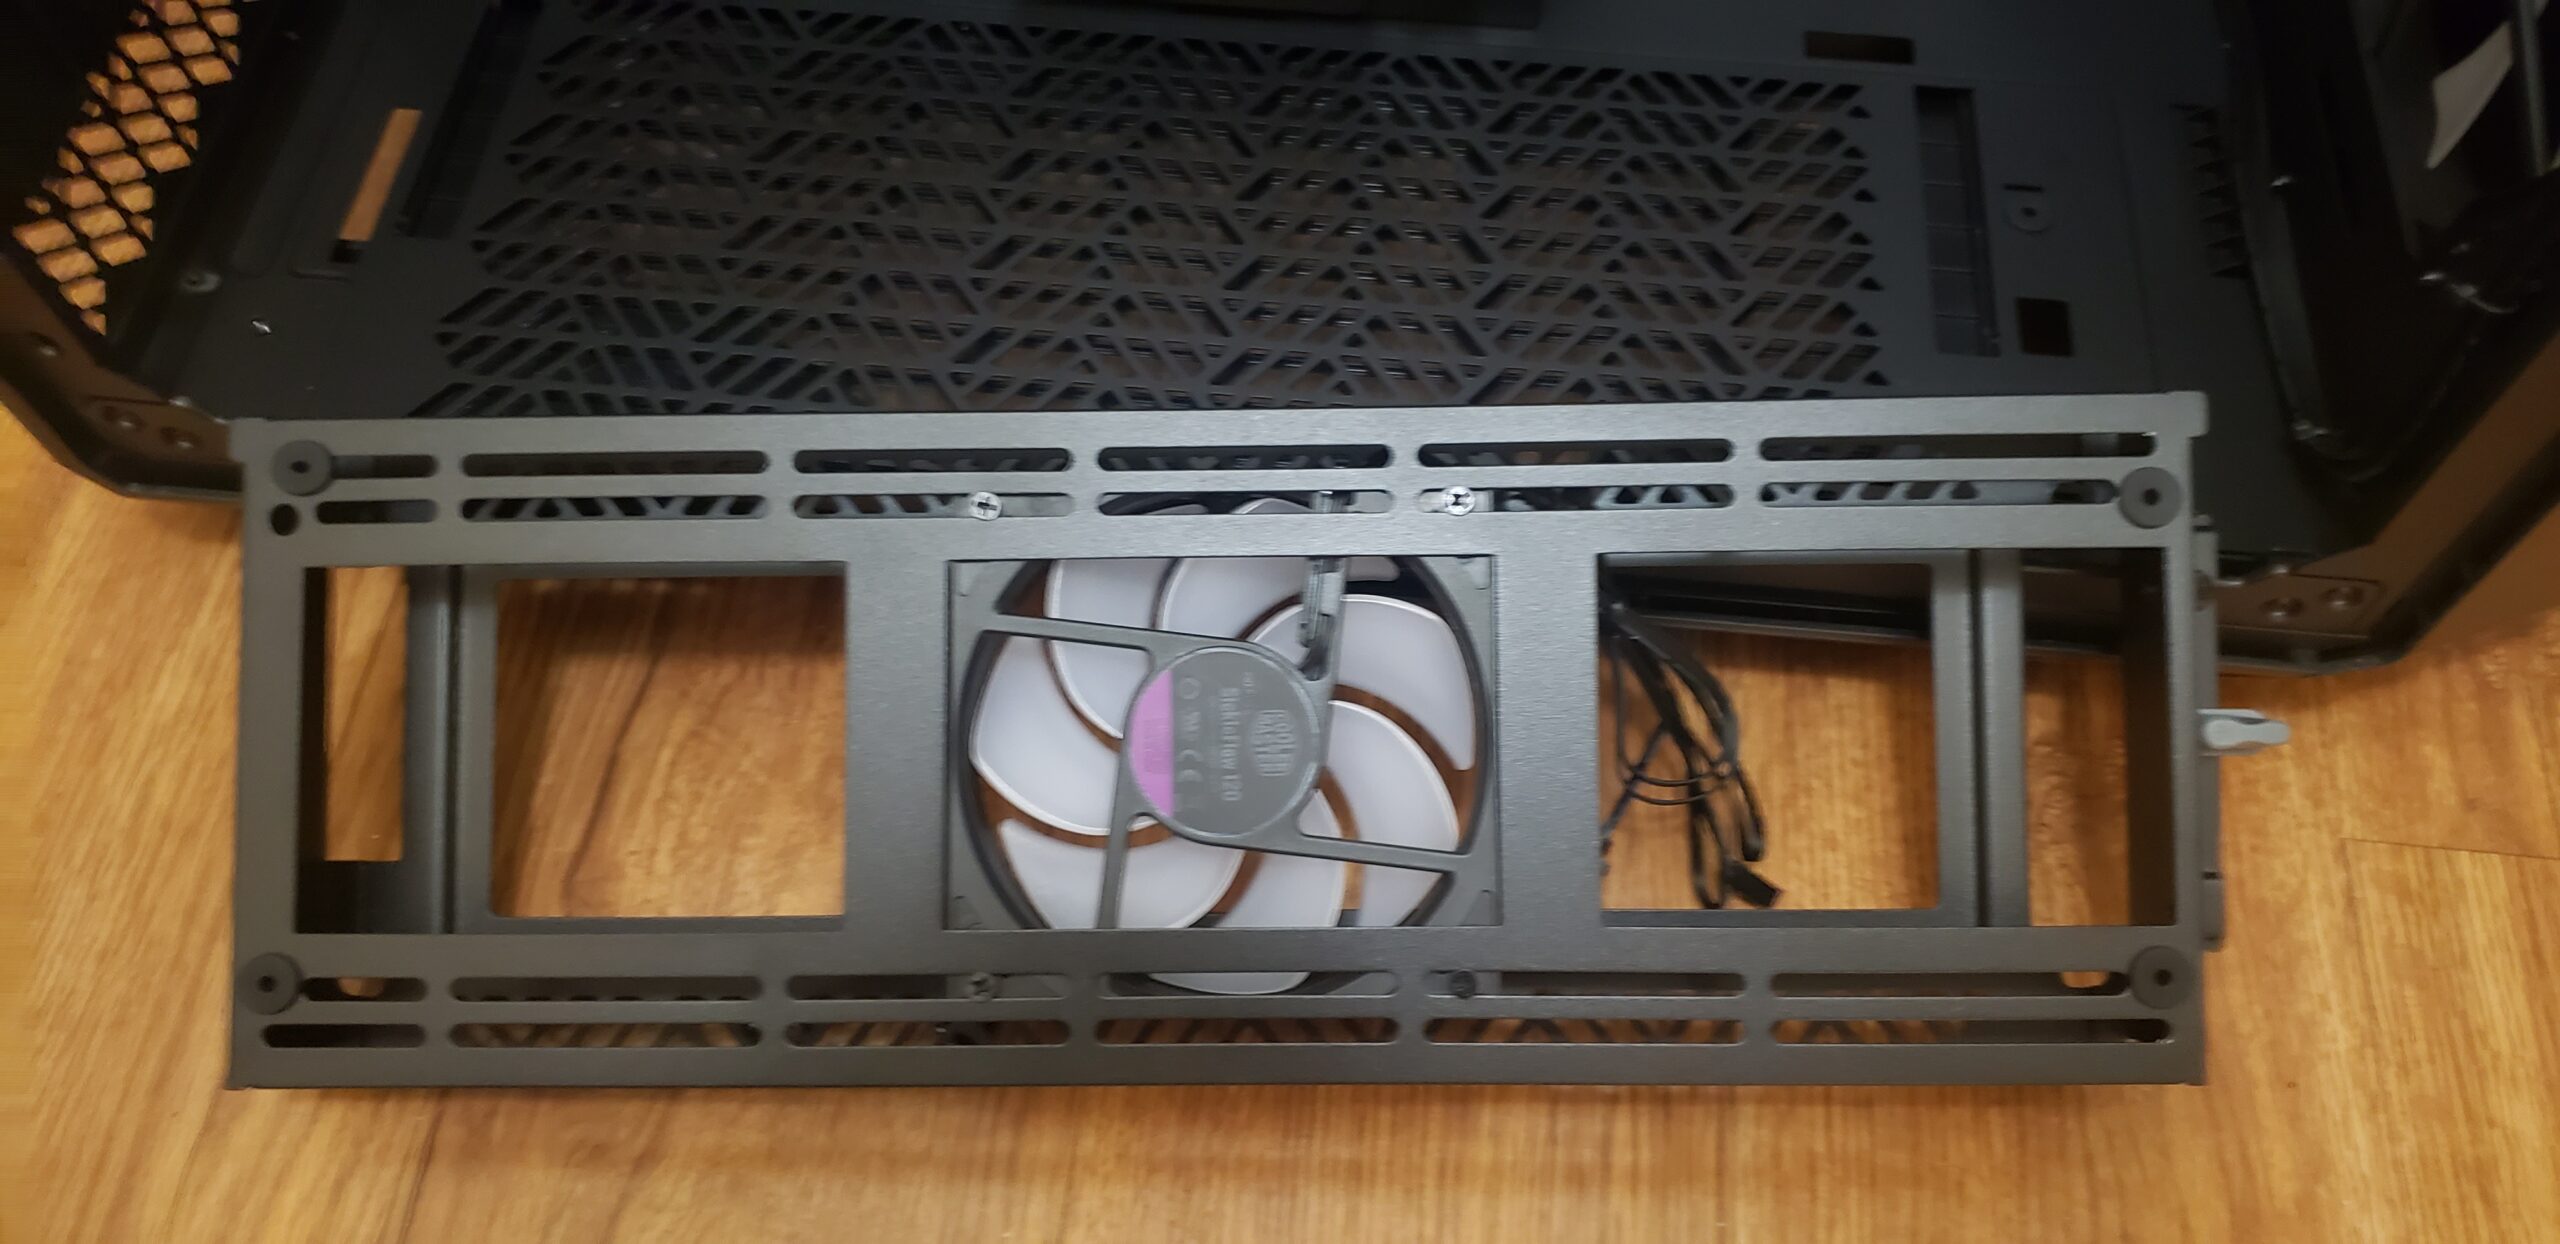
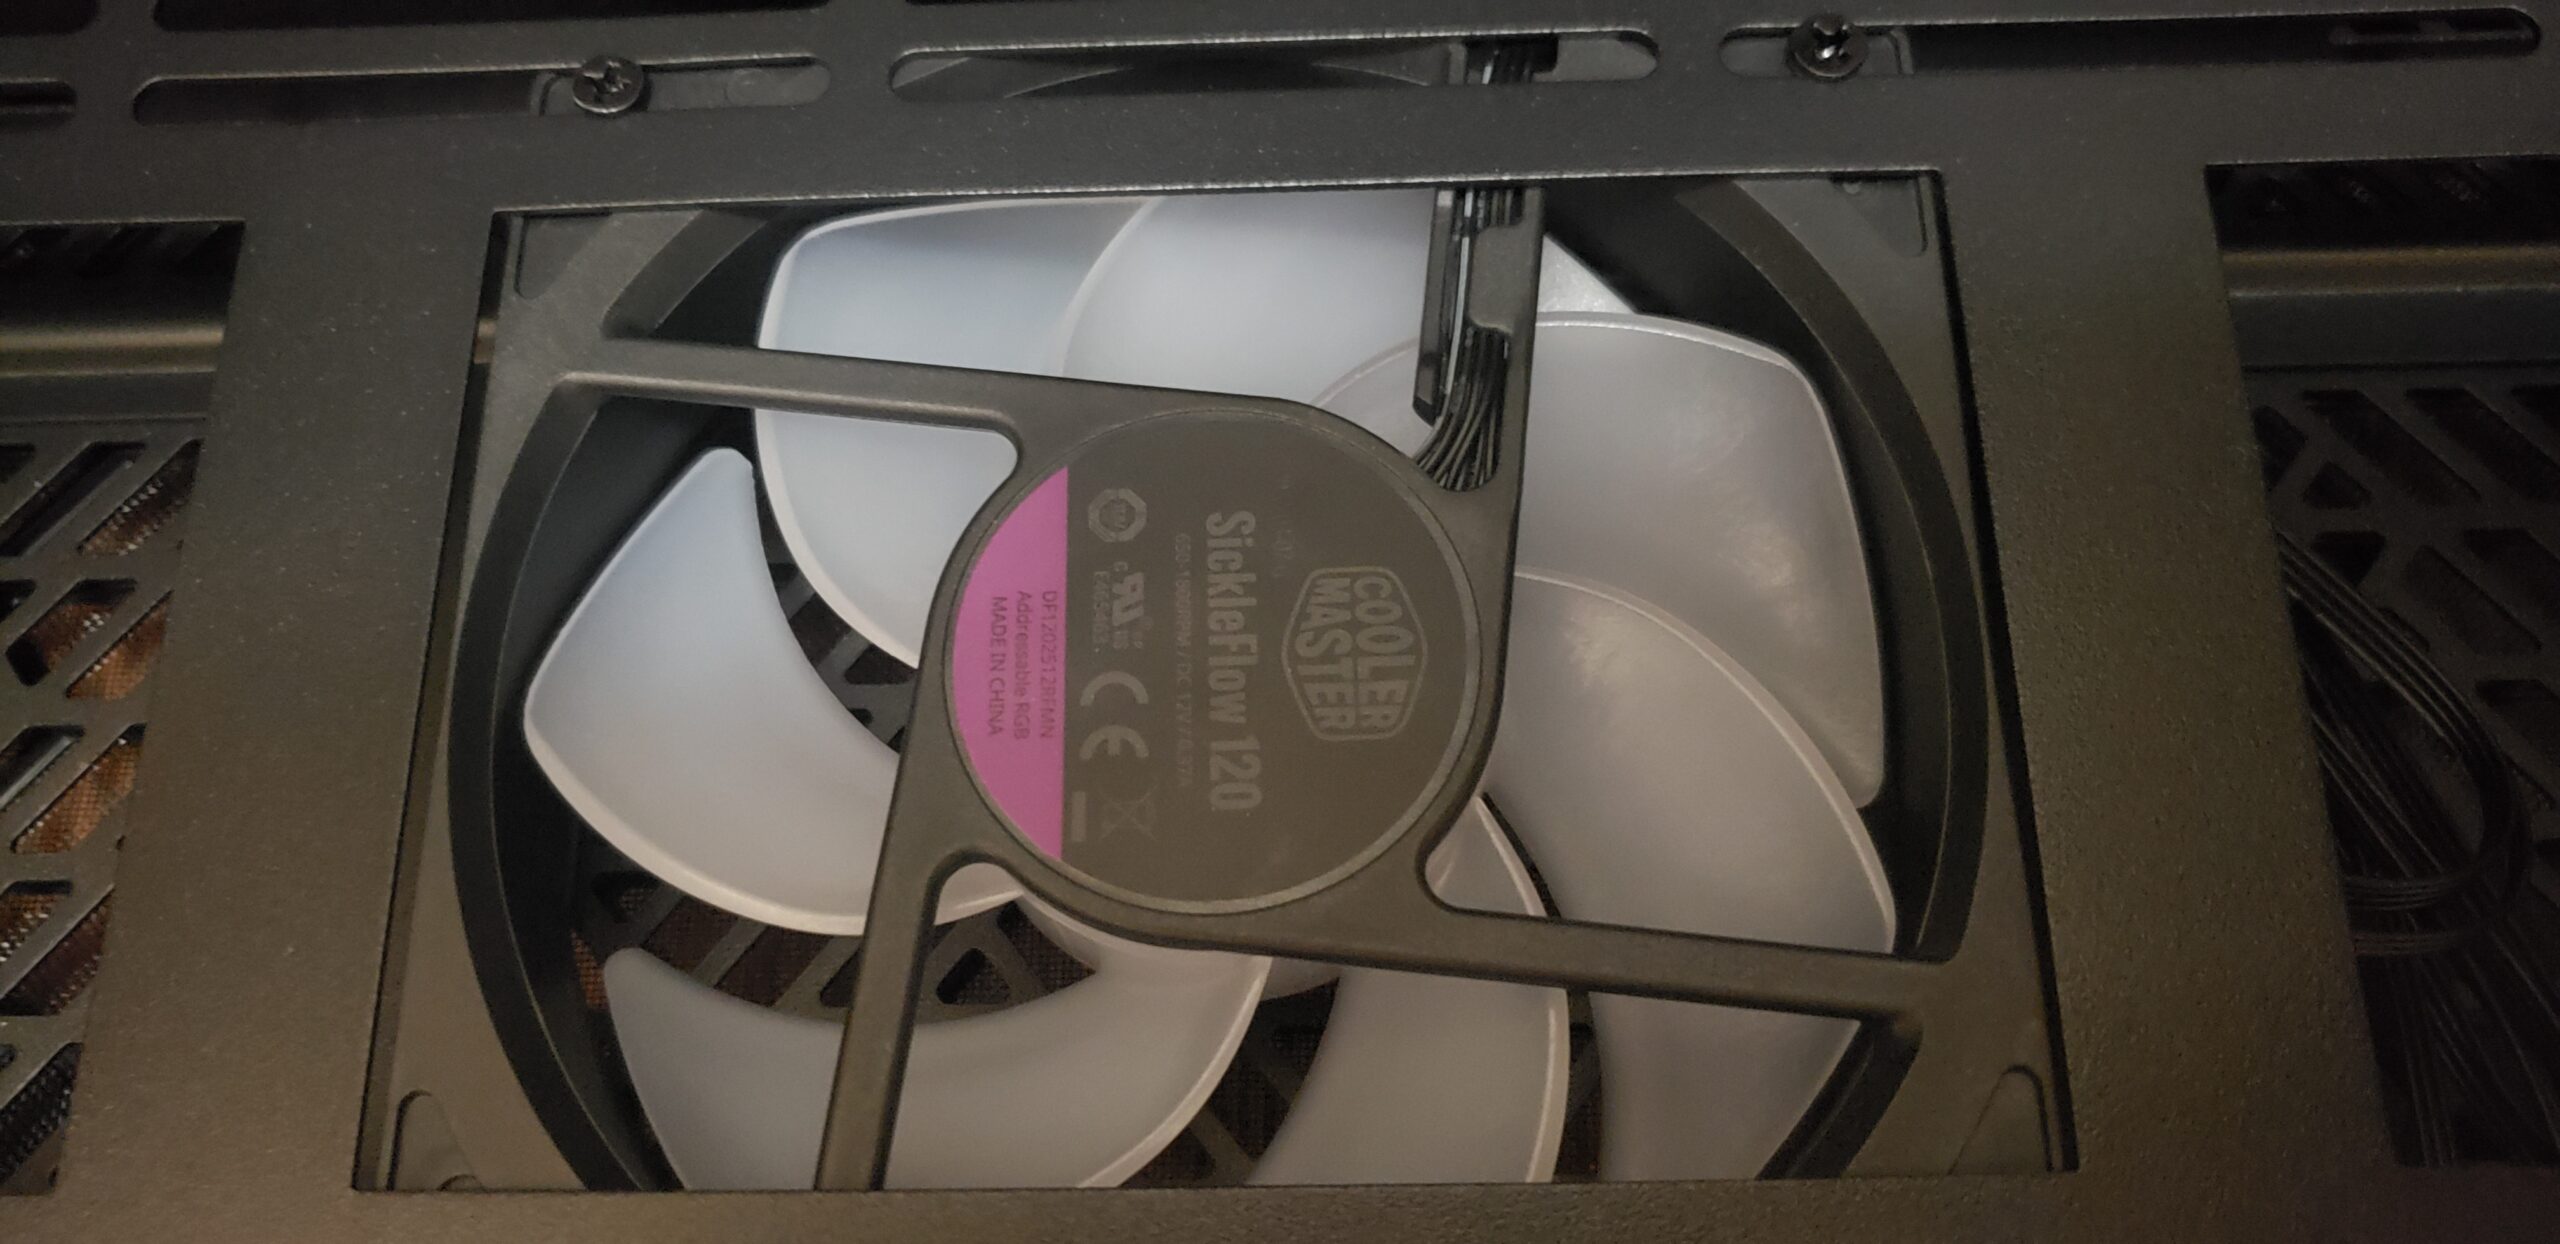

There is a bottom 360mm radiator bracket pre-installed on the bottom with a SickleFlow 120mm fan. And what’s this? It can rotate to show off your beautiful radiators on the bottom. I also see ample room for a 420mm radiator up front and a 240mm in the rear. If you’re doing water cooling in this case, be prepared to put at least “half” a gallon of water in there.
Cooler Master claims that their Vertical GPU Holder Kit V2/V3 is compatible in the HAF 700. For the price and configurability of the case, I would have expected a vertical GPU option included. This even more so with the manufacturer’s claims of
Any sized graphics cards in BOTH horizontal and vertical orientations
With that said, the included eight expansion slots for PCI / PCIe on the rear of the case is ample for any motherboard you could ever want to put into this case.
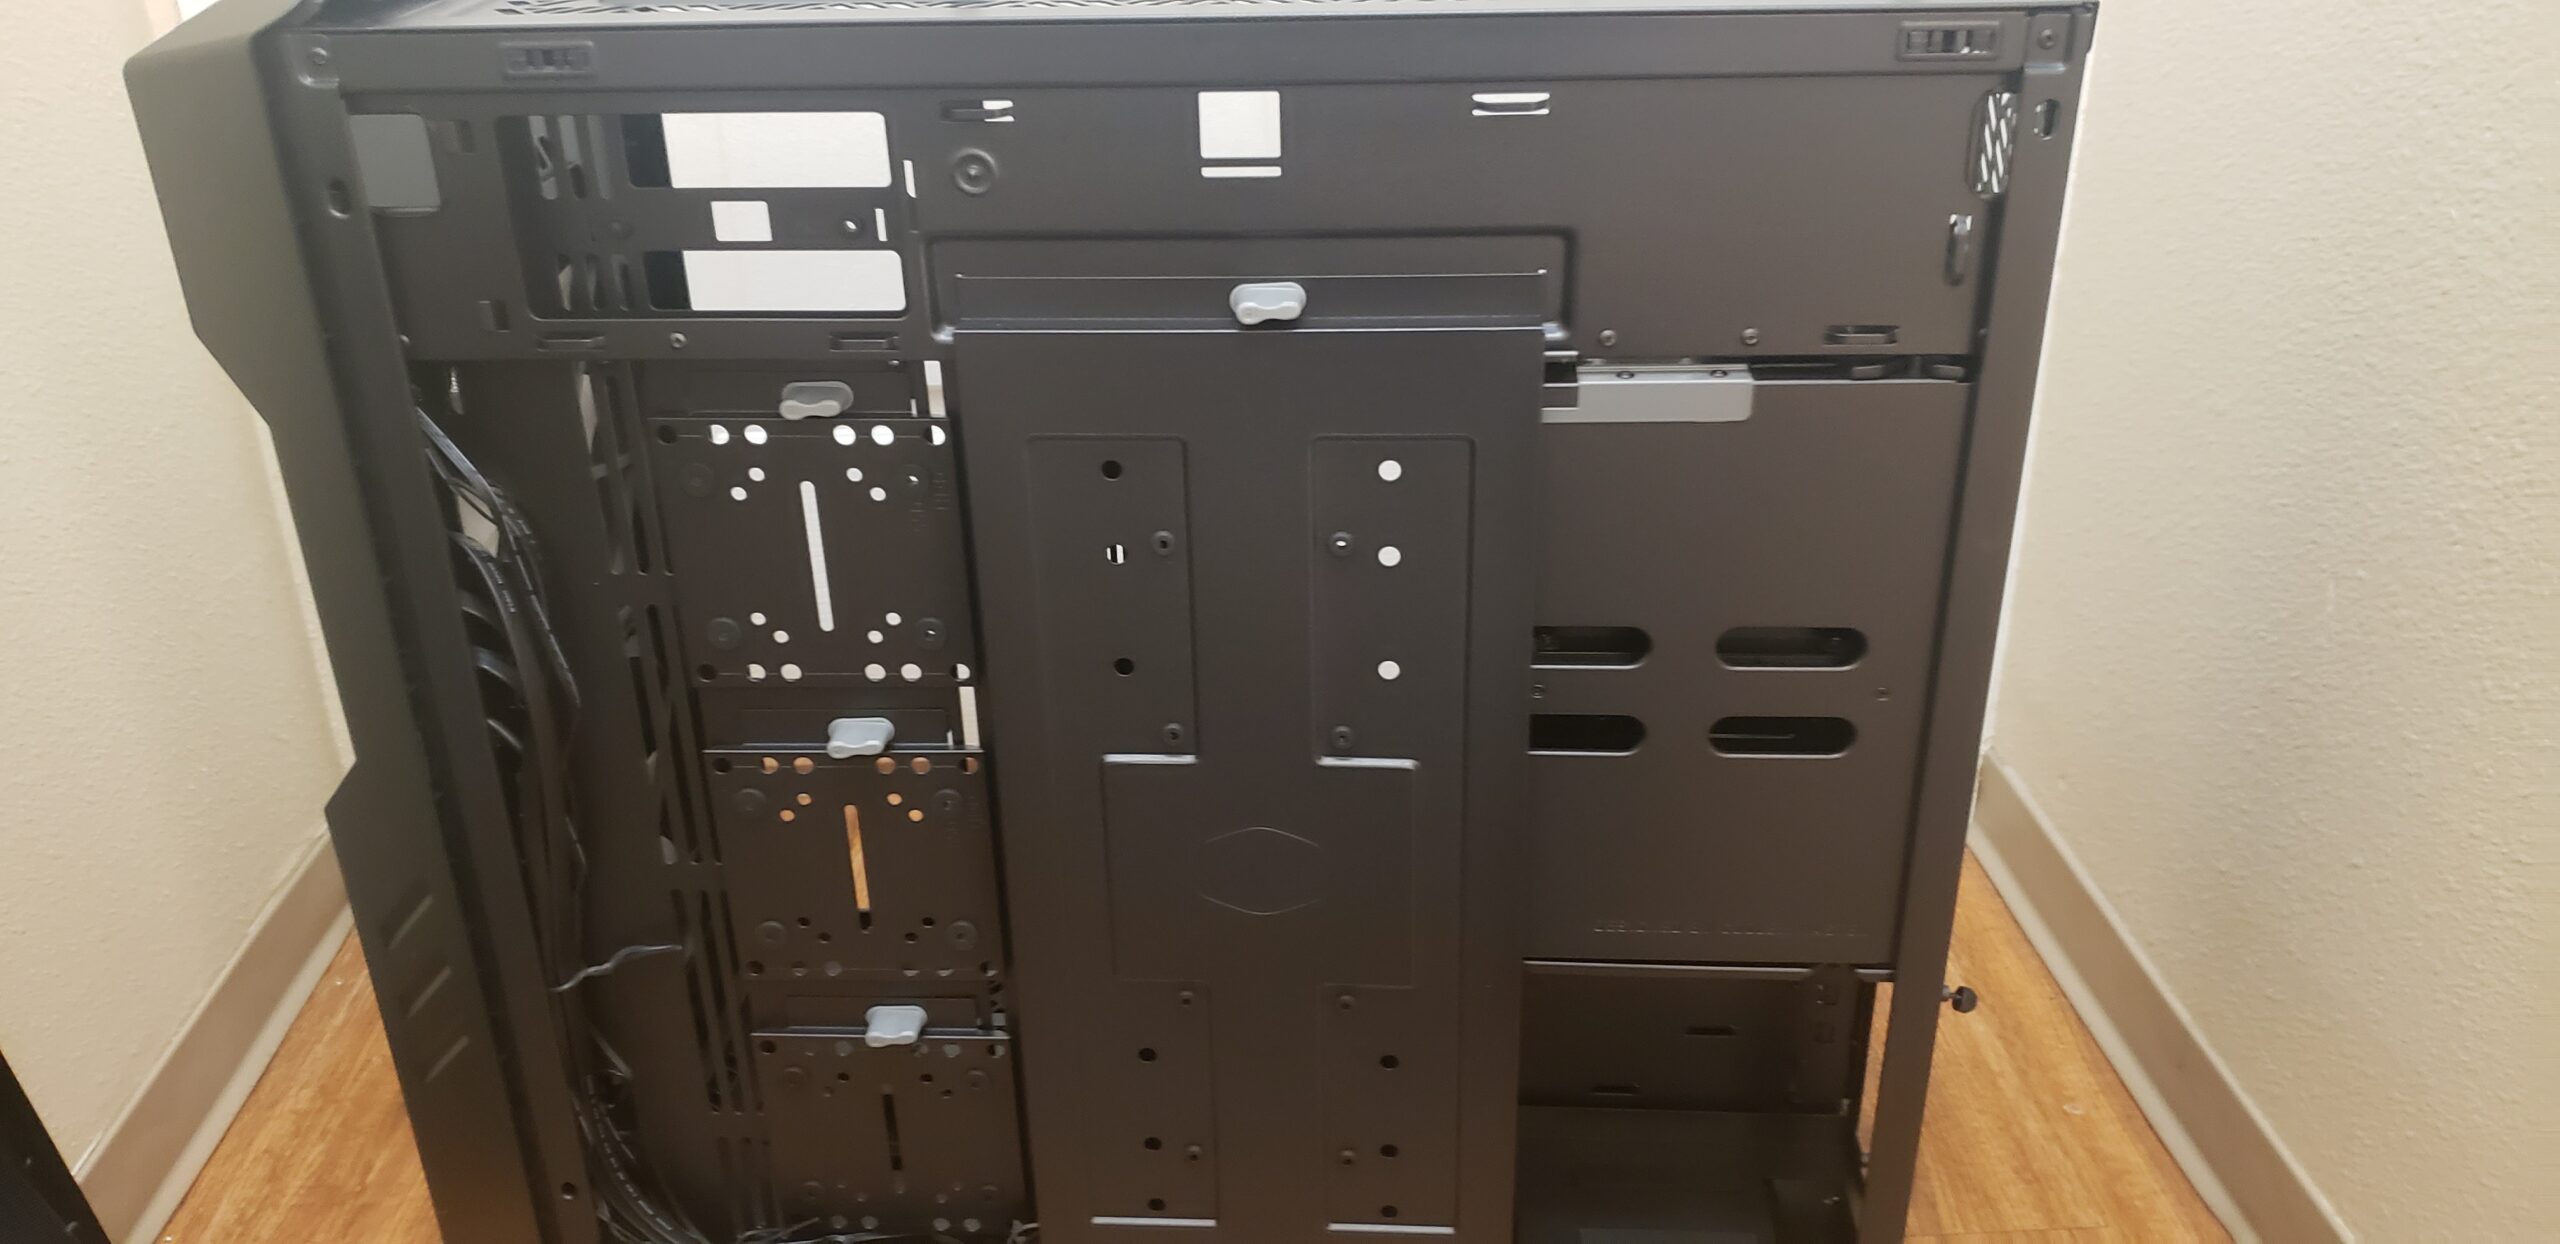
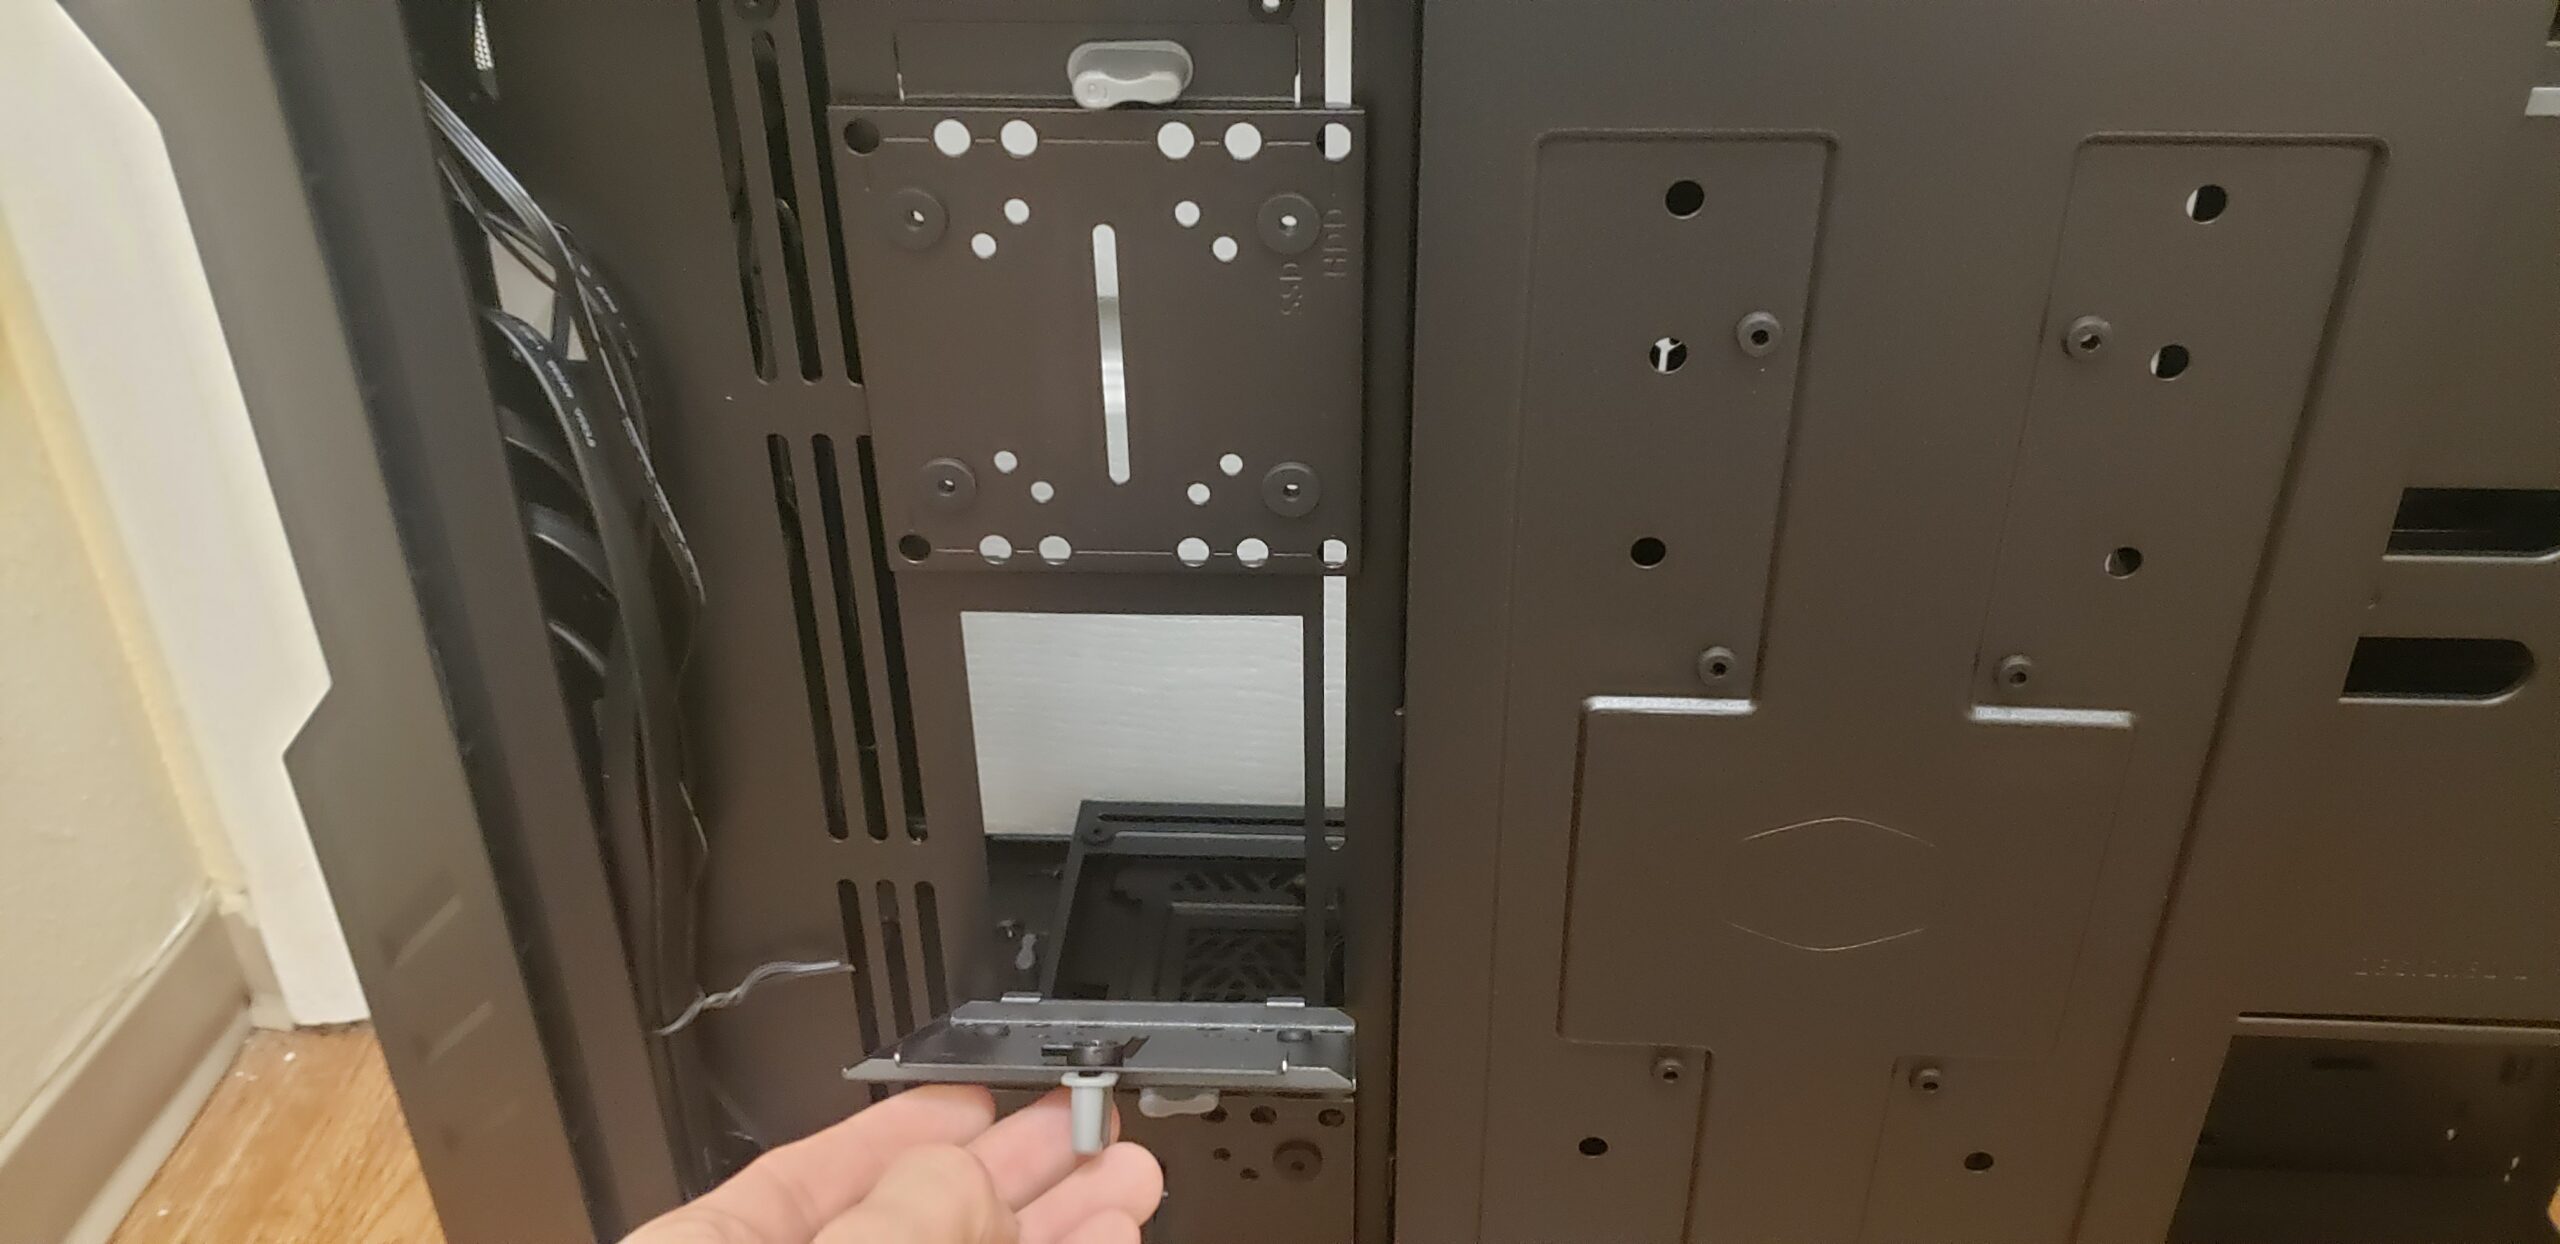
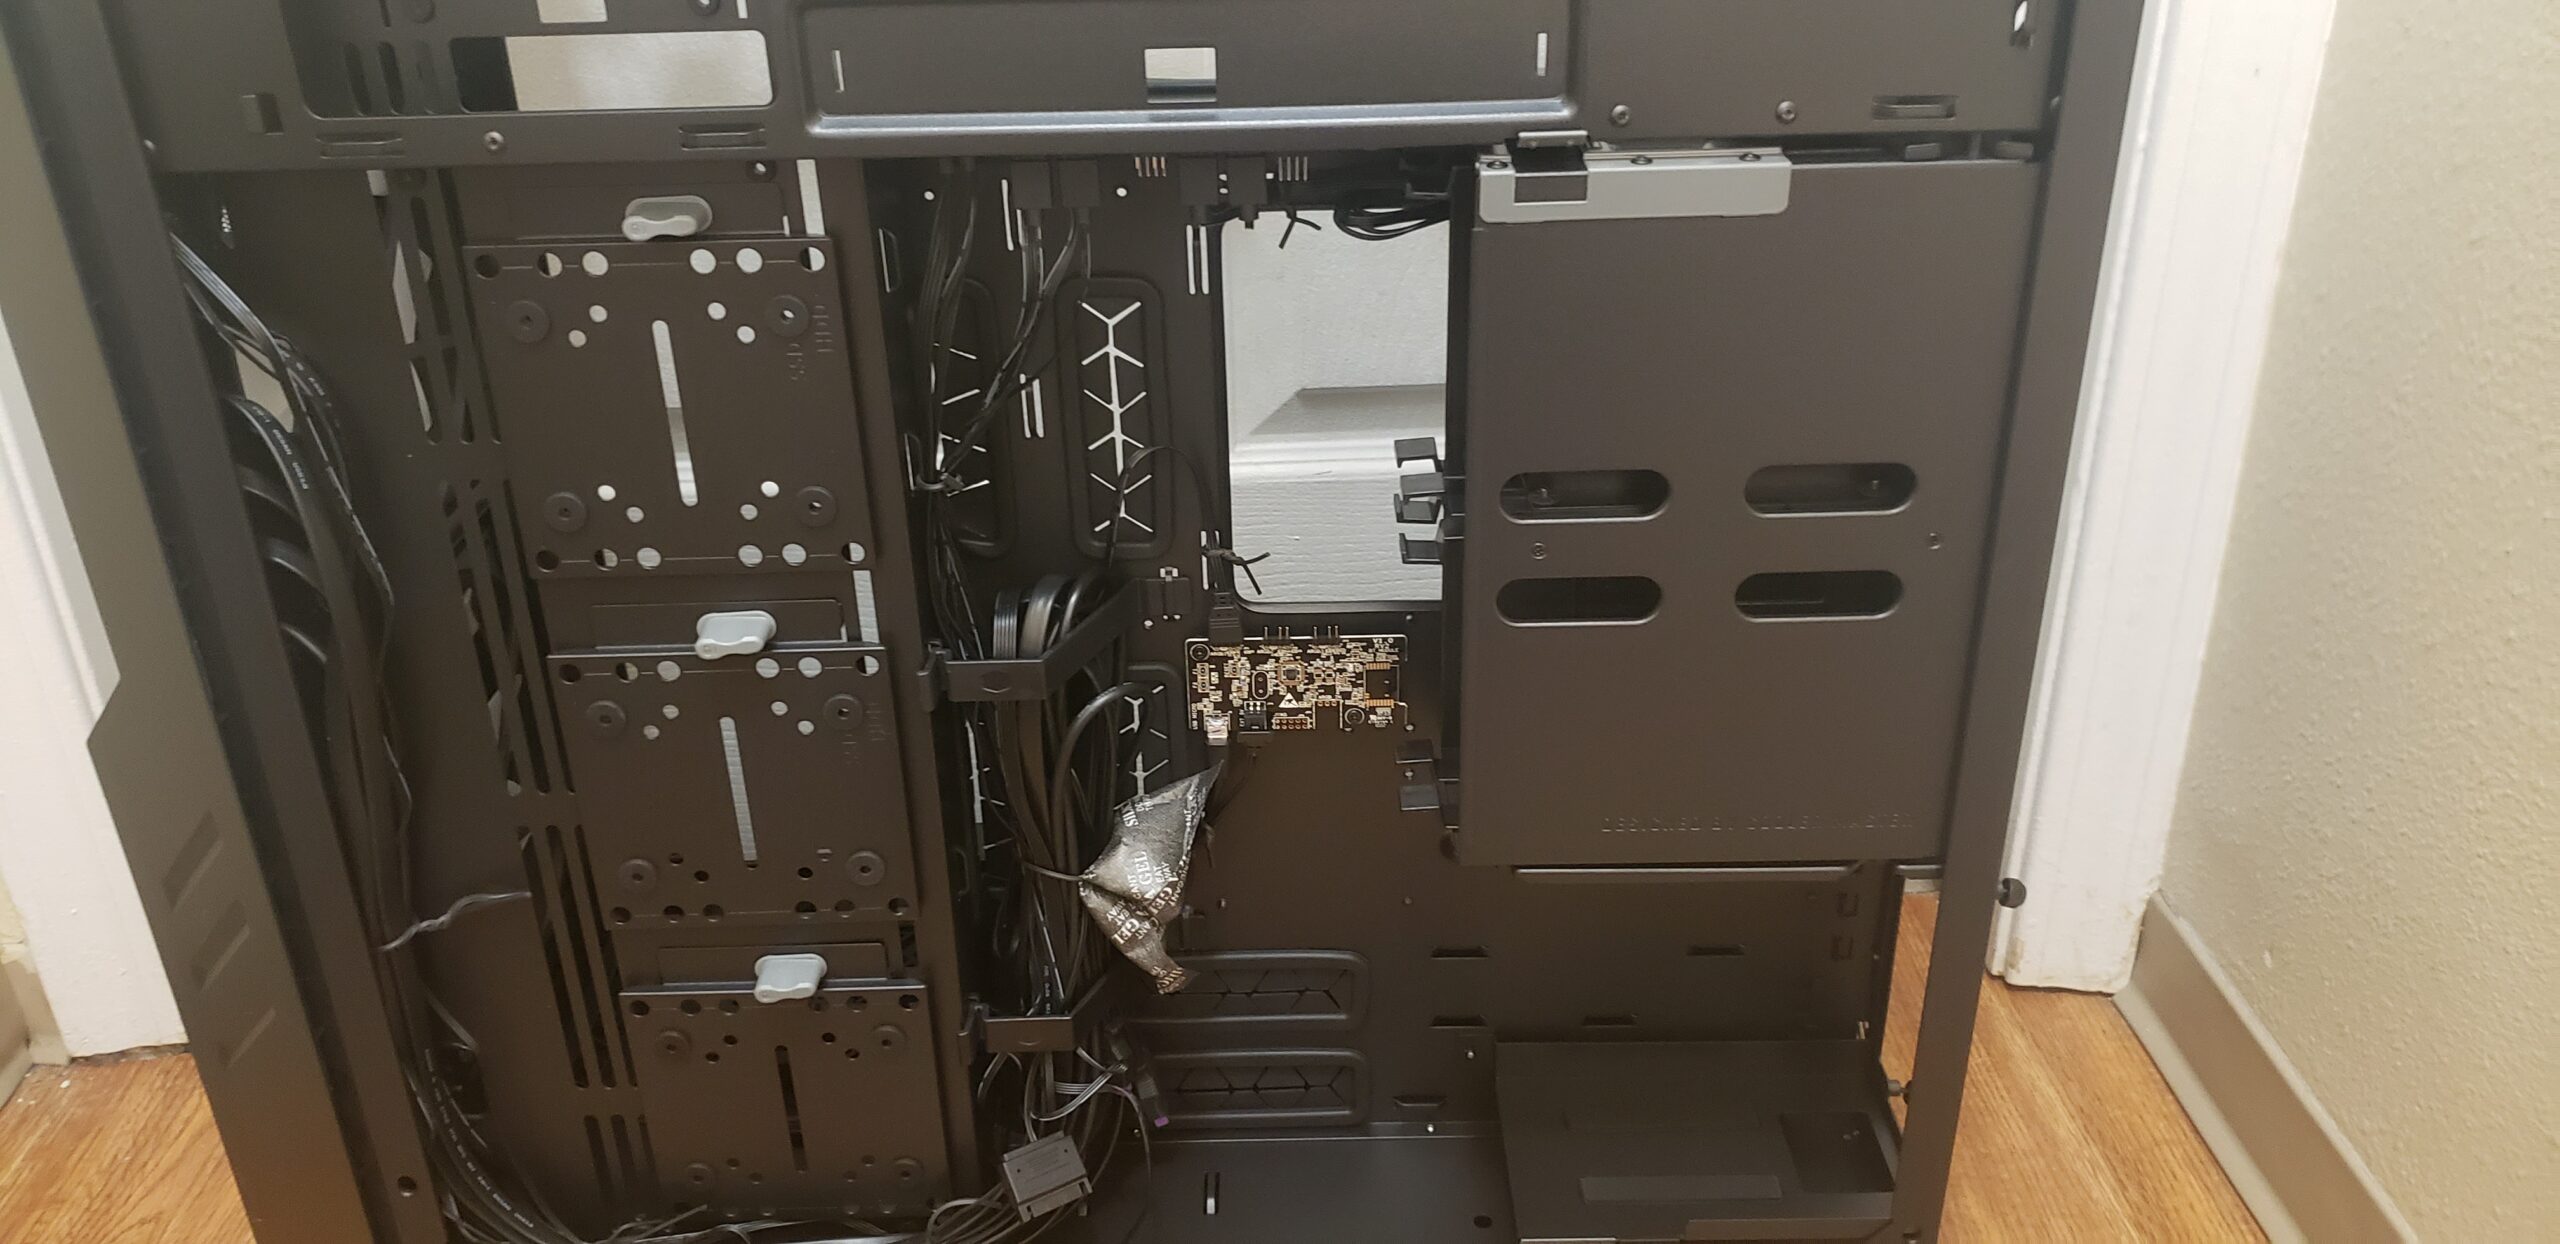
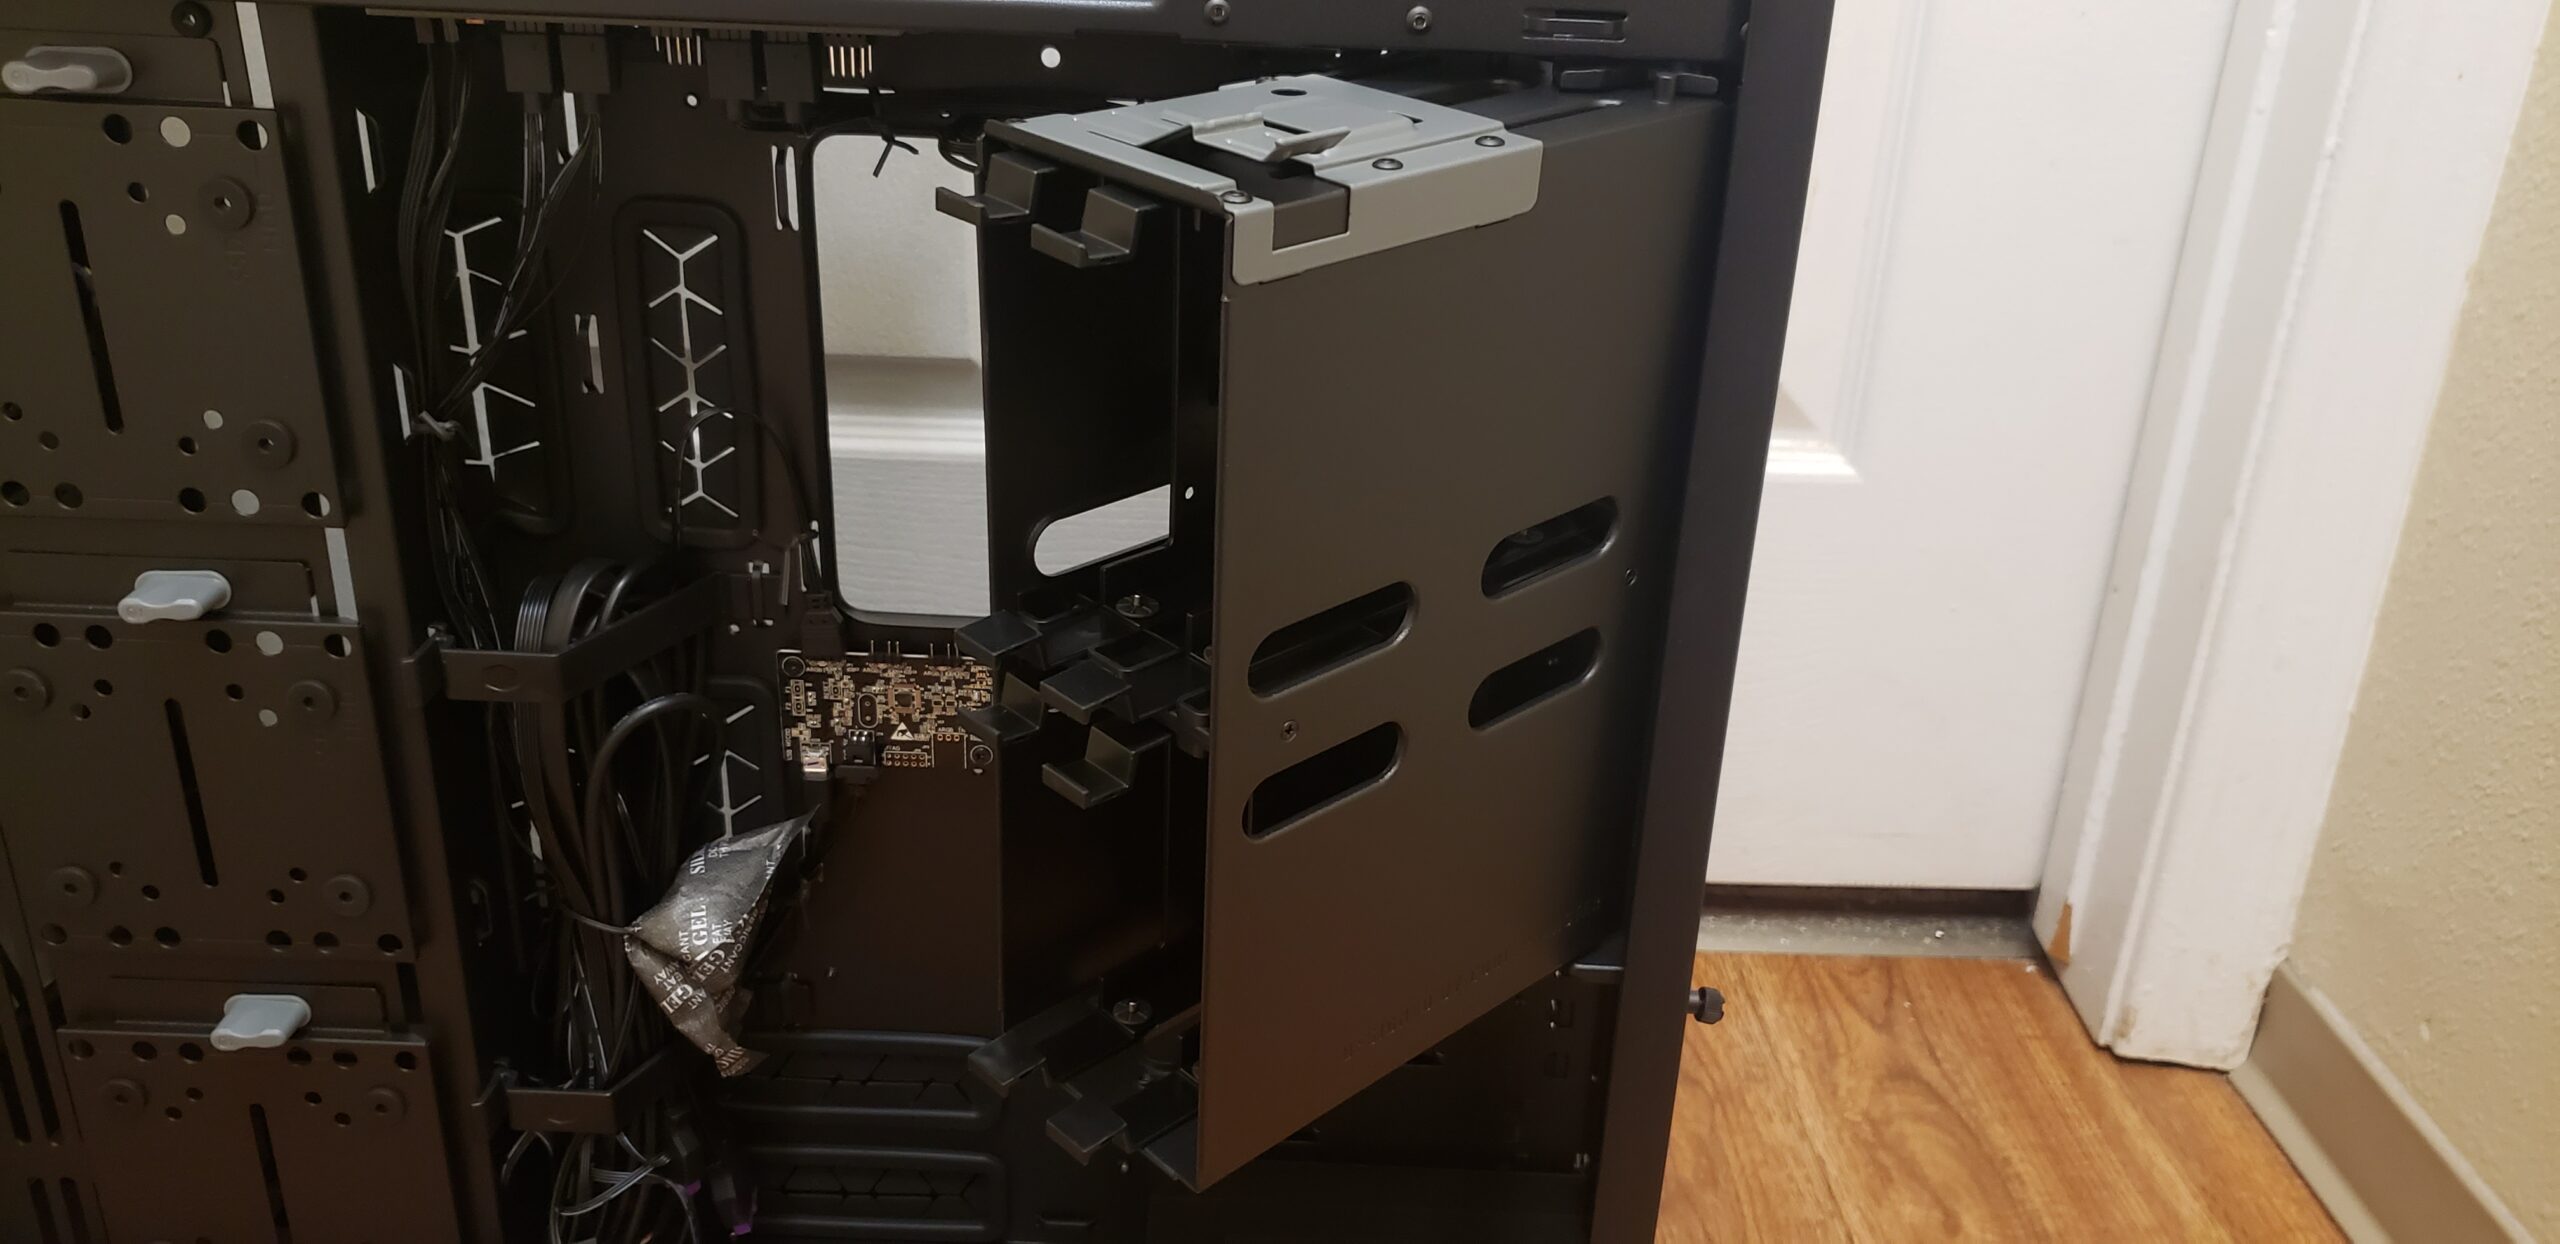
Along the rear side panel we see the Cooler Master Tool-Less latching system that holds the aforementioned multifunctional modular brackets. Moving towards the mid-section of the case we see a large metal panel, also equipped with a tool-less latch. This panel is a larger Modular Bracket which hosts two 2.5″ or two 3.5″ drives and doubles as cable management retainment.
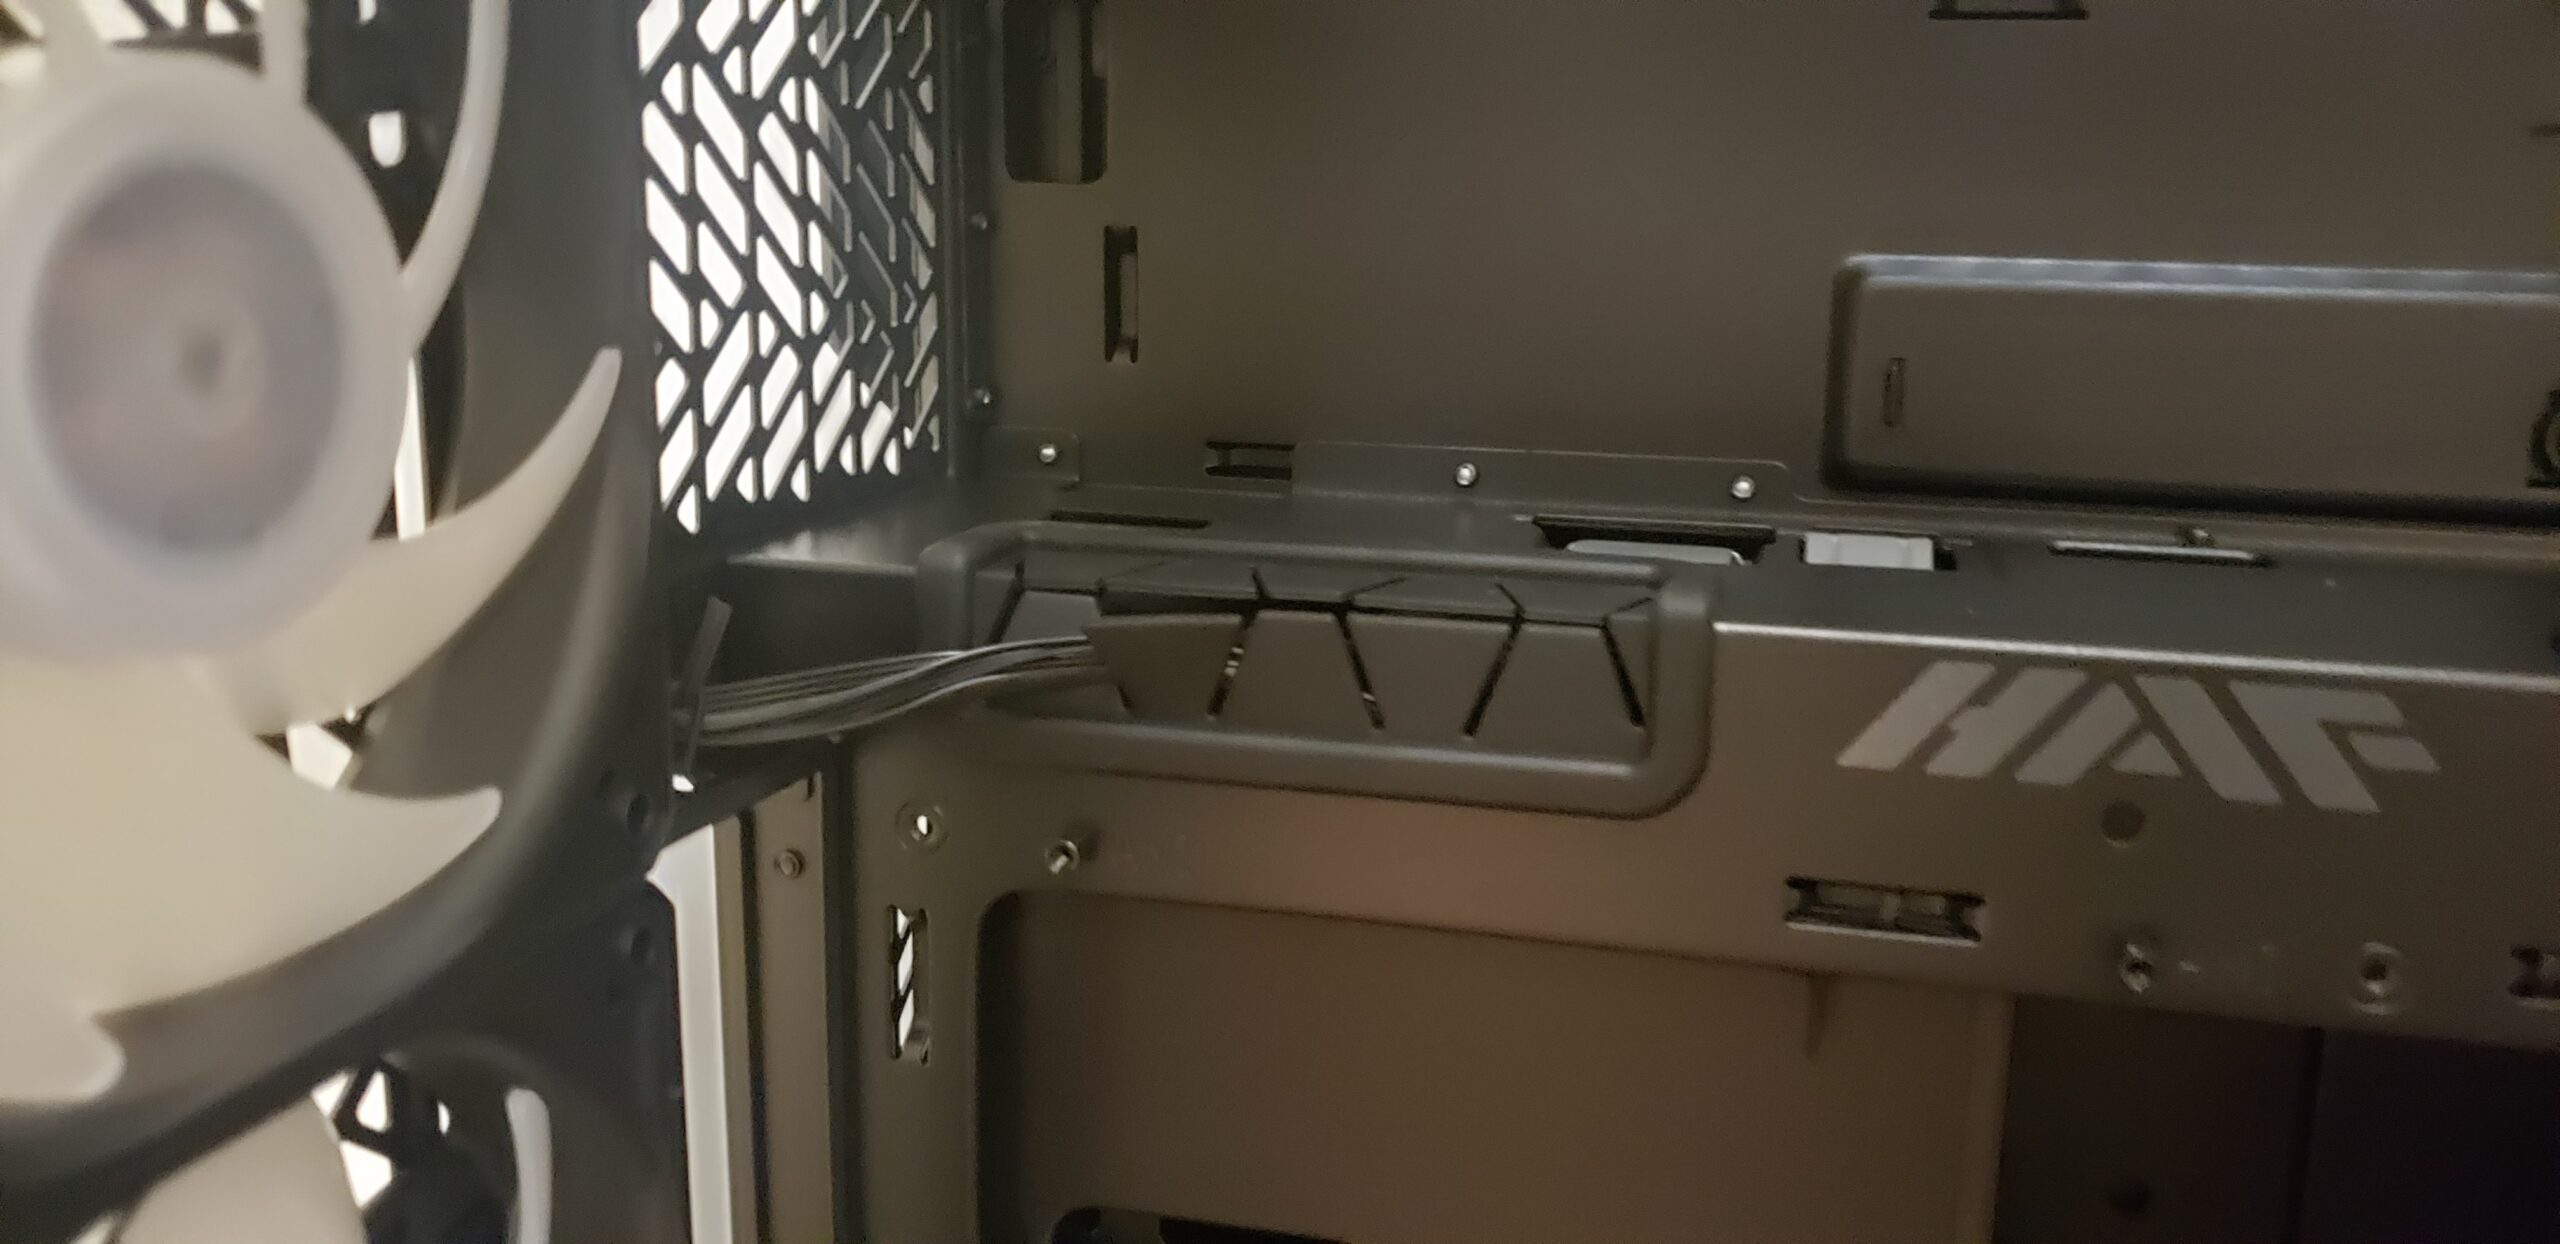
Behind this panel, we can also see Cooler Master’s ARGB fan controller and their “QuickClips” tool-less wire management system. We also see a completely removable 4x 3.5″ HDD cage that sits behind the motherboard.
There’s also the tool-less PSU mounting system there on this side of the case as well, which has ventilation holes in the side panel. Make sure you mount your PSU with the fan facing the correct way. This will aid in the cooling capabilities of your power supply and keep your unit “half” way cooled for a very long life.
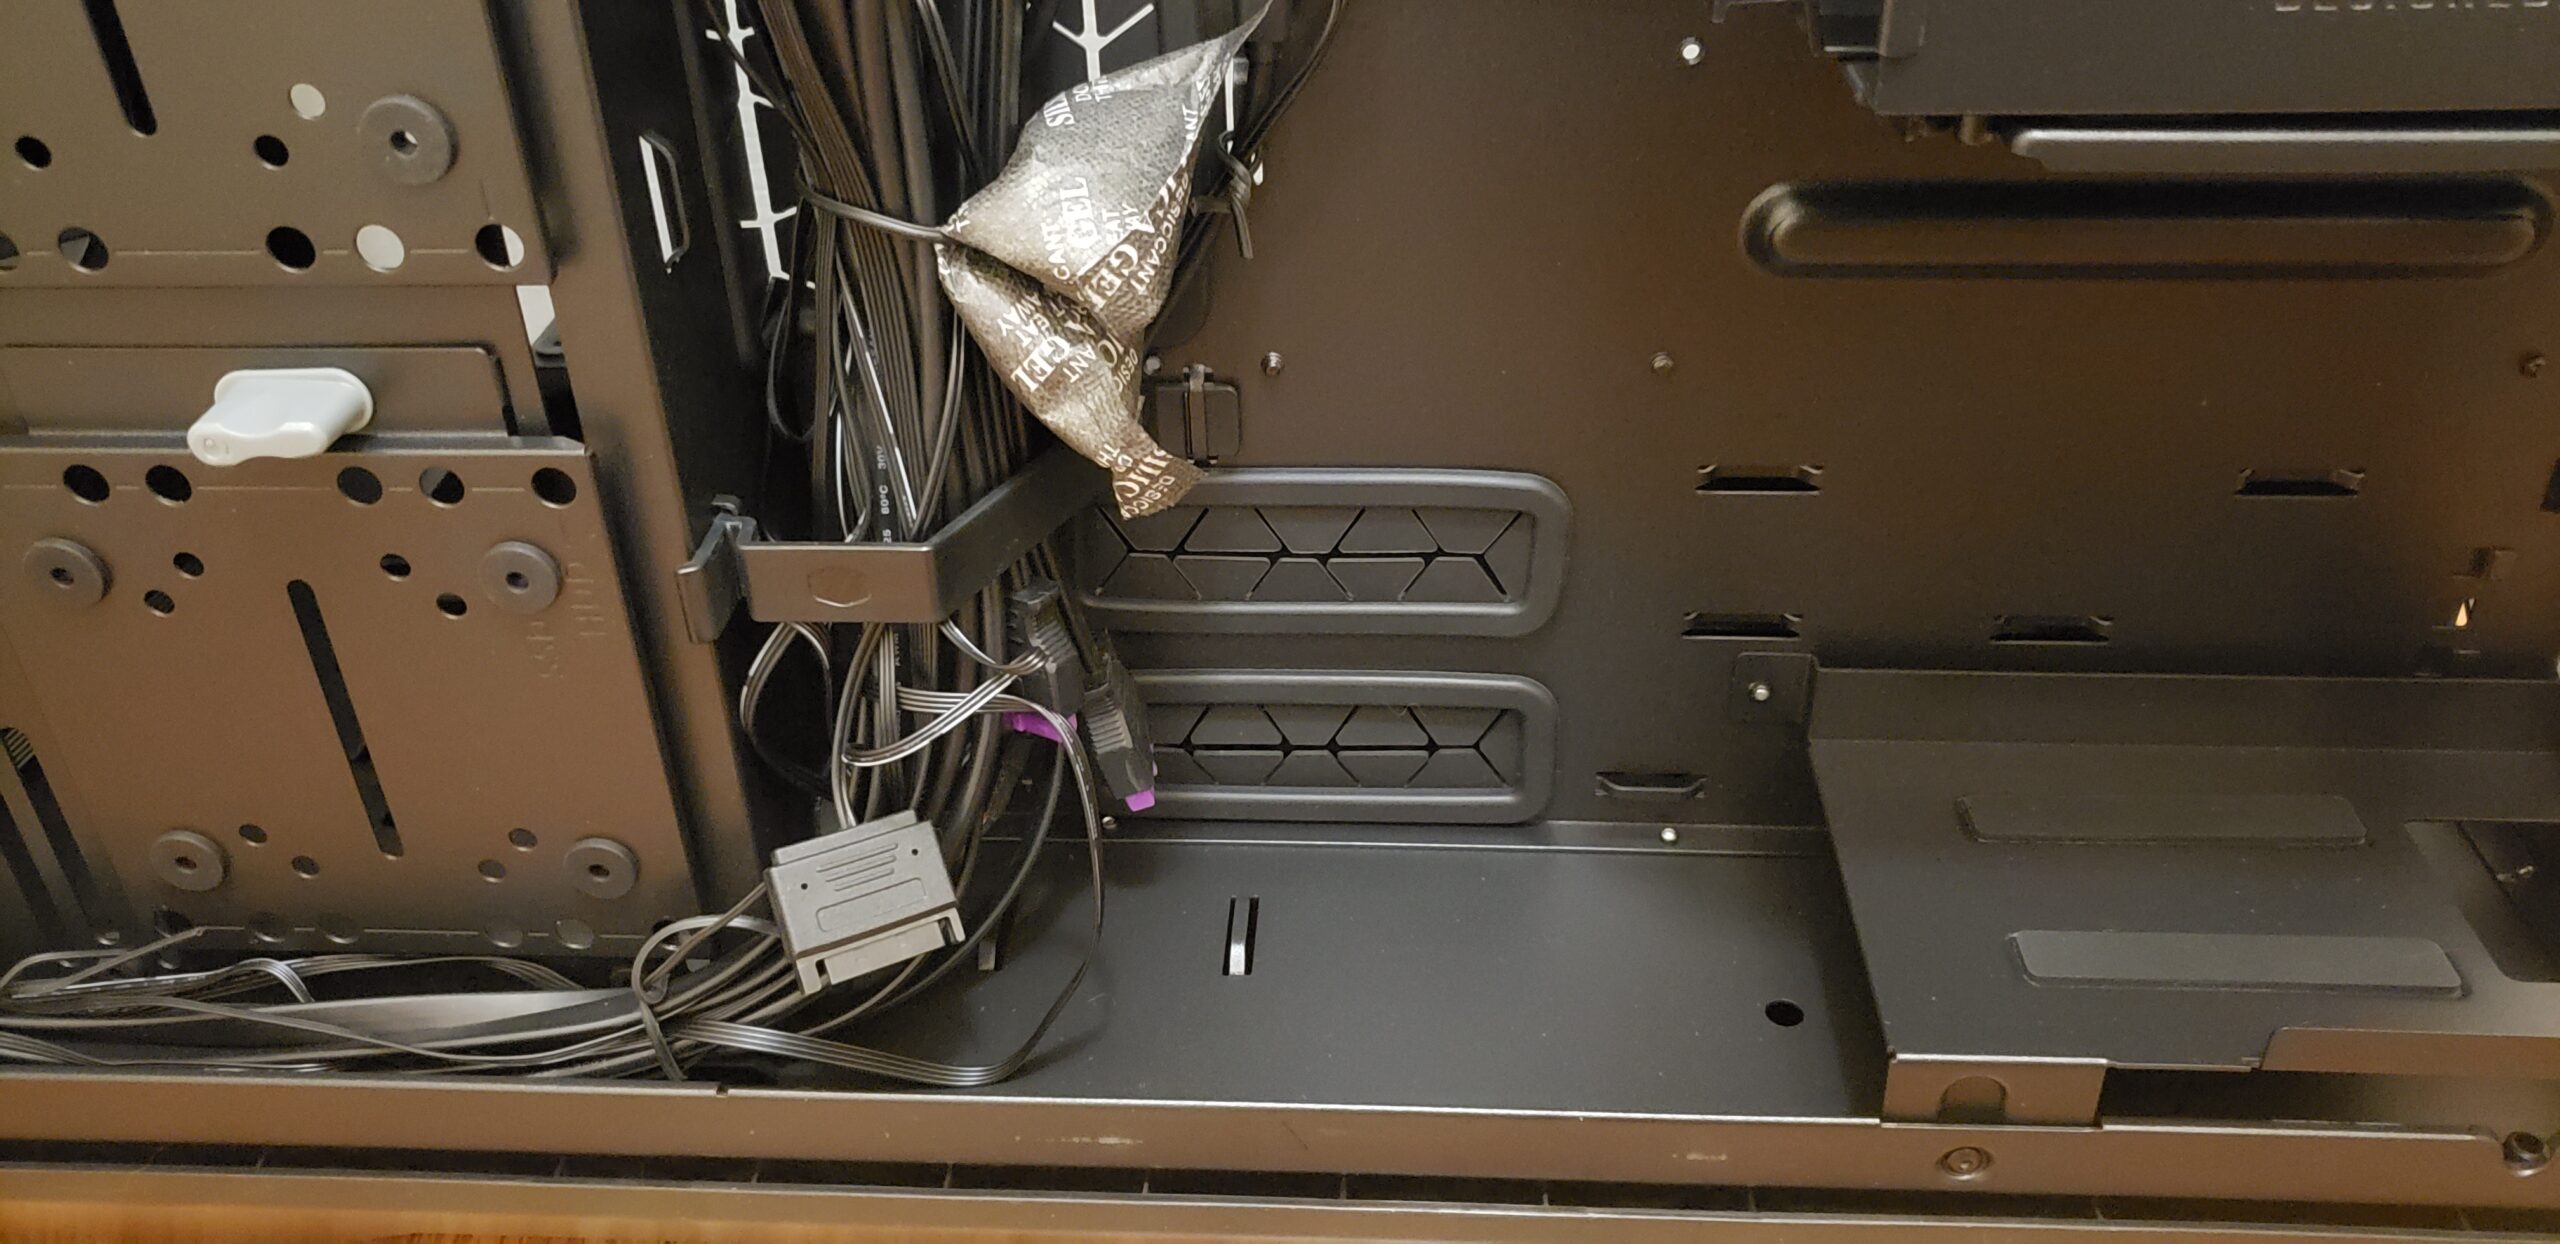


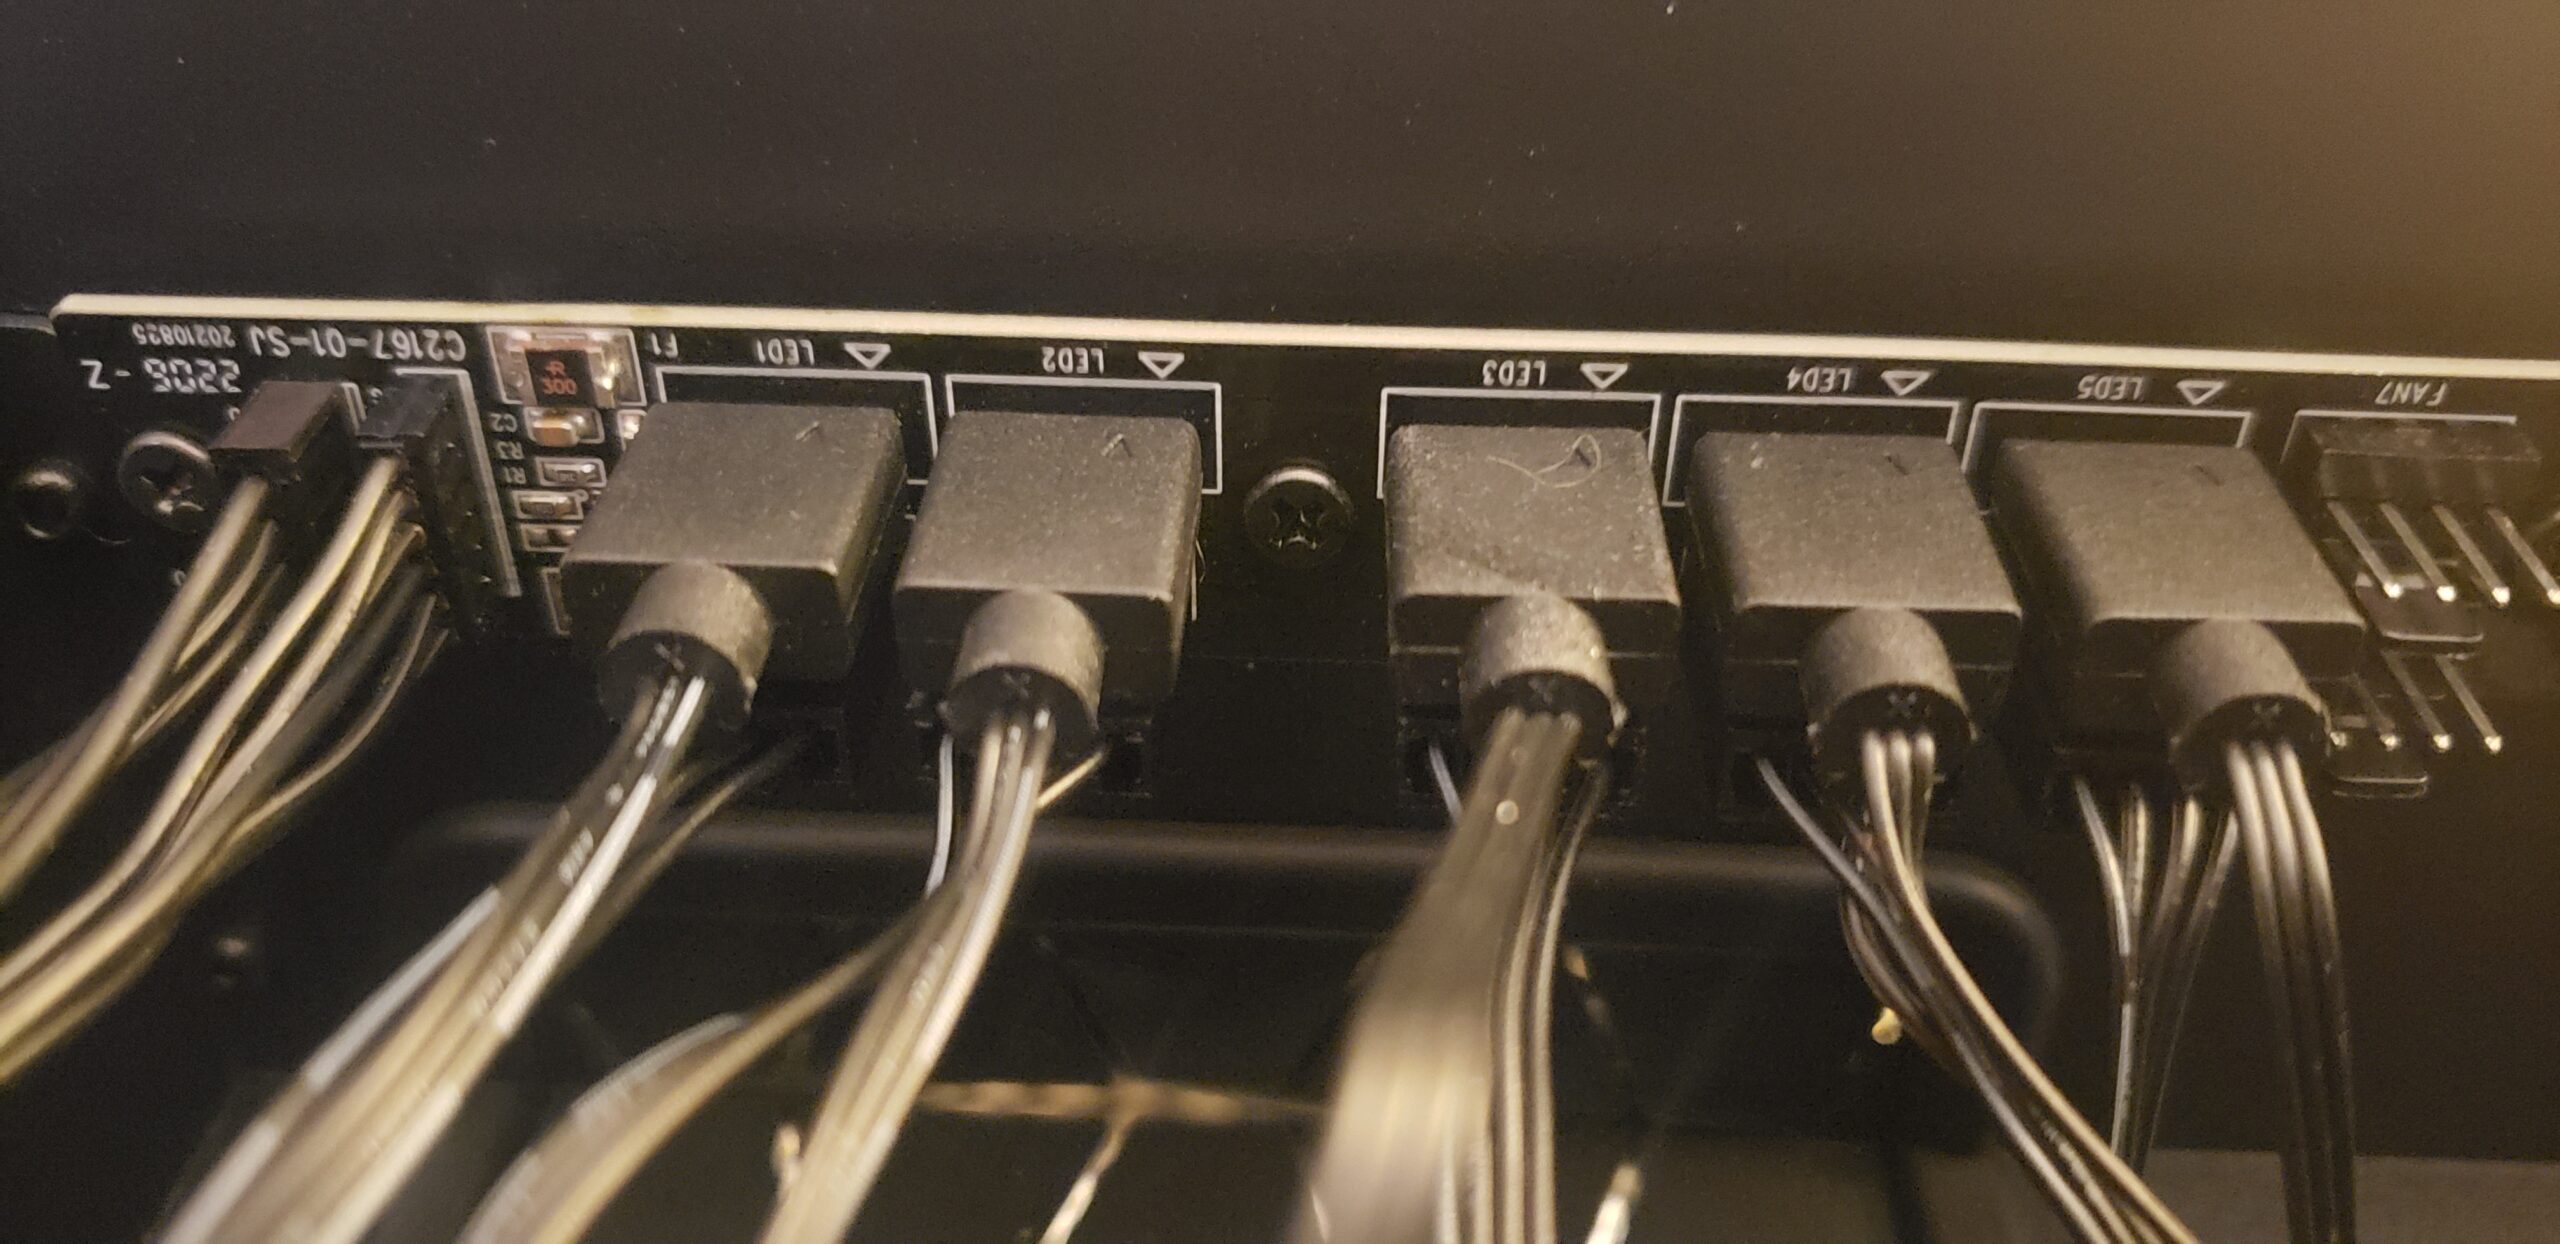
Along the backside of the case we see Cooler Master’s very own latching system designed to hold your cables in place. We also get a sneak peak at the included ARGB controller located behind the motherboard tray. This RGB controller is capable of handling three completely independent ARGB Gen2 devices for full RGB control of all of your lighting needs. There’s also a seven PWM fan controller (with 5x RGB connections for the fans) as well located underneath the top panel on the back side. The fan controller can plug directly into the RGB controller (USB) for use with the MasterPlus+ software. Because of the modular design, you can also plug the RGB off the fan controller directly into your motherboard’s RGB headers as well (if equipped).
MasterPlus+ Software RGB Control:

ARGB fans are not new in 2022 and these aren’t a whole lot different. This isn’t a review for their fans, but they do look quite nice and are customizable. Cooler Master offers full support with their MasterPlus+ software in case you don’t already have an RGB program installed.
I was disappointed with the RGB software. I was not able to get the case fans to work with my Asus Aura Sync software included with Armoury Crate. I was not able to make the fans change color with OpenRGB either. MasterPlus was not able to pick up the RGB parts connected to my motherboard’s header.
An incompatibility at the software level the entire way around for all RGB parts in my system. The only way I could change fan colors was with the included Cooler Master MasterPlus+ software, which only functioned on Cooler Master parts installed in the system (through the USB RGB controller on the case). Depending on your own setup, your miles may vary. The above screenshot in the software was the only thing populated in my particular use scenario. This is not a fault of Cooler Master of course, but more so my own motherboard choice.
HAF 700 Final Thoughts:
I’d have to say that this case is certainly not for everyone out there. It has a relatively high entry price of $299.99 MSRP at the time of this review (not for budget builders). The features and overall build quality for the price is perfect, it’s “berserker” of a case. Unfortunately, I do have to take size and weight into consideration. If you’re looking for a water cooling case, absolutely get this thing if you have the room for it. If you’re looking for a giant case to stuff other things into, get it. If you’re looking for top tier quality construction and don’t mind the size, get it. If you’re looking for your average case though, well….this is certainly not your average “half” way designed case. It has everything you could ask for, but at the size not everyone can fit.
My biggest complaint is the lack of the vertical mount kit, sold separately as a $69.99 add on (on Amazon at time of writing). With everything else in this case being so incredibly modular, you’d think your GPU mounting would be as well. Considering Cooler Master claims the case is fully compatible with both horizontal and vertical mounting, you’d think they’d include the needed accessories without purchasing separately. This is an included feature on the HAF 700 EVO, which our very own Ryan has reviewed previously. If you’re okay with the size and lack of a vertical GPU mount, its a great choice for a giant case and a solid “budget” offering compared to the HAF 700 EVO.
[table id=113 /]
Cooler Master XG850 Plus Platinum
Cooler Master’s included PSU for this build is a Cooler Master XG Plus 850 Platinum. We’ve already got an extremely in depth review of this same power supply by EHW’s very own Jan, you can check that out here.
Cooler Master keeps searching for uniqueness, creativity, and more. XG Plus Platinum is the first Cooler Master in-house designed power supply, providing next-level efficiency, rigid design, and sturdy performance to fulfill all your daily computing and gaming needs.
We will be checking to see if this PSU functions as intended, stylings, operation with RGB software and endurance in a high powered system. Let’s dive in, and see what this power supply has in store for us.
Notable Features:
- 80PLUS Platinum Certified
- Full Modular
- Intel ATX 12V Version 2.53
- Quiet ARGB 135mm Silent Fan
- Built-in ARGB Information Display Panel
- 100% Japanese In-Line Capacitors
- 10-Year Warranty
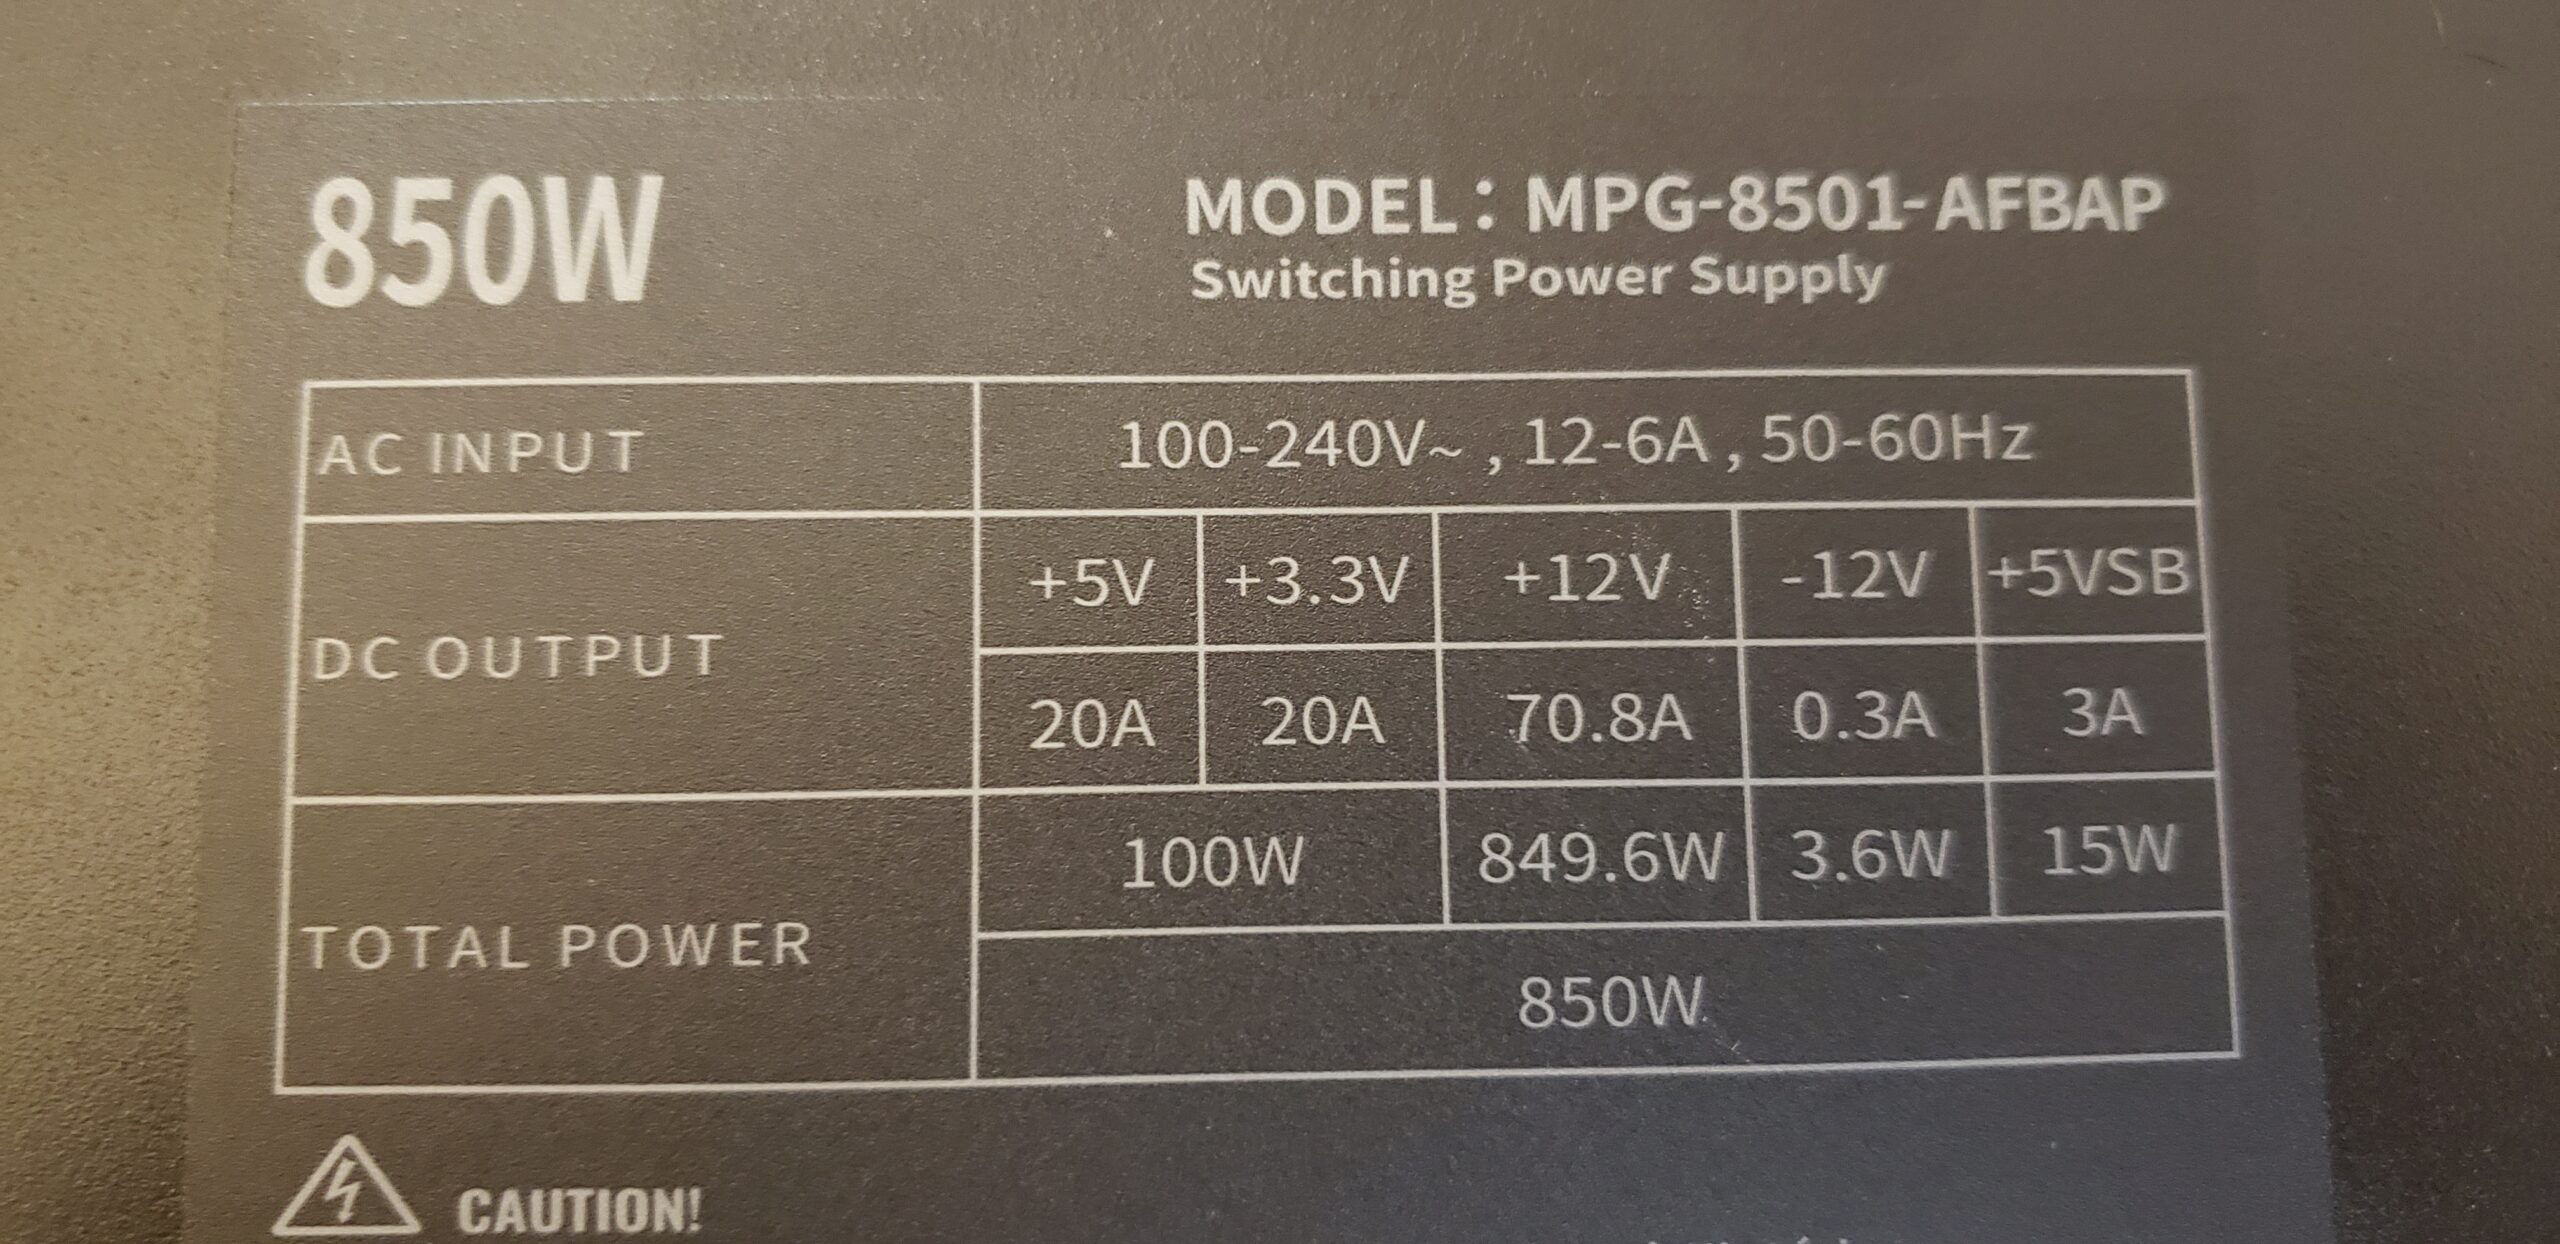
Specifications:
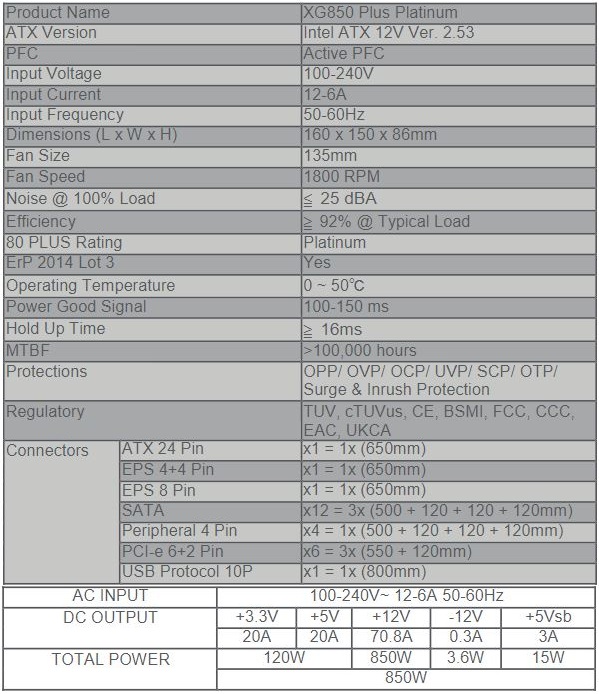
This unit is capable of a solid 850w on the 12v rail alone with 70.8a. It also has 20a on the 5v and 3.3v rails as well (total wattage cannot exceed 850w). This unit is rated at 80+ Platinum level, so it should sustain 90%+ efficiency under most load situations. Information on 80+ ratings can be found here. It can be hooked up via USB cable to control the ARGB lighting built in. This illuminates both the fan and the side panel display using Cooler Master’s MasterPlus+ software. Being fully modular, its an absolute breeze for wire management. 100% Japanese capacitors means that this unit will last a very long time and with the 10 year warranty they provide, I wouldn’t doubt it.
Unboxing:
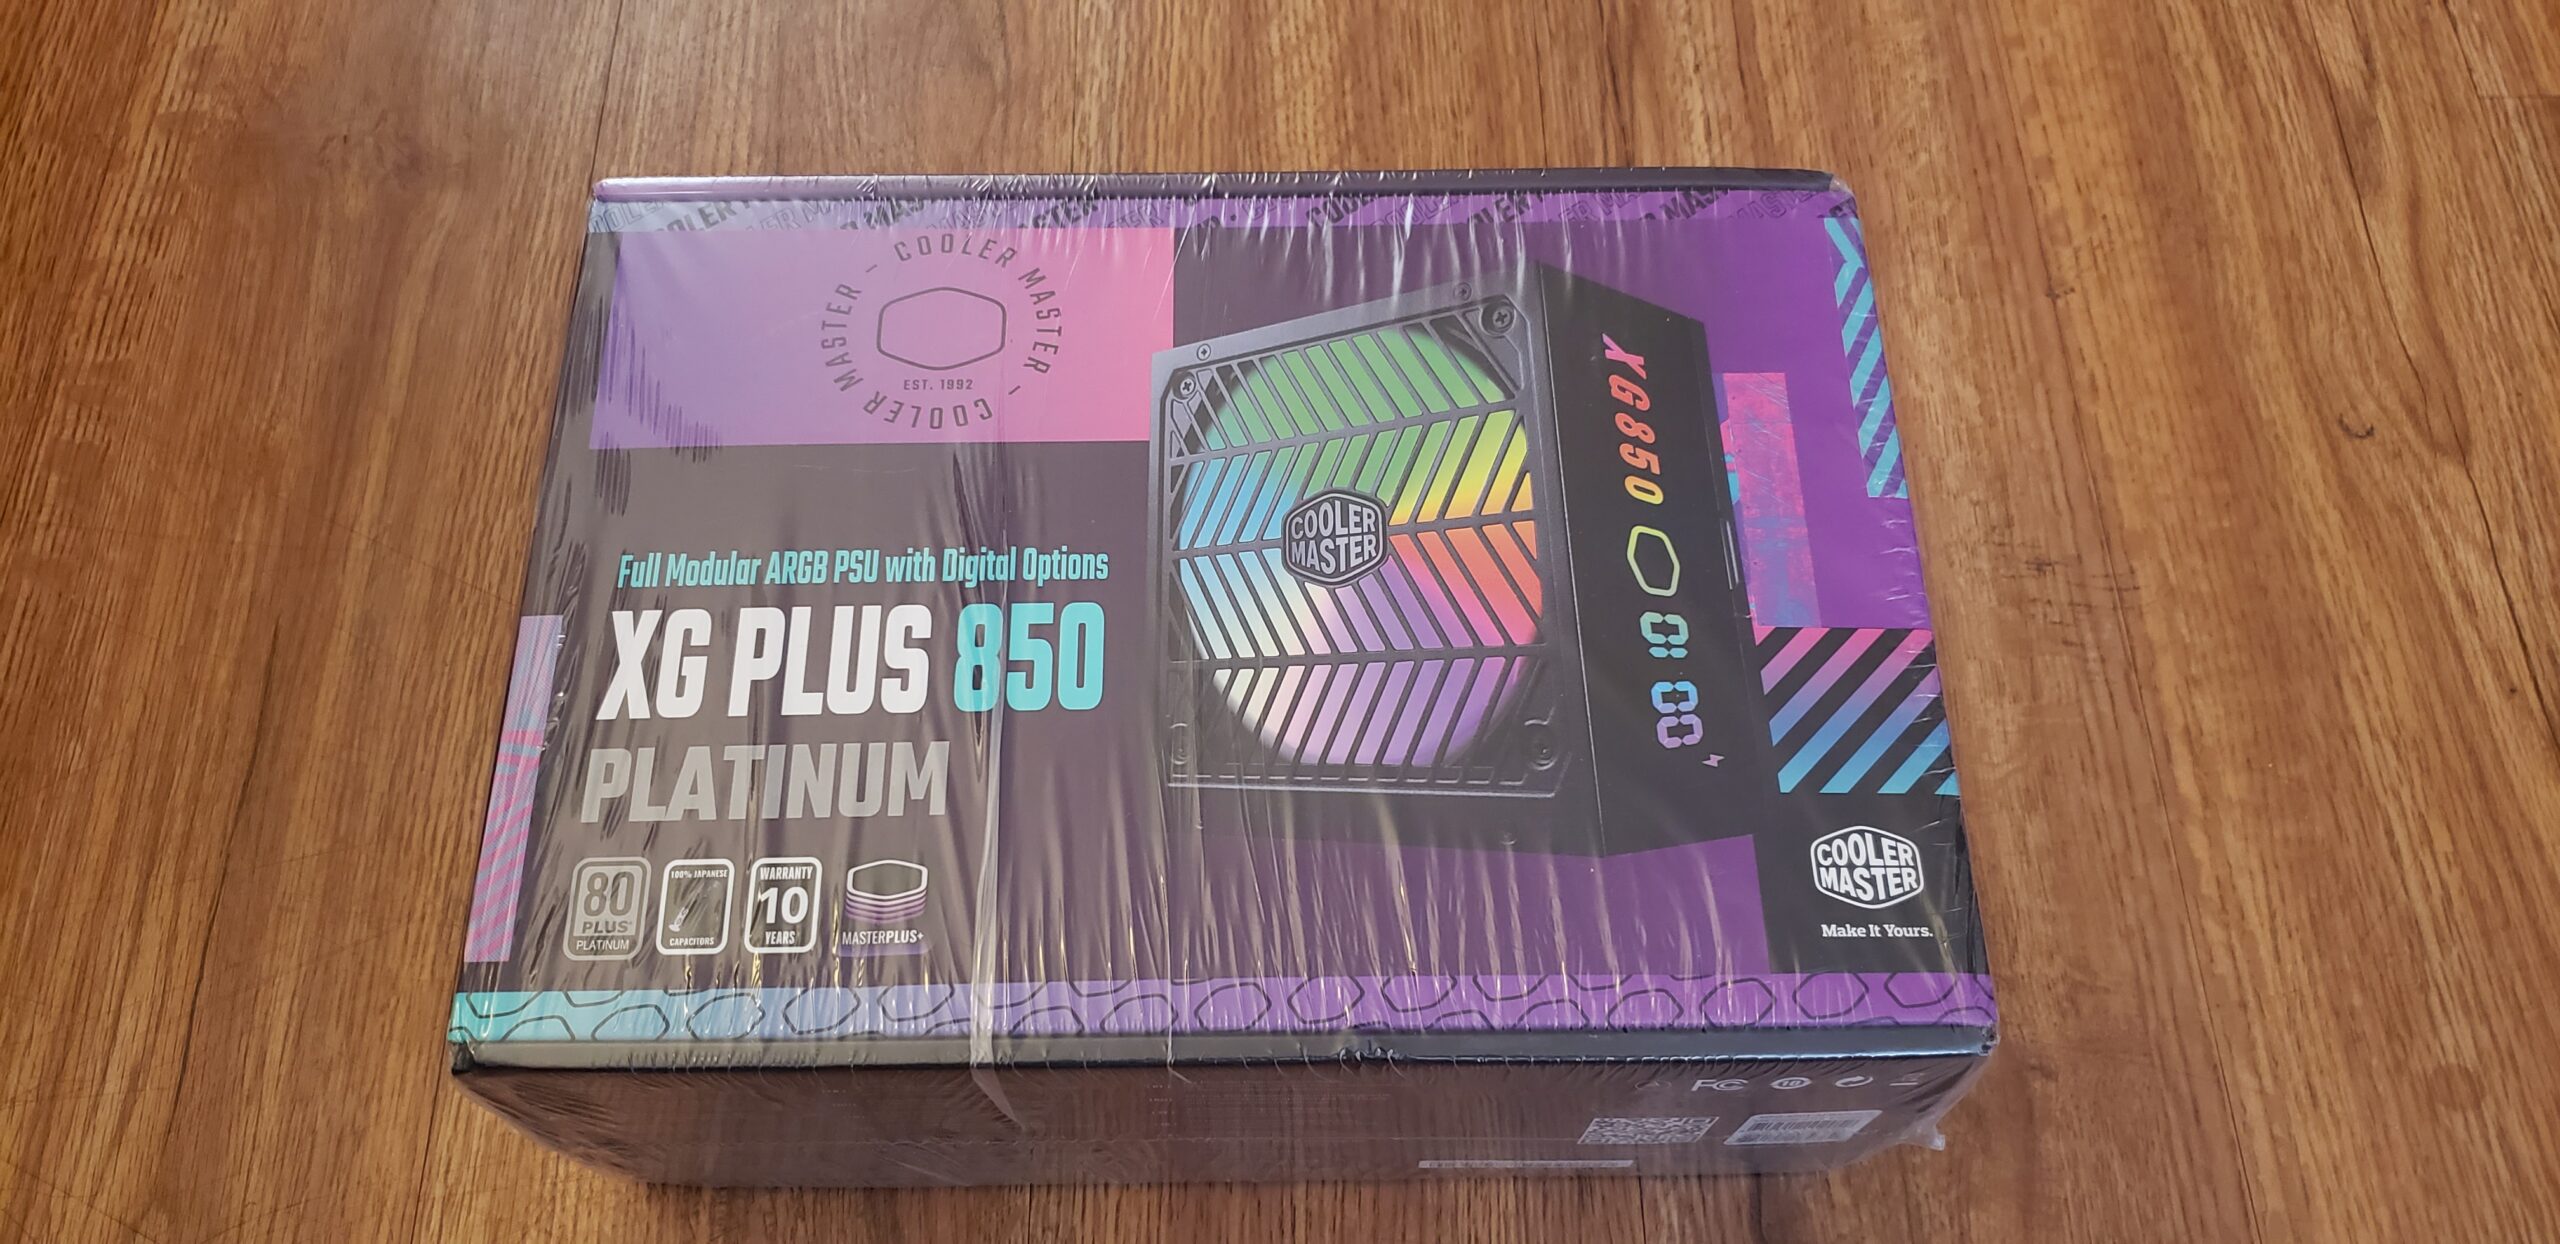
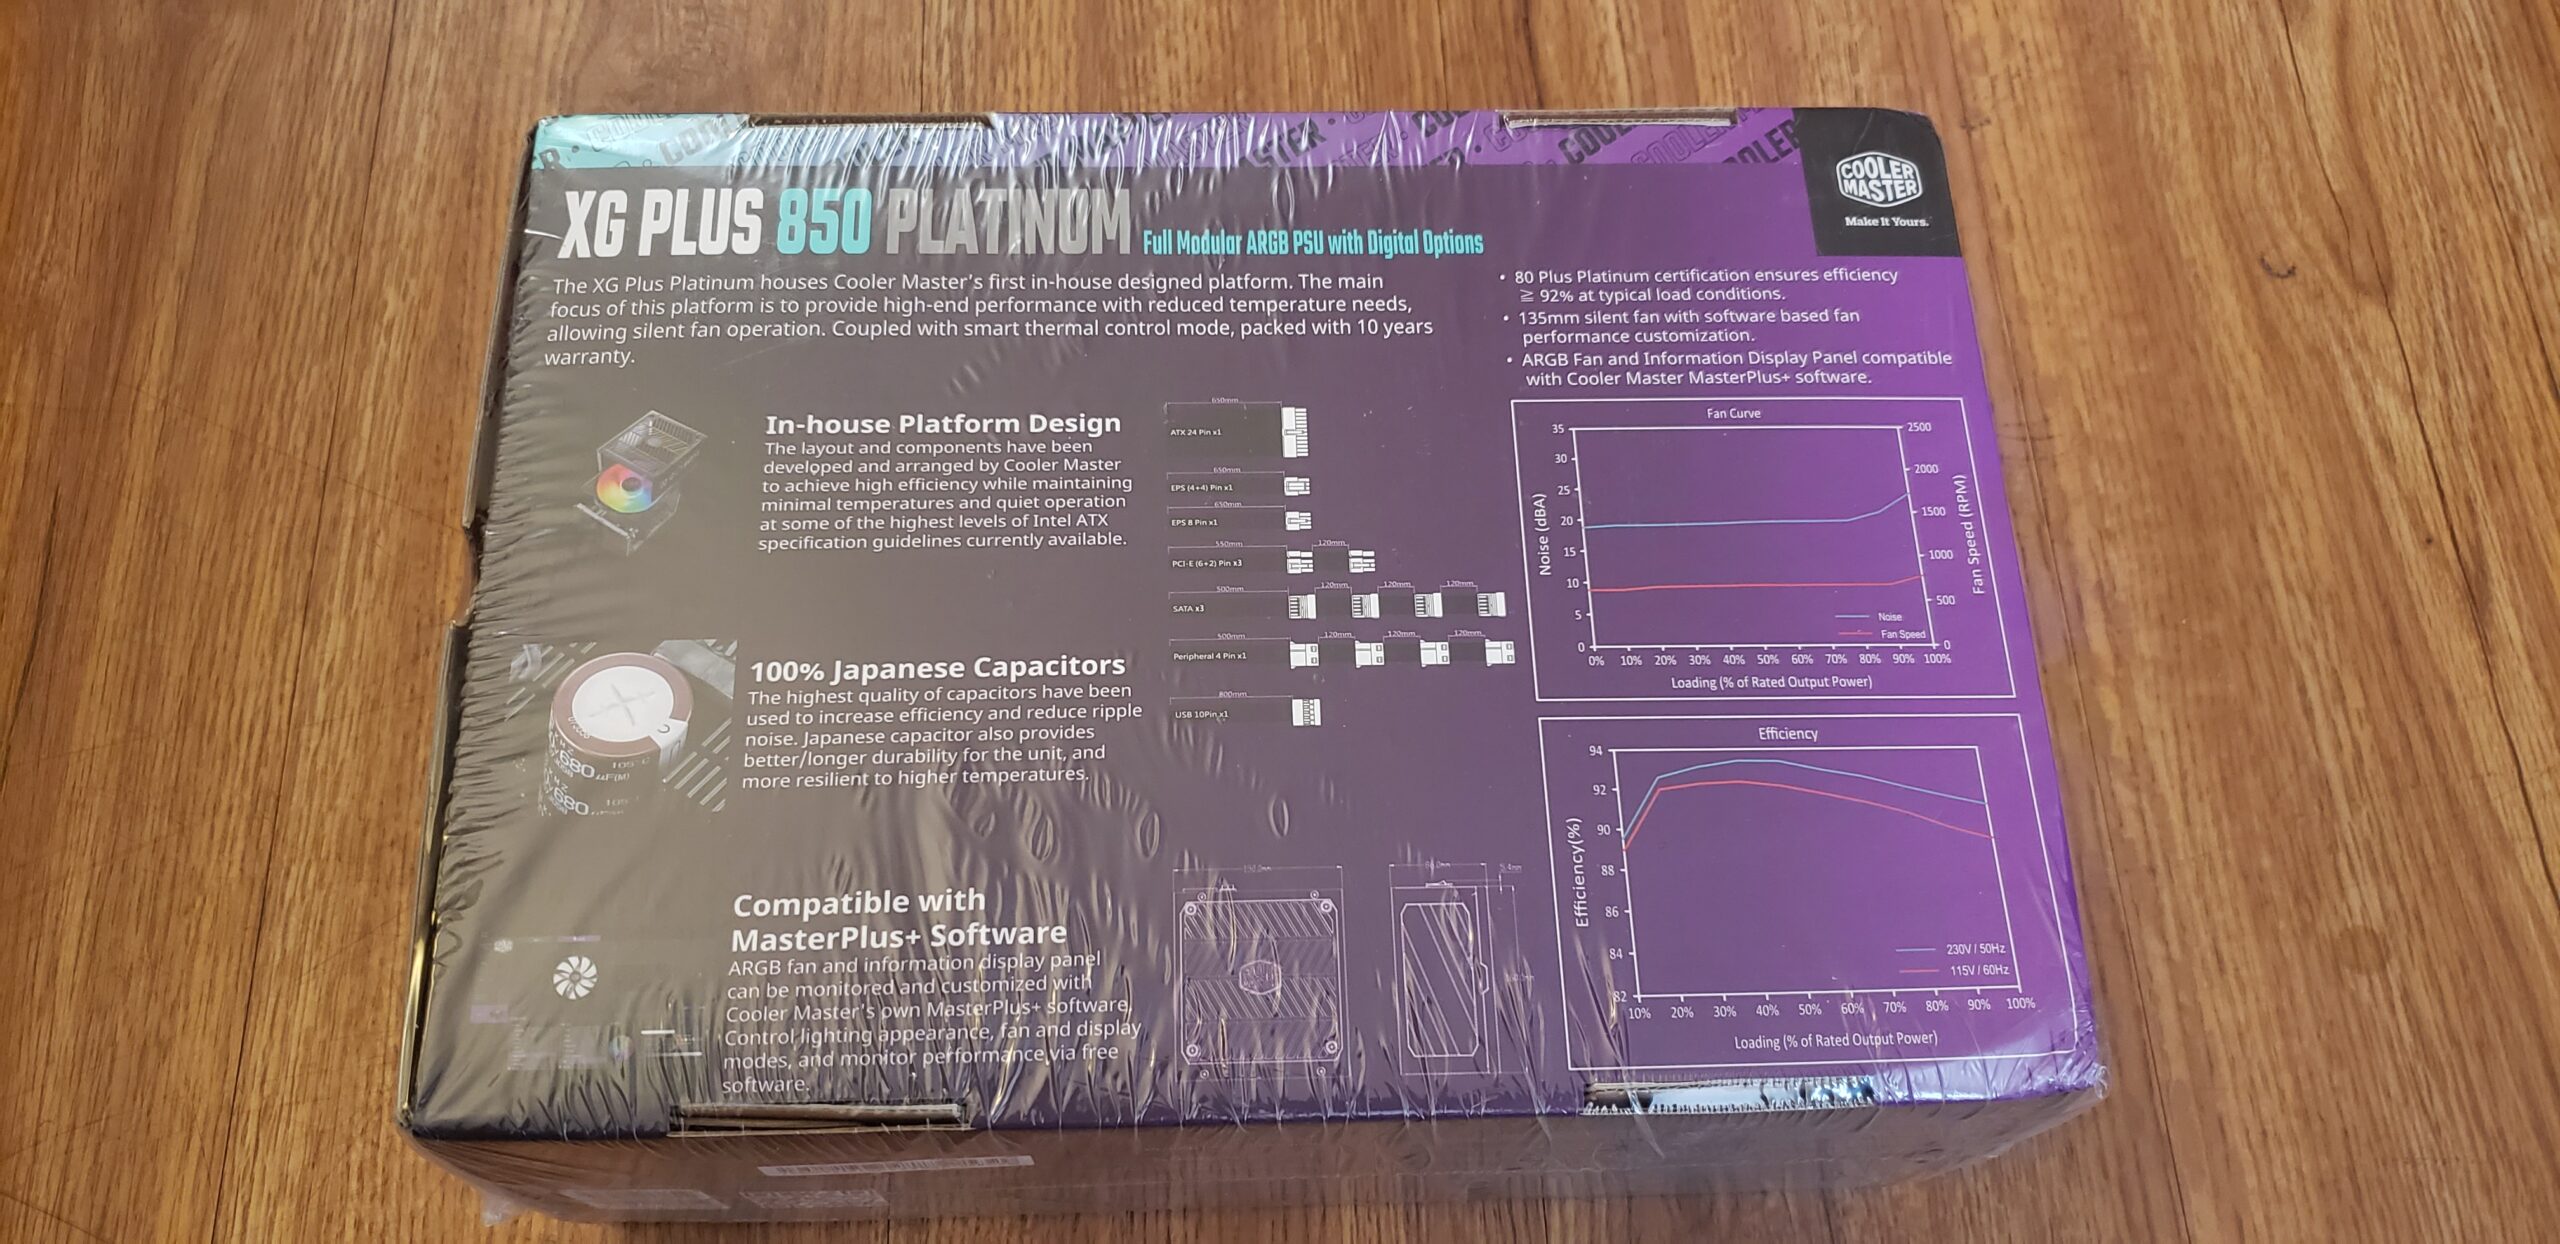
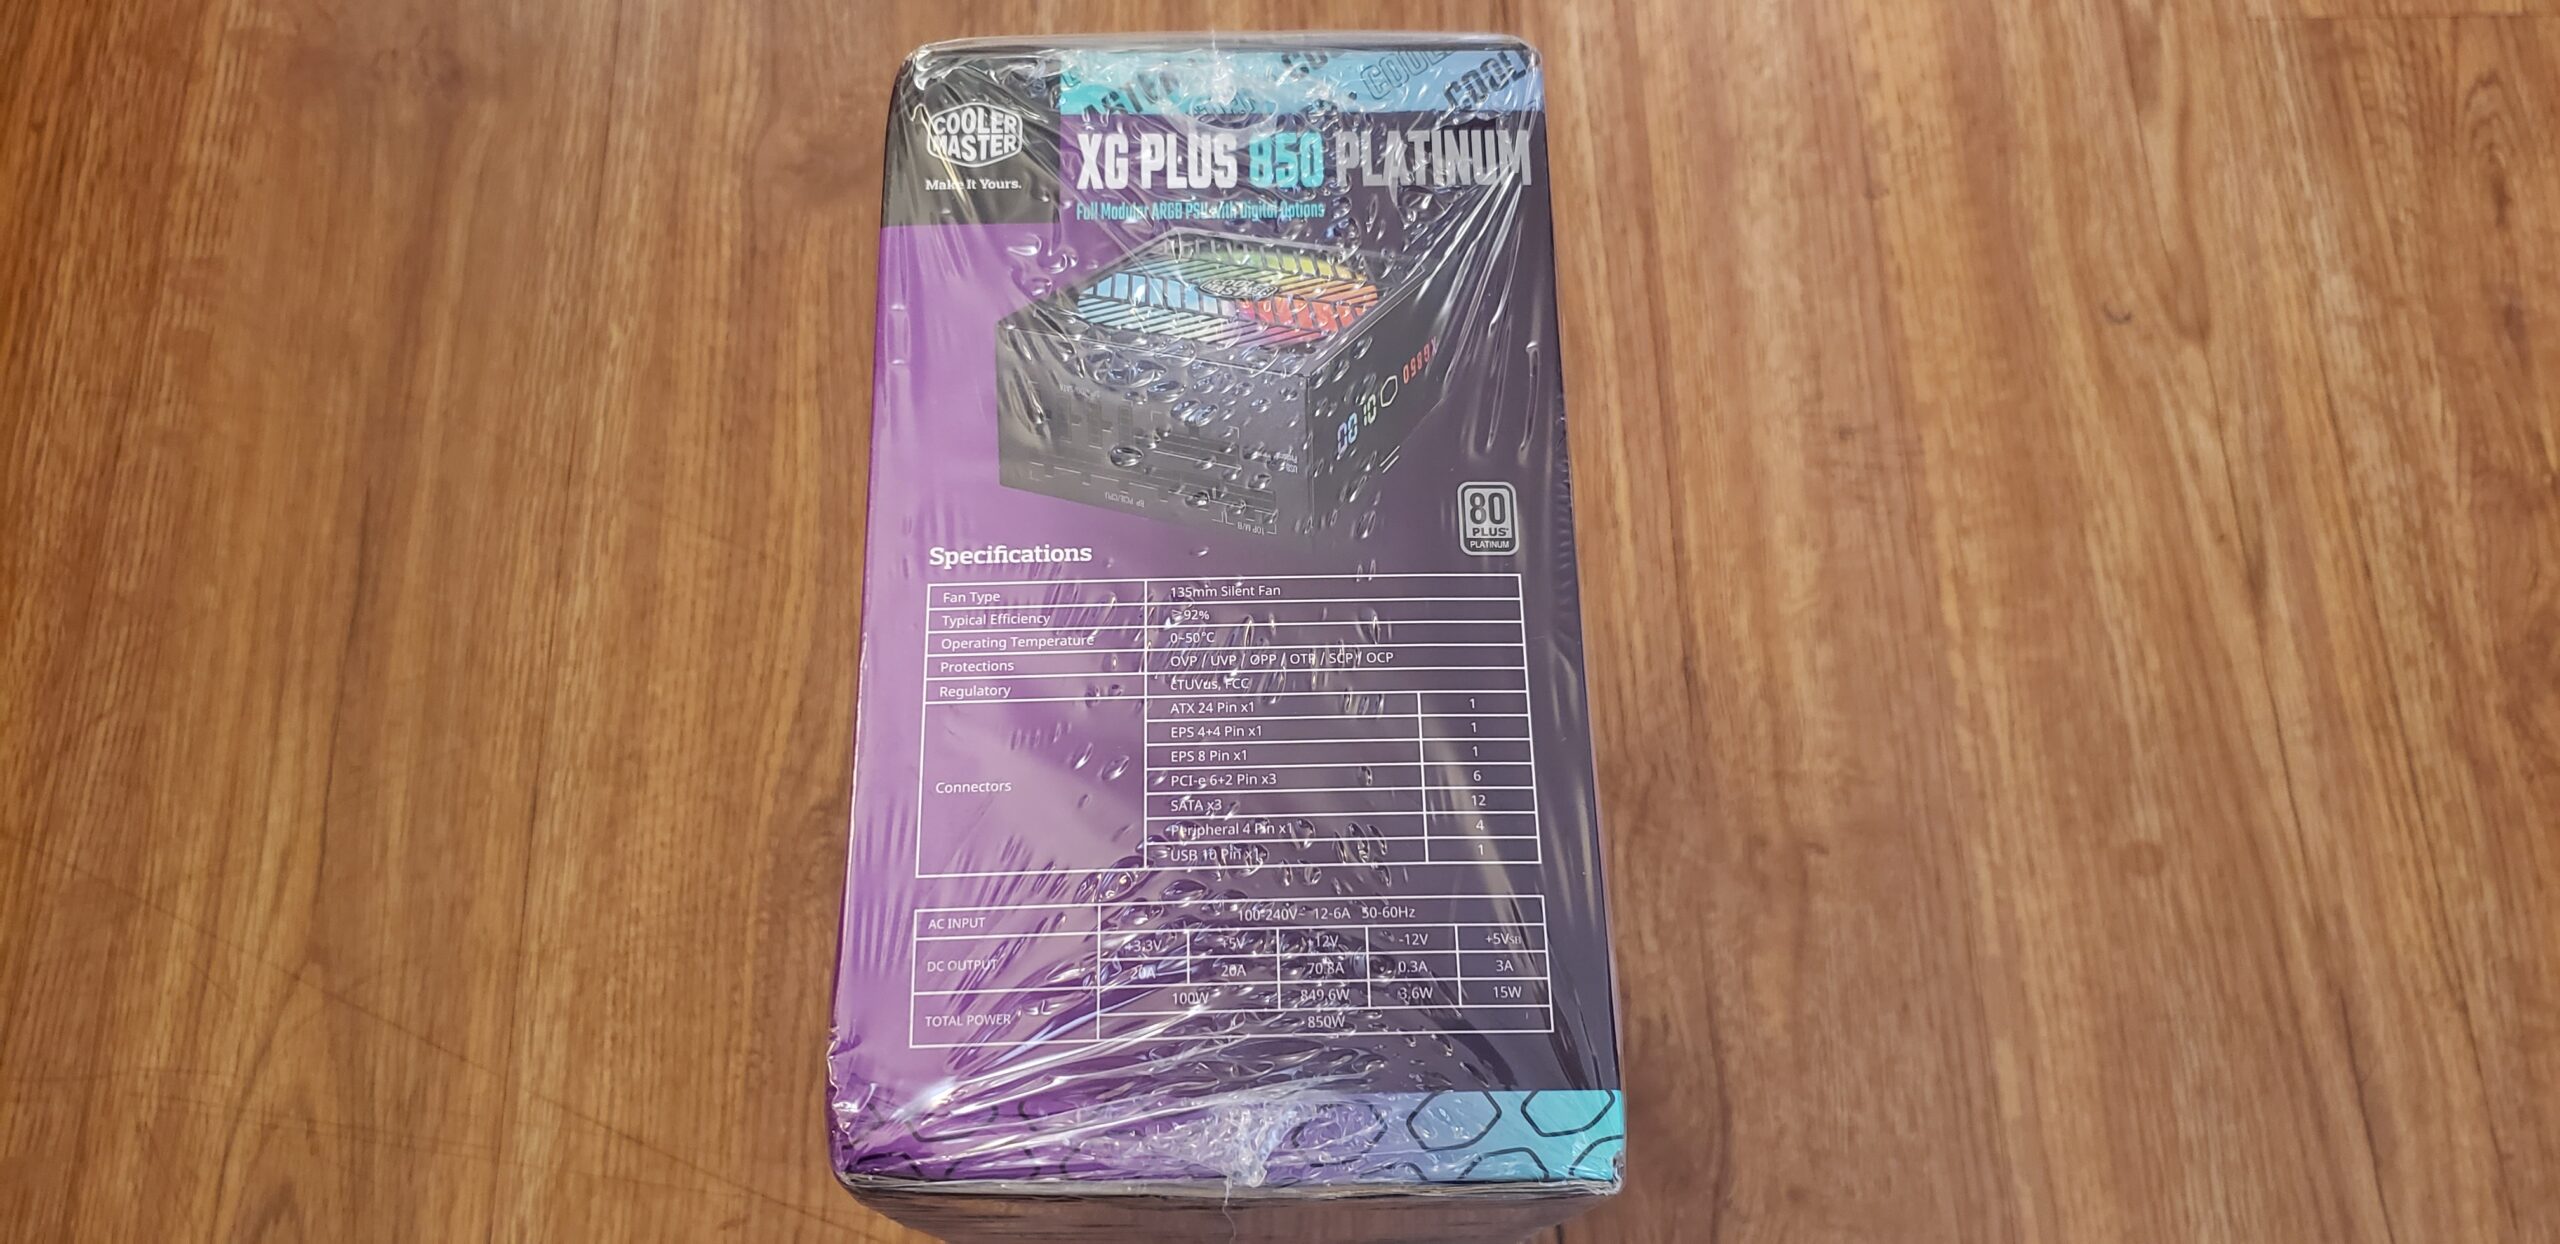
Packing of course matters and Cooler Master did make the box quite attractive looking with their typical purple color. The back of the box looks just as good as the front, and they show their efficiency and fan curve graphs there. There’s also images depicting included cables and other features that this particular unit has. The side of the box shows the specifications graph (also shown above).


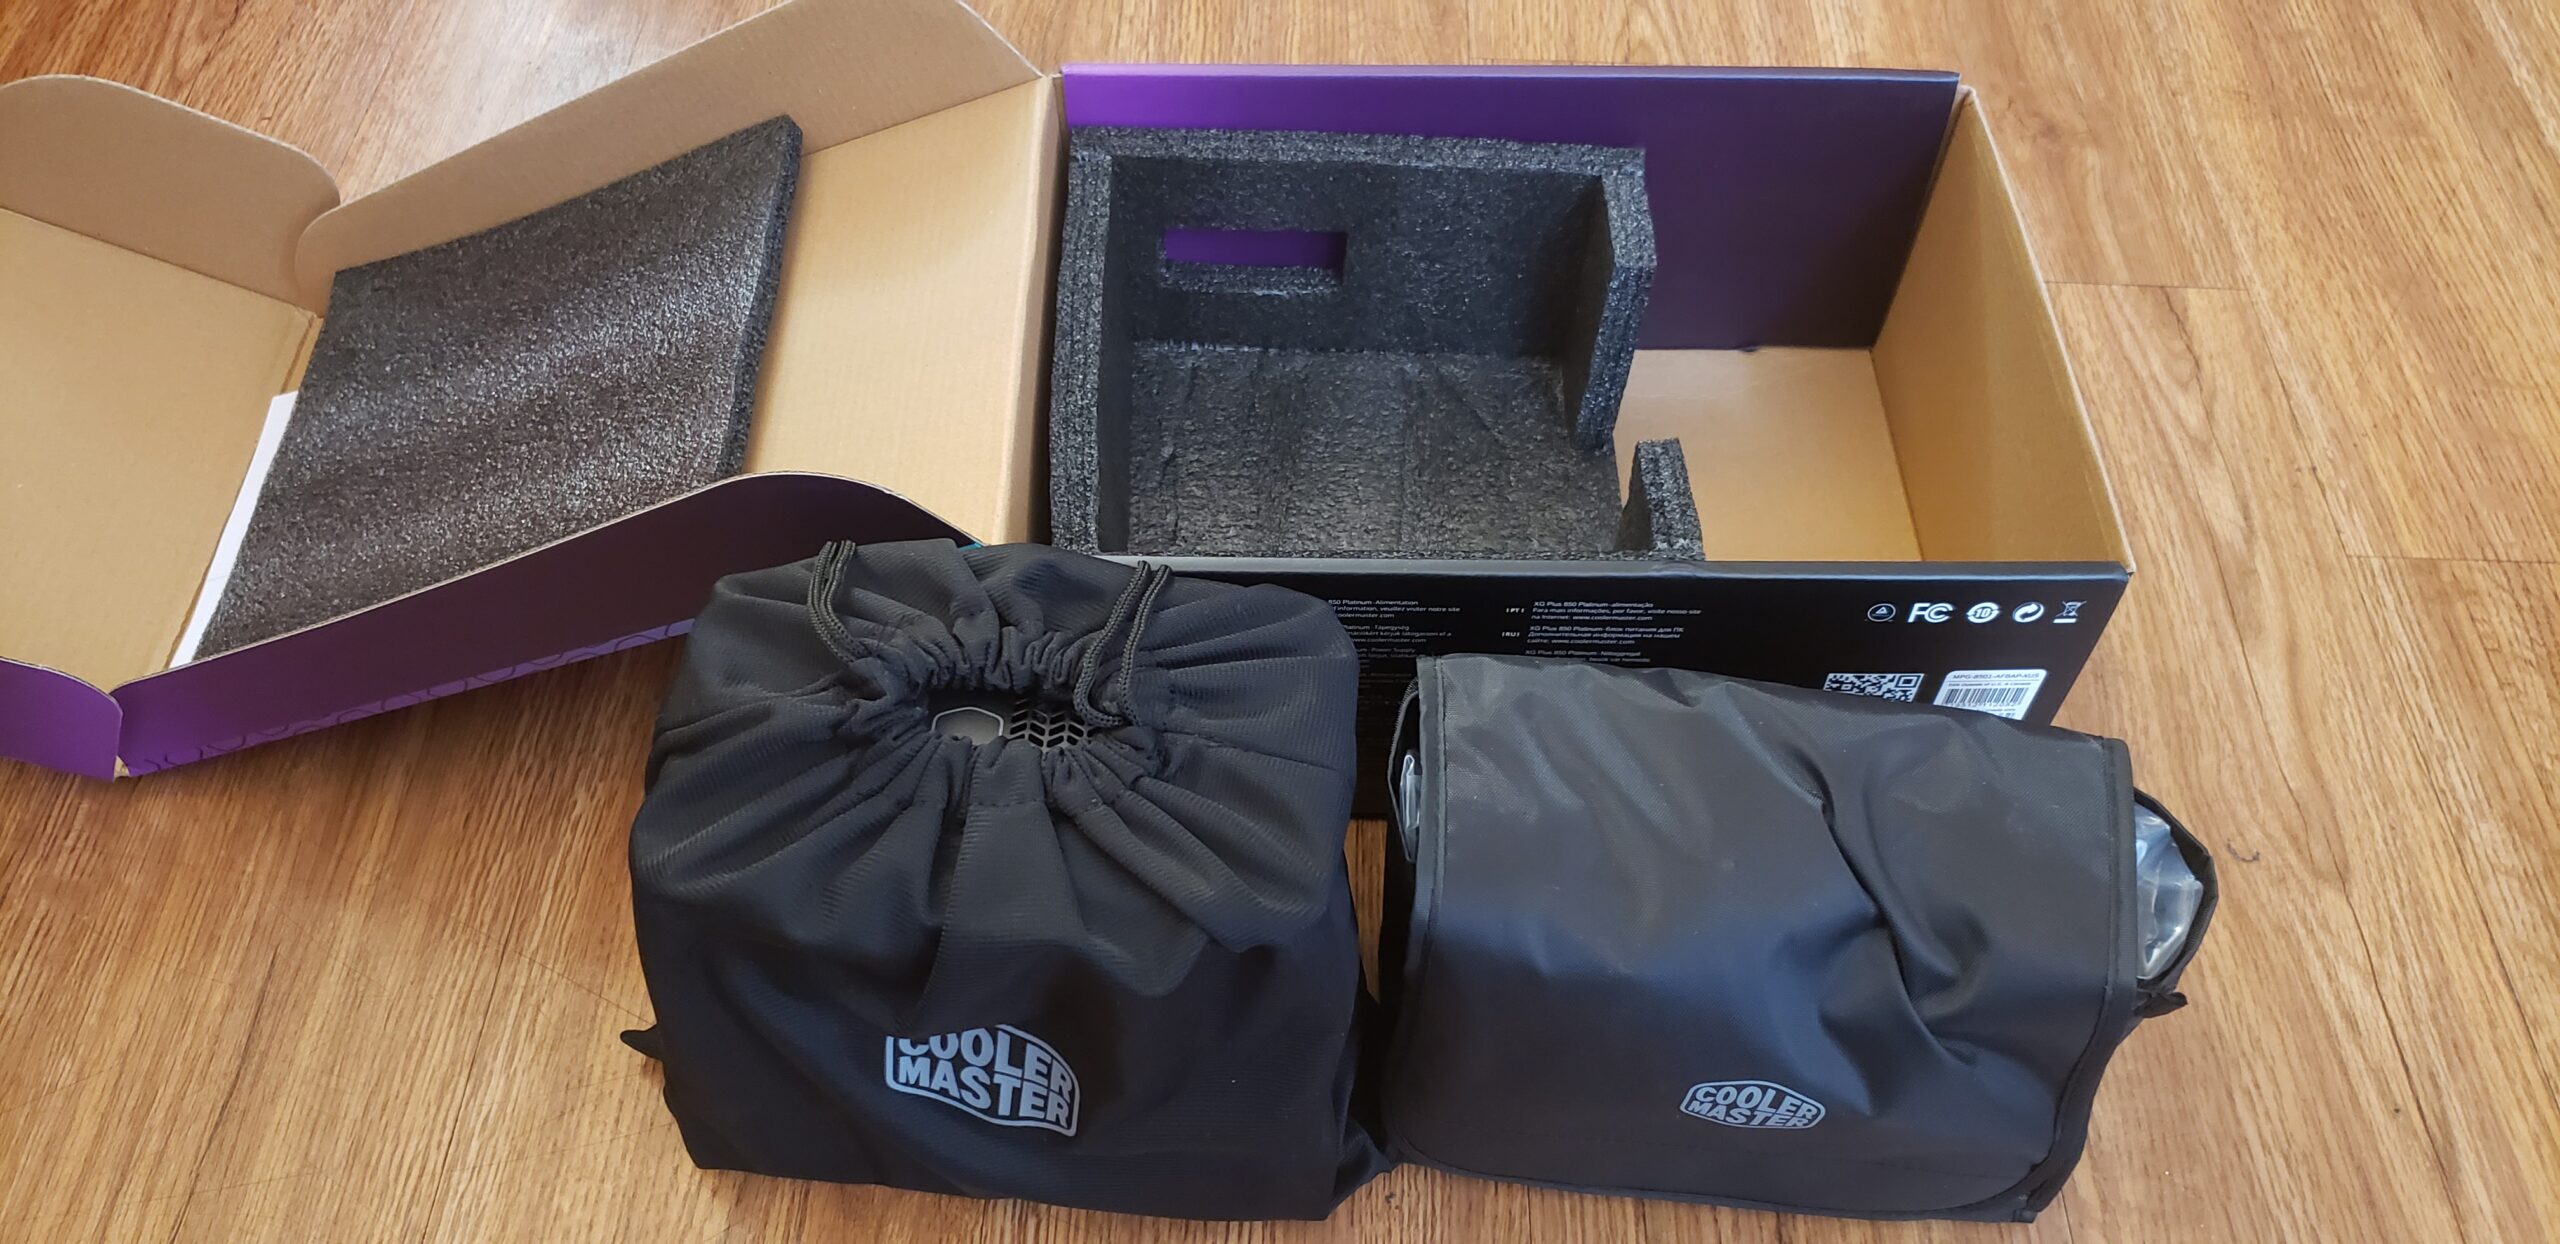
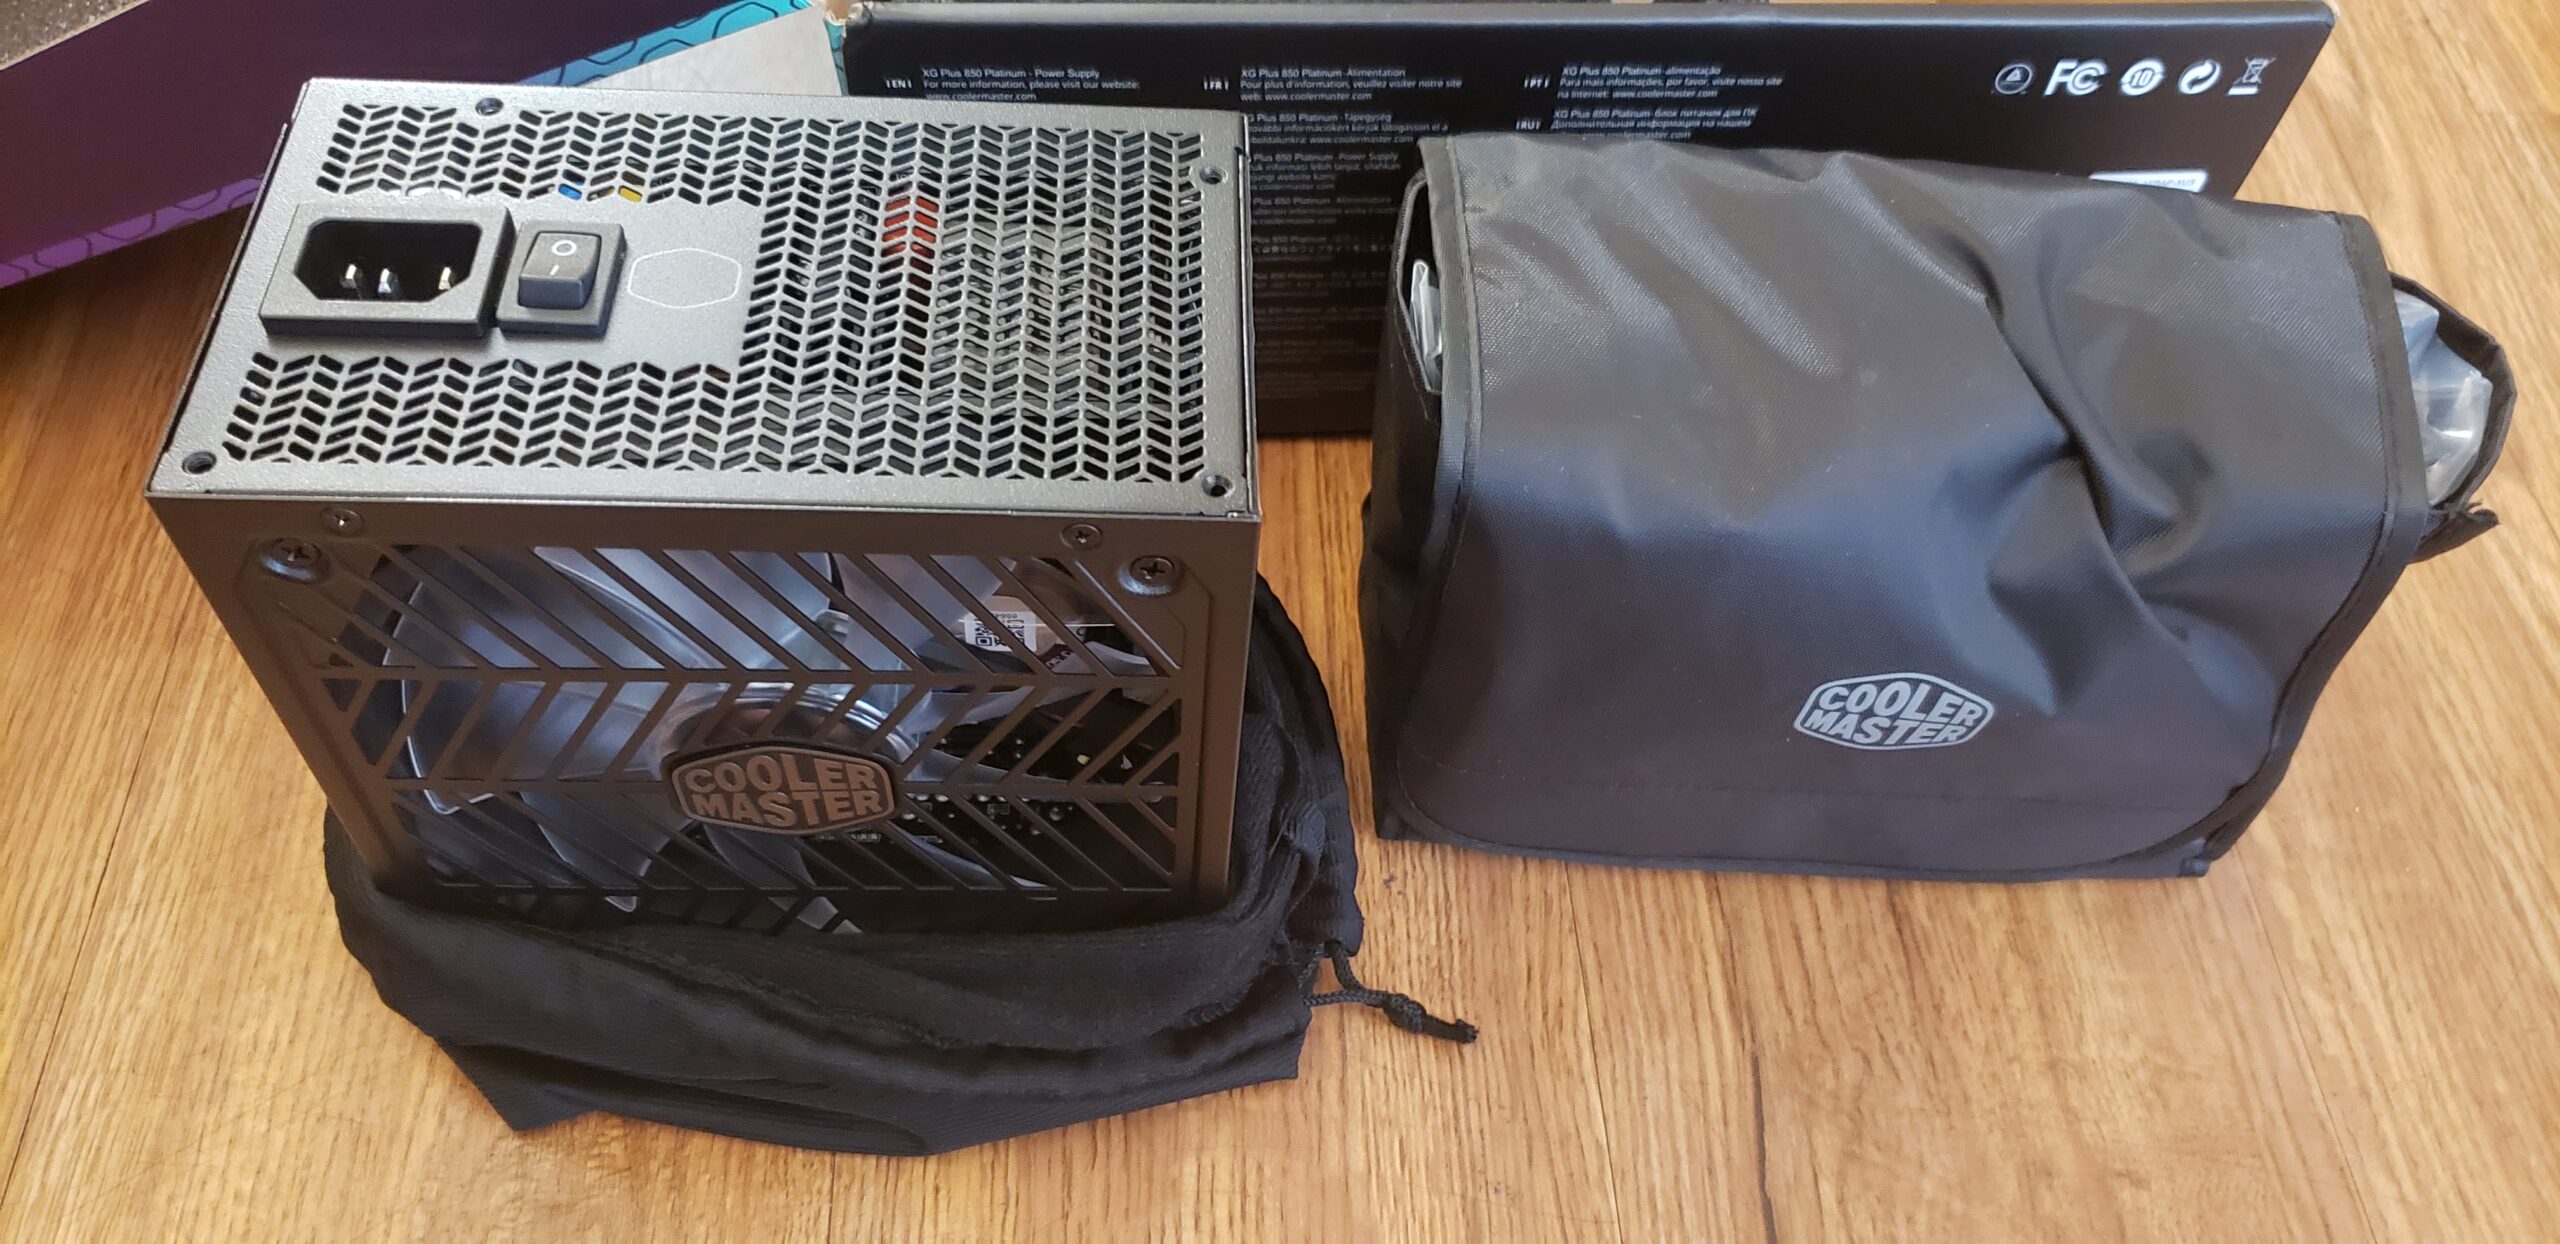
Once we open the box we are greeted with the install guide, foam and a stylish enclosure for the cables. Pretty standard, but that cable container has caught my attention already.
The power supply itself is in a stylish bag. So far, this is looking to be nicer packaged than other units I’ve seen in the past. Not that this matters for performance, but its a very appreciated touch. The cloth is decently thick, so you could use this bag for other purposes if you wanted to. Kind of reminds me of those old Crown Royal alcohol bags people used to use all of the time for various purposes because they were such quality. The draw string bag is my favorite part, but we’ll continue. I could just stop with that and leave my review “half” finished and be happy! The cables are in a Velcro style satchel, another appreciated touch and will certainly help to keep your spare cables nice and organized.
Tearing down that draw string bag, and what do we see? Oooh la la. Okay, now I’m getting more interested in the actual power supply instead of the bag!
Closer Look:


Once fully opened, we see the power supply itself, coupled with all of the modular cables you could ever ask for. A 120v AC power cord and a package of zip ties! Zip ties have certainly gotten common place lately with power supply manufacturers, but its still a very appreciated extra.
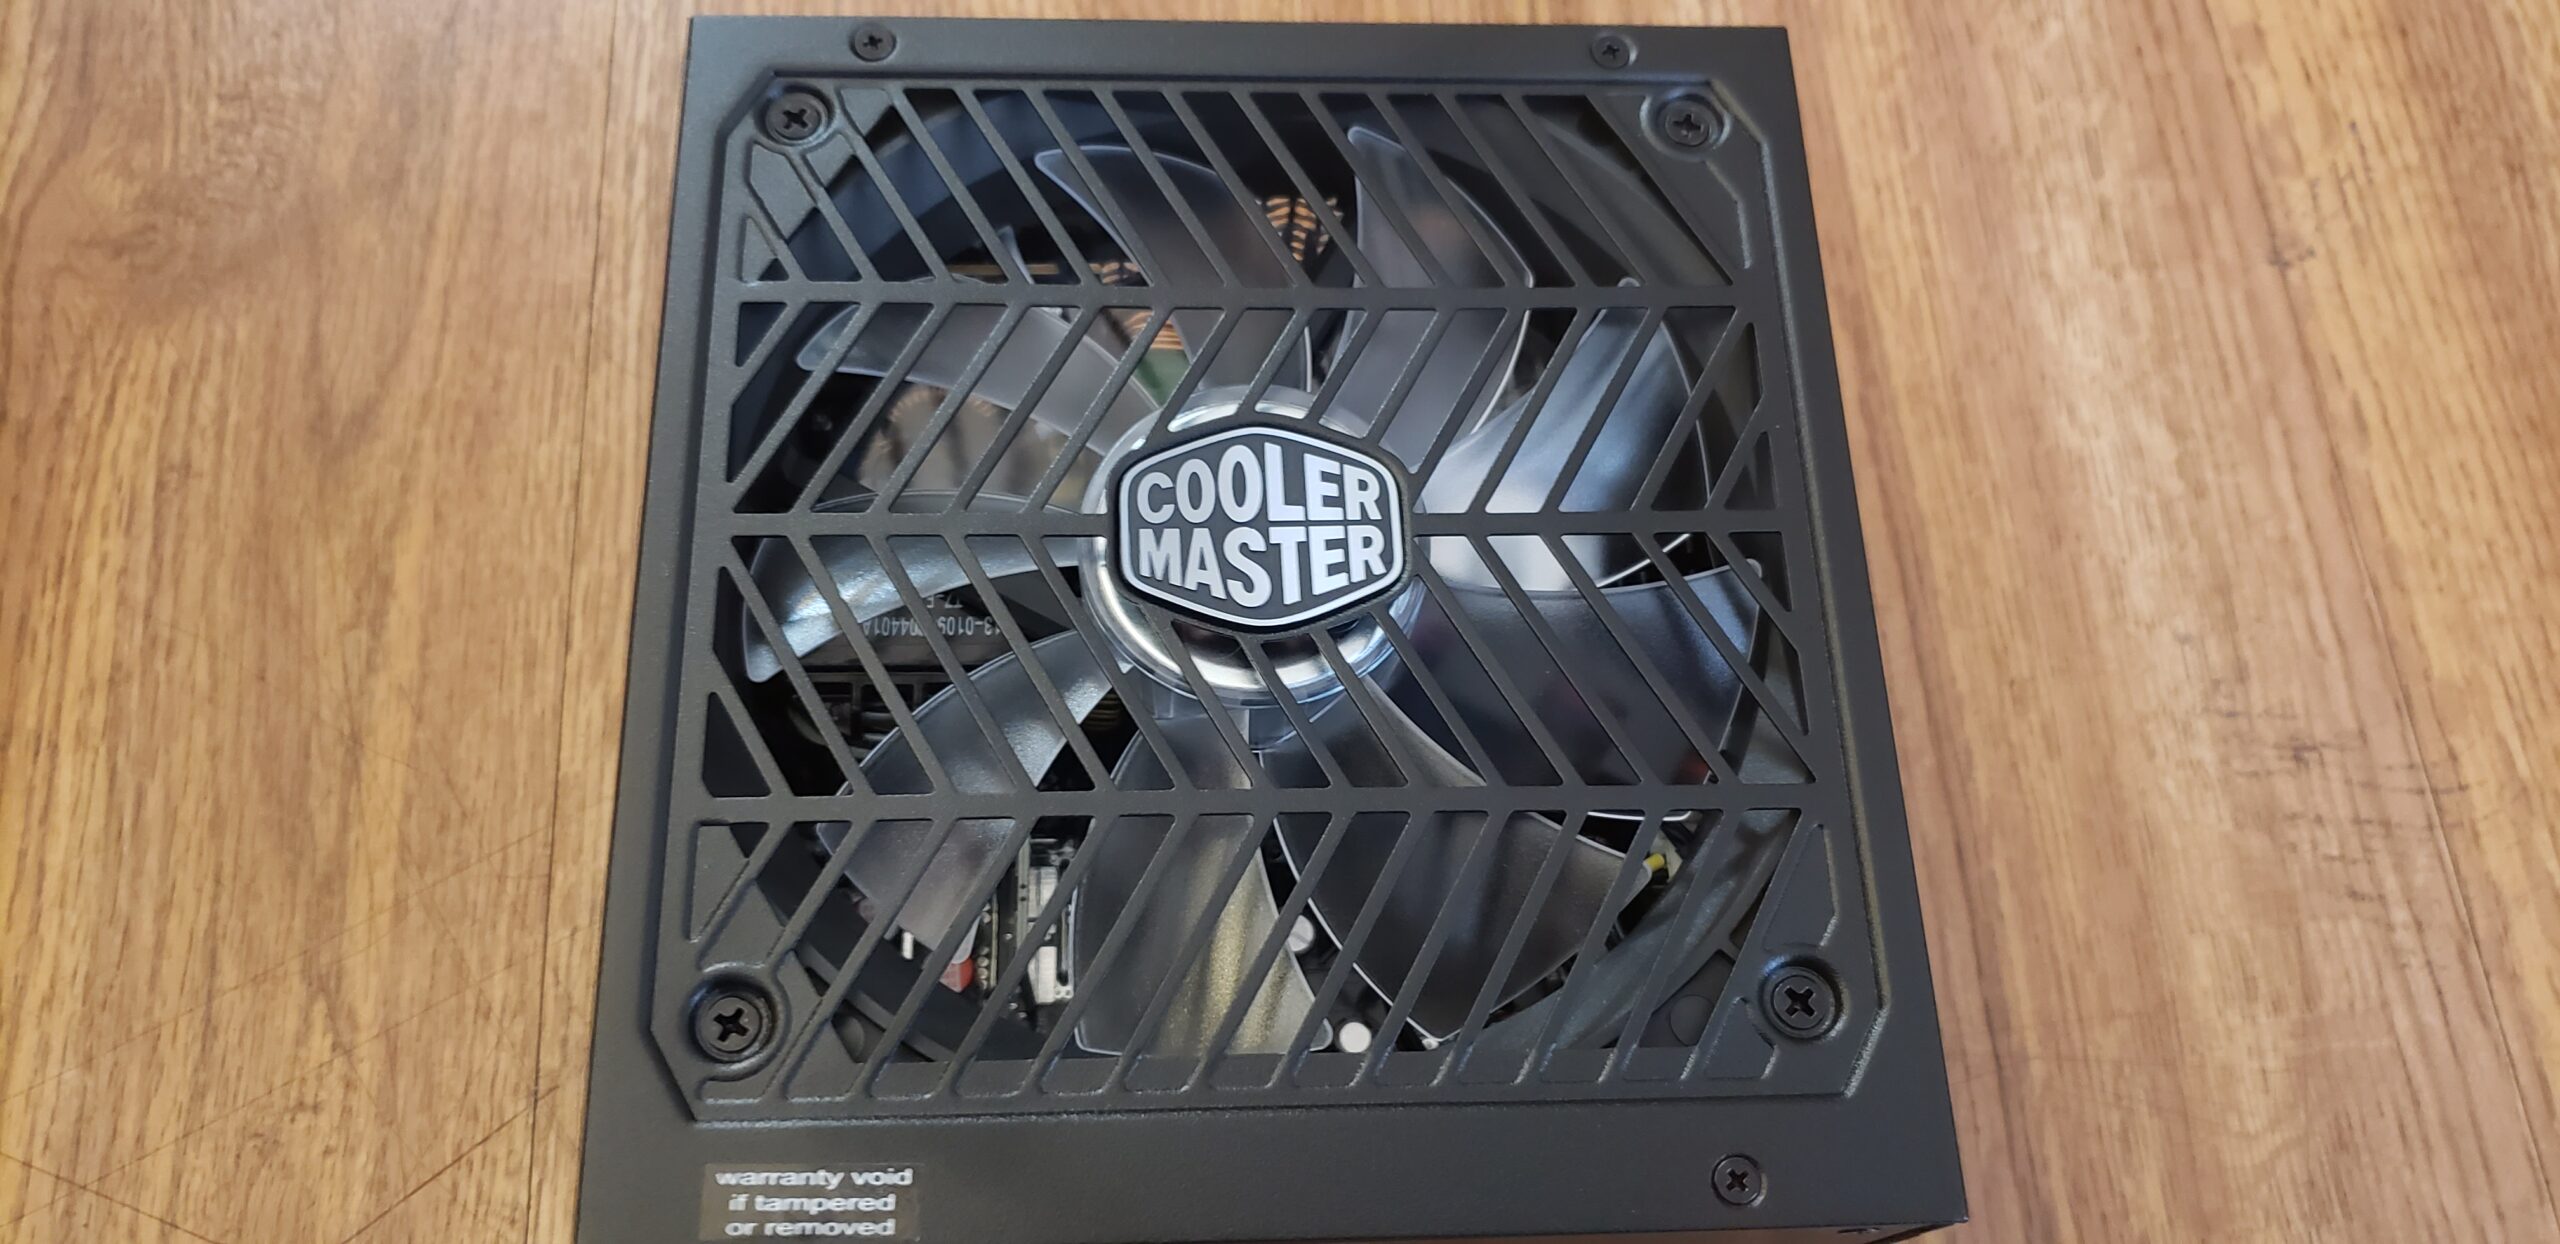
The grill is open and allows for “HAF” (High Air Flow), a standard in Cooler Master design. Open air flow like this will simply mean the unit will stay cooler easier. The included fan is obscured by the grill, I’m sure it’ll do a fantastic job. It can be controlled via MasterPlus+ software, which is a free download on their website.
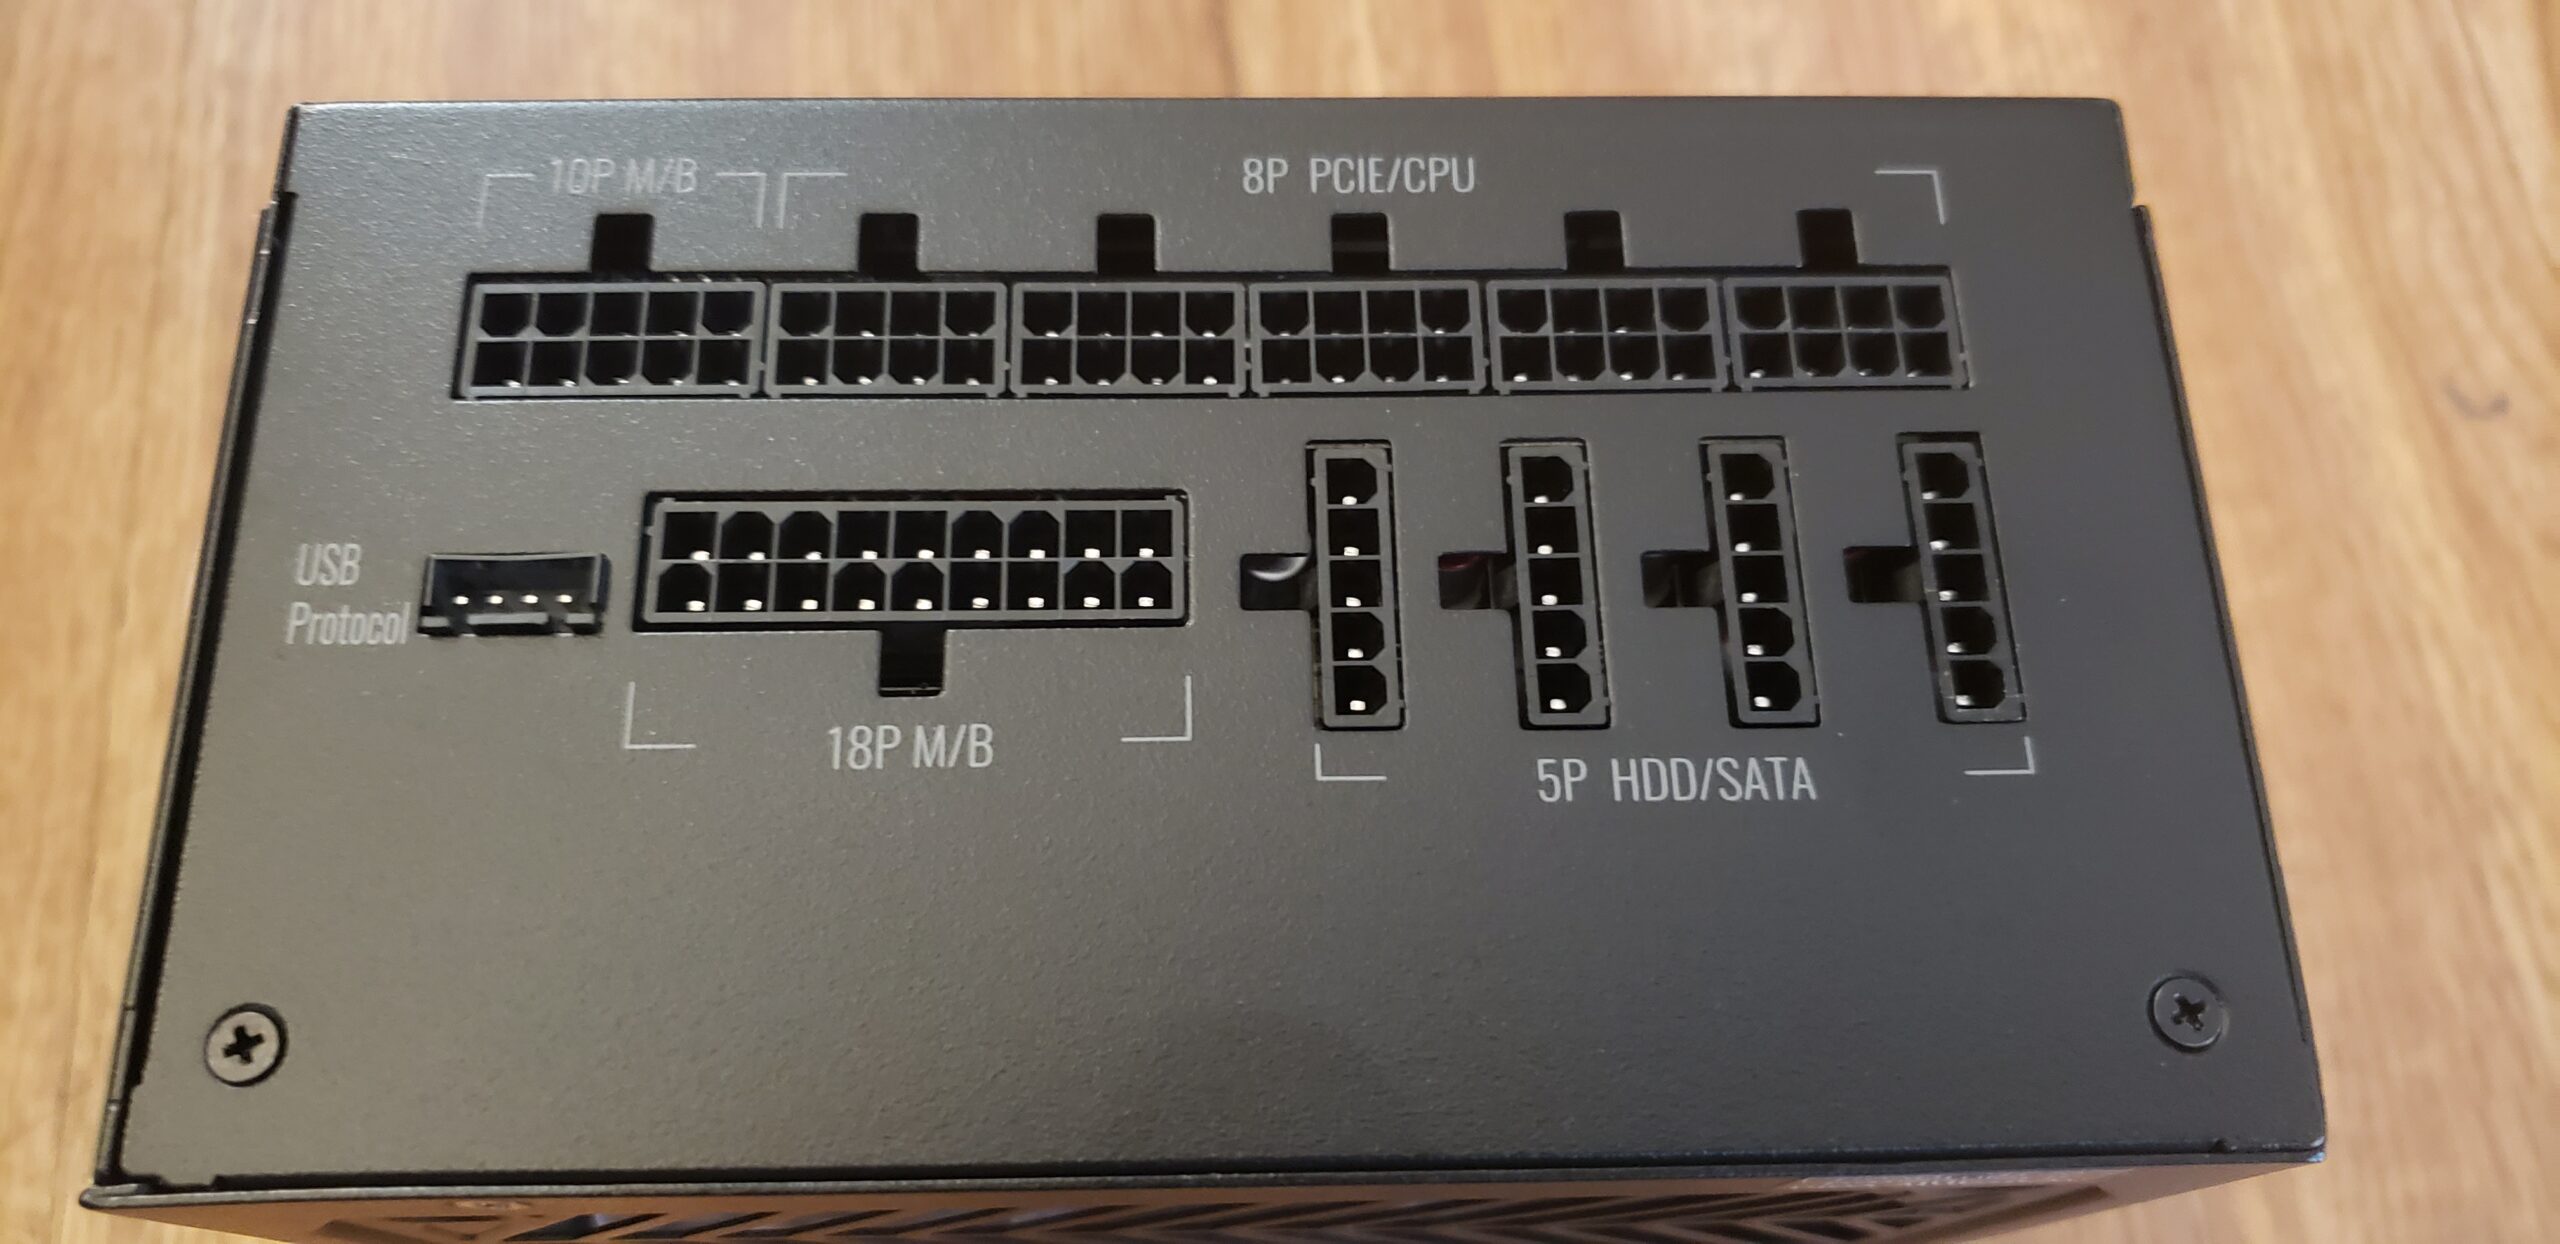
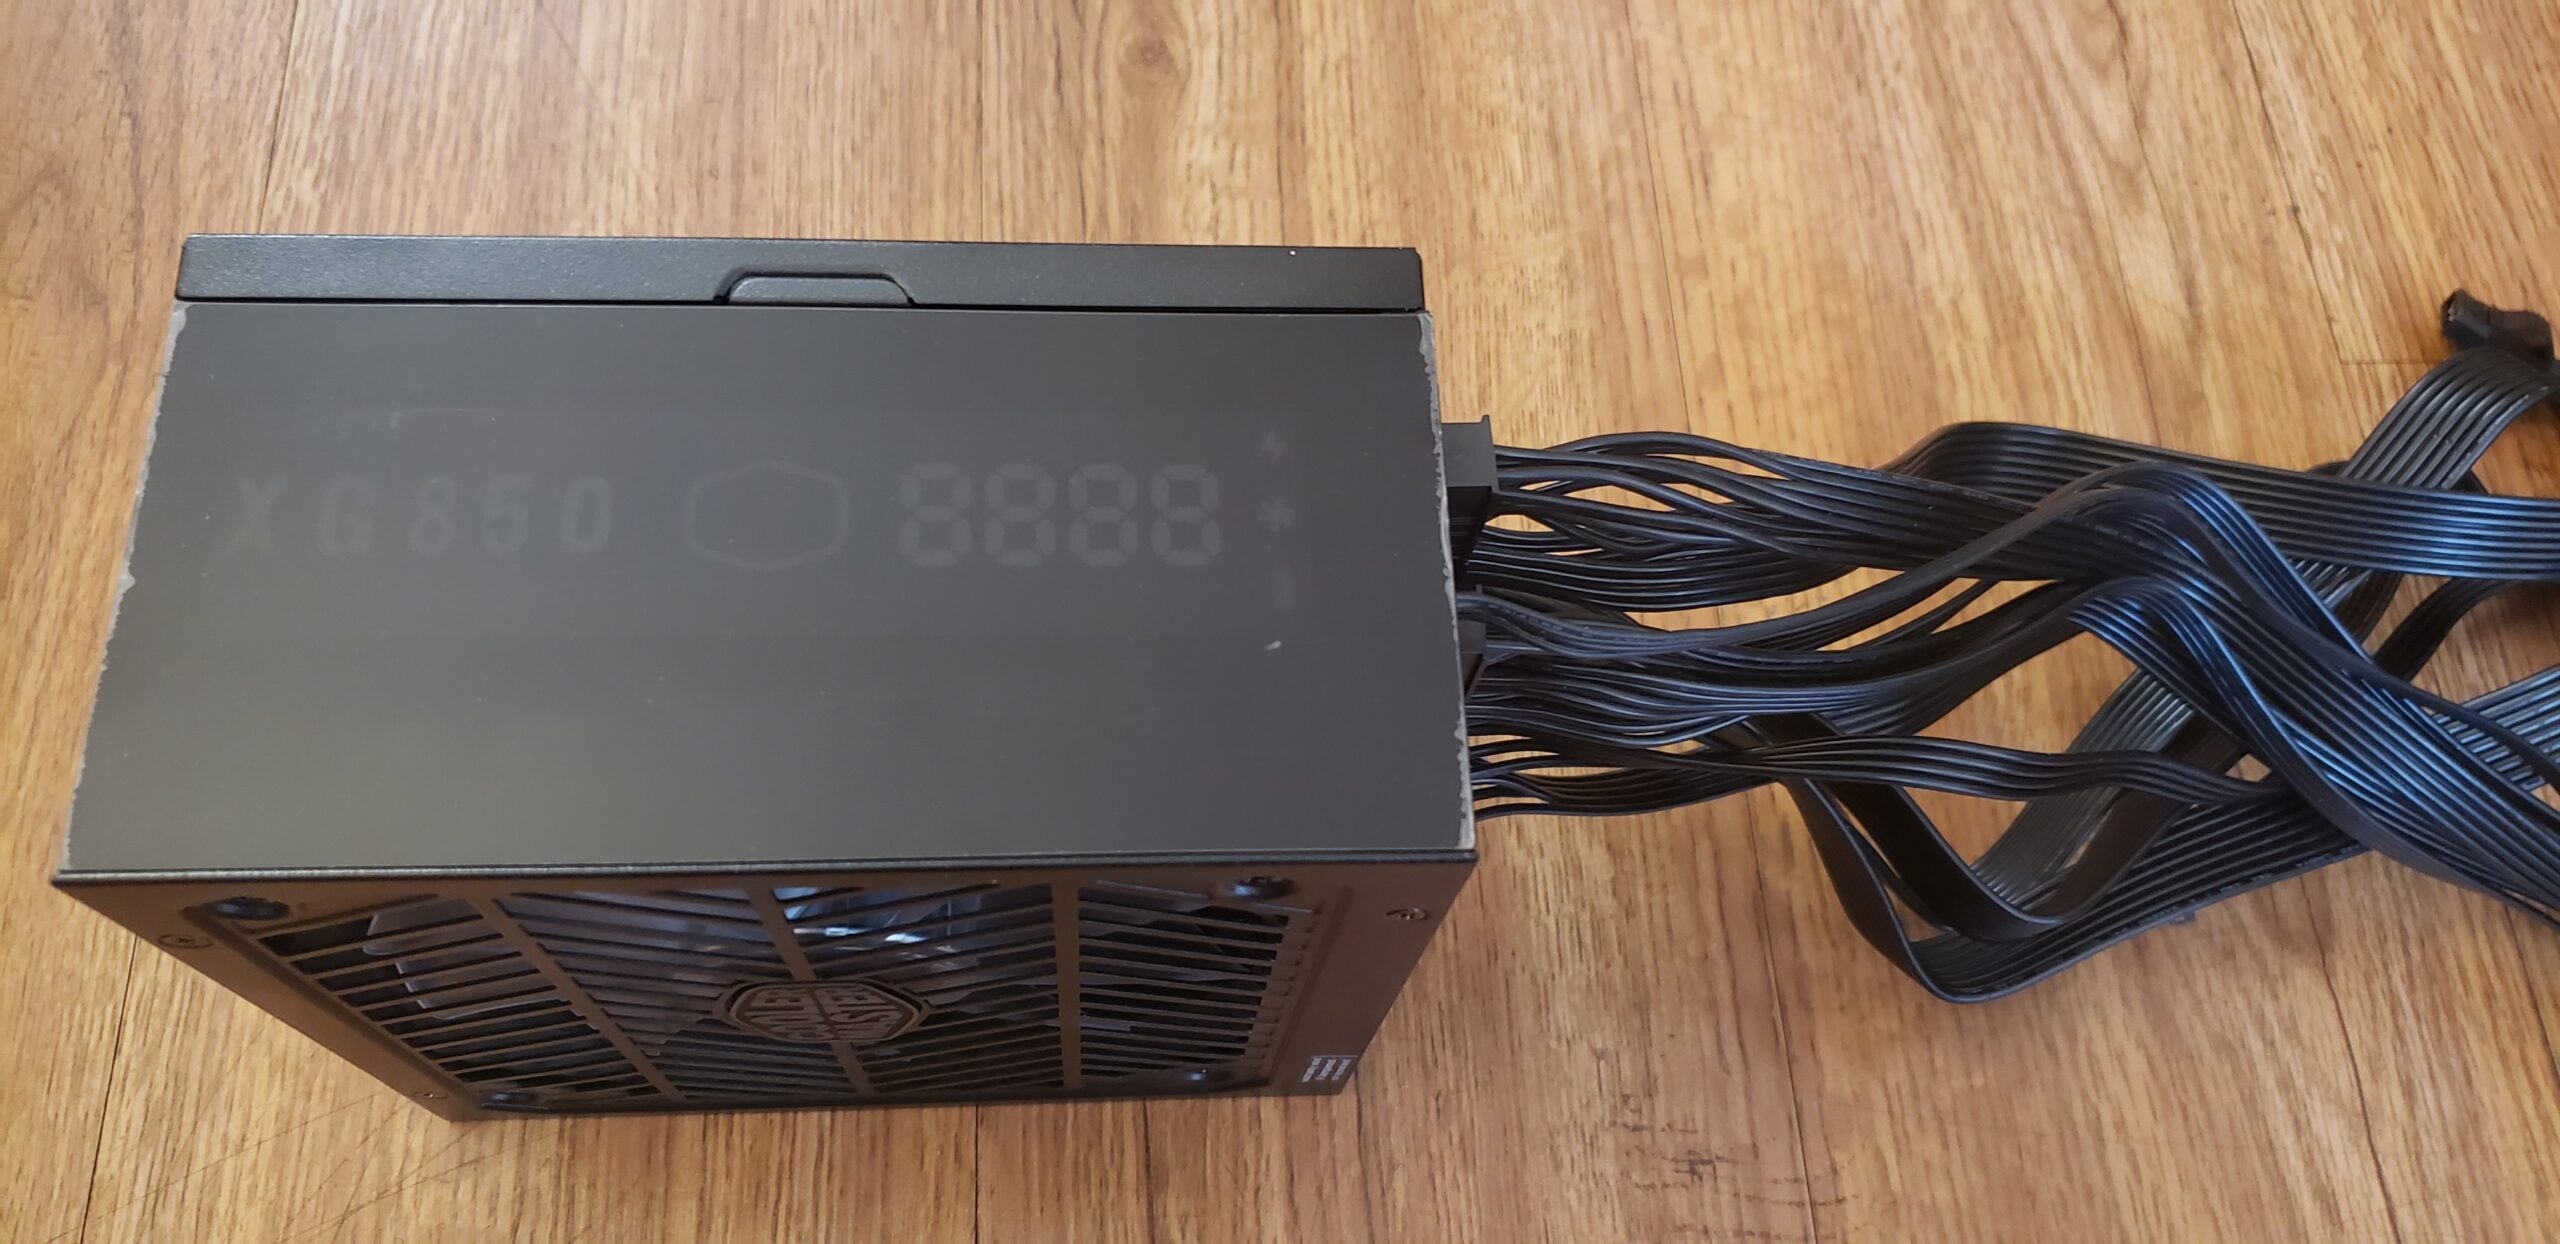
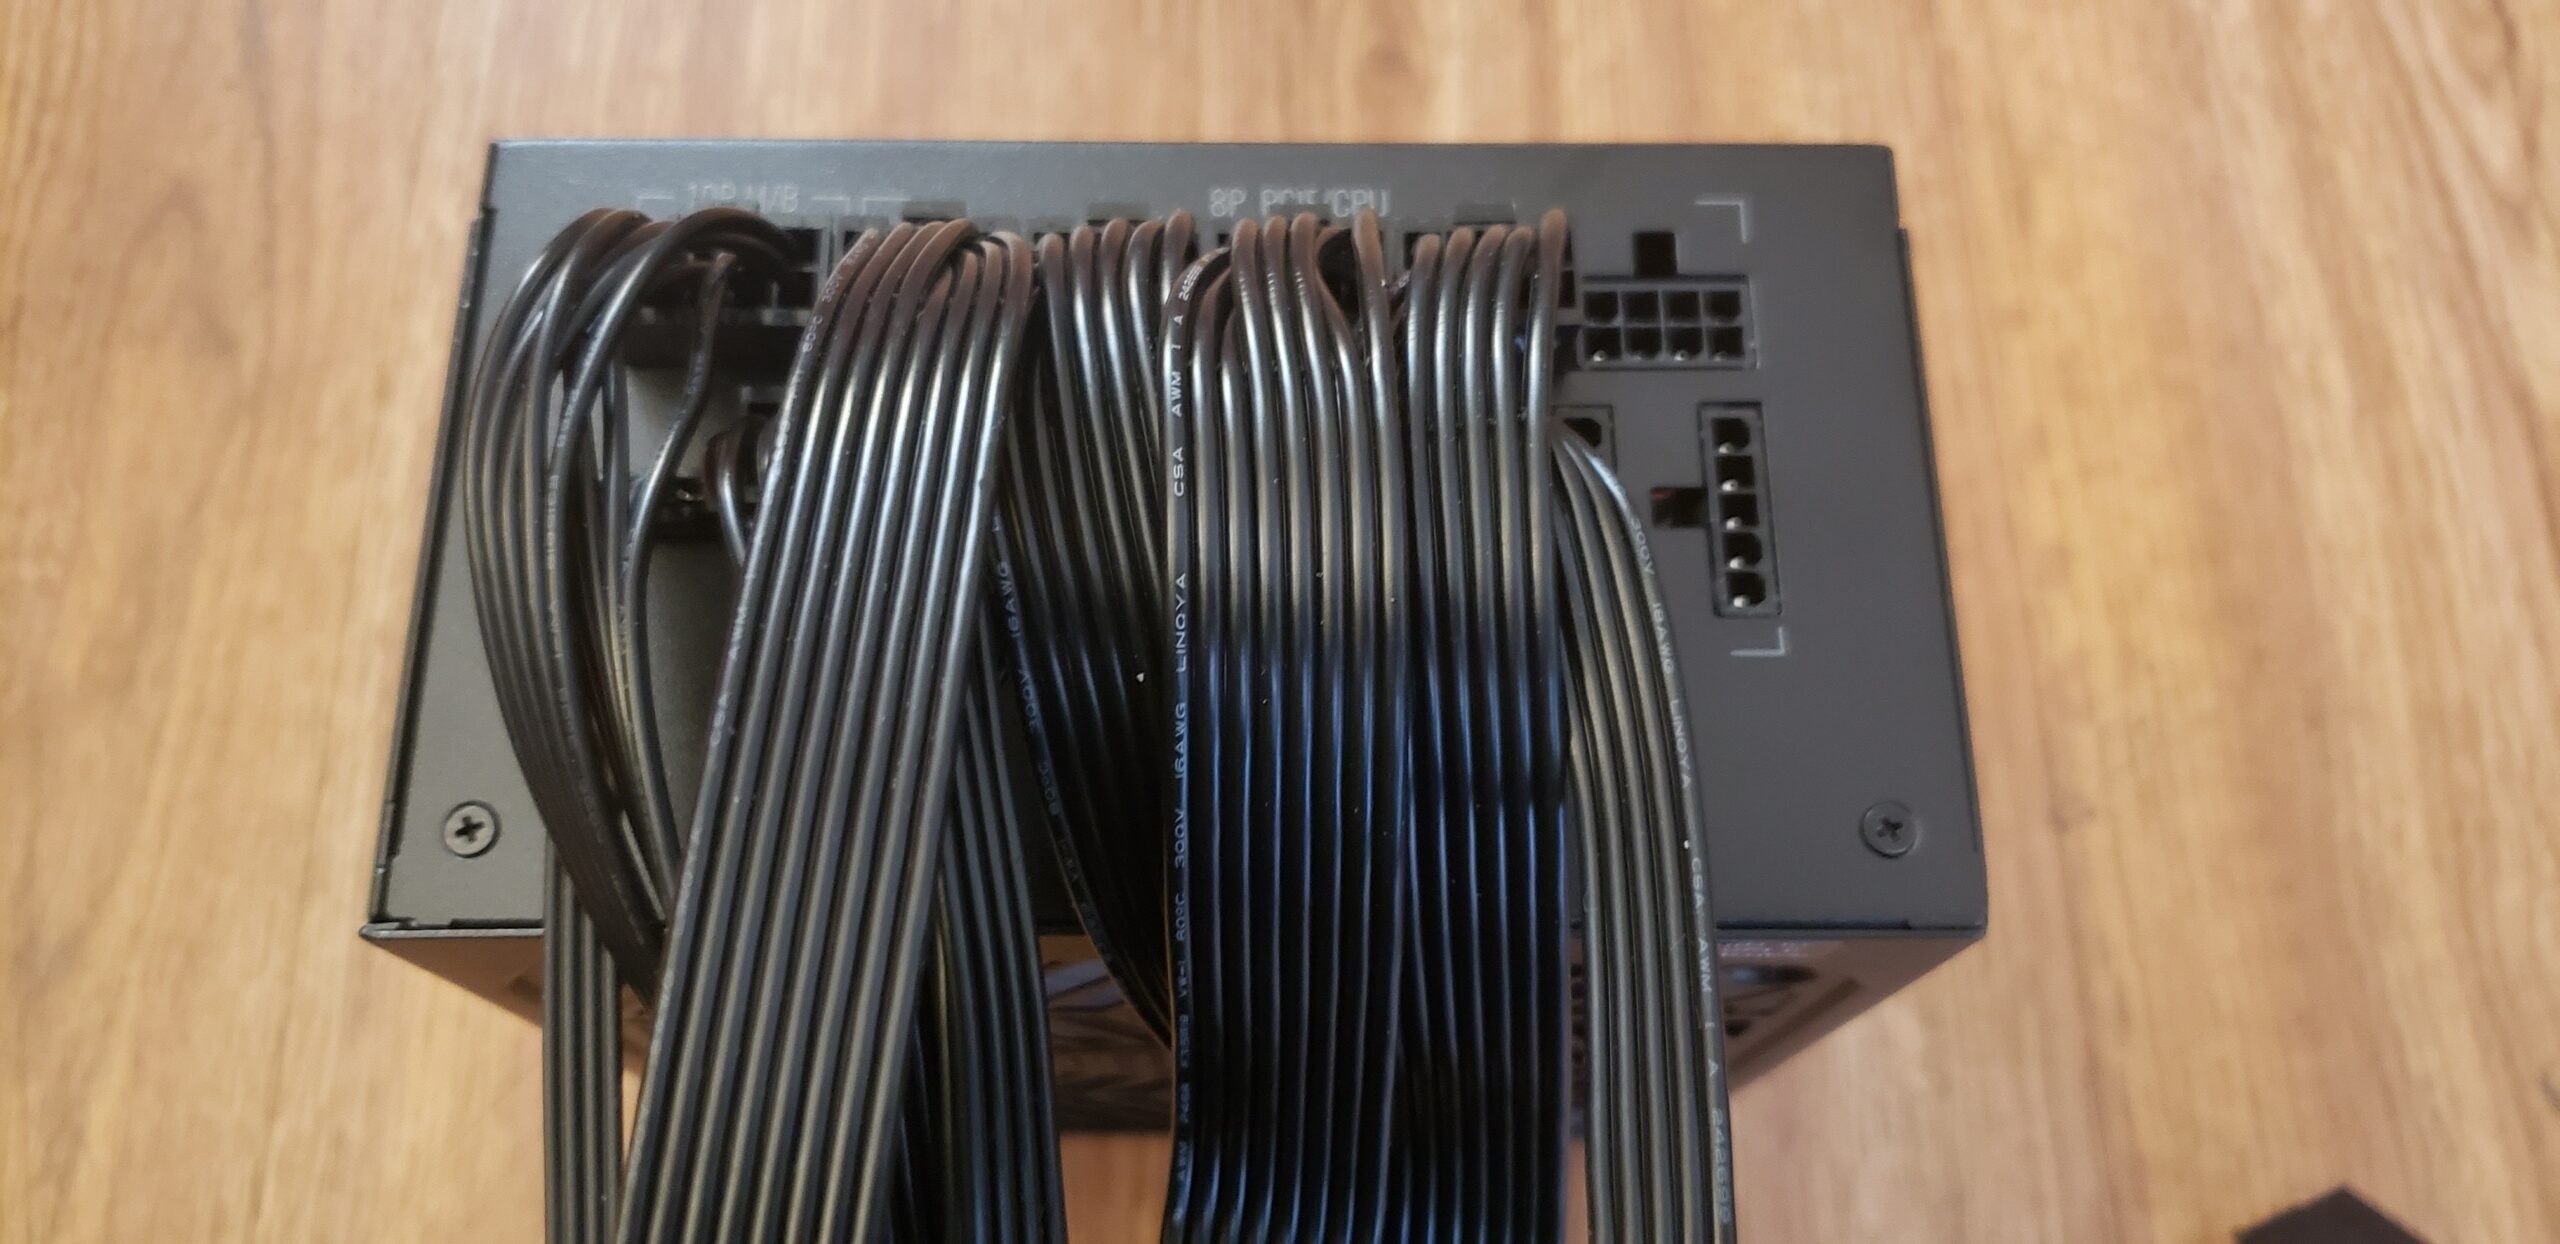
There are plenty of modular connections to choose from. From left to right we have both a 10pin / 18pin connector which goes to the 24pin cable. We see the five pin USB plug for ARGB connection to the motherboard. Along the top we see 5x 8pin connectors which are good for both extra CPU plugs or your 6/8pin PCIe GPU plugs. The remaining four extra plugs on the bottom are five pin cables that can either be SATA or standard Molex.
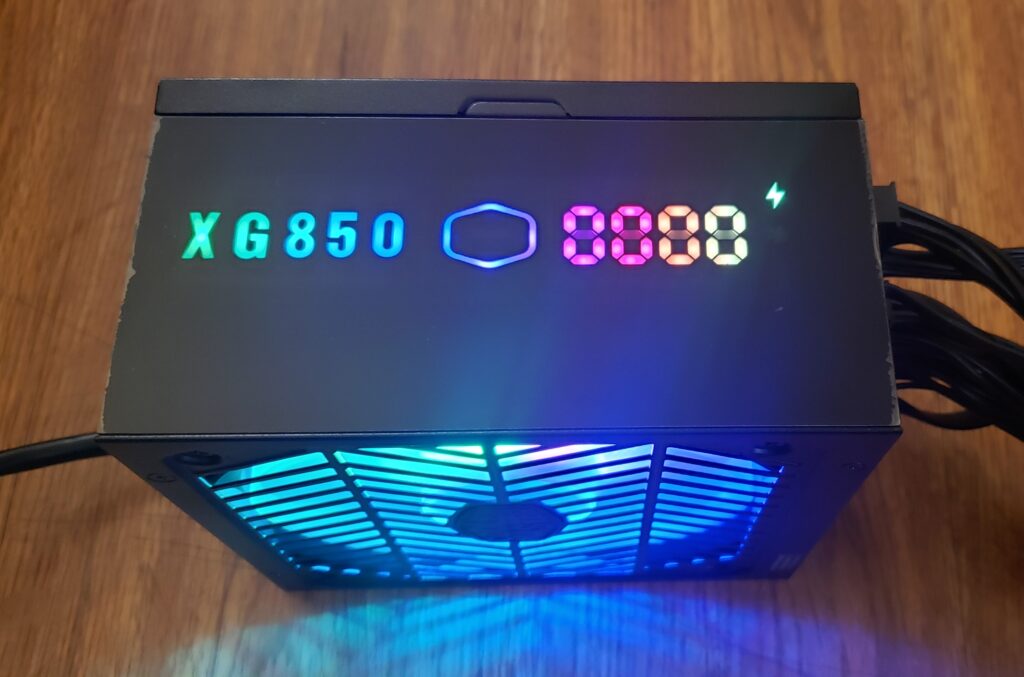
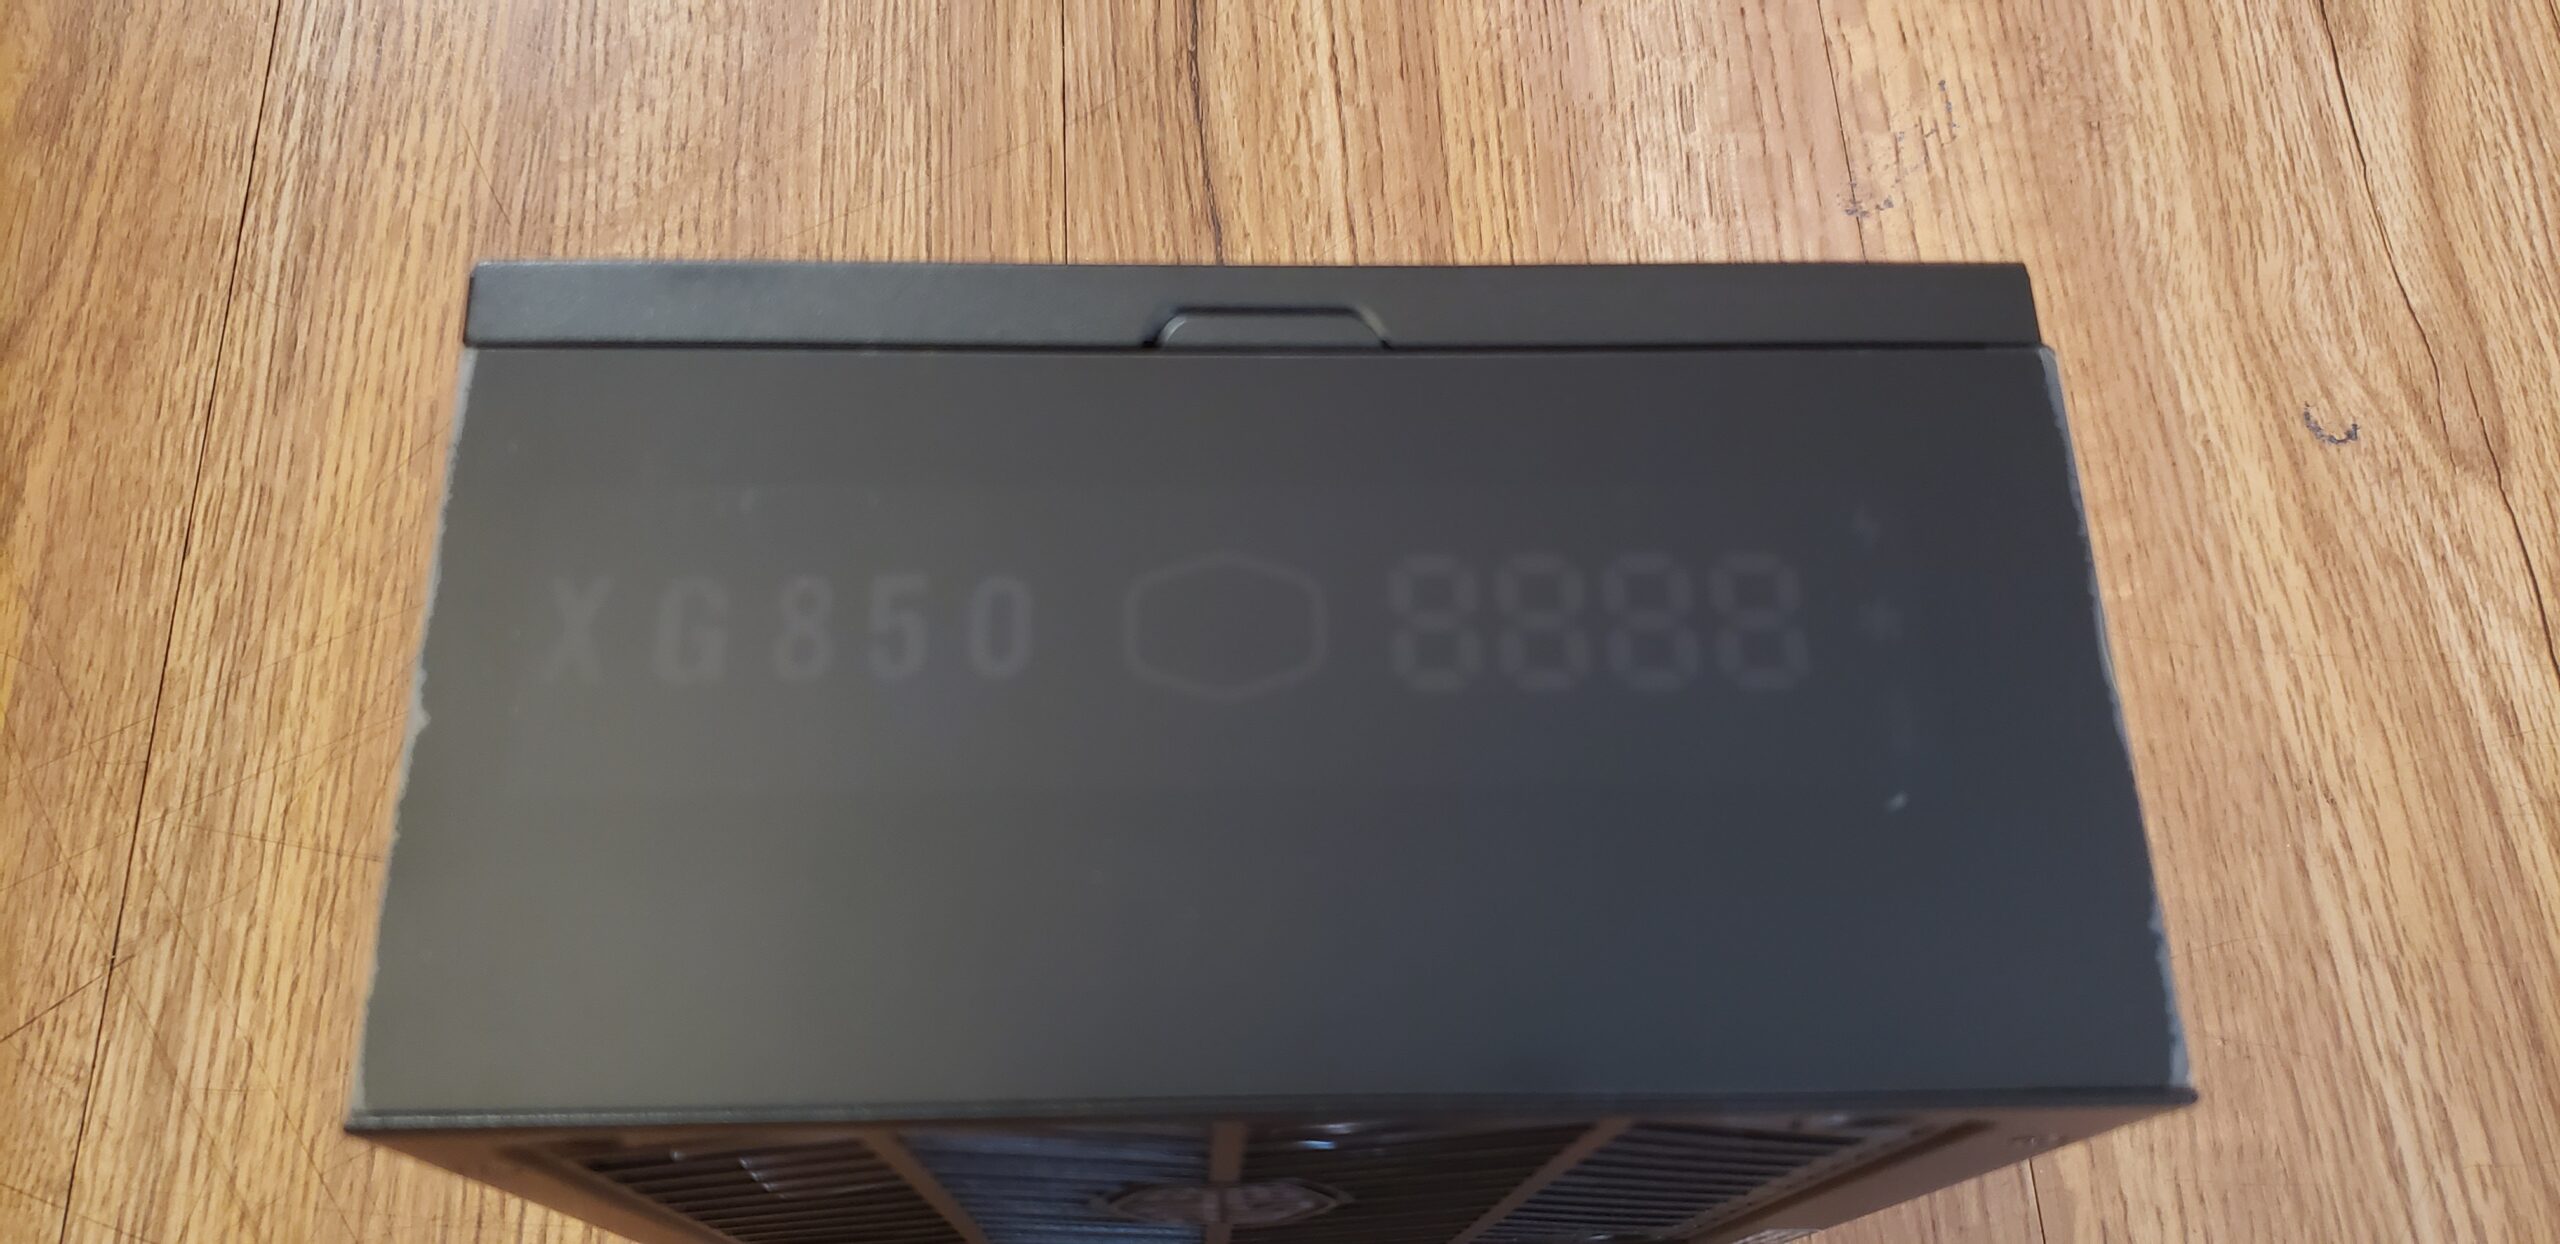
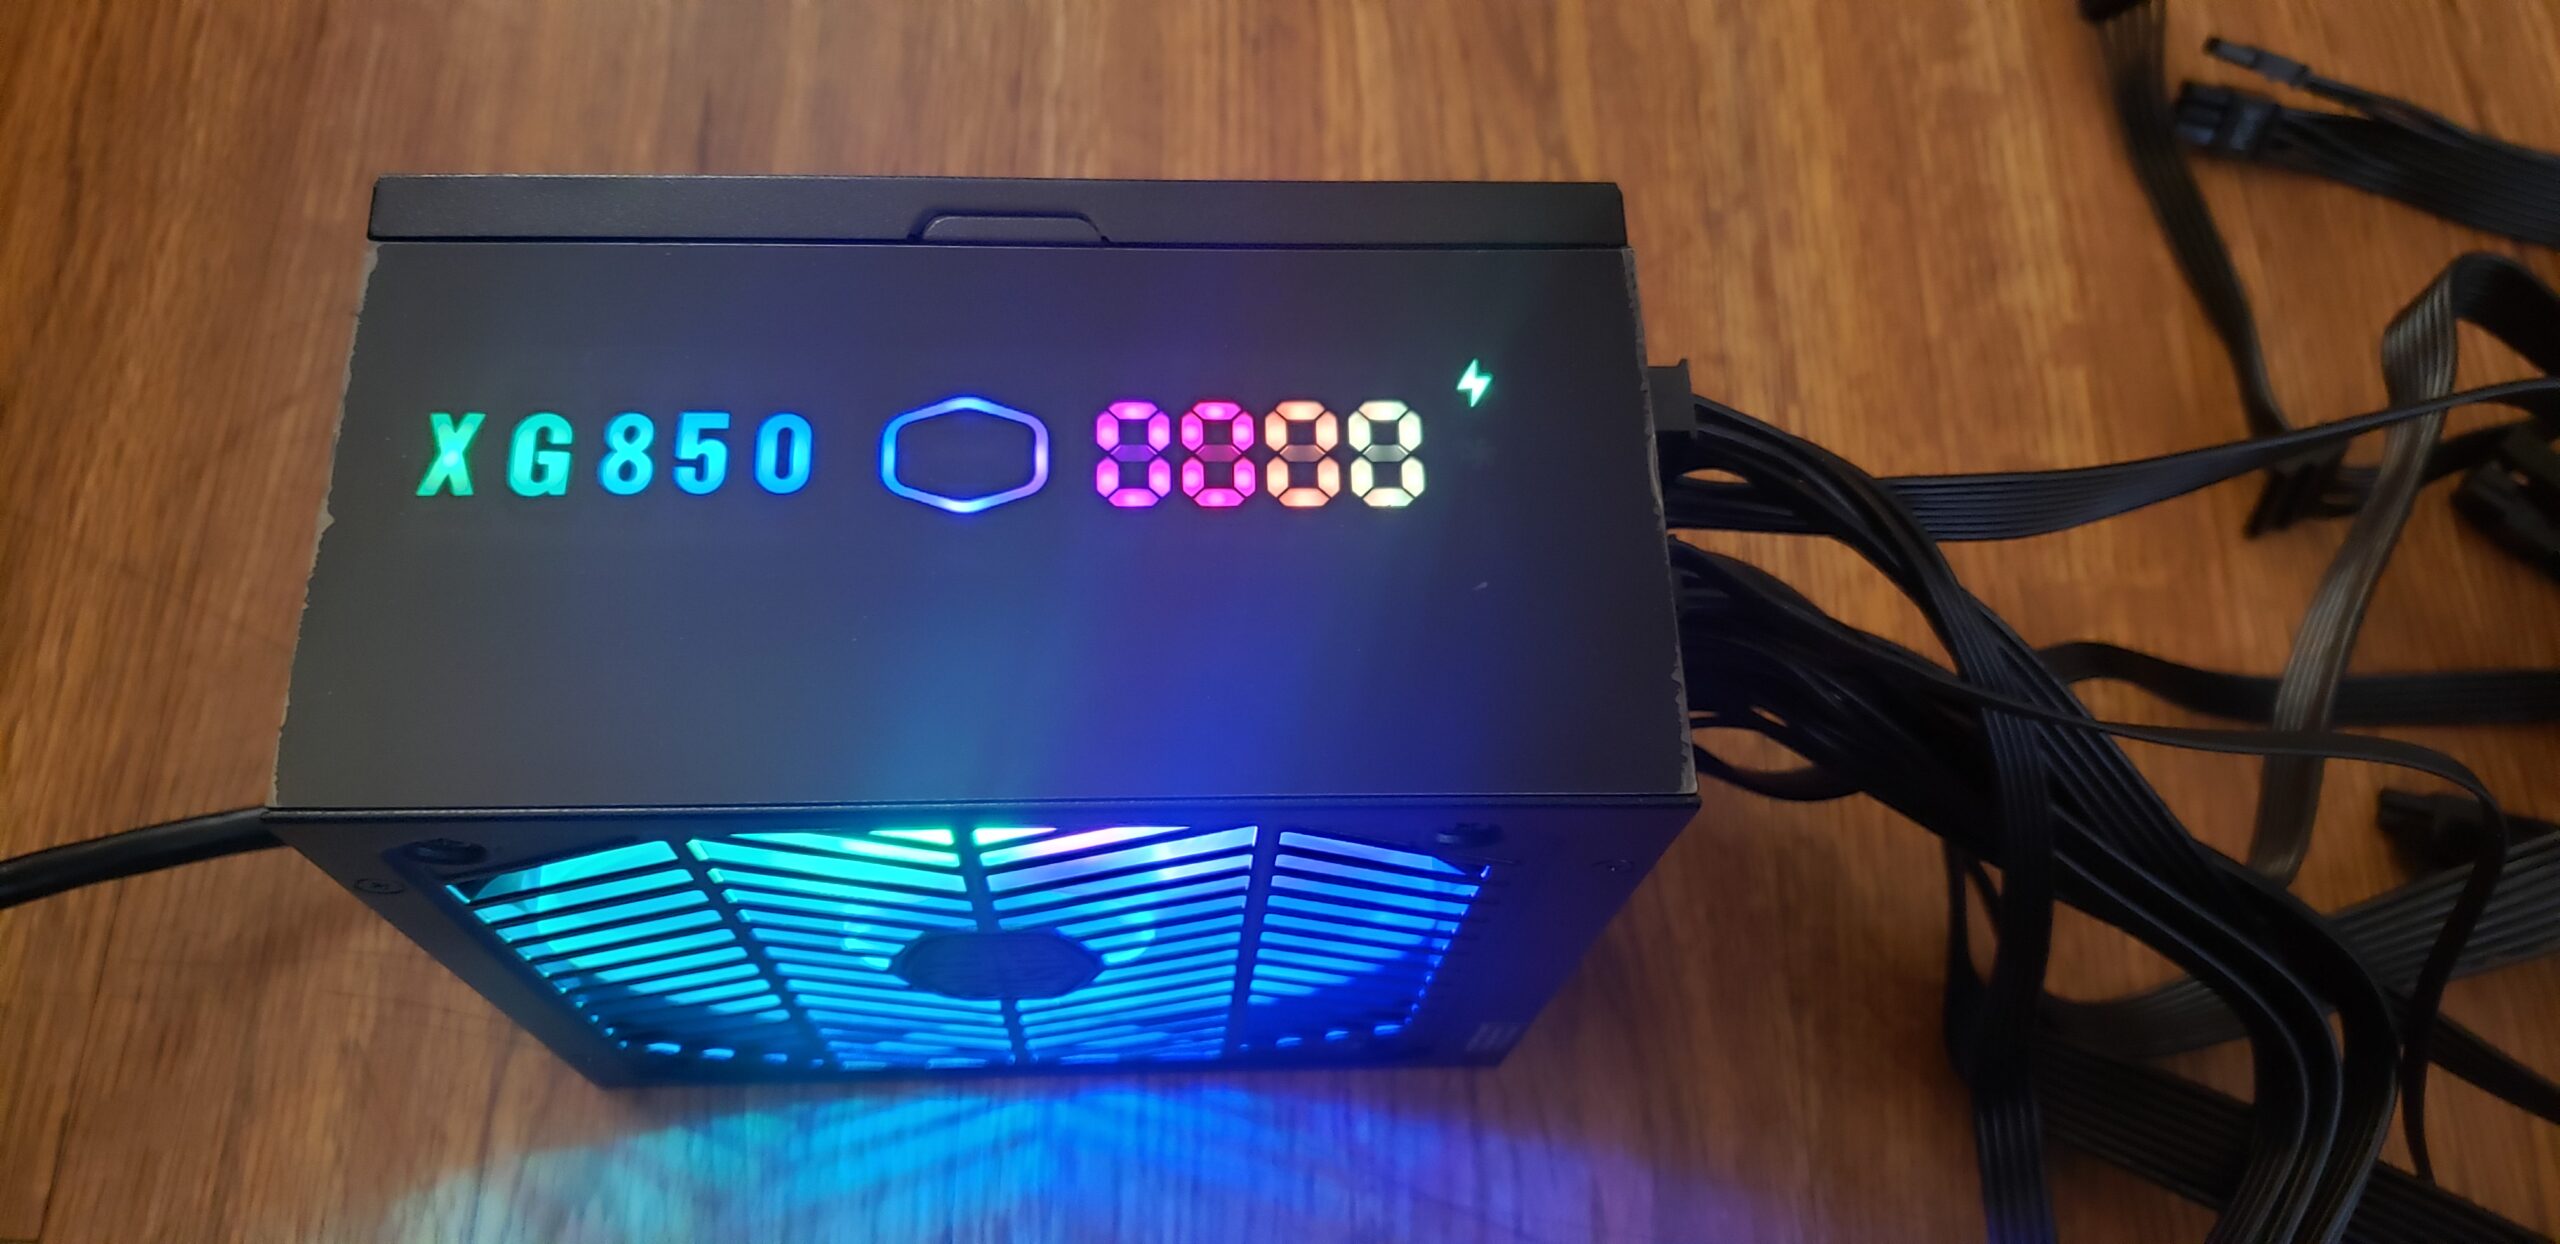
On the traditionally visible side of the PSU we can see a hint of Cooler Master’s LED display design. It’s also controlled by the RGB controller software.
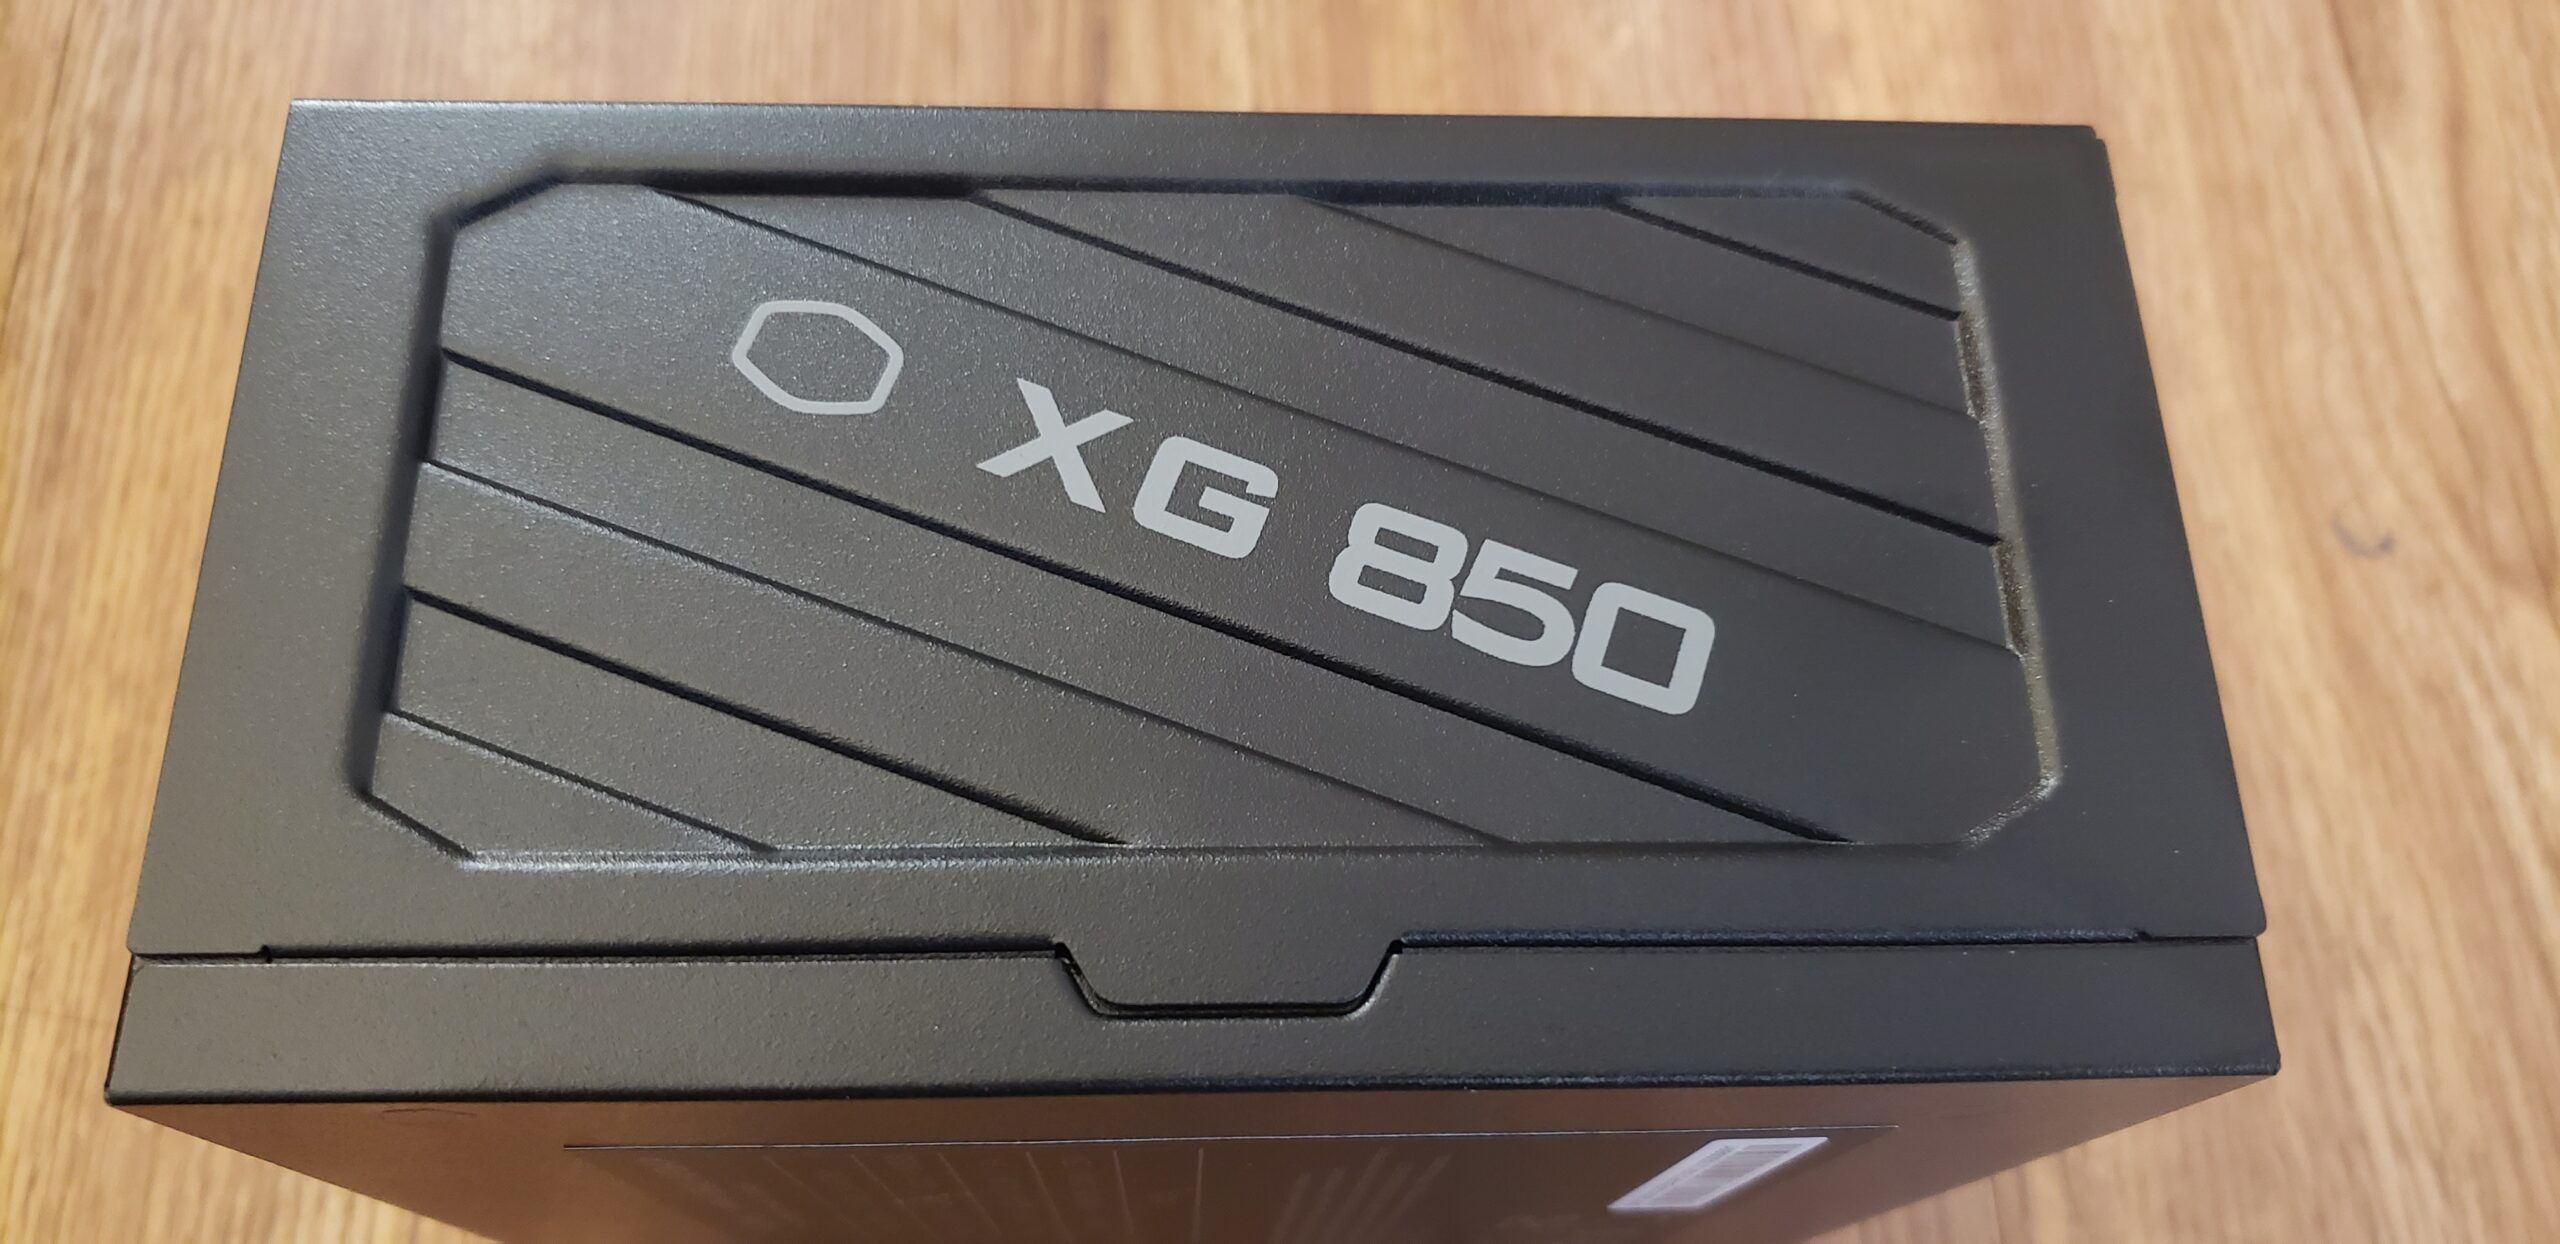
Opposite side of the display, we can see a sleek, recessed metal design sporting the XG 850 name with the Cooler Master logo outline. So if you have to mount your power supply upside down, or for whatever other reason this side is shown, it’ll still be stylish to look at.
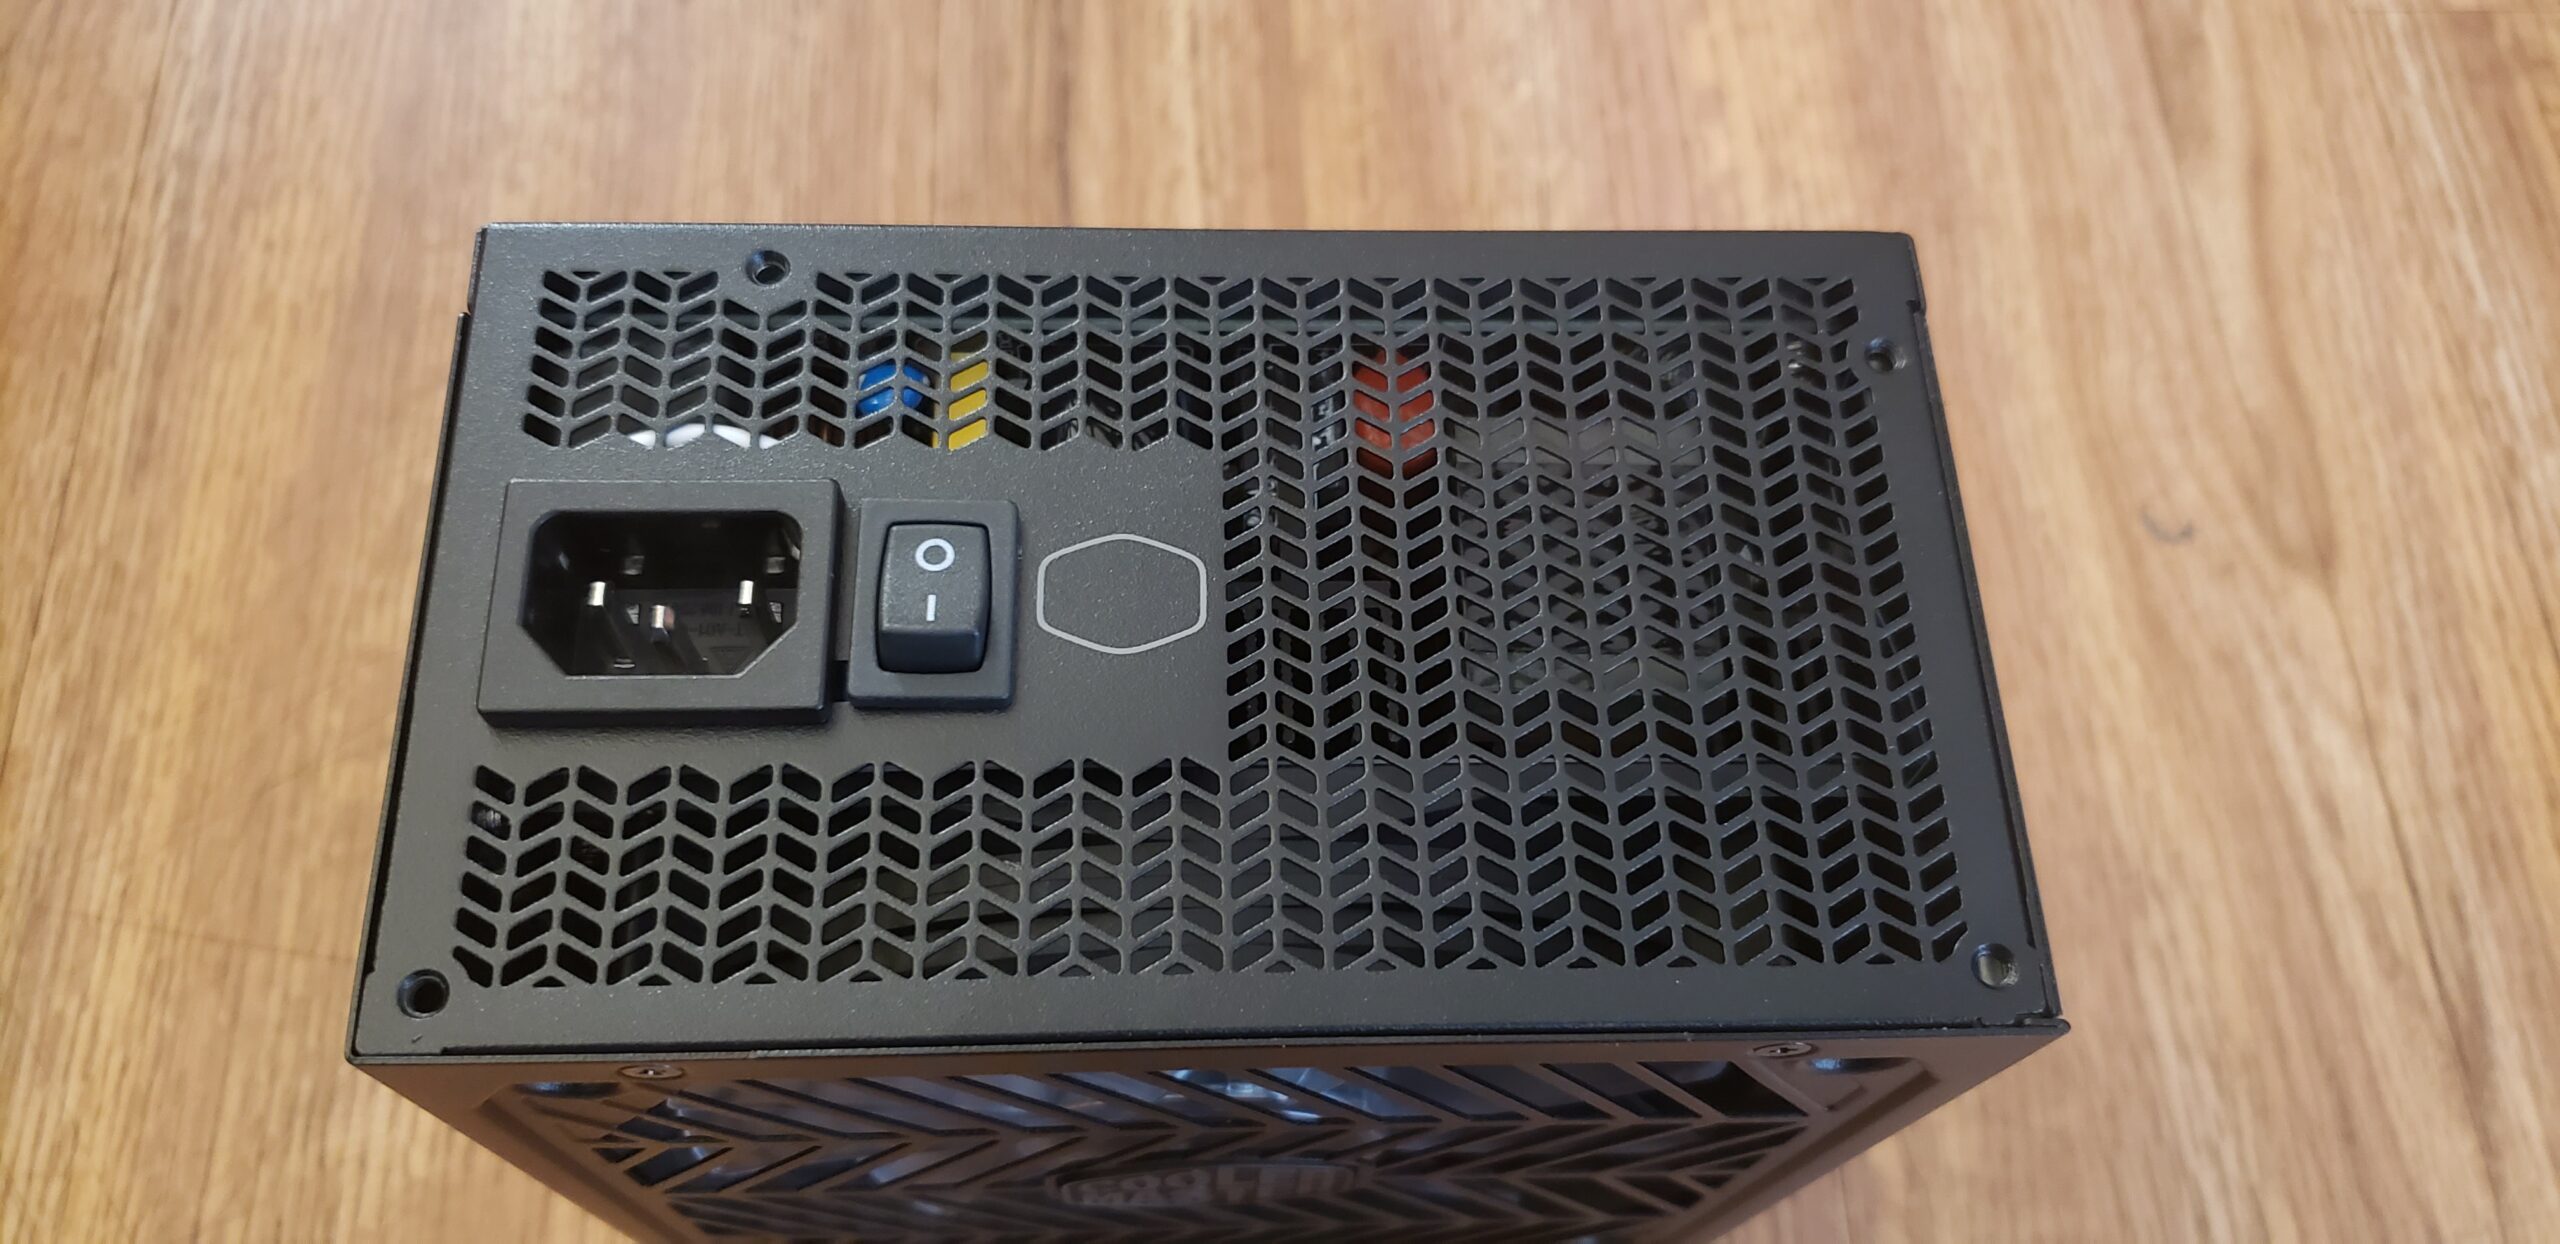
The backside of the power supply sports your standard AC plug suitable for 120v or 240v wiring (automatically switching), and your basic on / off switch. A very stylish little tweak that I wasn’t expecting, we can see Cooler Master’s logo outline etched in by the power switch.
And finally on the bottom, we have serial number (blacked out for privacy reasons), and another graph showing you what the unit is capable of.
Testing:
Test System:
- Asus ROG Strix B550-I Gaming
- AMD Ryzen 7 5800x @ 4.60GHz, 1.225v all core
- 2x16GB Mushkin Blackline DDR4-4000
- MSI Radeon RX 6900XT

Now, let’s get to the good part, the testing! We know how GLADdos likes to test already, and well I’m no different. First things first, the power supply lights up an absolutely brilliant rainbow RGB. Not exactly my style out of the box, but luckily that can be changed later. I can already tell the lighting on this power supply is beautiful regardless of color choice though. The fan also spins up to life, albeit at quite a low fan speed, not even audible.
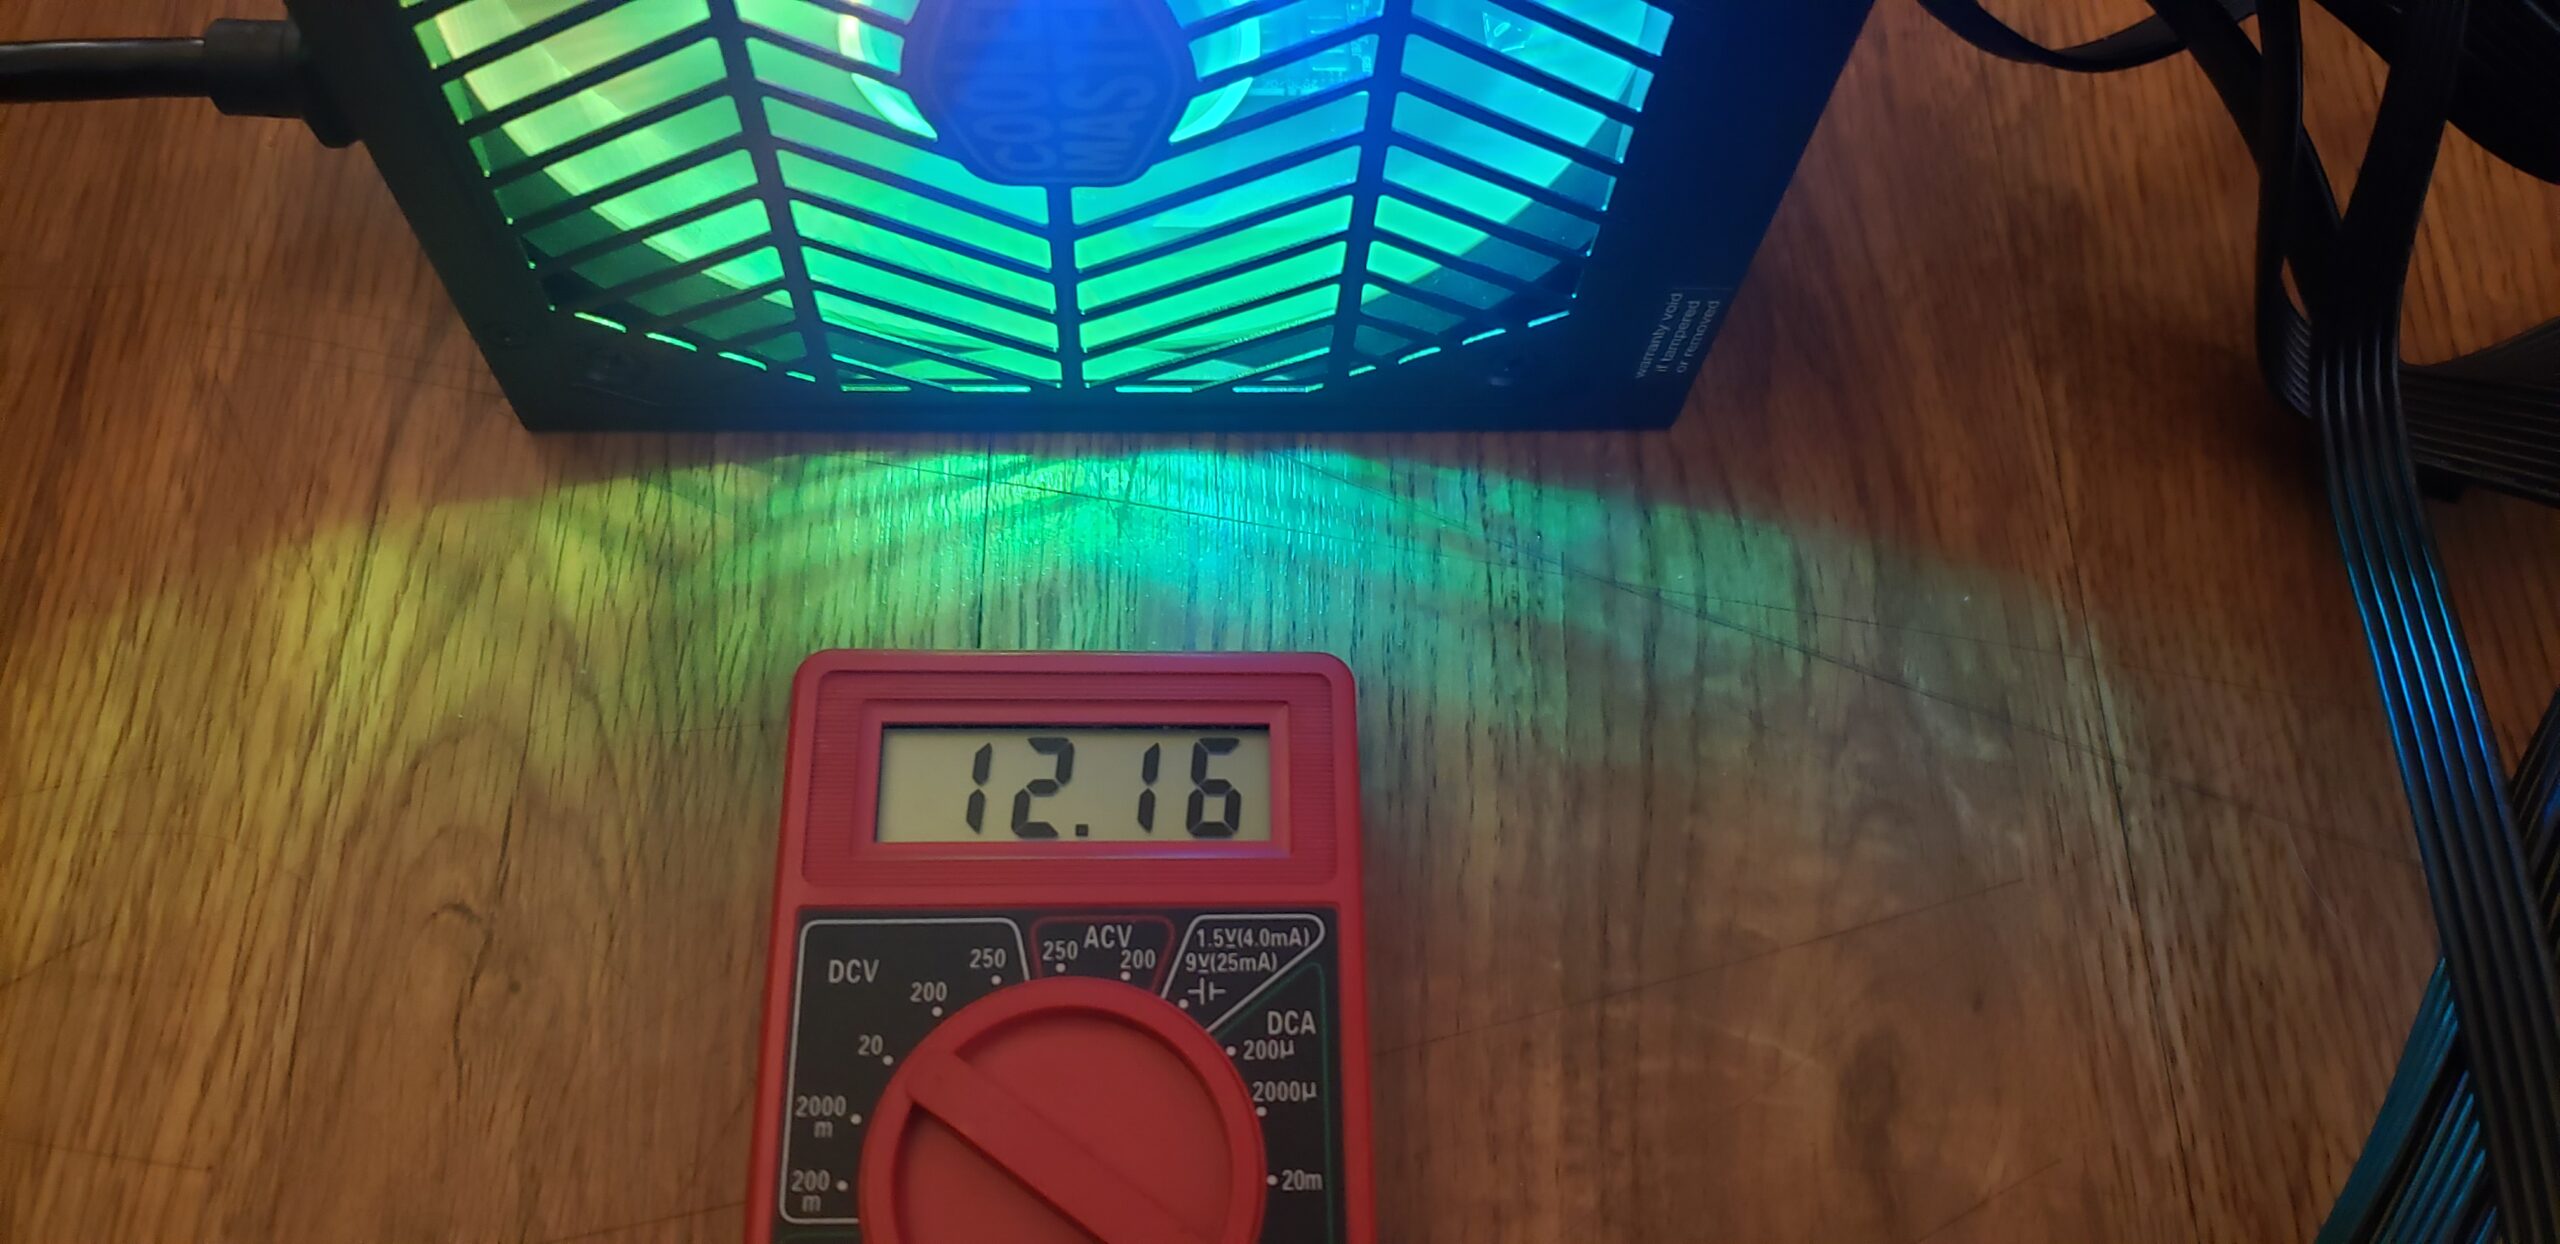
Idle voltage on the 12v rail has me slightly concerned here, and as Jan pointed out in his review its apparently something to be expected. 12.16v is by no means a low voltage number, I just wasn’t expecting to start off with such a number with nothing connected yet. ATX specification states +/- 5%, so its well within the proper range.
Idle voltage on the 5v rail is rock solid and right where I would expect it to be at 5.10v.
So now let’s try it actually fired up in the system. Here we can see it attached in the case, system powered on, its ready for some load action.
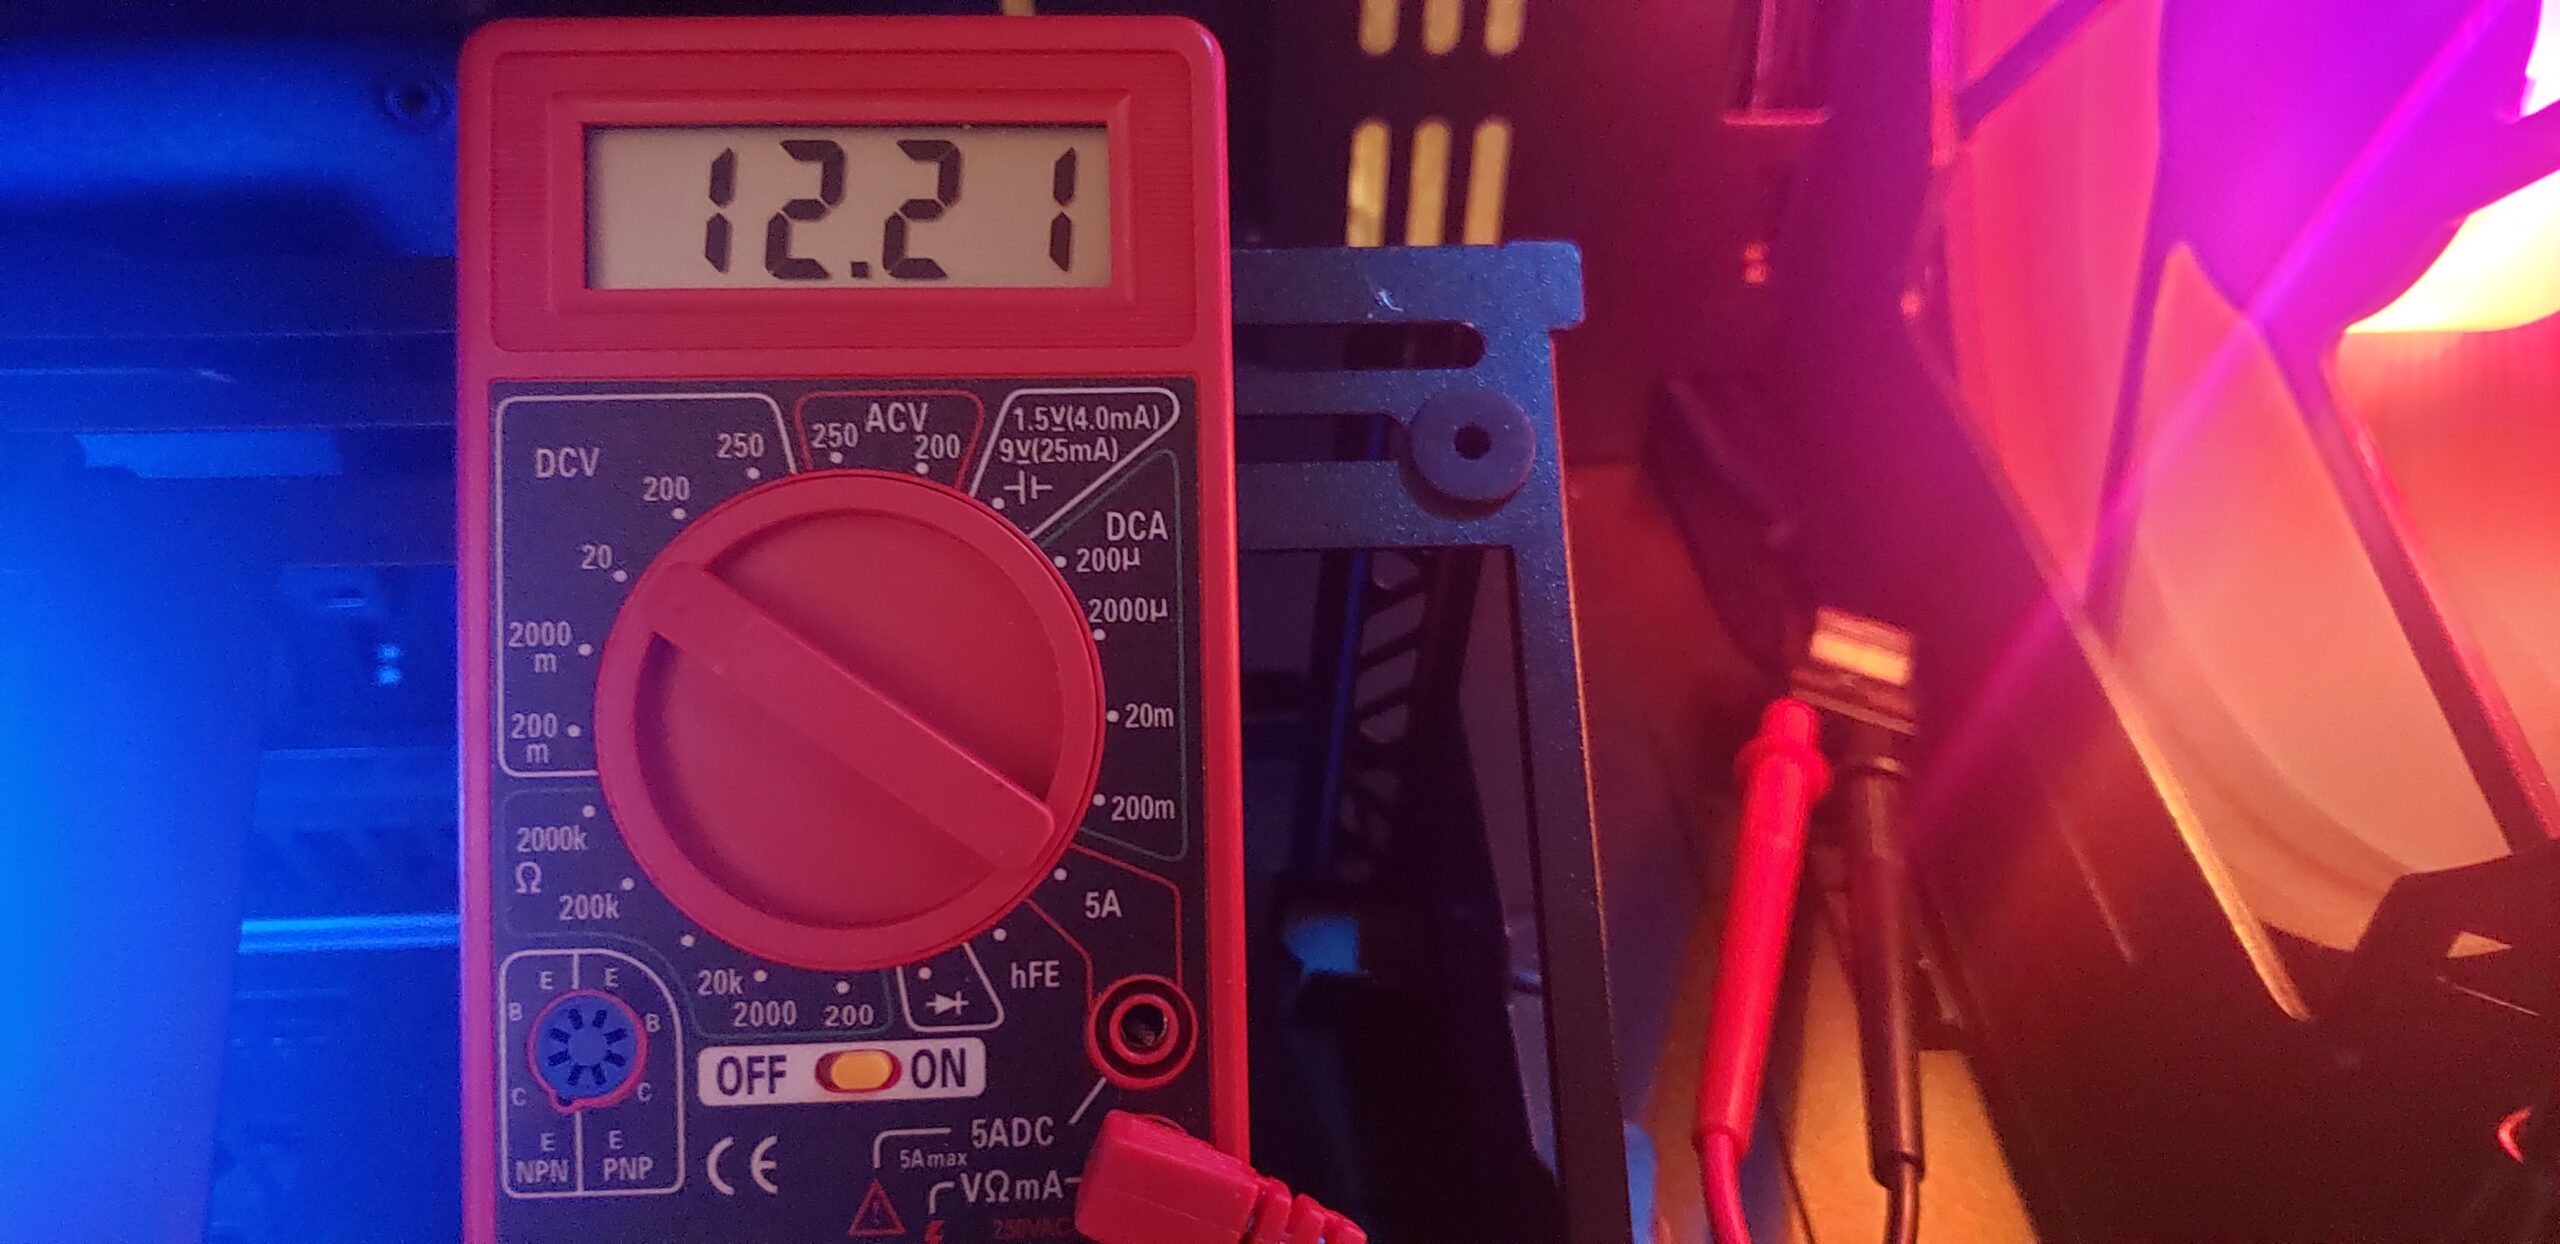
Now this is closer to where I was expecting to see the 12v rail at when idling. Okay, so 12.21v at idle. I know we’re talking about 0.05v here, but as we all know, that little bit of vdroop can mean stable or unstable when overclocking. It’s nice to see that with even the lightest of idle loads on the power supply, that voltage goes right to where it should be. Must be a newer PSU thing to have low voltage with nothing connected, I really am not sure, I’m not a PSU guru by any means.
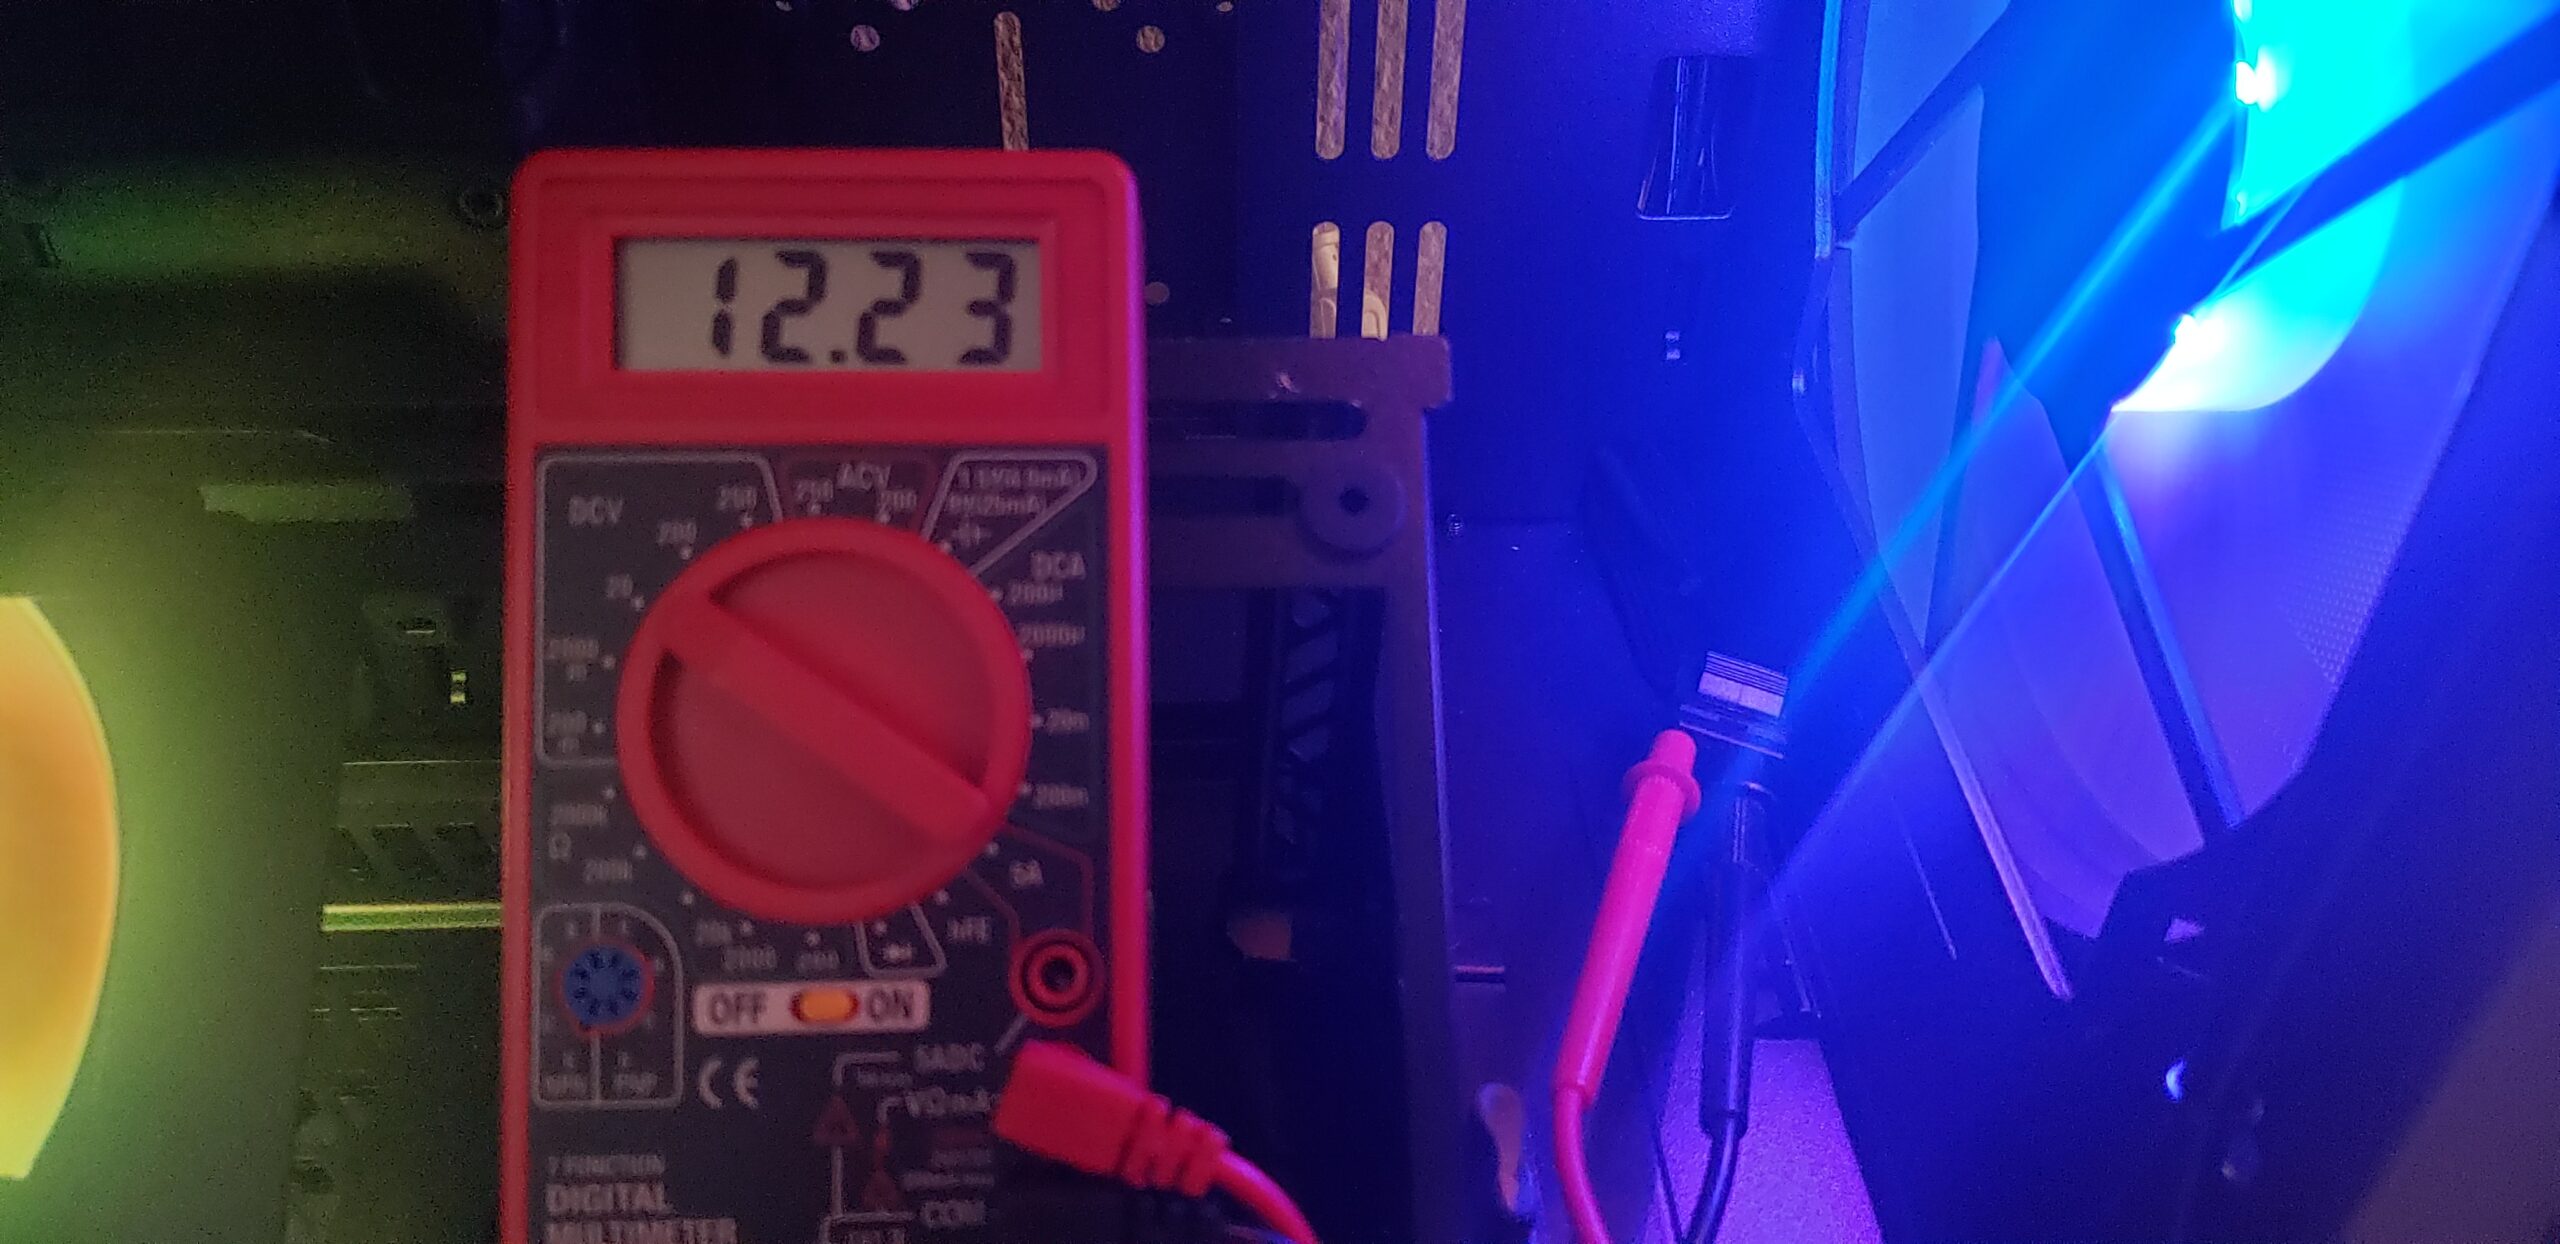
Now this voltage is at a 100% full system load using OCCT power supply burn in testing. So my Ryzen 7 5800x and RX 6900XT are both at full system load. 12.23v, so the 12v rail is absolutely rock solid even with a heavy system with a single GPU on it. Very nice! The fan at this load was audible, however I unfortunately do lack proper decibel testing equipment. It was by no means annoyingly loud but it was audible, I’d say a gentle “whoosh” of air sound. The RGB was connected through MasterPlus+ software, which I spoke about in the case review above. So far, not “half” bad of a power supply really.
Note: I did not bother re-testing the 5v rail once in the system as it really was an unnecessary step given that the majority of modern PC components pull from the 12v rail anyway with the exception of USB. The idle voltage was perfect, and given how the 12v rail performed, I have no doubts in the 5v rail. AIDA64 system monitoring shows a solid 5.02v when in use so I have no qualms with that.
XG850 Plus Platinum Final Thoughts:
Well, what do we think of this PSU from a random “gamer’s” perspective now that we’ve had a good look and some minor testing? Well, its certainly attractive to look at from all angles. The RGB is bright, but also appealing to the eye at the same time. Per usual, (as mentioned in the HAF 700 review above), the RGB control was a bust unless you use Cooler Master’s very own MasterPlus+ software. The RGB’s were easily controllable with their software; I think this is more of just a general RGB complaint than a Cooler Master fault though. The 12v rail was absolutely rock solid even with a pretty heavy load put on it. Cooler Master included enough cables to power just about anything you’d really need 850w for. The 80+ Platinum rating means I’ll save a few extra pennies over the whole year on my power bill when compared to the 80+ Gold unit I pulled out of my system to test this with, so that alone is worth at least “half” a point for being environmentally friendly.
Honestly, I’d say Cooler Master’s in house OEM did a fantastic job with this power supply, and I would strongly consider this power supply if you’re powering a single GPU / CPU system and want some RGB action going on. As mentioned previously, our very own Jan did a phenomenal write up of the internals and significantly more thorough testing than I alone could do, click here if you want to read more. I do not think it will properly power a 4090 system, no. But for any moderate to somewhat heavy gaming system, this PSU will absolutely pack the punch you need from it and then some and look stylish doing it!
[table id=116 /]
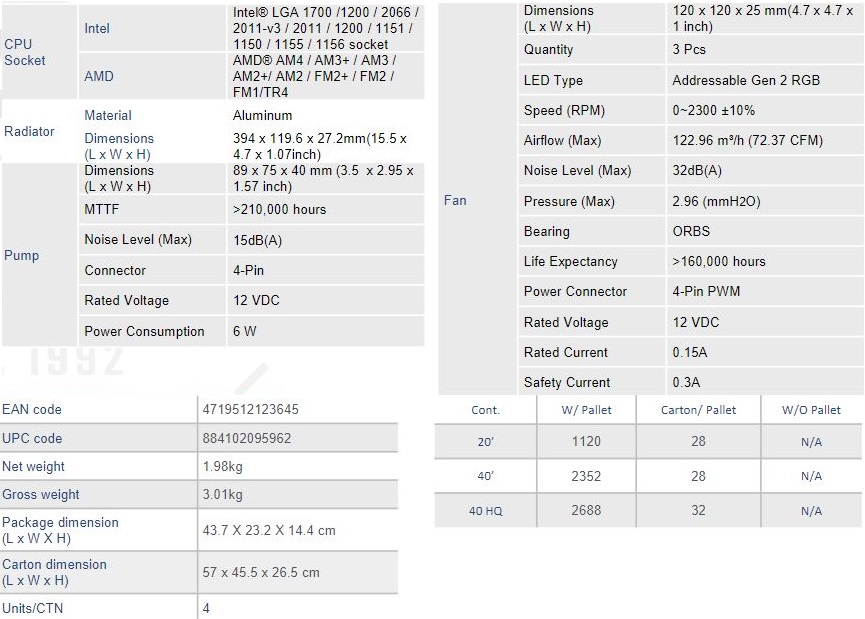
Cooler Master MasterLiquid PL360 Flux
The last piece to the puzzle is the MasterLiquid PL360 Flux. Cooler Master has a lot to say about this unit claiming
Precision engineered ultra-thin spaded fins maximize microchannels to accurately target heat spots. Enlarged copper base surface area with optimized base thickness further accelerates heat transfer.
High speed motor utilizing a ceramic bearing impeller forces balanced water flow to and from the radiator for ultimate efficiency of heat exchange.
Dual loop pump ARGB with independent lighting customization showcases your visual creativity without sacrificing cooling capability.
As a gamer and tinkerer, I’m curious how this cooler performs, noise levels and ARGB functionality. Does it perform at least “half” way to my expectations, or will it be just yet another AIO product? Well, let’s find out together.
Notable Features:
- Premium Dual Chamber Pump
- Low Profile Radiator
- Redesigned PL-Flux series fans
- Dual Loop ARGB Pump with independent lighting
- Copper base with maximized microchannels to accurately target heat spots
- High speed motor with ceramic bearing impeller
- Claimed 32dba max / 72.37 CFM / 2.96 mmH20
Specifications:
Unboxing:
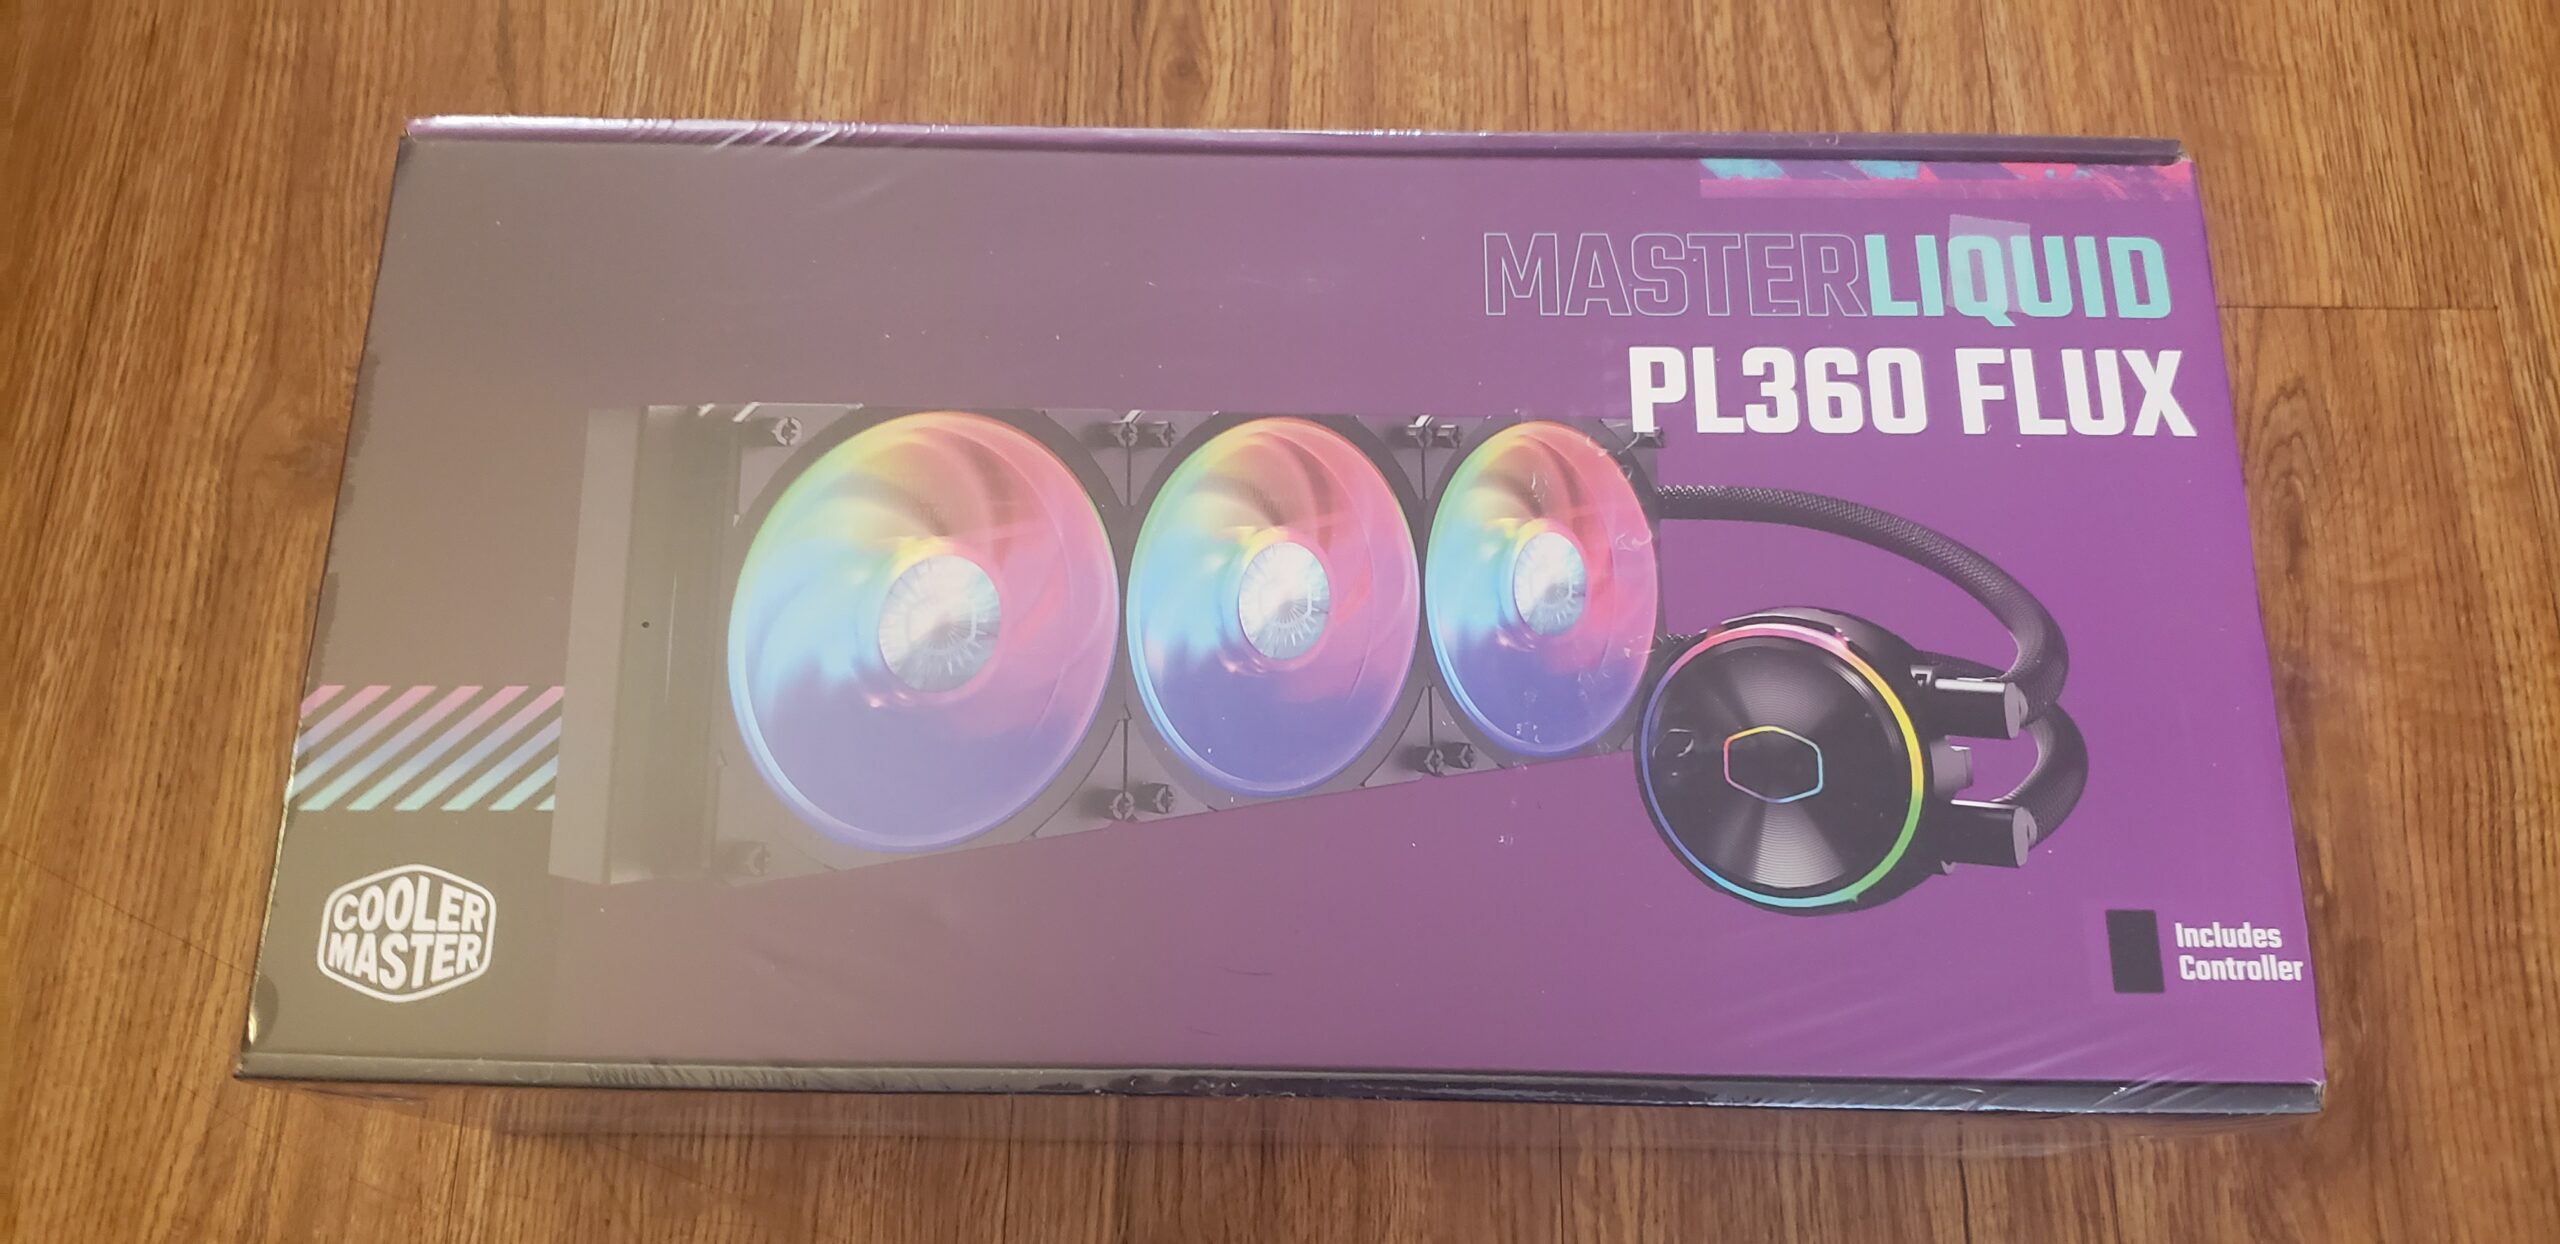
Yet again, this box would absolutely catch my eye on a store shelf. That cooler picture looks fantastic on there and the bright purple coloring really pops.
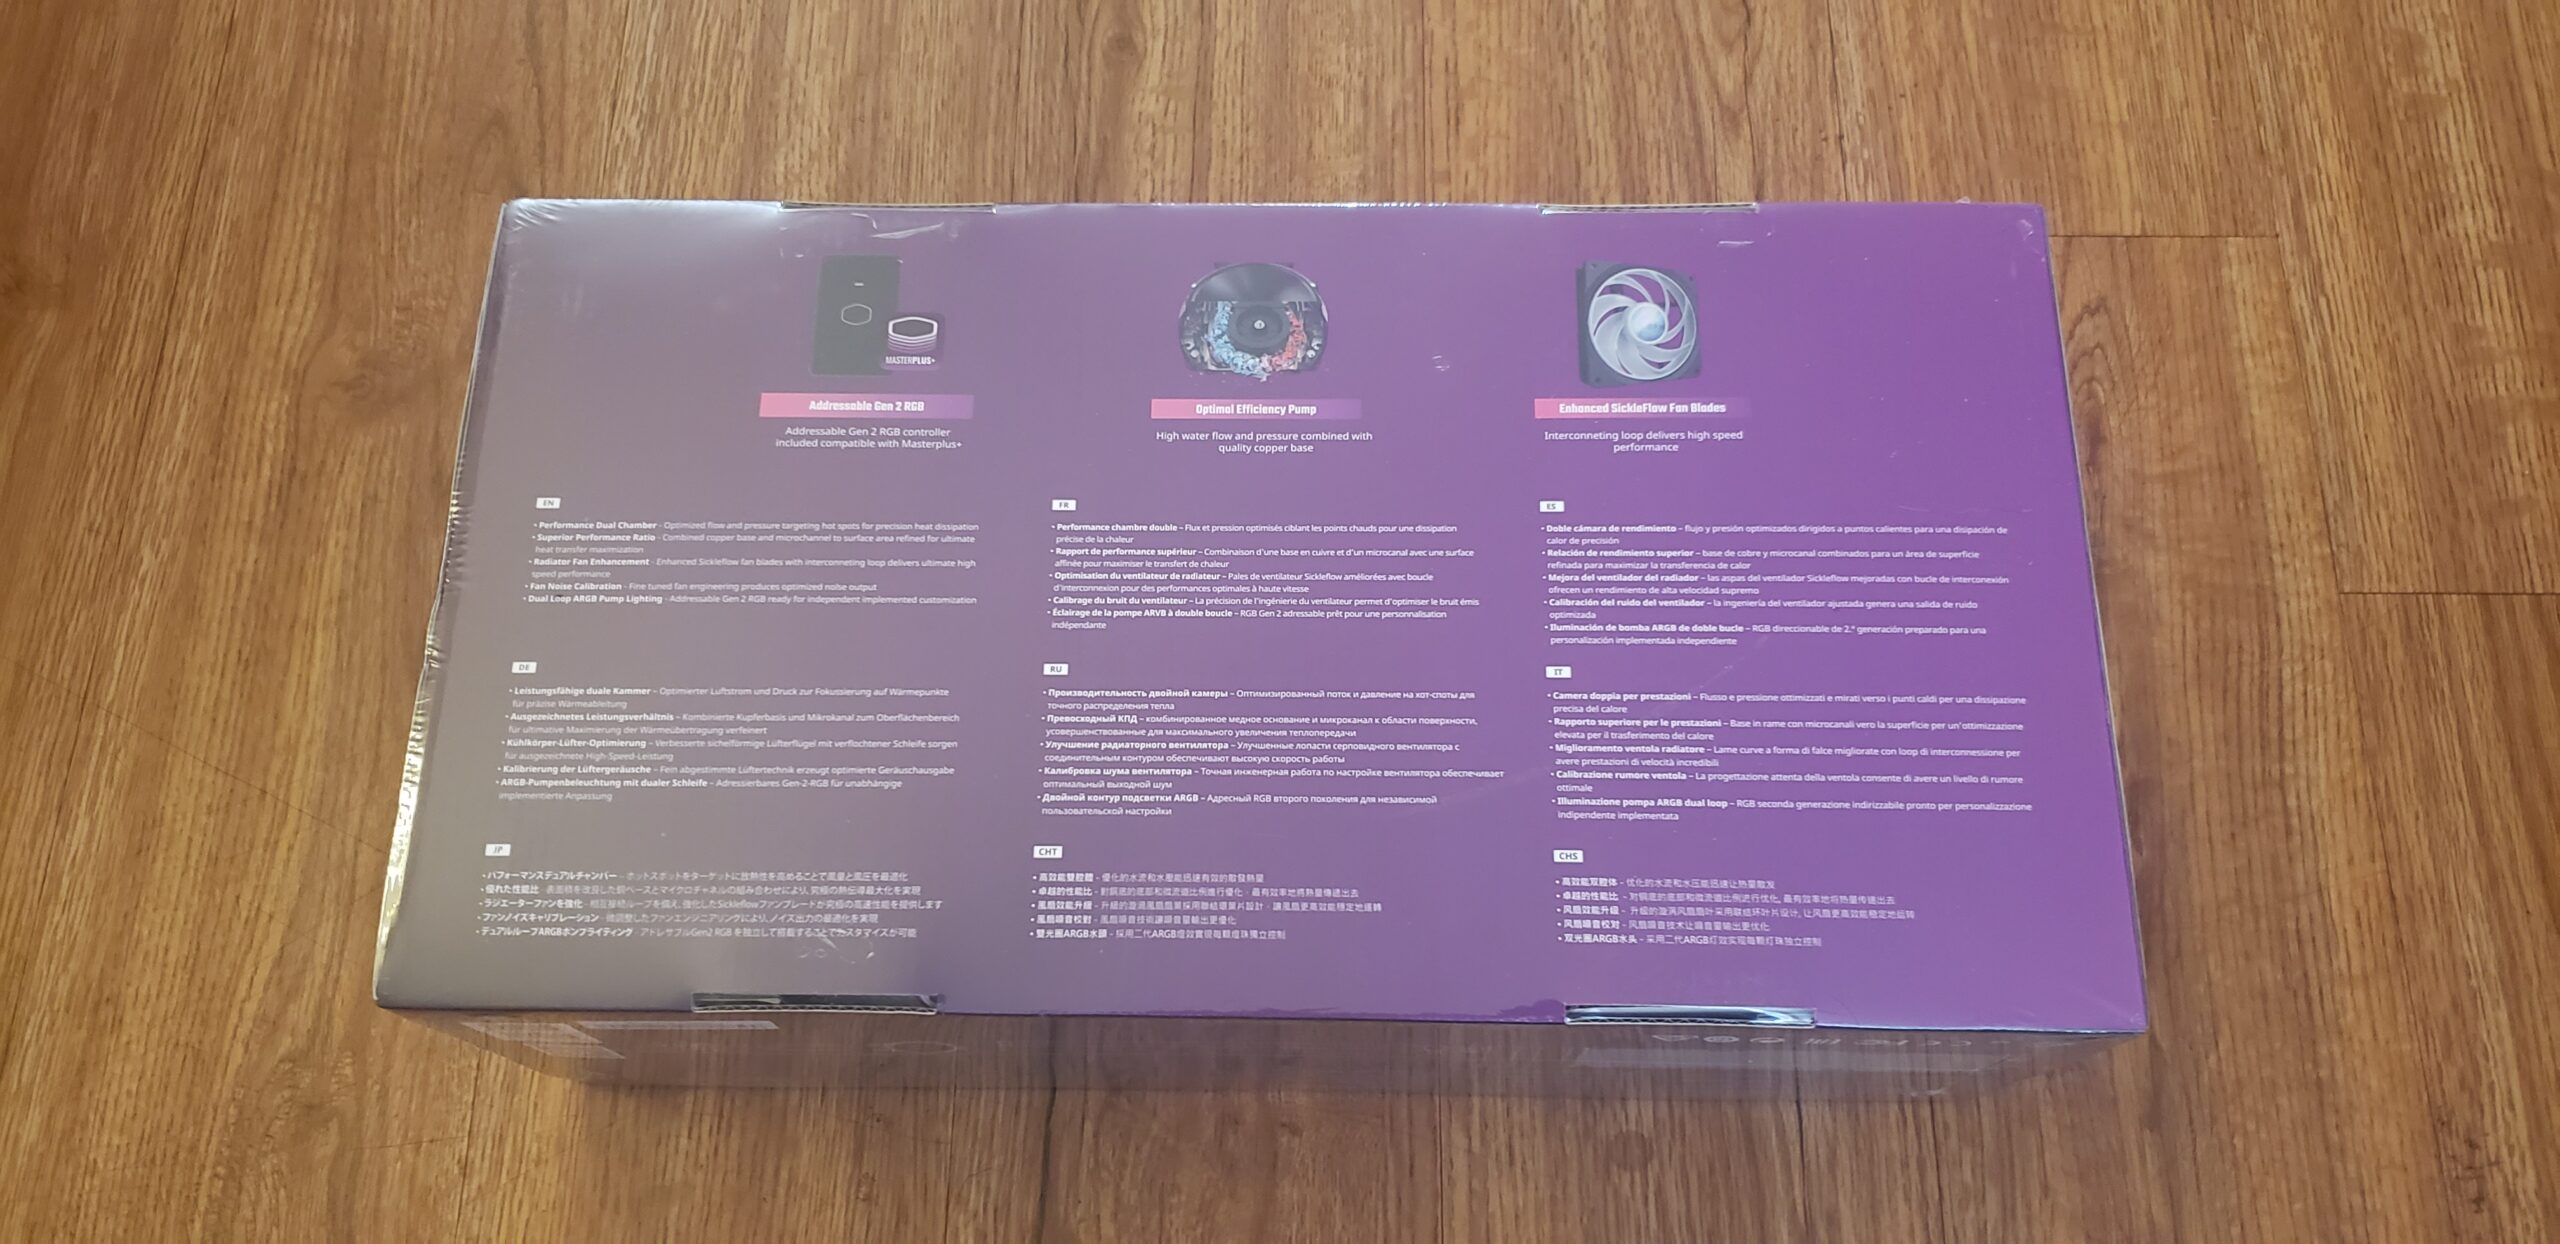
On the back of the box, we see a few of the key points Cooler Master wanted to point out. There’s Gen 2 ARGB built in, the pump being high flow and copper base, and the fans being enhanced SickleFlow design. Considering Cooler Master’s SickleFlow fans are usually built with quality, I have no complaints at all about what I should be expecting out of this box.
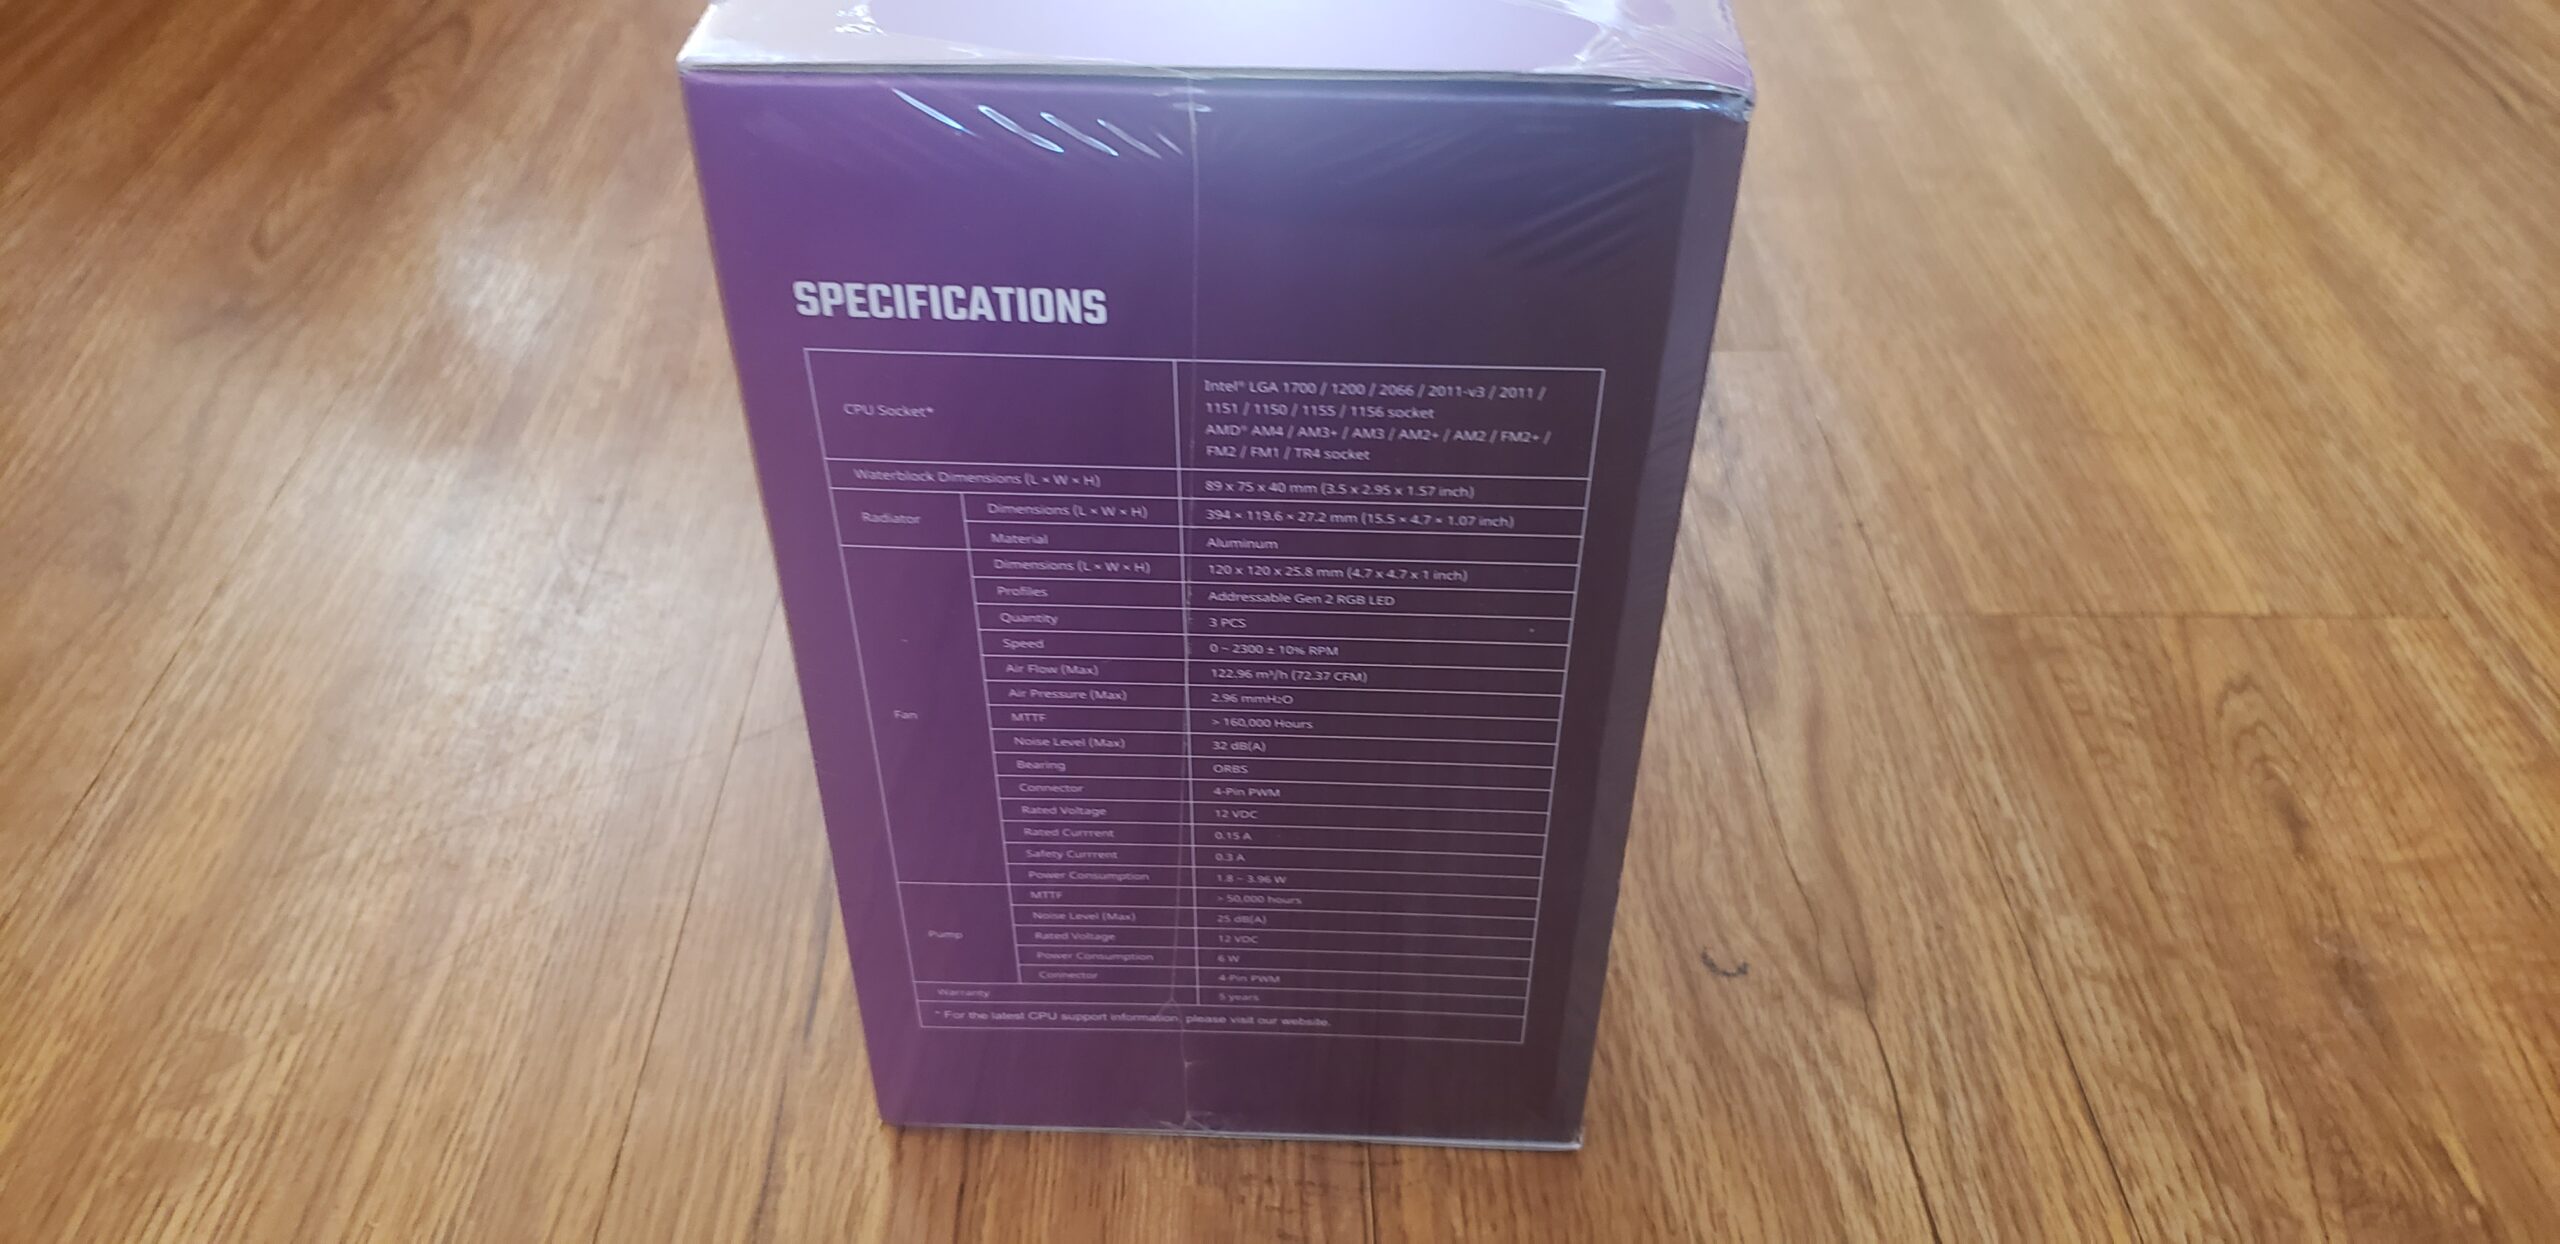
On one side of the box, we see their specifications table (also listed in better detail above).
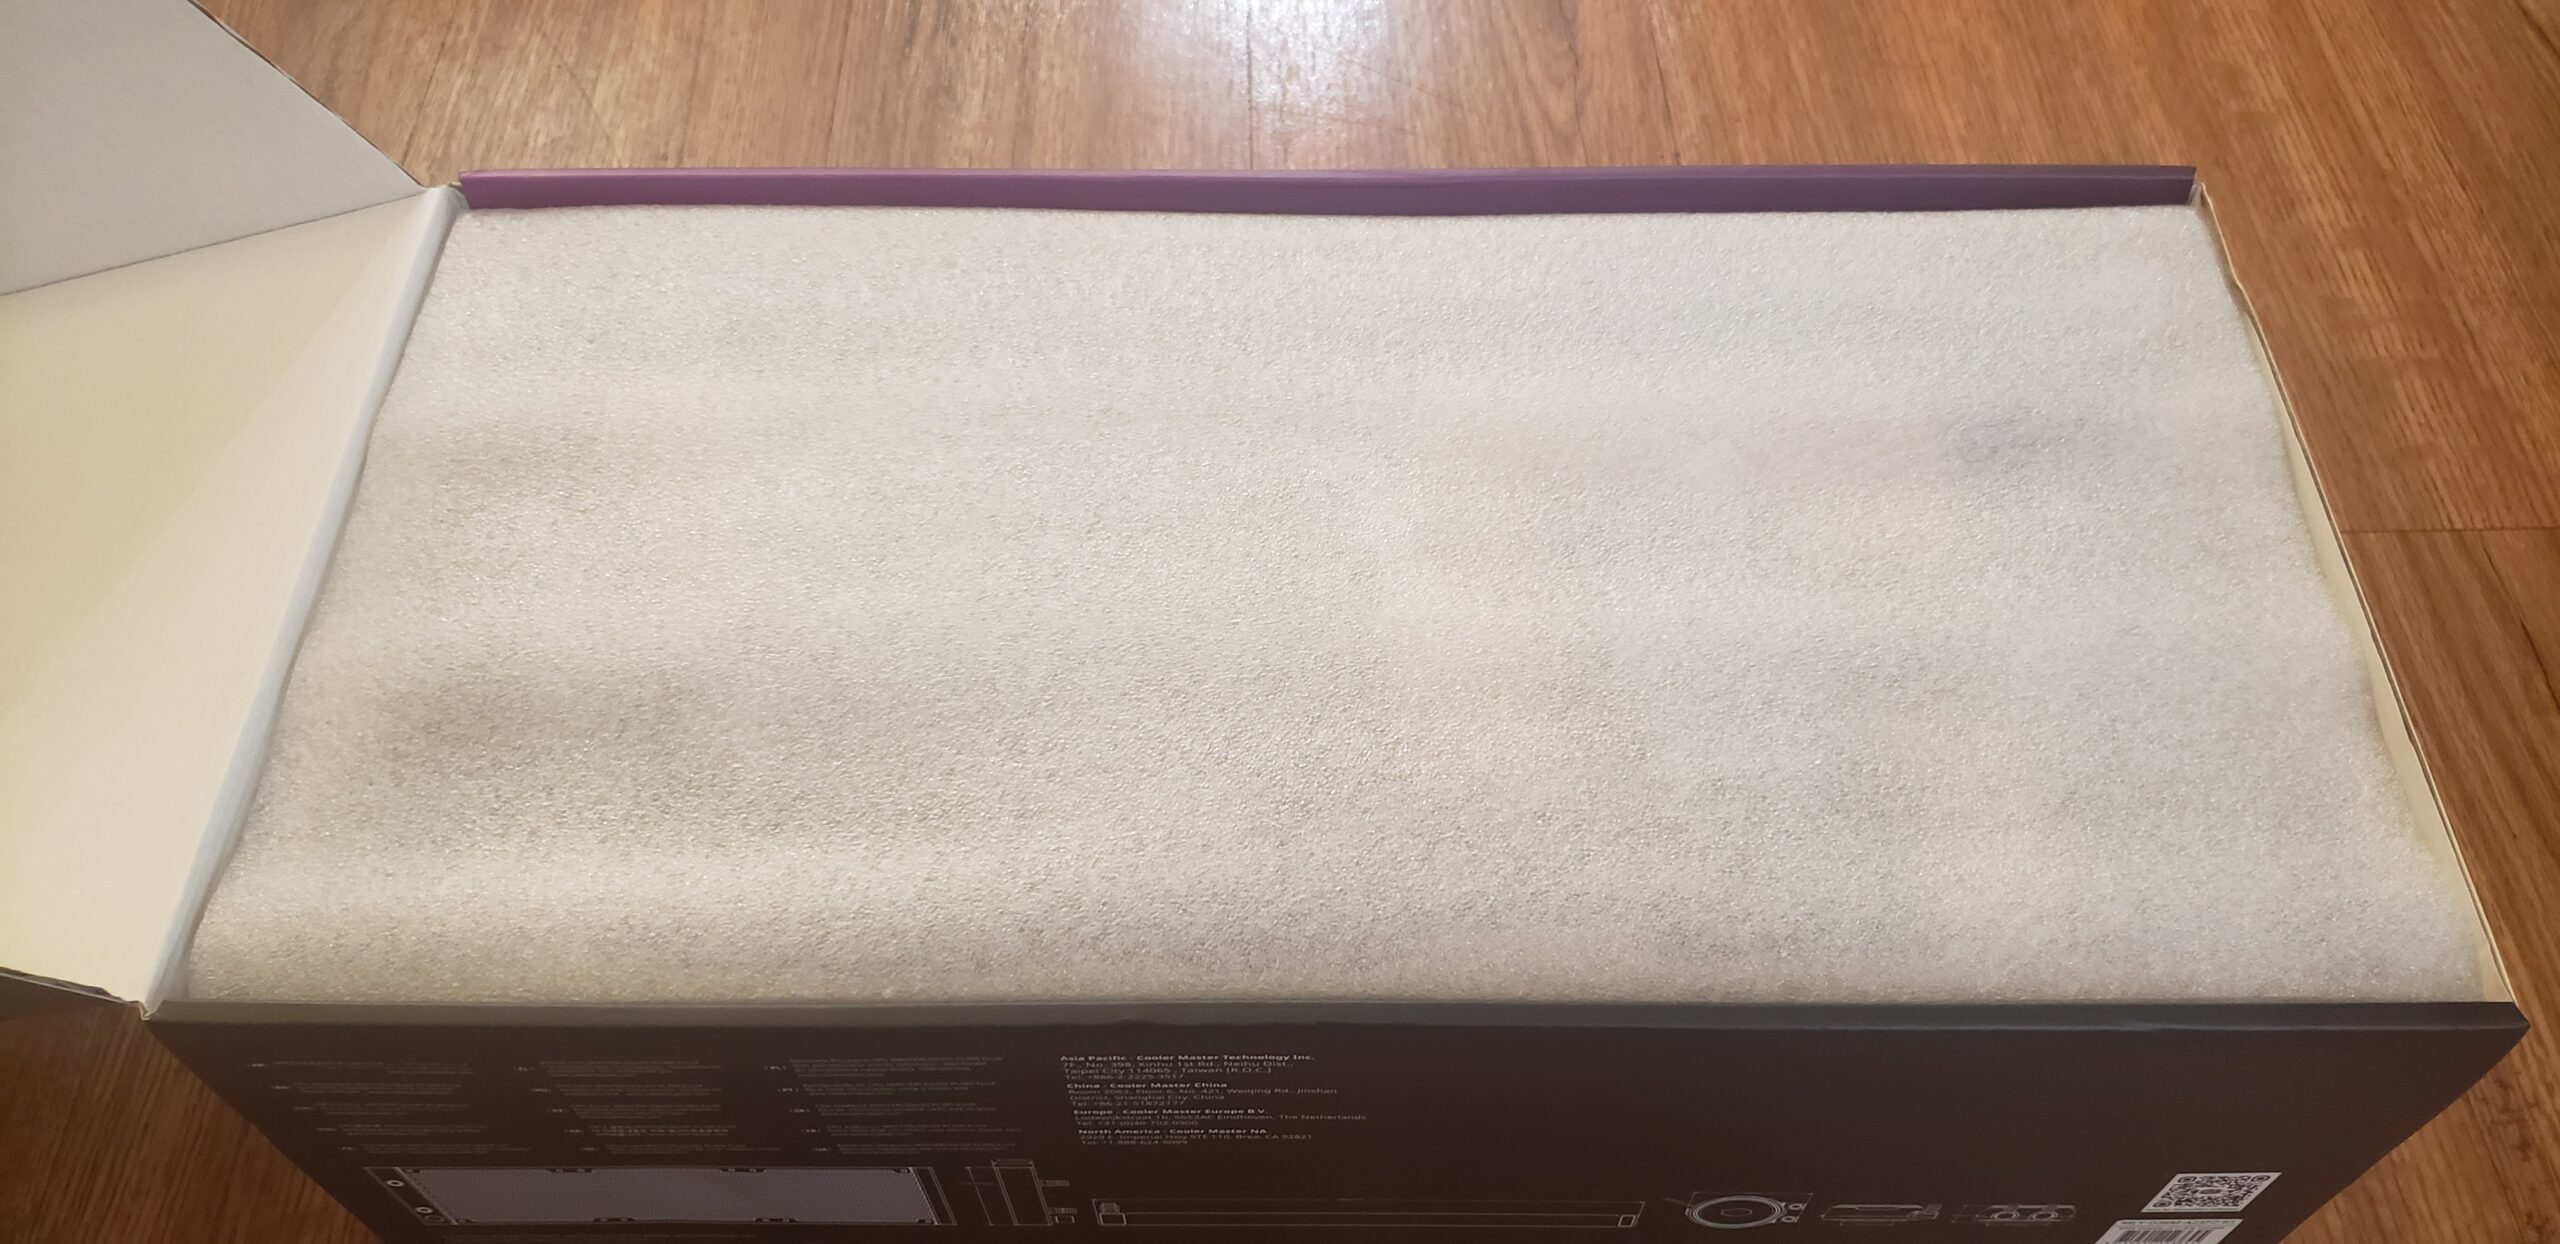

Once we crack the box open, we are greeted with some white foam. This just shows Cooler Master takes packaging seriously, yet again like in their power supply unboxing. So kudos for the extra effort there. I’ll be honest, I’ve opened AIO boxes that did not have that layer of foam.
Once we remove the foam out of the way, we are greeted with the cooler itself all nicely packaged up in form fitting cardboard in separated compartments.

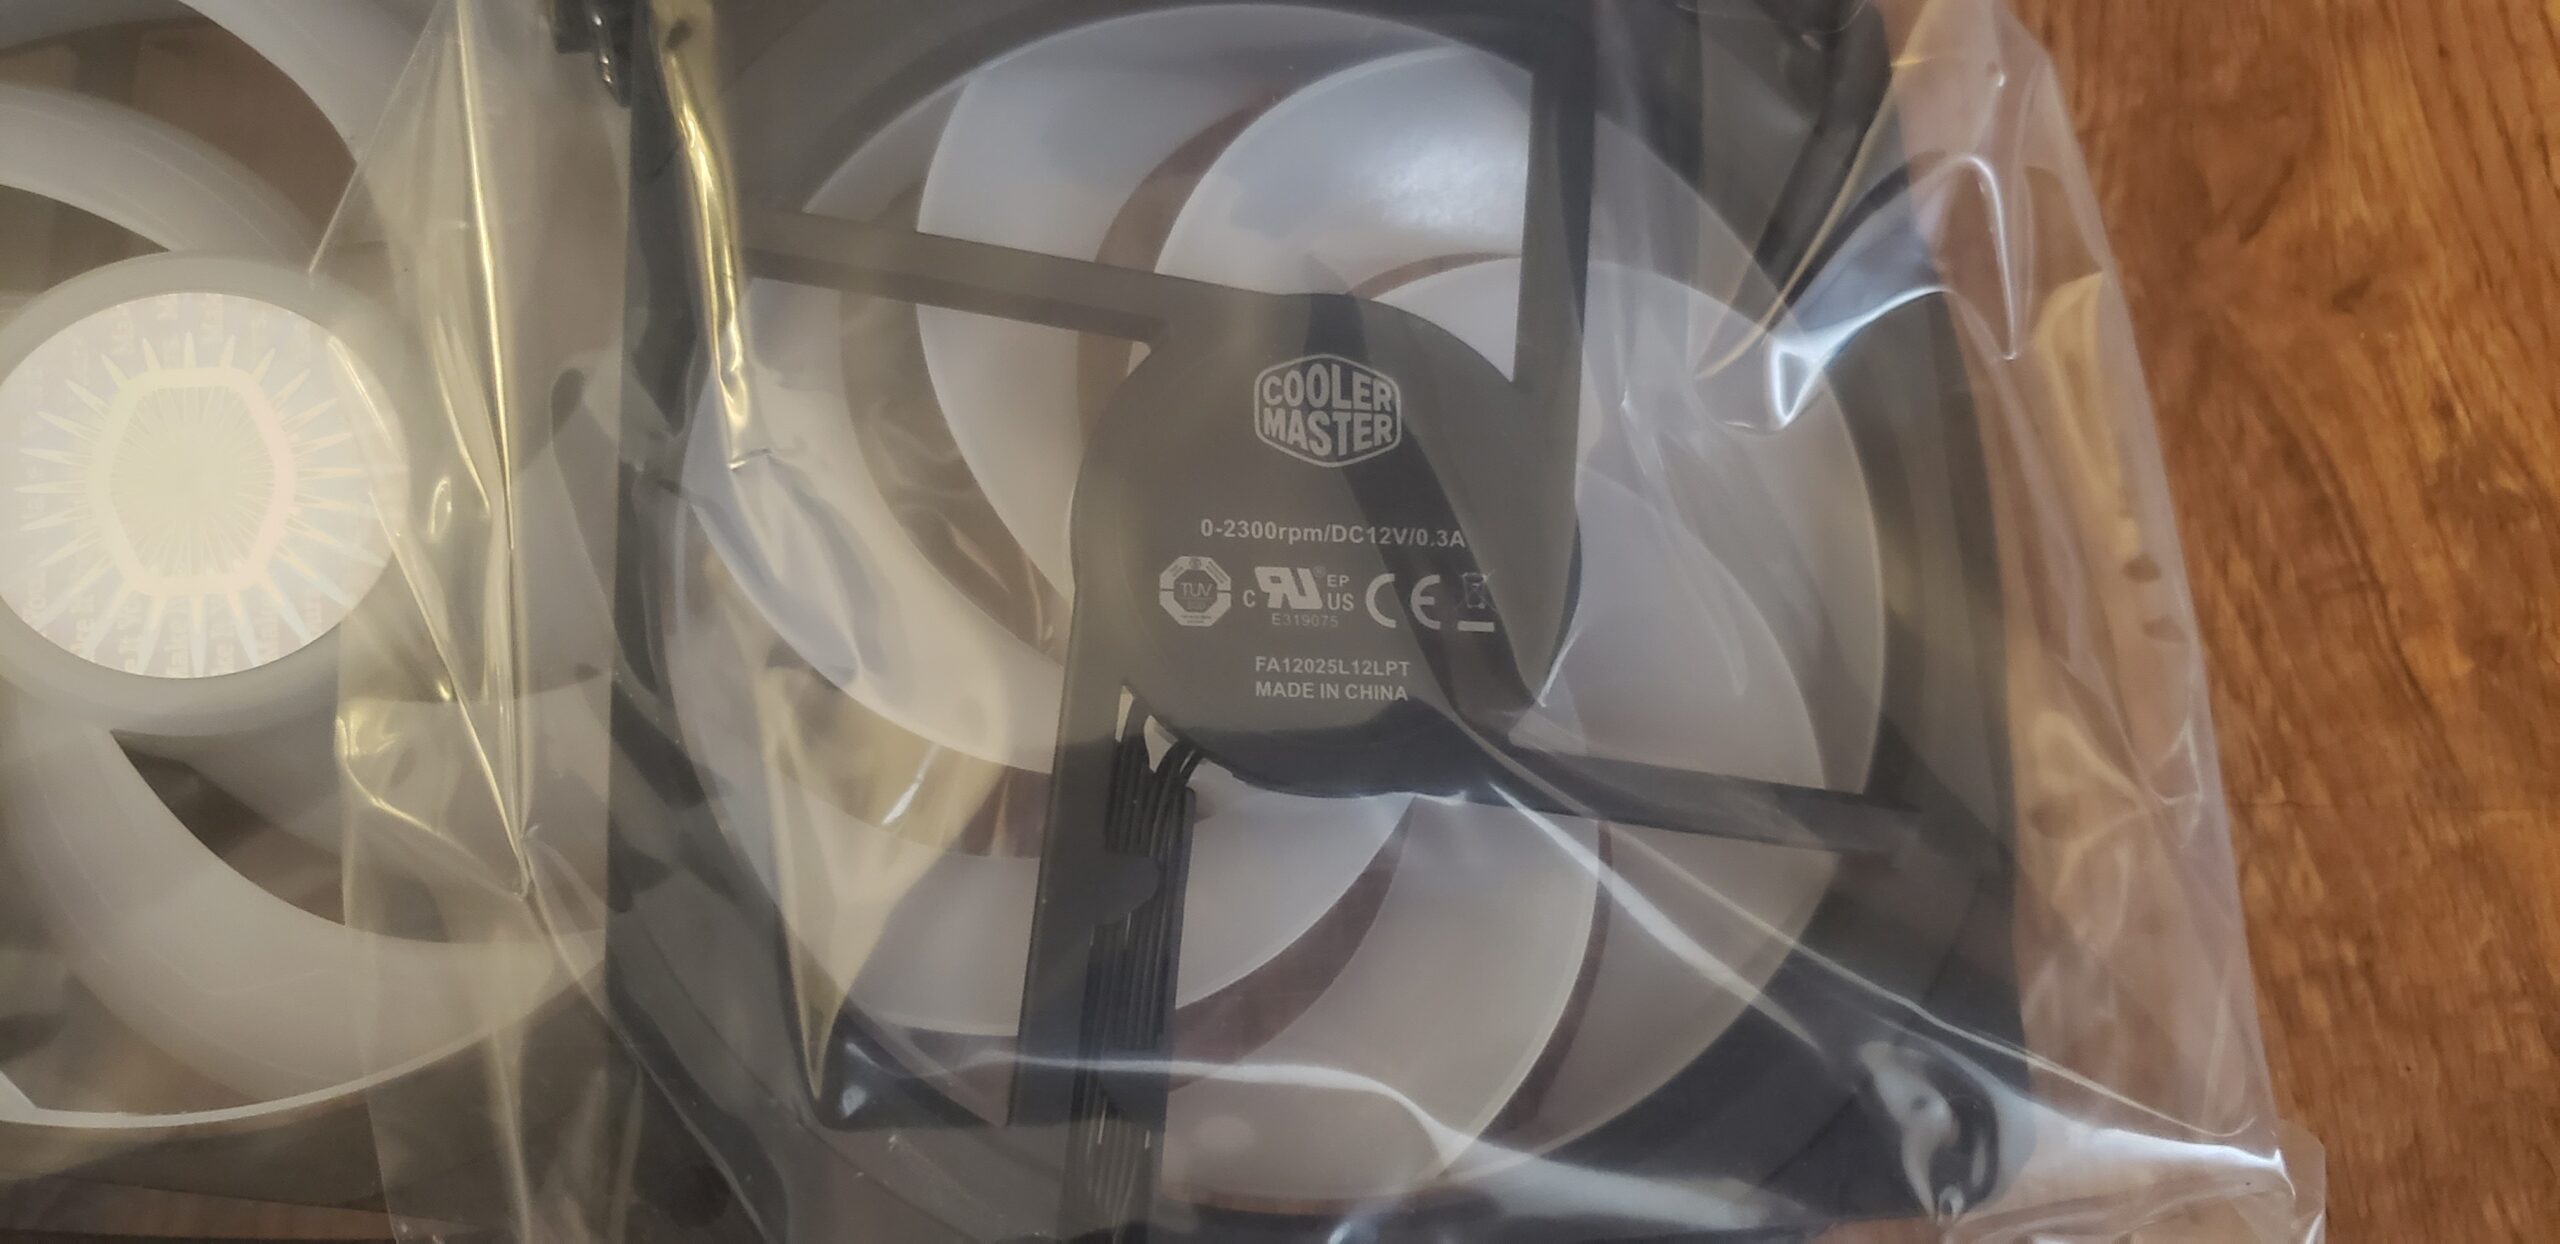
I also went ahead and pulled the fans out of the box, and we can see 3 beautiful RGB PL Flux series fans rated to spin up to 2300 RPM and draw up to 0.3a each.
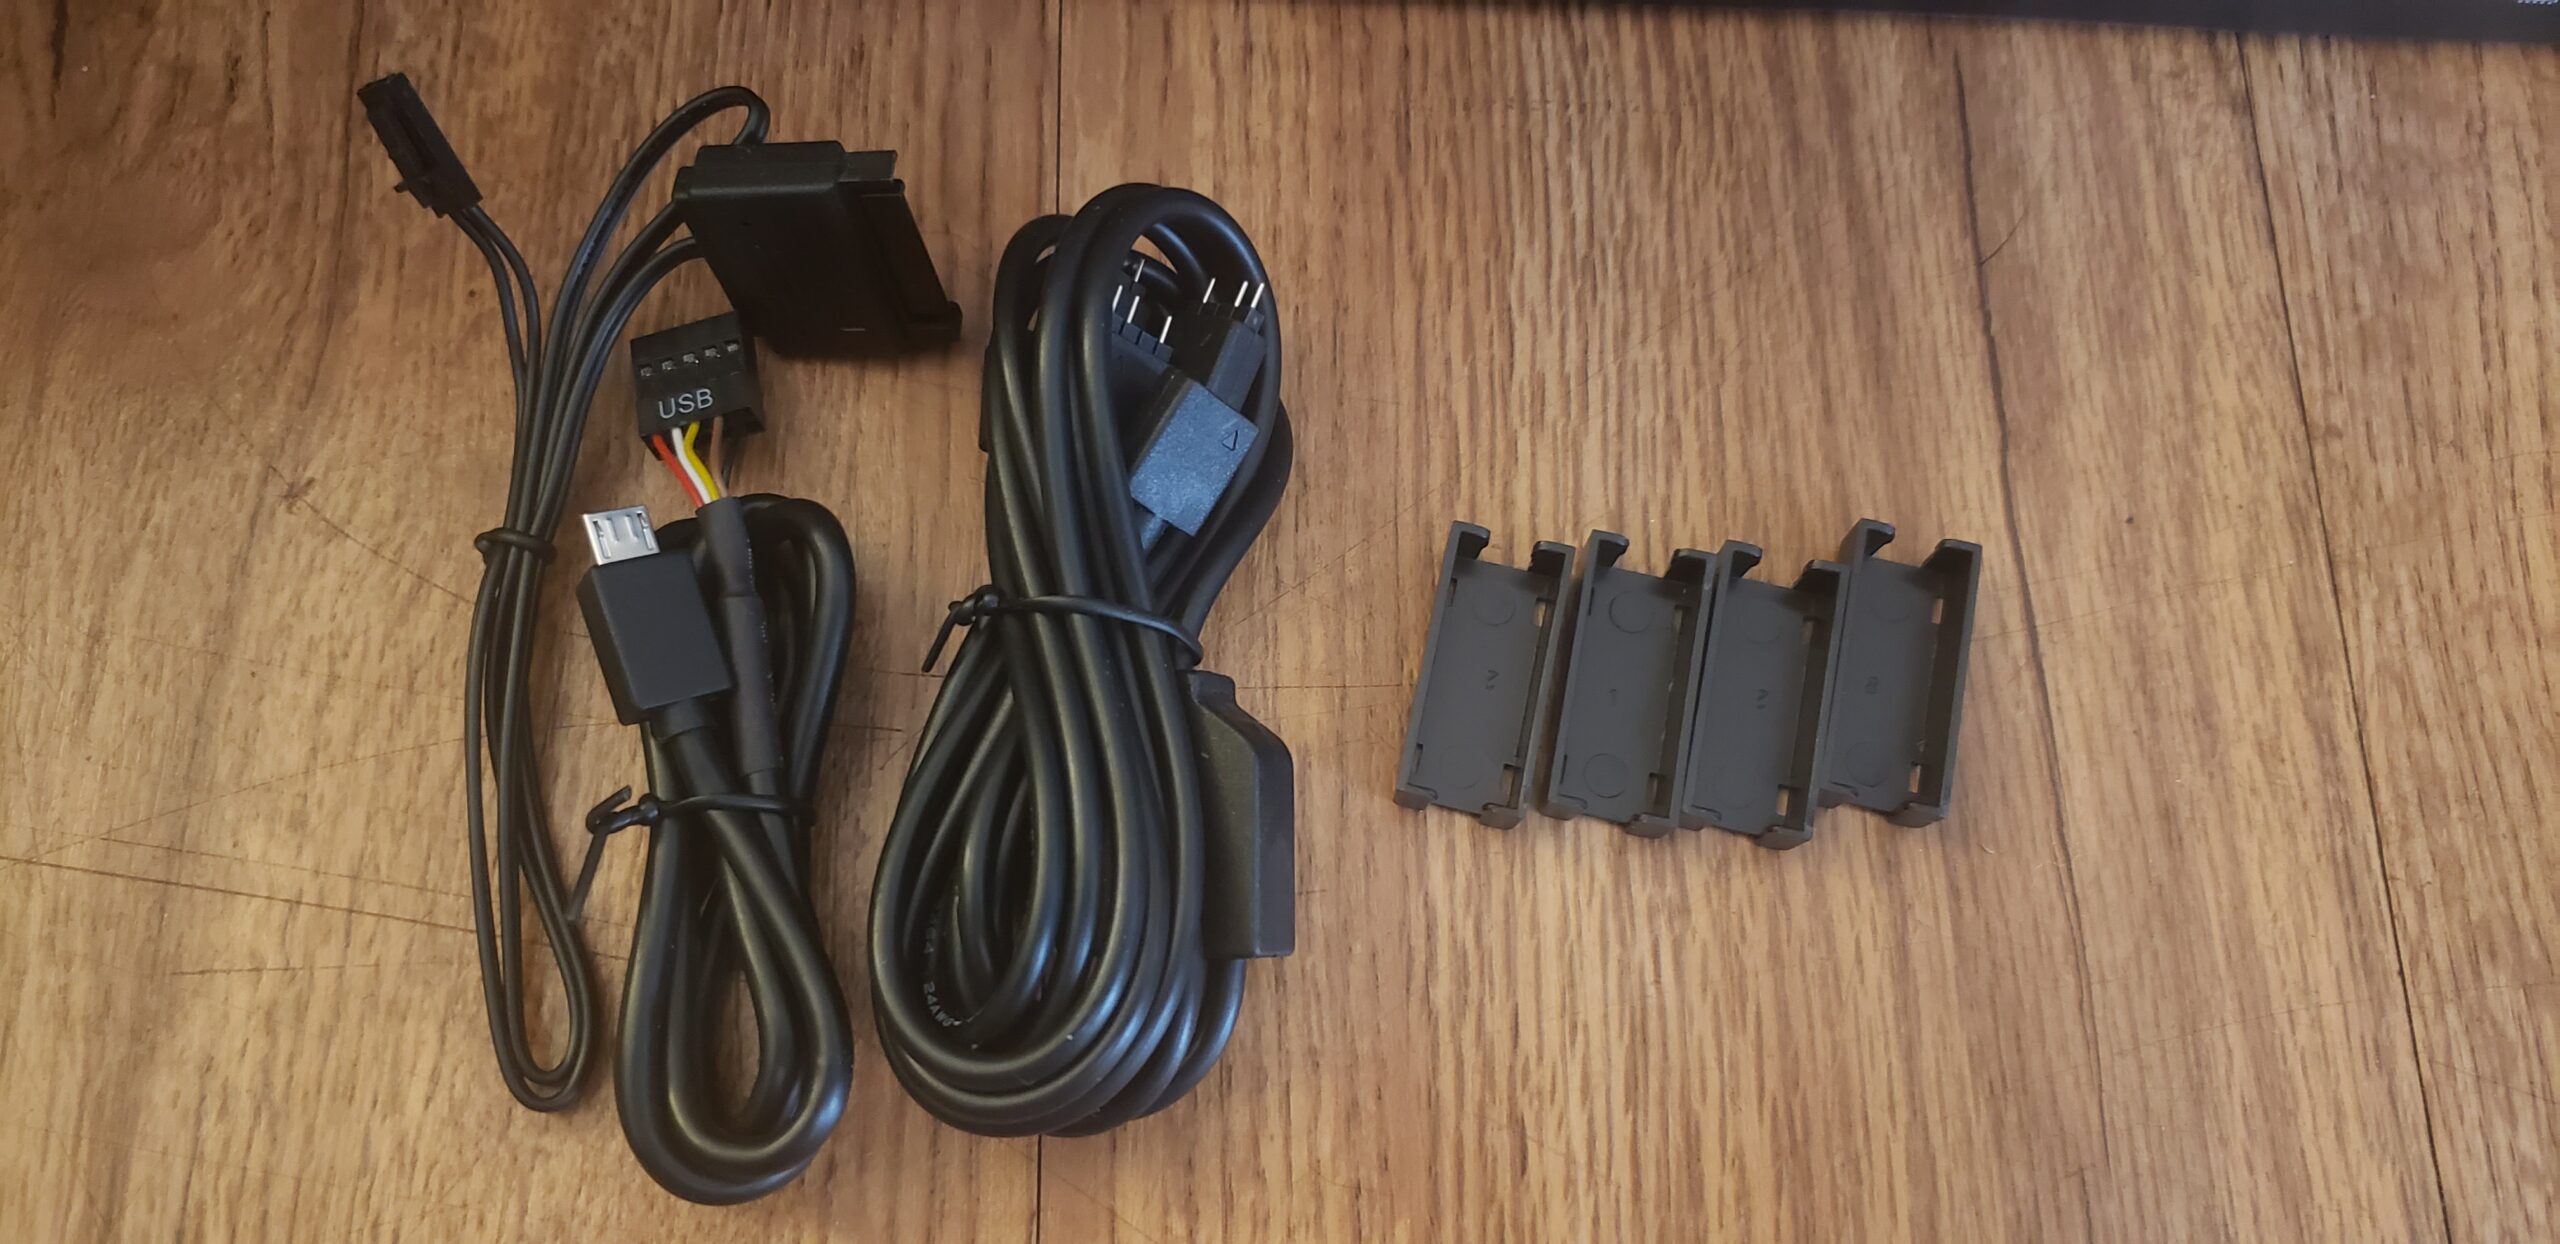
We can also see the various cables needed for install here. From left to right in the cables image we see the SATA power plug for the RGB controller, the USB connection for the controller, and the RGB lighting wires.
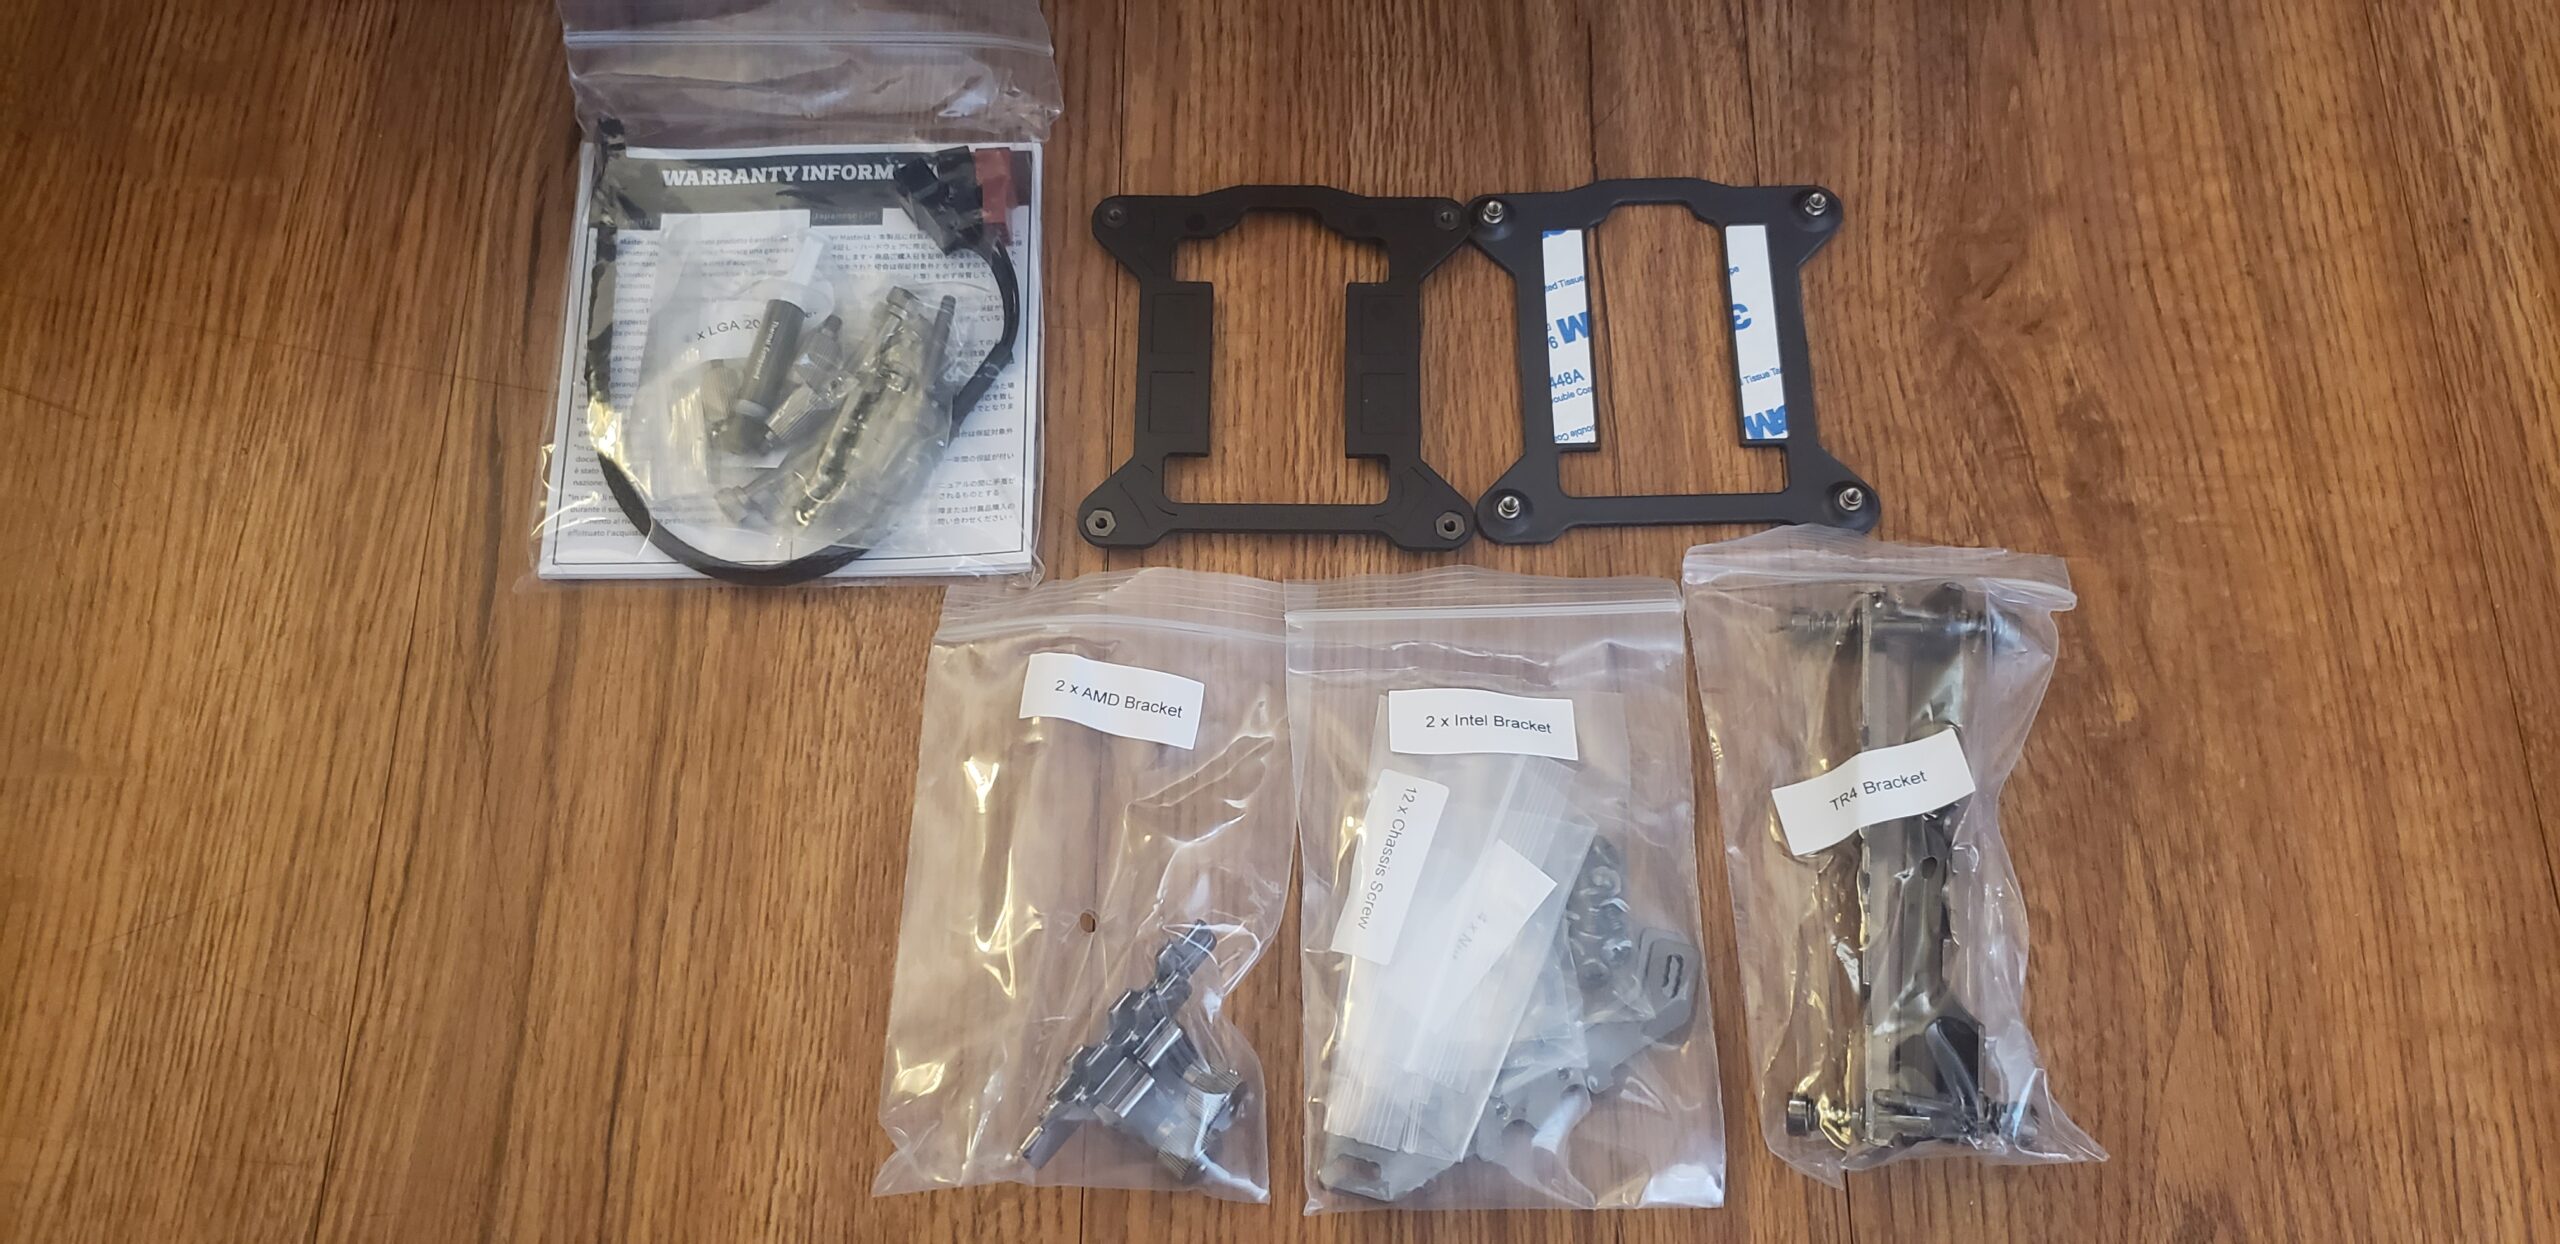
Next up we have the manual, some thermal grease, bolts, backplates for various mounting, AMD brackets, Intel brackets, and even a TR4 bracket.
And of course, here’s a shot of the included RGB controller coming out of the box.


Now we’re finally getting into the meat and potatoes of what’s in this box. First picture here we see the copper base of the CPU block.
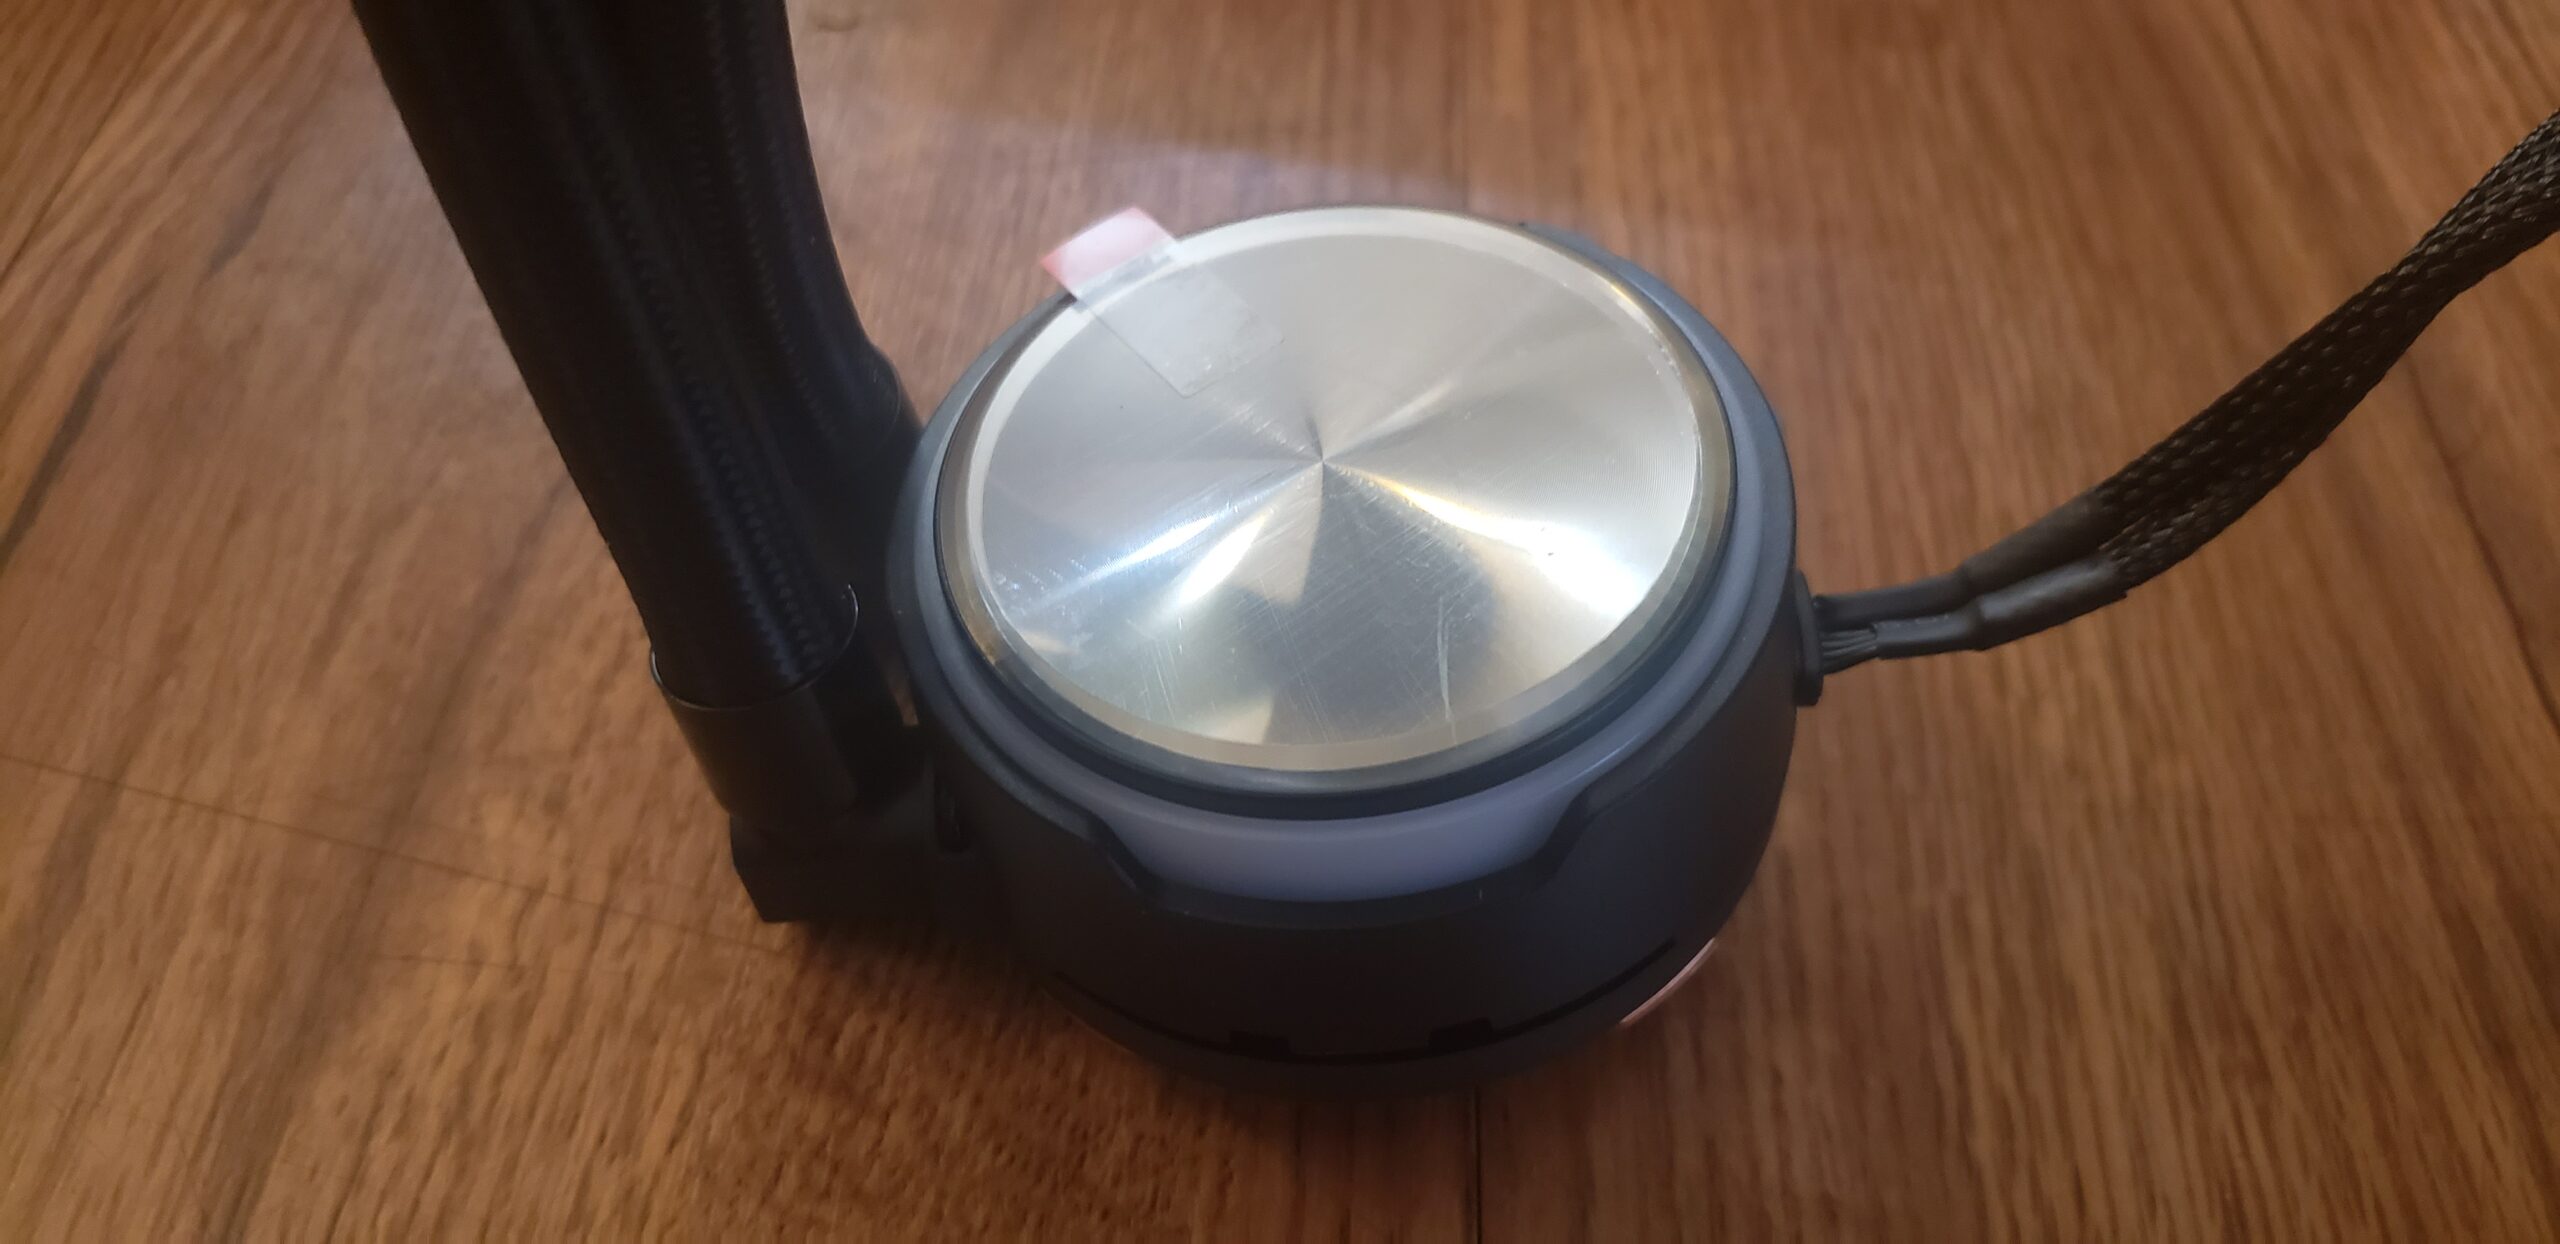
Flipping the CPU block over, we see brushed aluminum, but I get the feeling that’s a trick of the eyes as it doesn’t feel like aluminum, and there’s RGB on it. Either way, even powered off this CPU block is very aesthetically pleasing.
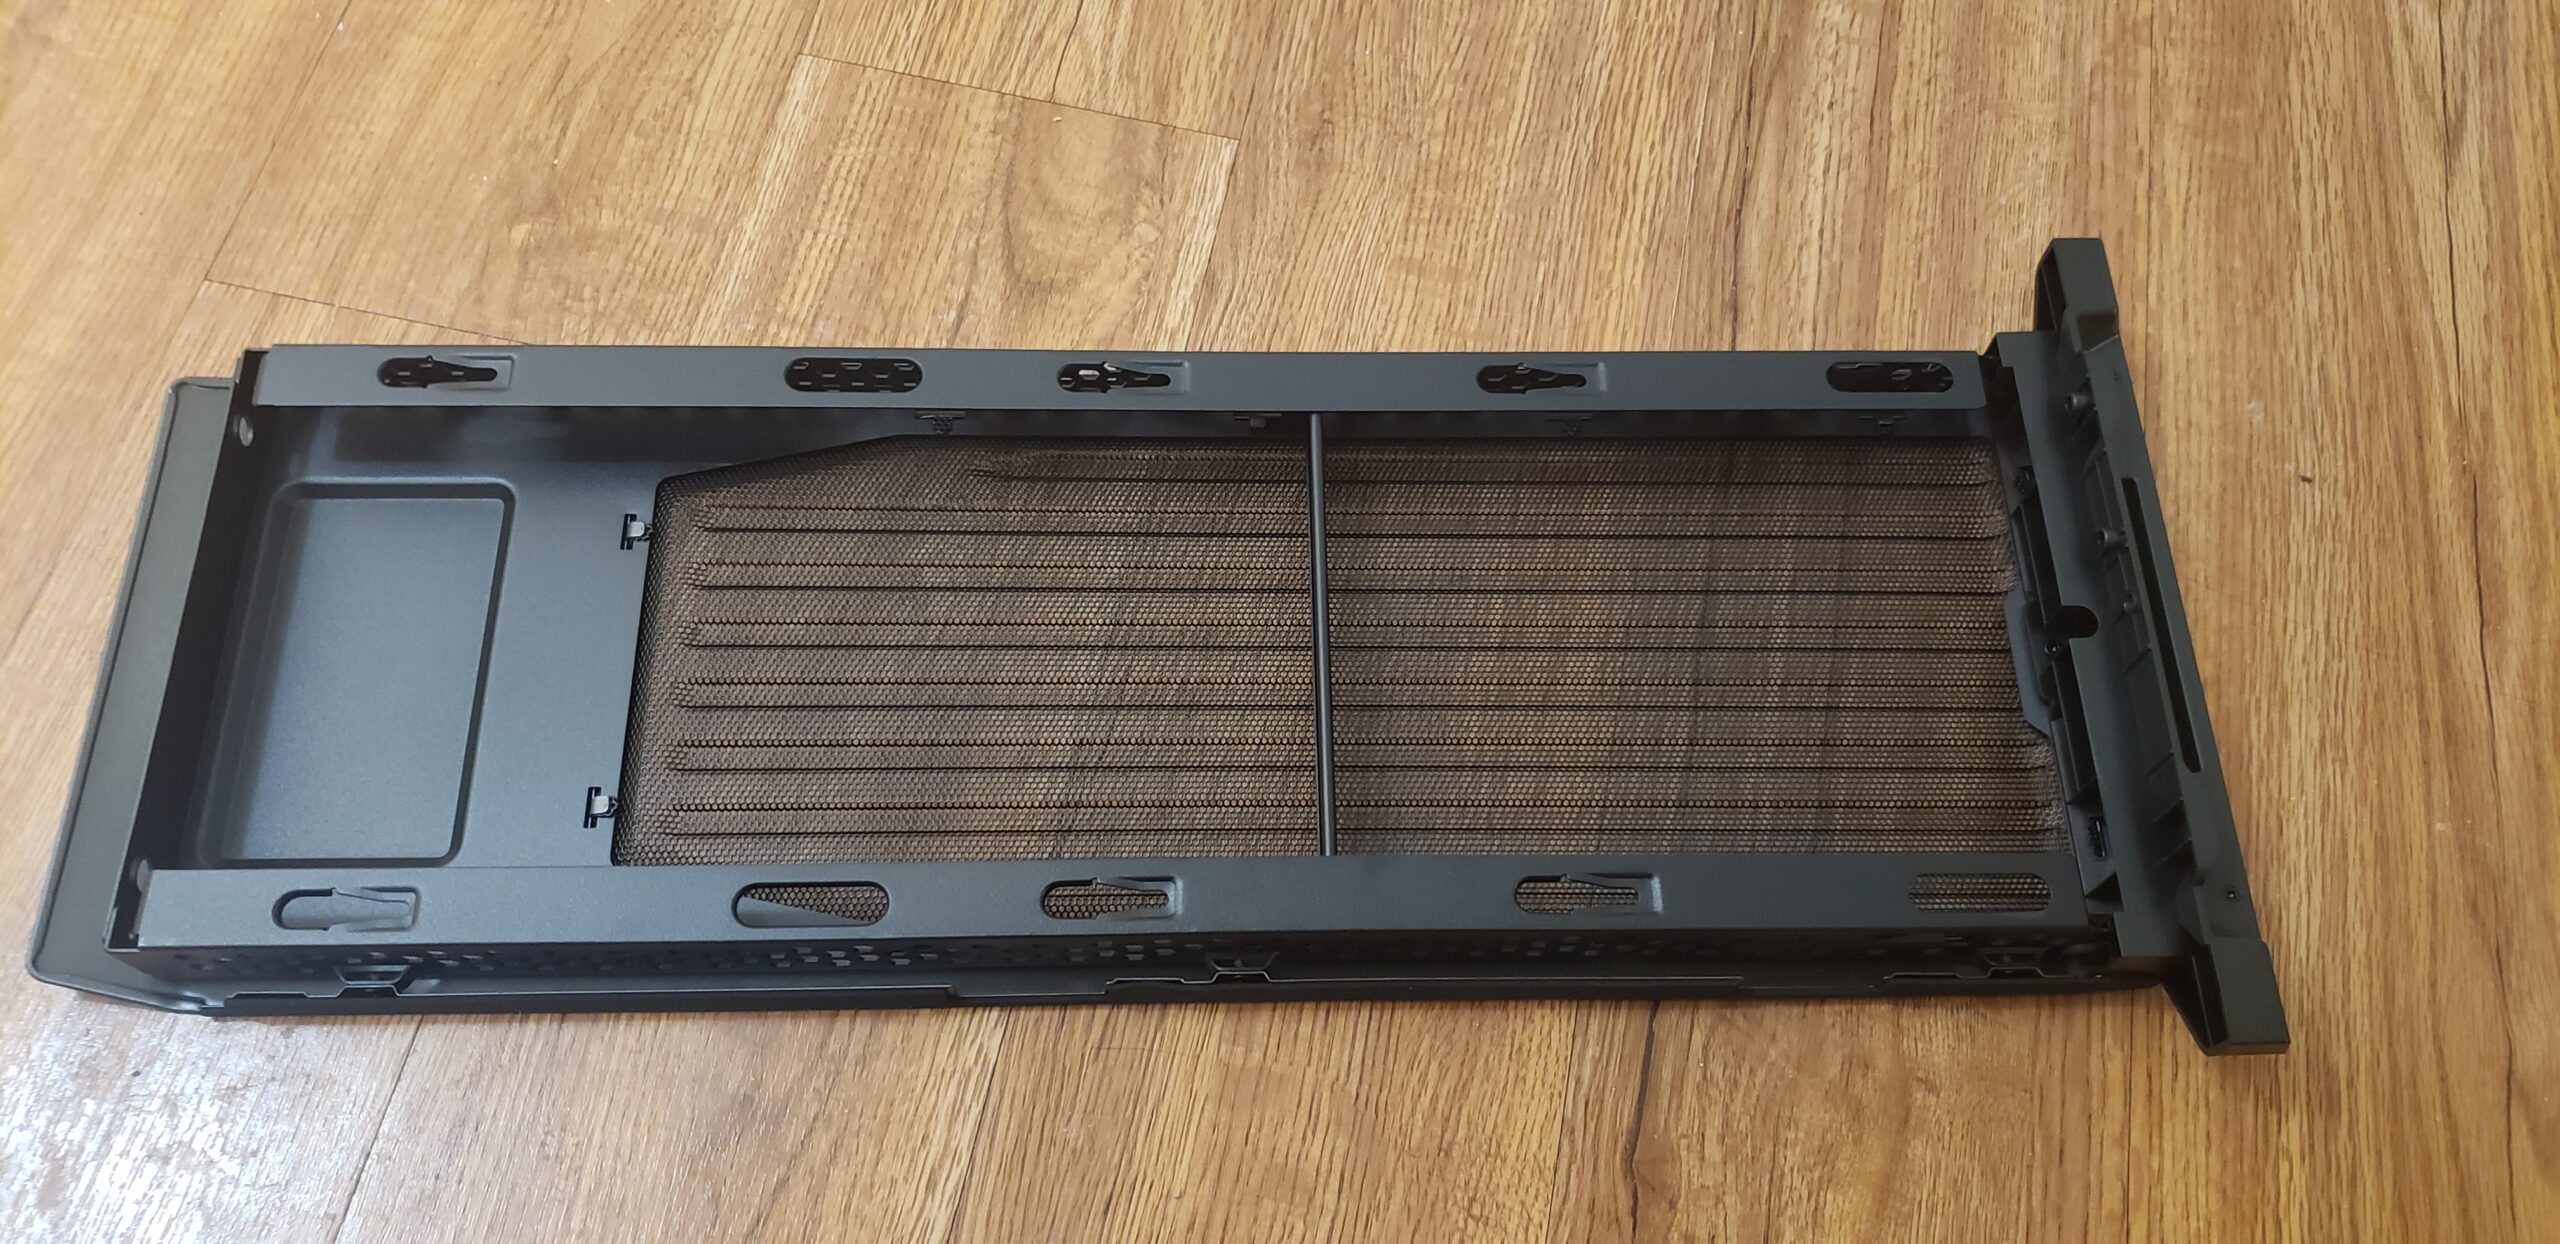
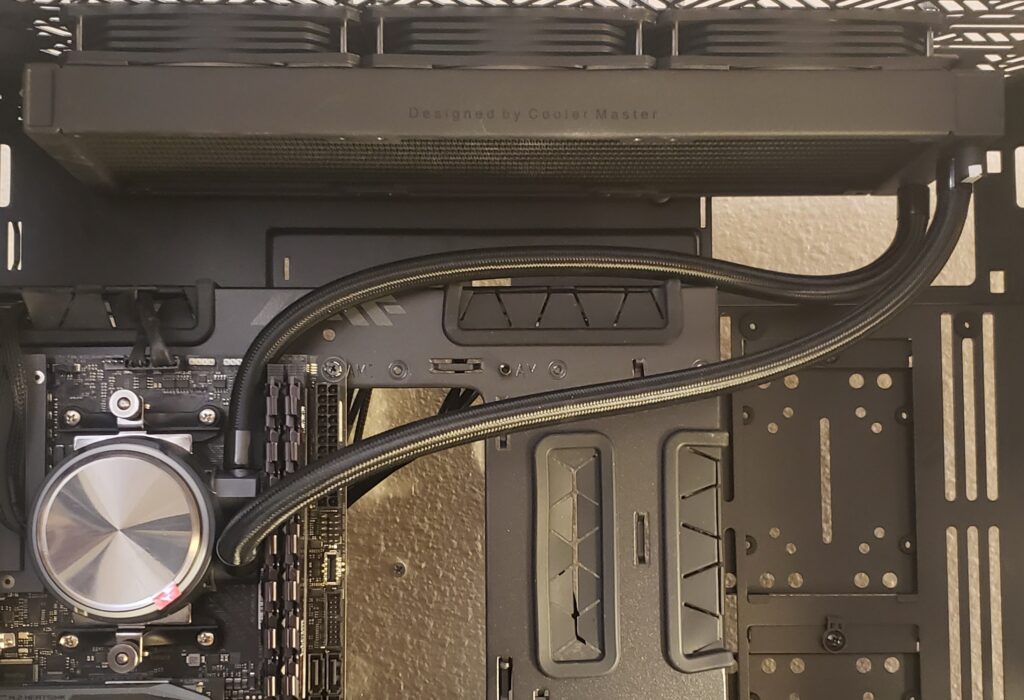
And finally, we have this giant 360mm / 27.2mm thick radiator. Slightly thicker than your standard fans, but not so thick that it impedes installation in some locations.
Mounting:
So, I decided to take a very non traditional approach here and try something new (or old). I figured it was worth at least “half” an hour’s worth of effort given the fact that nobody else has ever tried this I’d bet. The mounting hardware included and the specifications clearly state what is compatible and what is not. However, I noticed that the hardware for the AM4 mount was clip on style. I couldn’t help myself but to test and see if it would mount on older platforms than advertised. For AMD mounting, they advertise compatibility down to Socket AM2. Interesting thing to note when looking at older AMD sockets, the clip on mechanism is exactly the same for Socket 754, 939, AM2, AM2+, AM3, and AM4. The difference between these is that Socket 754 and 939 use a full retention bracket with two bolts, AM2 up through AM3 use the same style retention bracket but instead with four bolts, and then AM4 uses two half retention brackets, also using four bolts (two each bracket). The clip is exactly the same on all platforms though.
So I of course just had to give it a go on my old legendary Asus A8N32-SLI Deluxe motherboard for Socket 939. Anybody that has seen me around the tech forums knows my love for Socket 939, so I just had to at least give this a go.
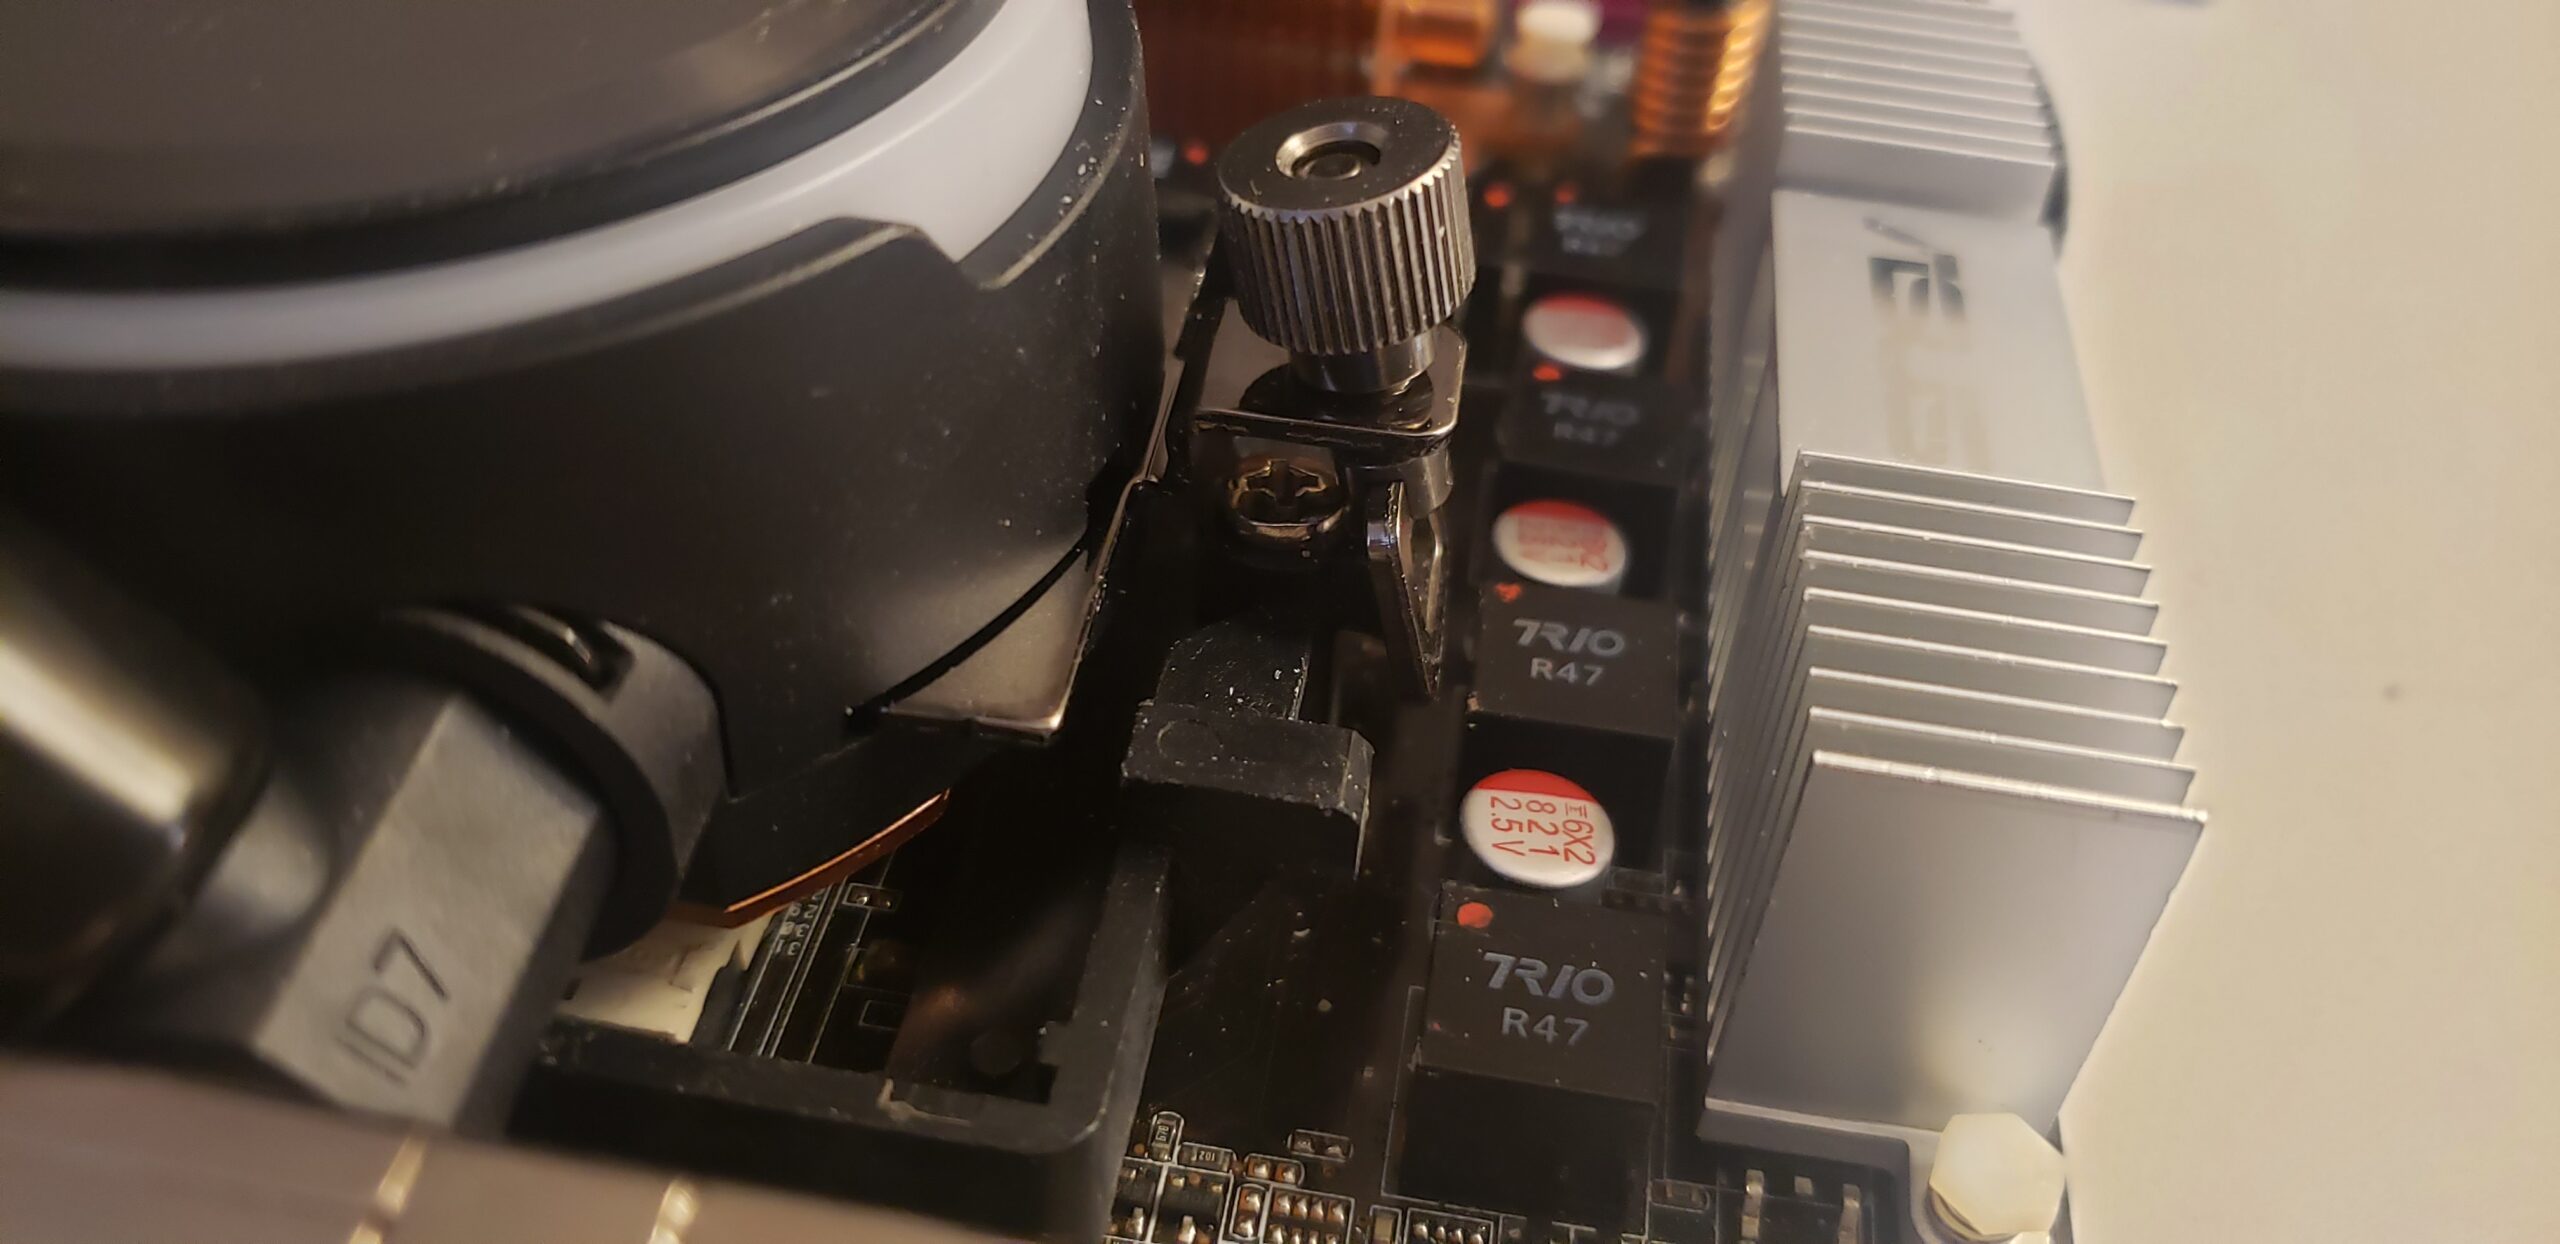
If we look really closely at the clips though, unfortunately the circular piece that the clip is physically connected to interferes with the single bolt on Socket 939 and 754. For those of you retro builders out there, I know the hassles of trying to find compatible coolers. One thing somebody could potentially try, would be finding some recessed bolts for the AMD retention bracket on the motherboard instead of using these rounded head bolts. One could also use some other method of keeping the retention bracket installed instead of bolts, such as stronger zip ties. It also almost looks like you could just bolt through as well with custom bolts and nuts by removing the clips off the cooler. Most hardware stores would carry these additions. Of course, this isn’t cooler related, and of course I’m not intending on keeping this cooler mounted on Socket 939. Good to note for future reference though in case I decide to do some retro benching.
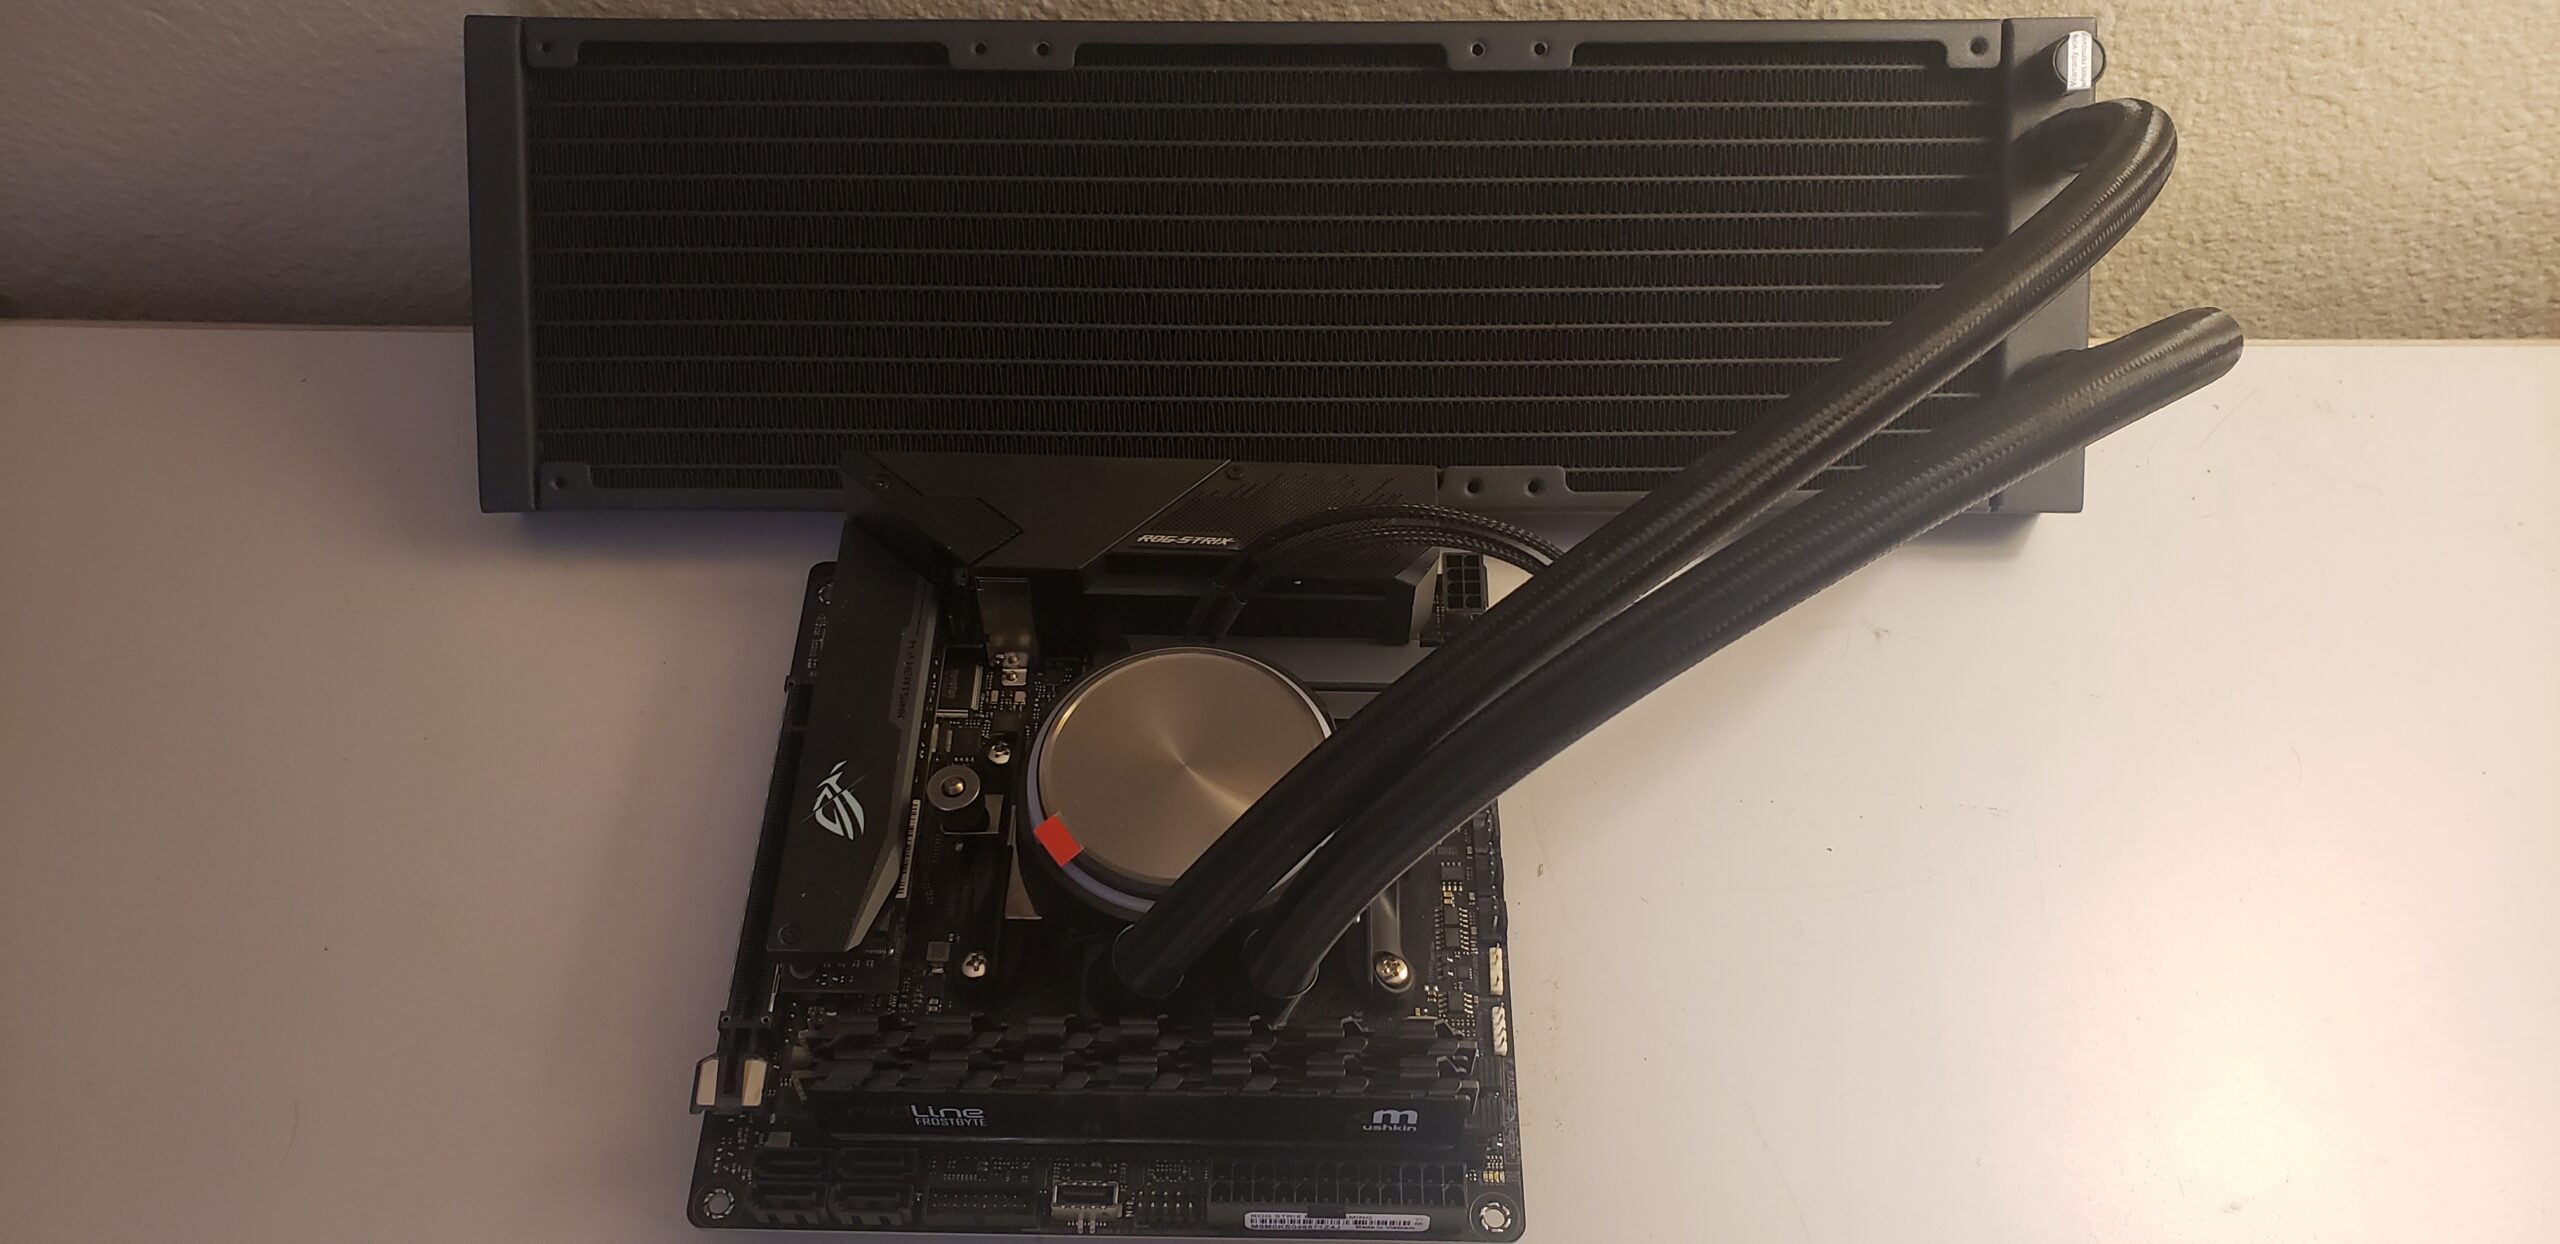
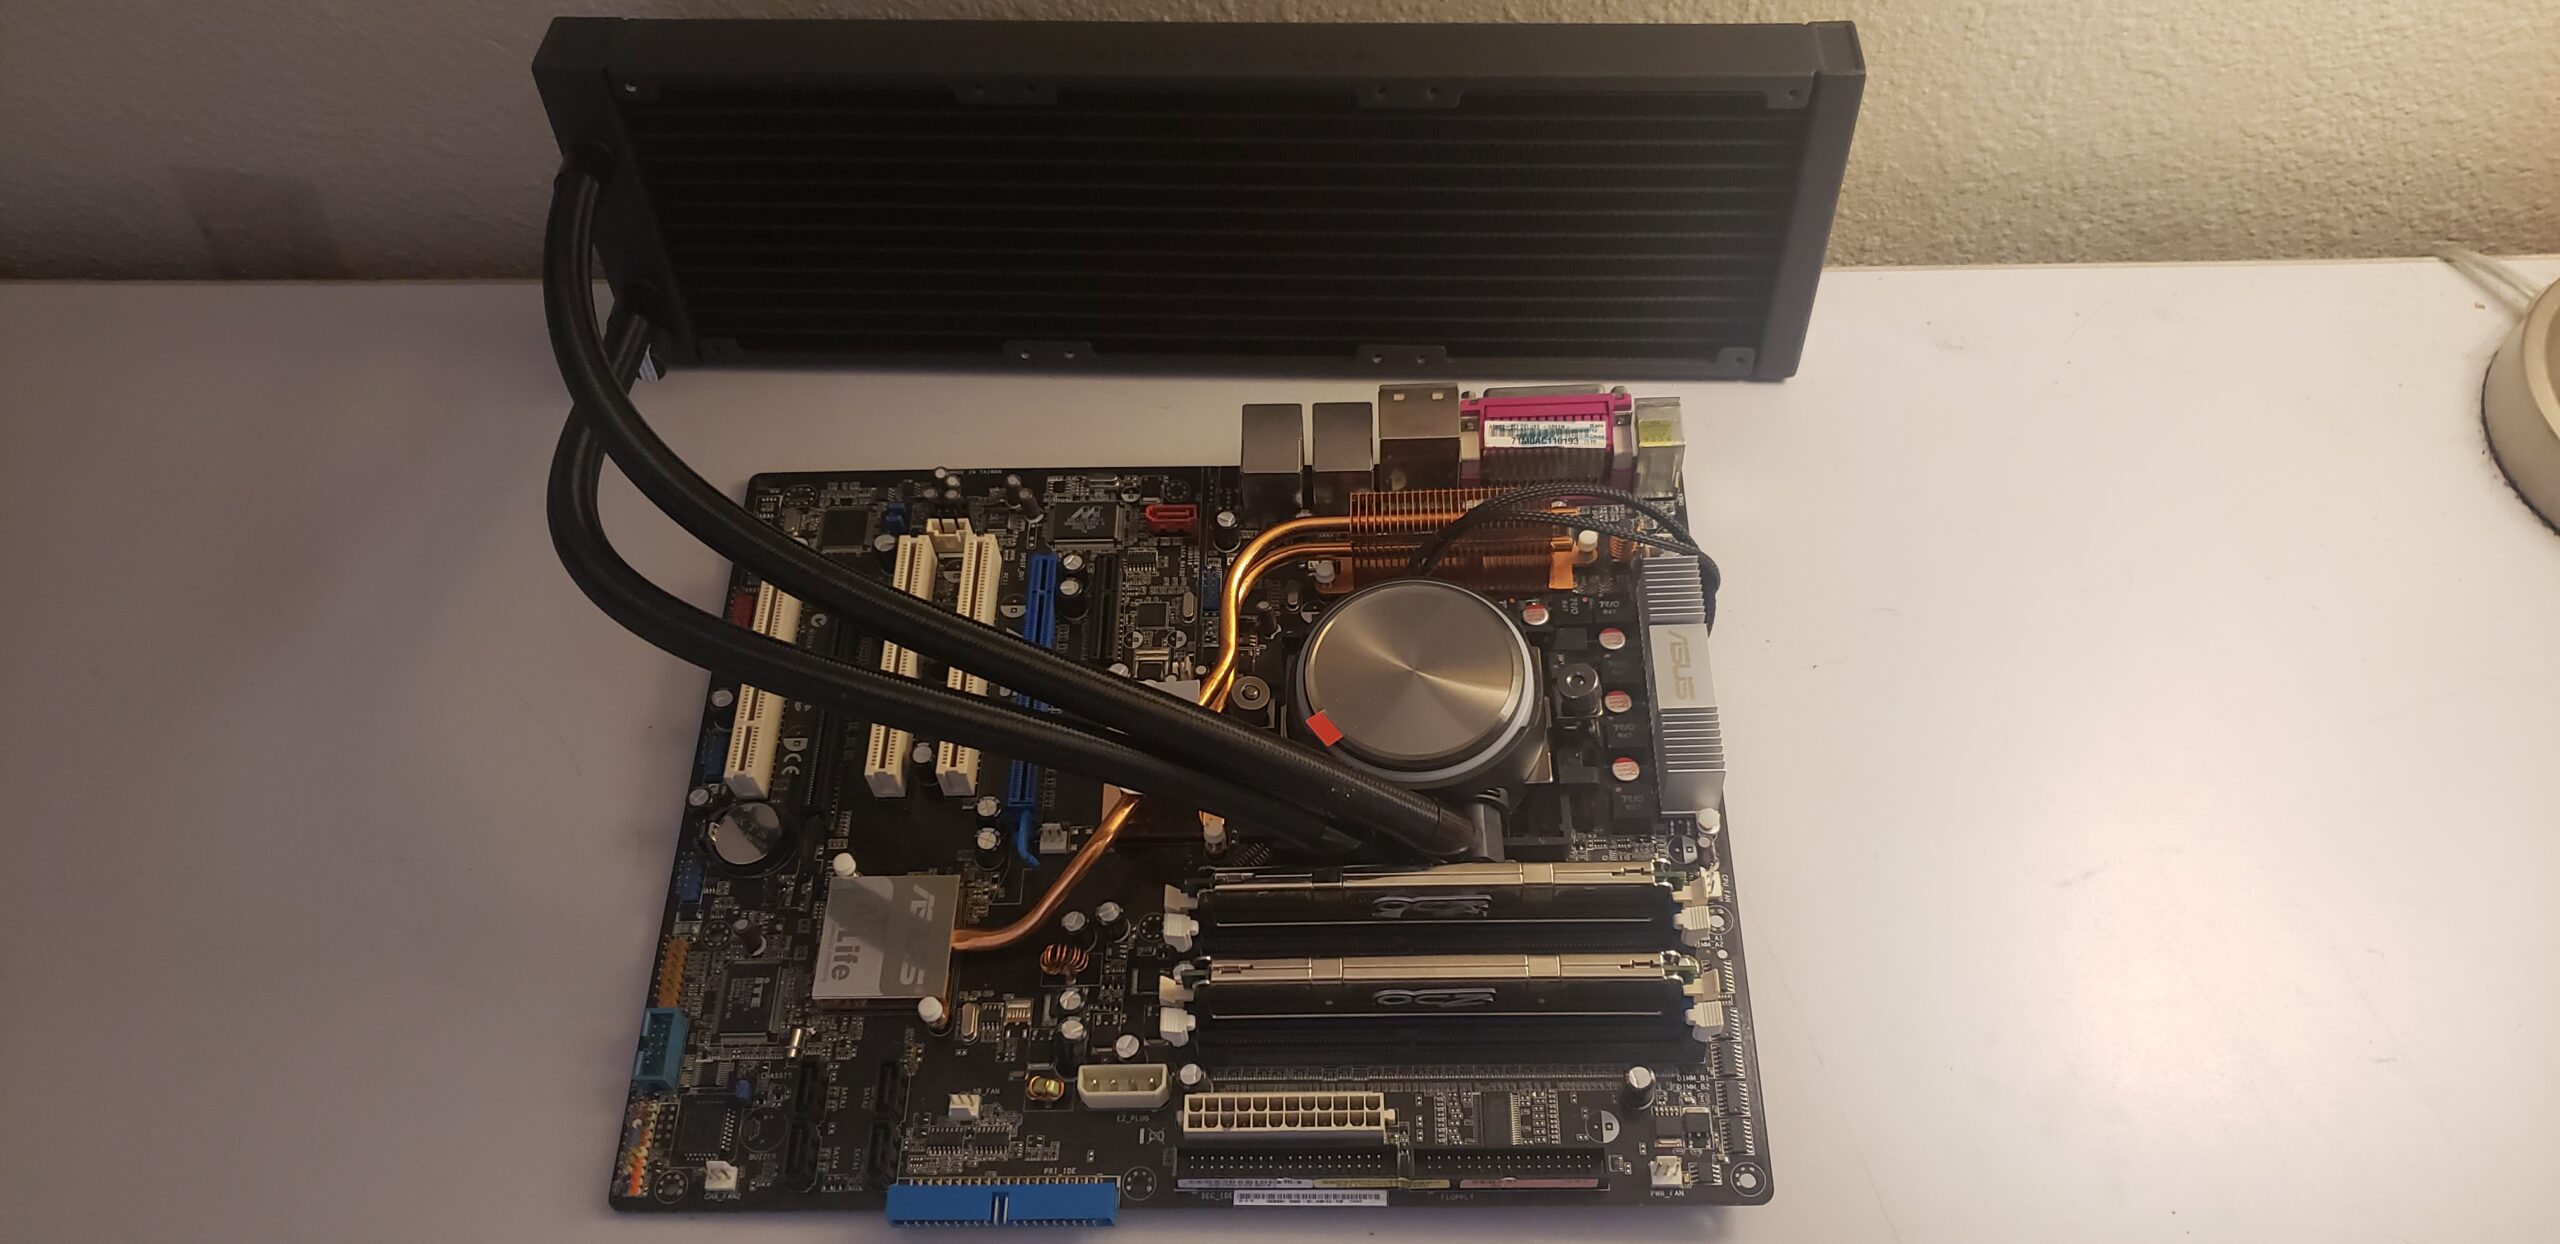
So instead, I mounted the cooler to my Asus ROG Strix B550-I Gaming, with a Ryzen 7 5800x hiding underneath of it. The CPU block and radiator both look gigantic in comparison, but that’s okay. Powered off, its a very industrial look. You didn’t really believe I was going to review this with a Socket 939 chip in 2022 did you?
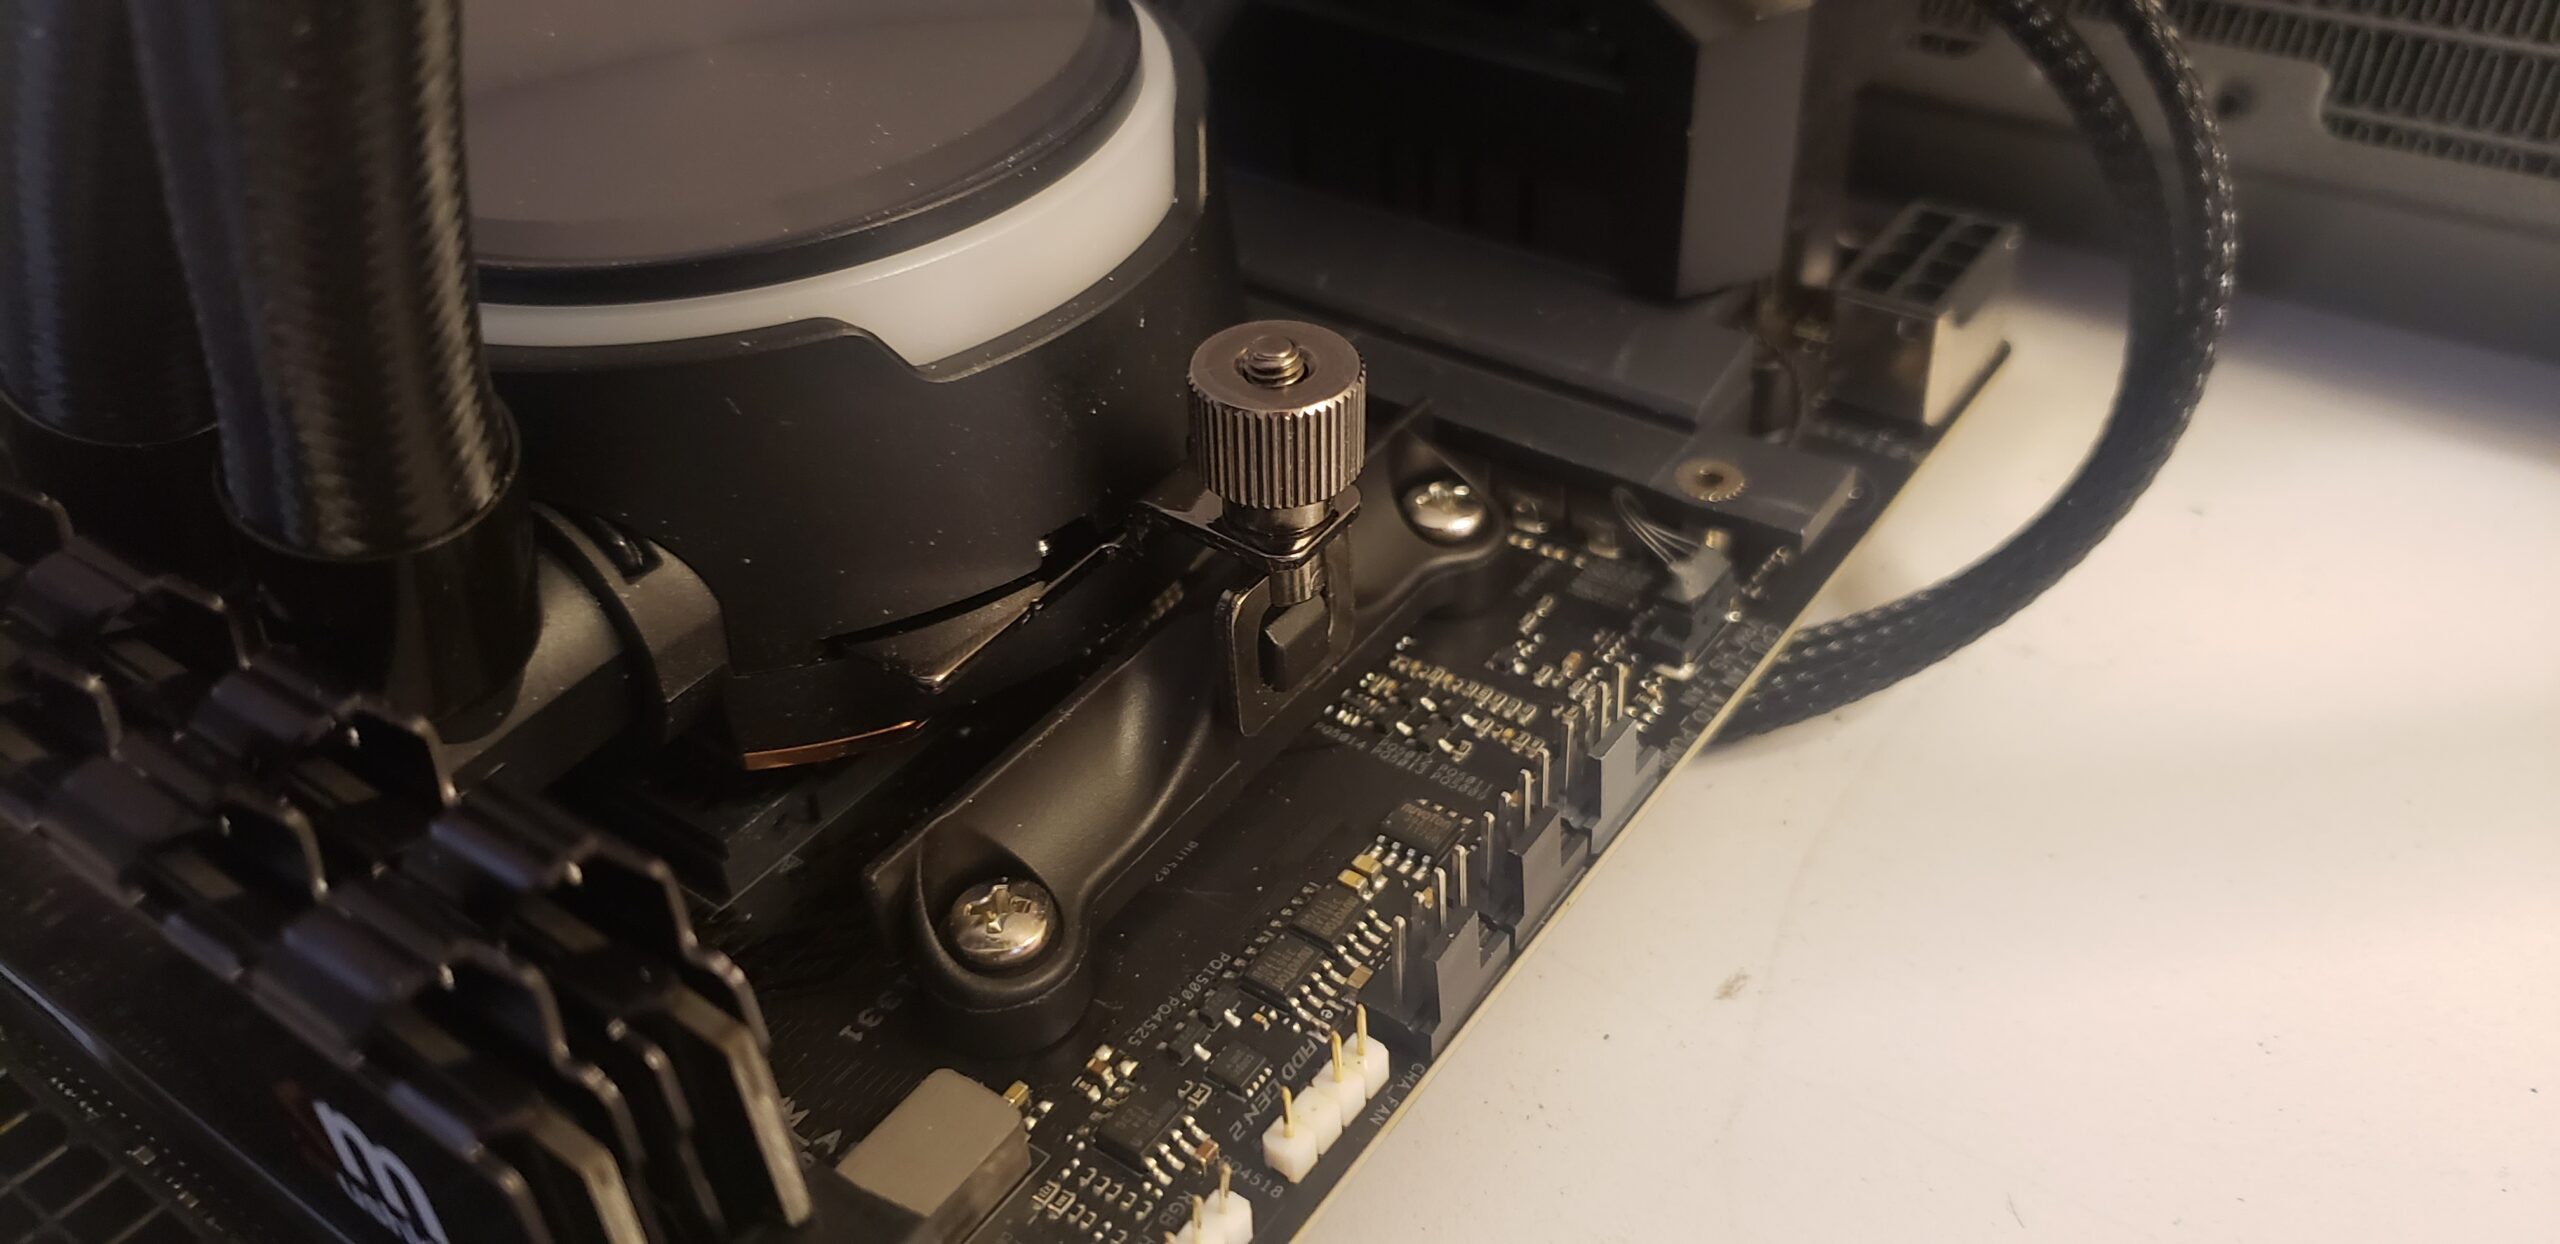
And here, we can see the difference in the retention brackets I had mentioned previously. With the bolts holding the retention bracket out of the way, the cooler clips on just fine. Again, retro systems probably could be modified to use this cooler, so that’s a huge plus in my book being a retro builder as well as a modern builder.
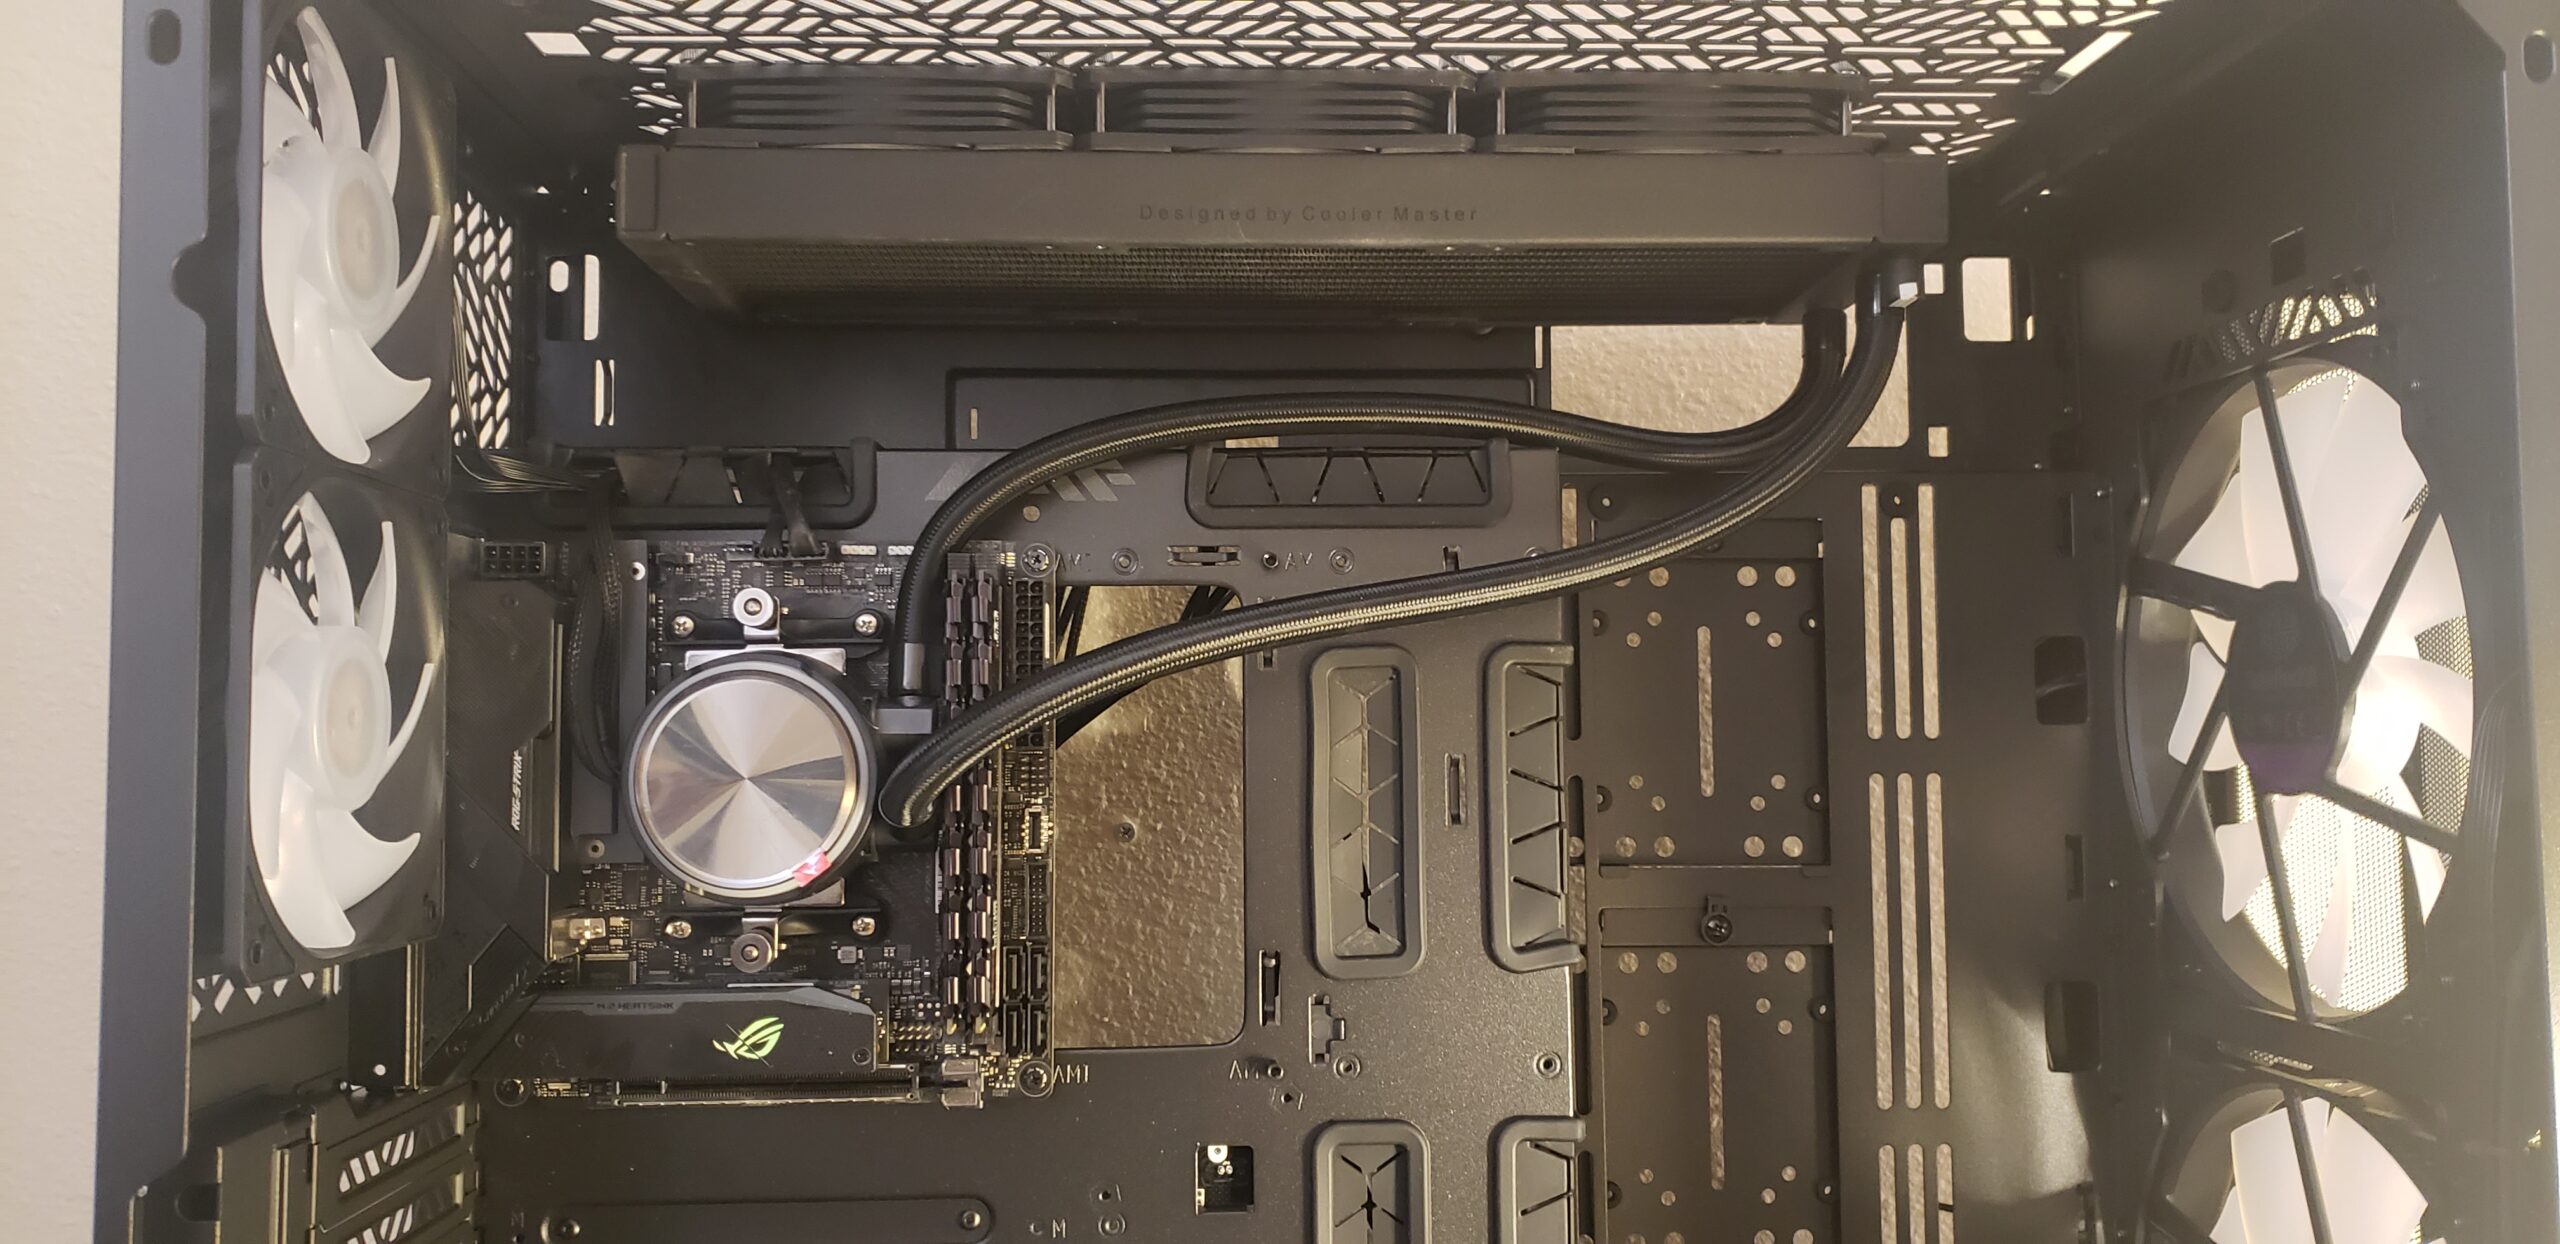
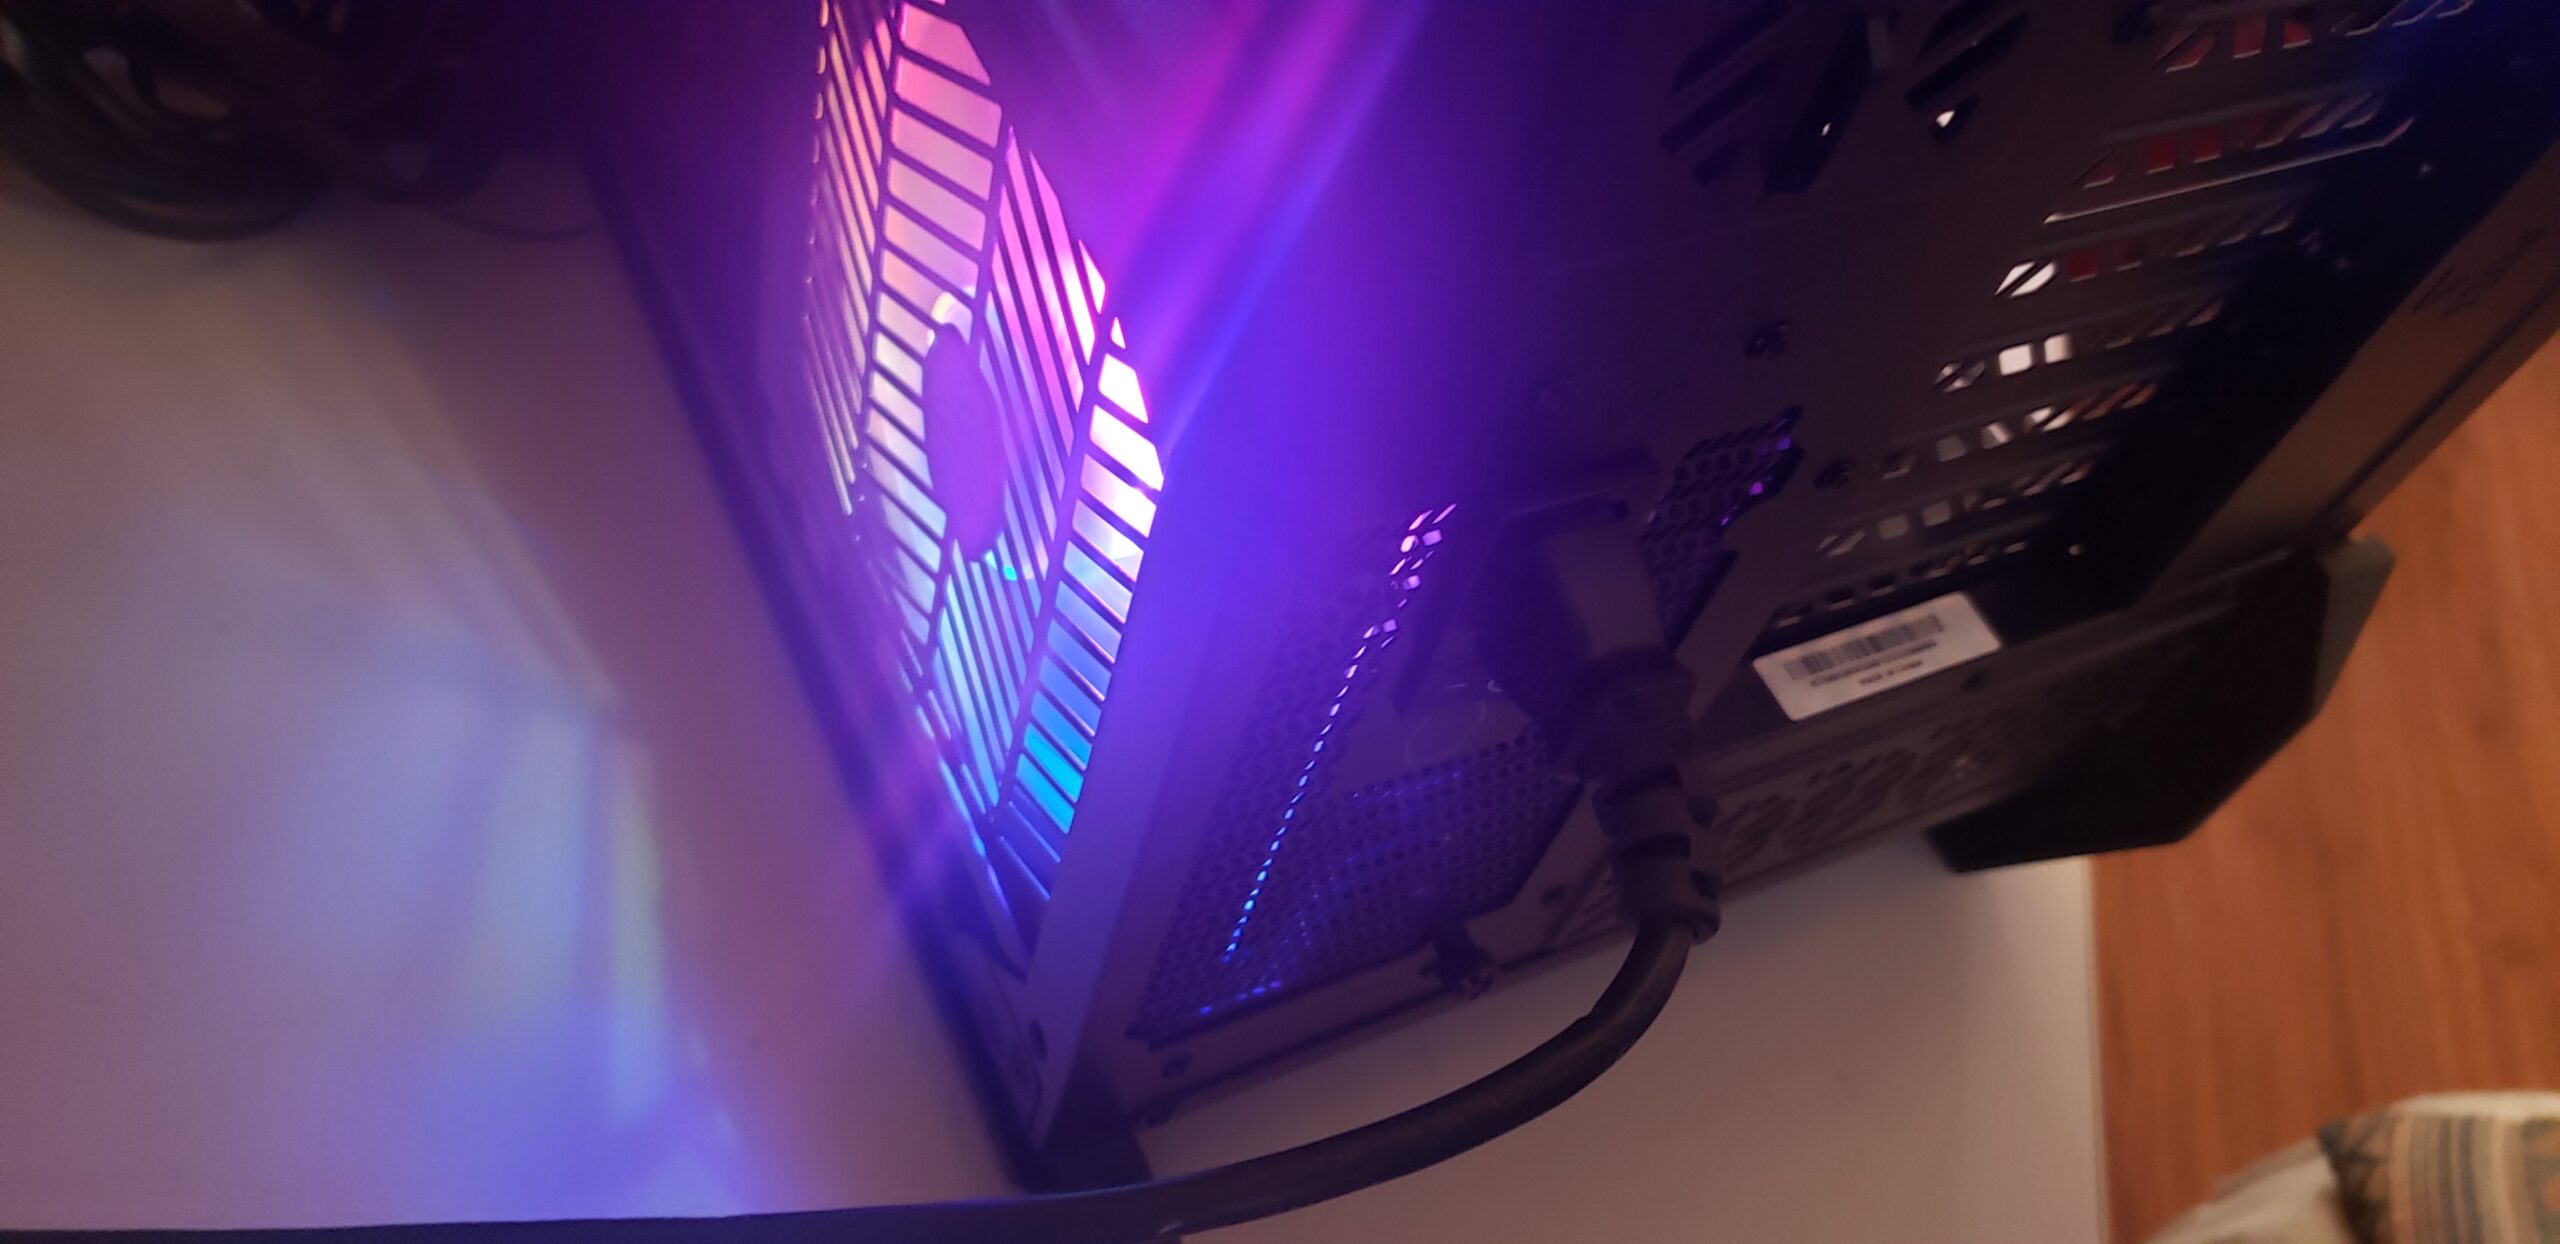
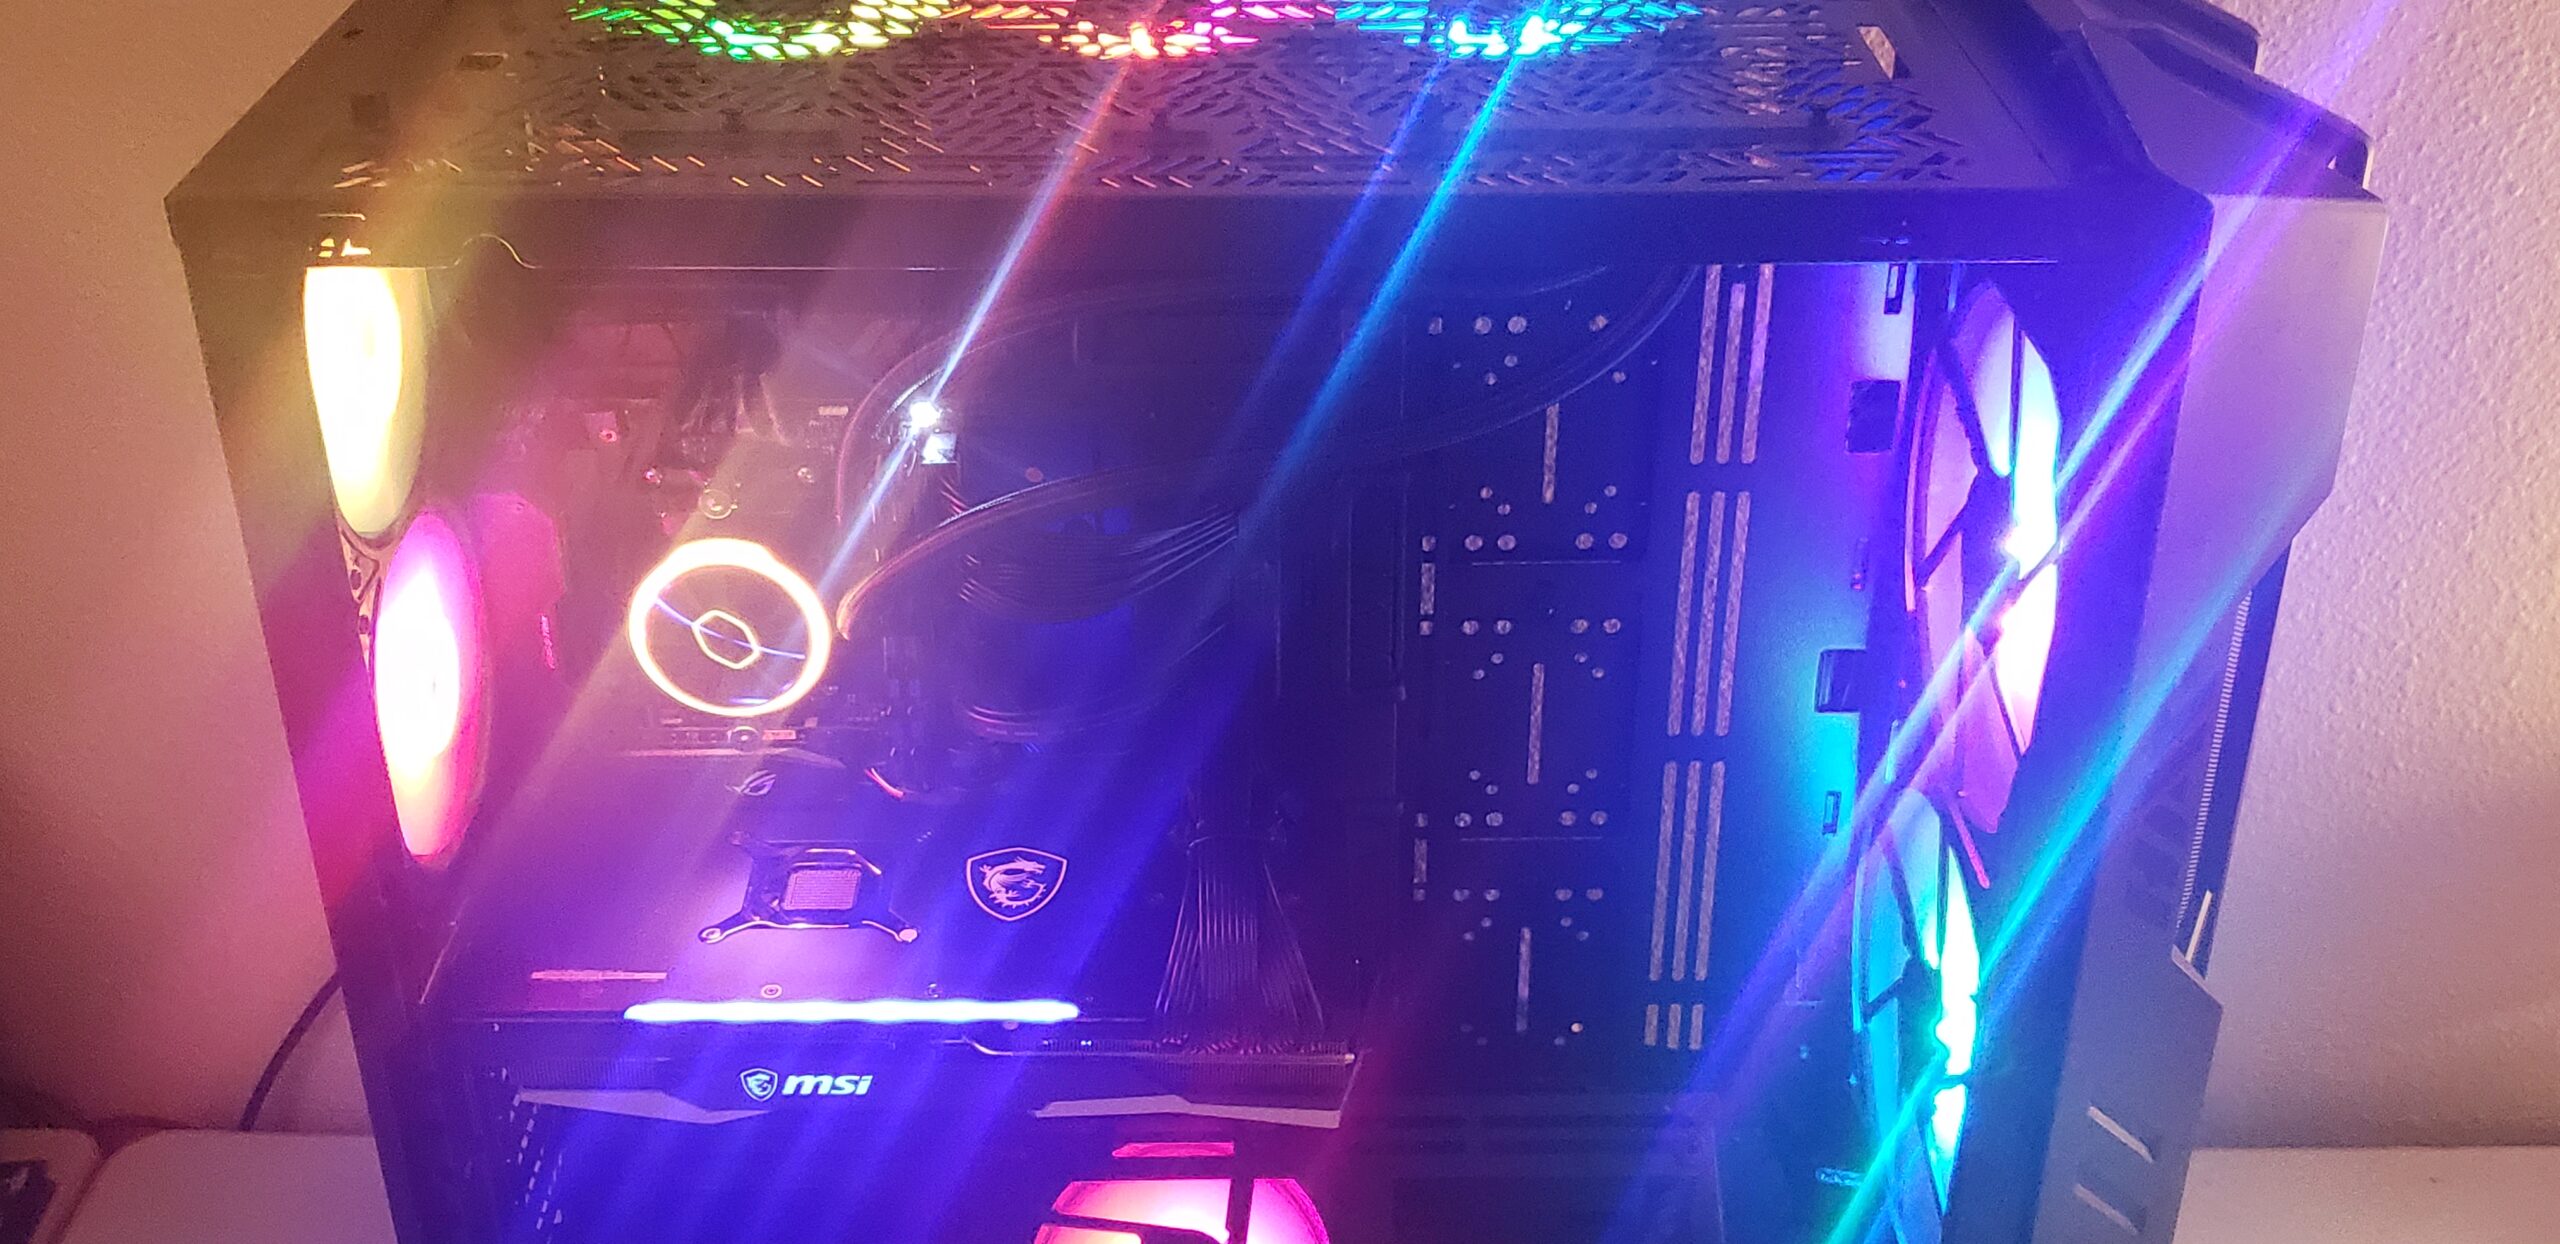
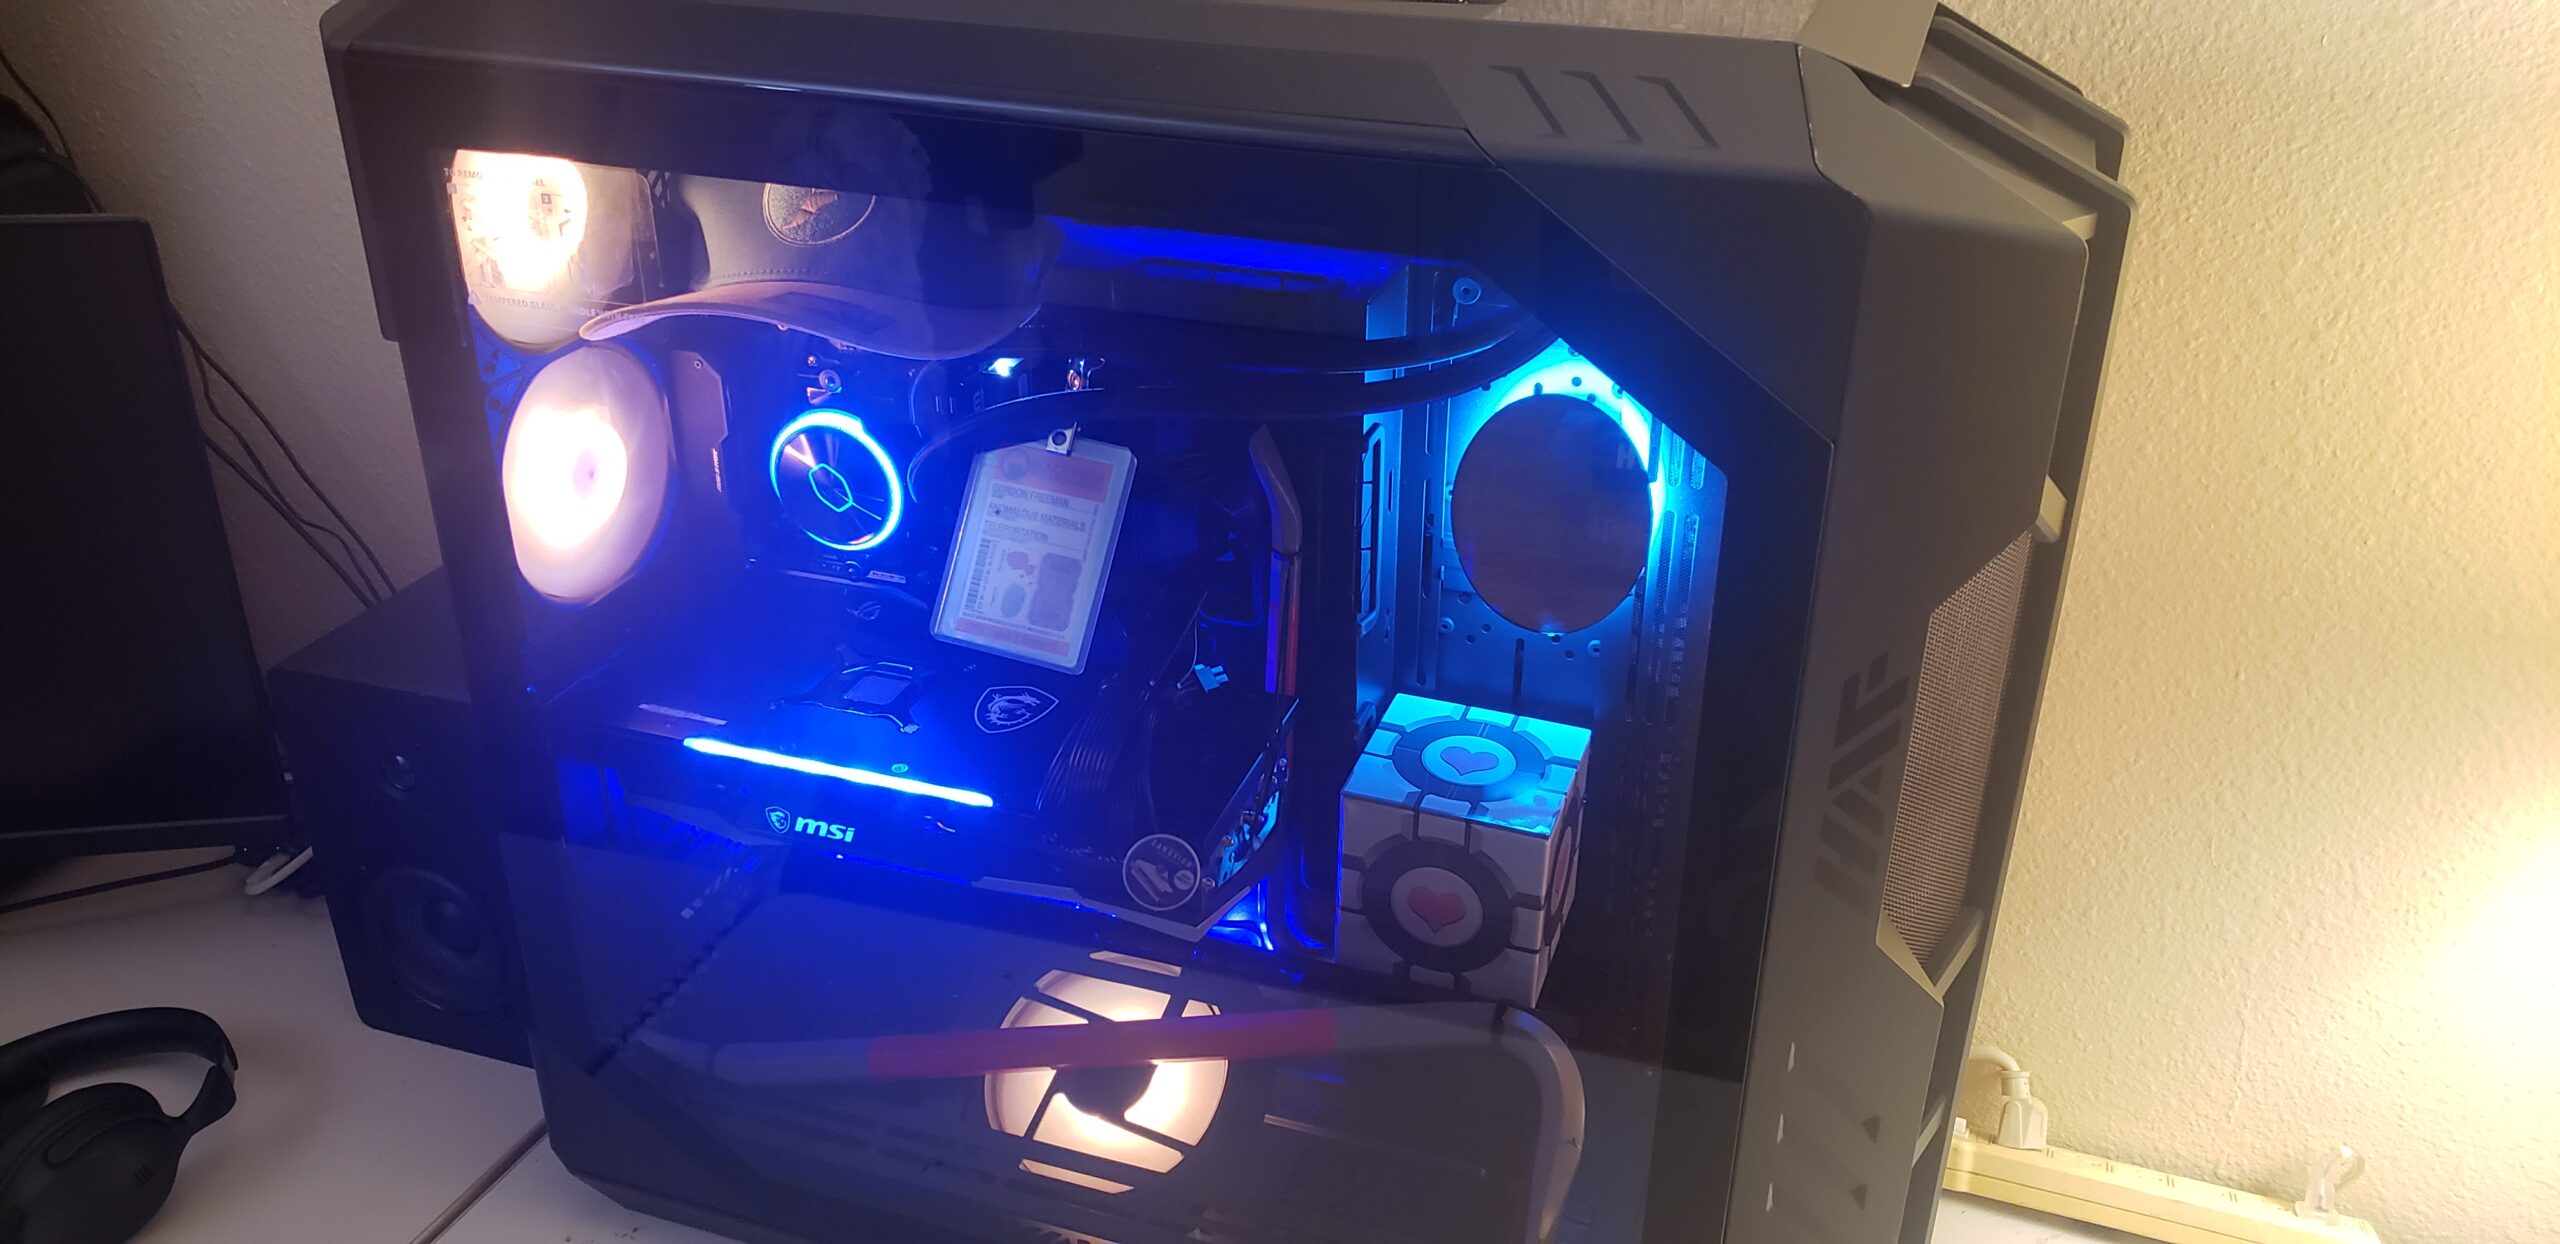
We’re getting closer to a fully built “half” a computer here now! Here’s how the cooler looks mounted in my chosen location in the HAF 700 talked about earlier. The cooler fits absolutely perfectly in one of the top 360mm mounting locations in the HAF 700. Even powered off, so far it looks amazing even with the tiny little ITX motherboard.
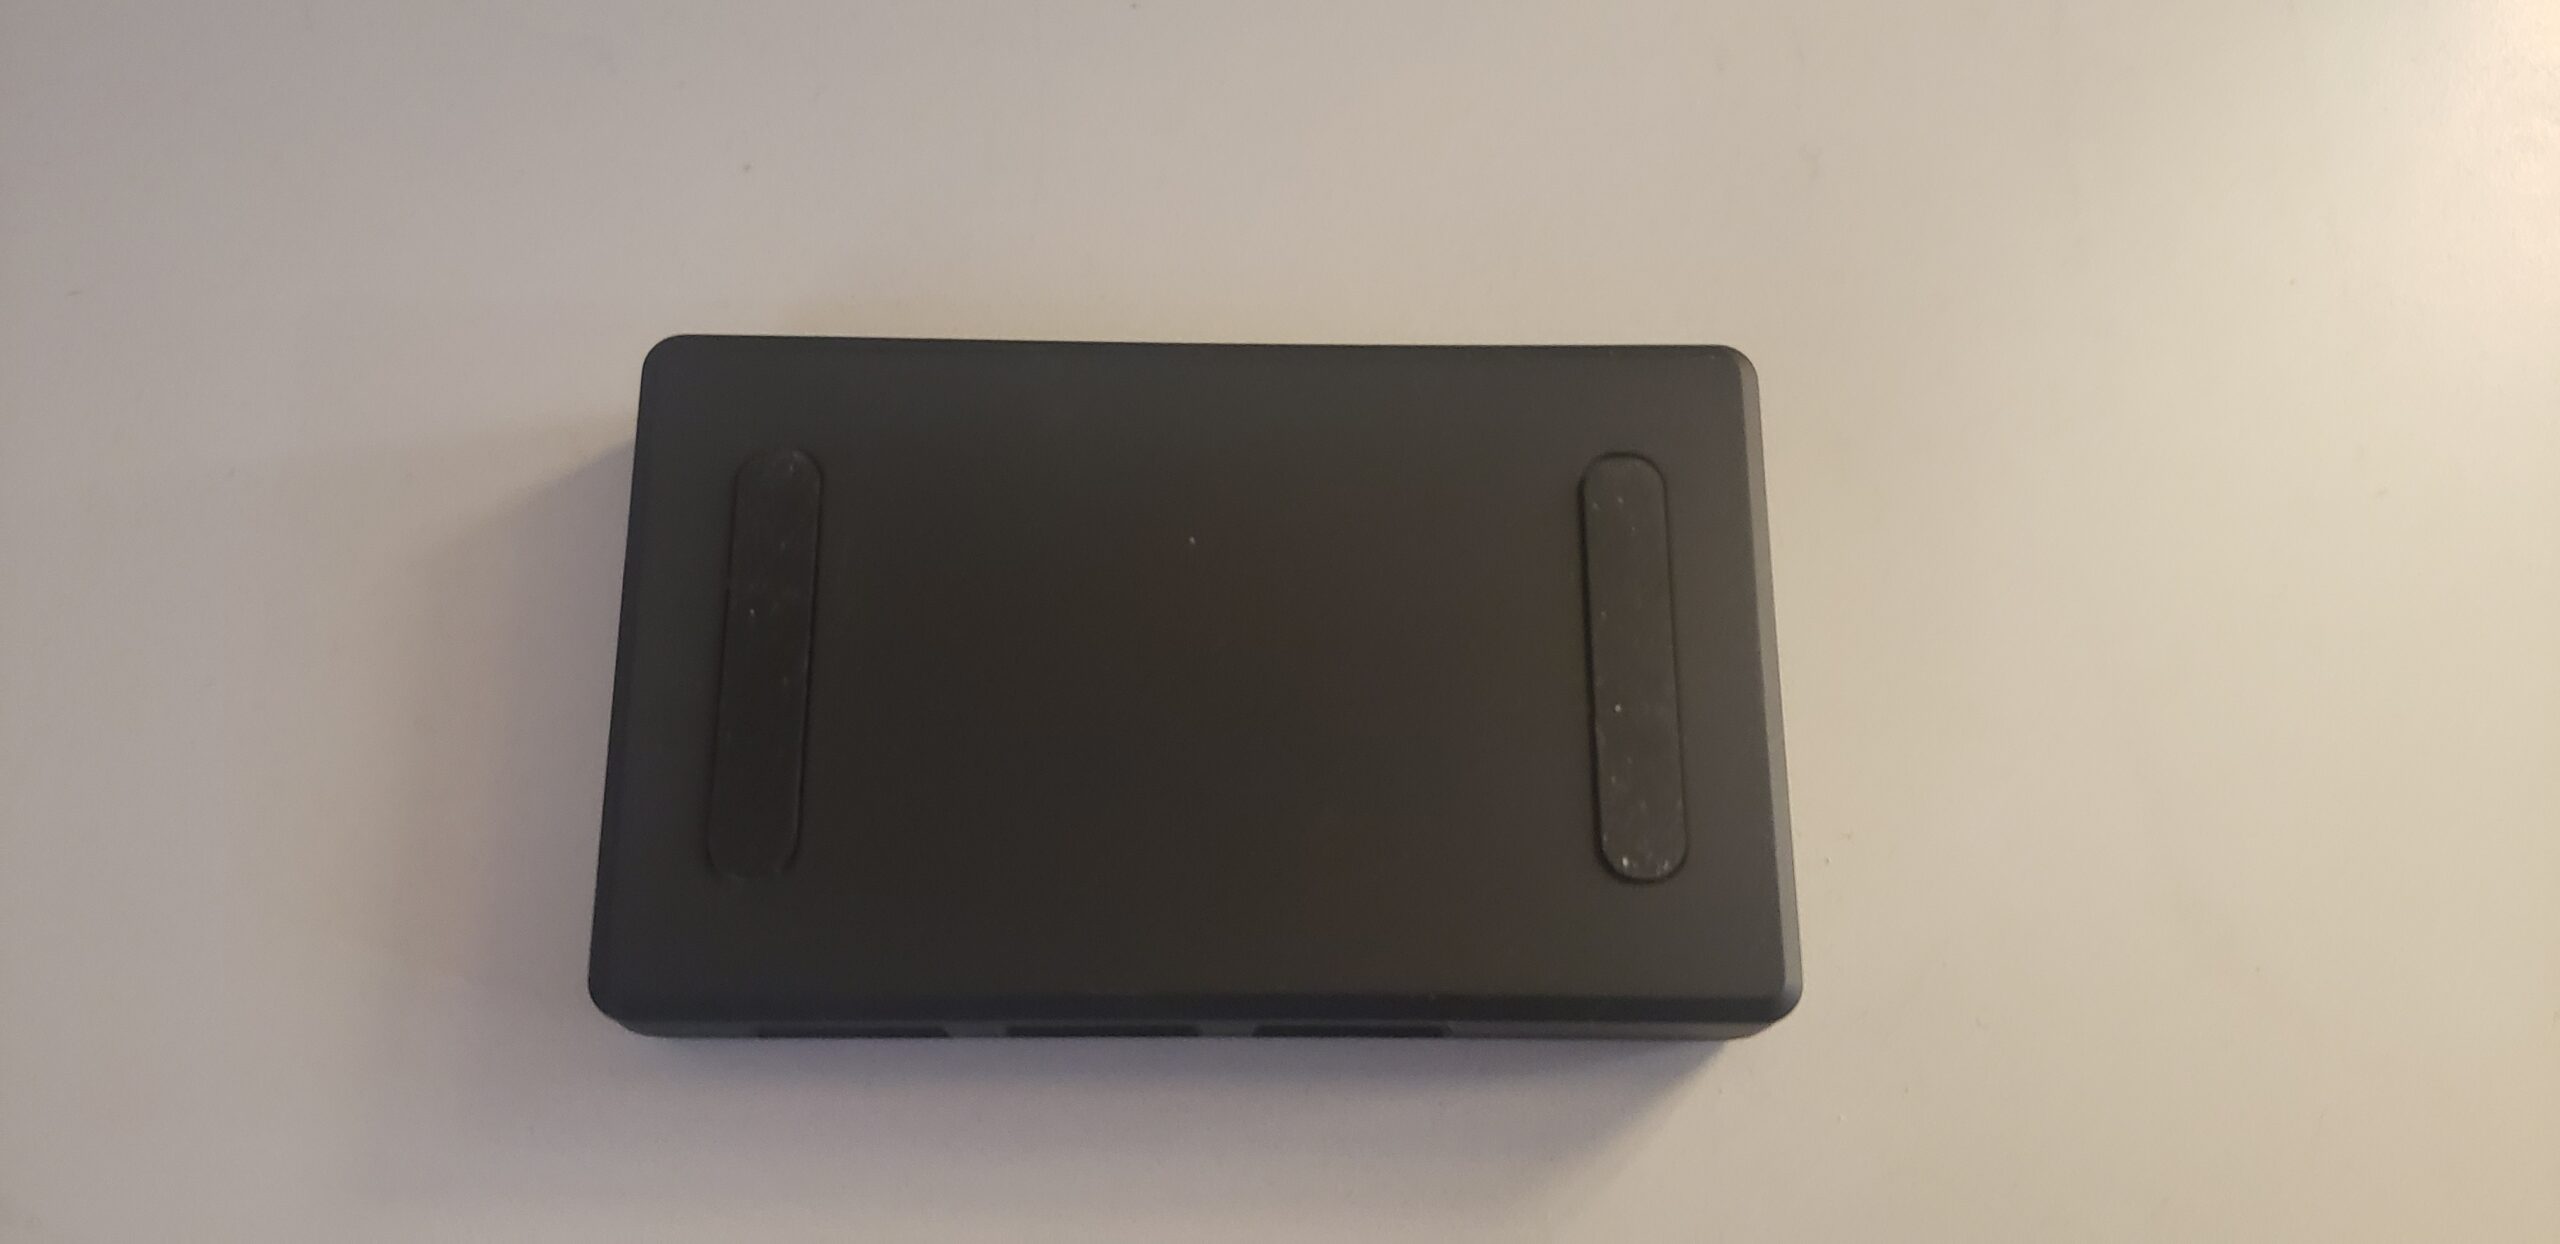
One thing I noticed when trying to put everything together, this little RGB controller that was included with the MasterLiquid PL360 Flux is magnetized. This, while being such a minor feature, is a huge plus to me as a system builder. No searching around for Velcro, no need for zip ties or hiding behind the motherboard tray. You can attach it proudly anywhere you want it to be.
Note: I did not end up using the included RGB controller due to system constraints with the ITX board. I instead used the included RGB controller in the HAF 700 case to control the cooler fans. This is not a negative of the product, more so my own choice in motherboards.
Testing:


Test System:
- Asus ROG Strix B550-I Gaming
- AMD Ryzen 7 5800x @ 4.60GHz, 1.225v all core
- 2x16GB Mushkin Blackline DDR4-4000
- MSI Radeon RX 6900XT
CPU load tests were Cinebench R23 for approximately 25 minutes, for maximum amount of heat generation. Both AIO tests were done using the “X” method for TIM application, and both used Arctic MX-5, so the comparison was even and fair.
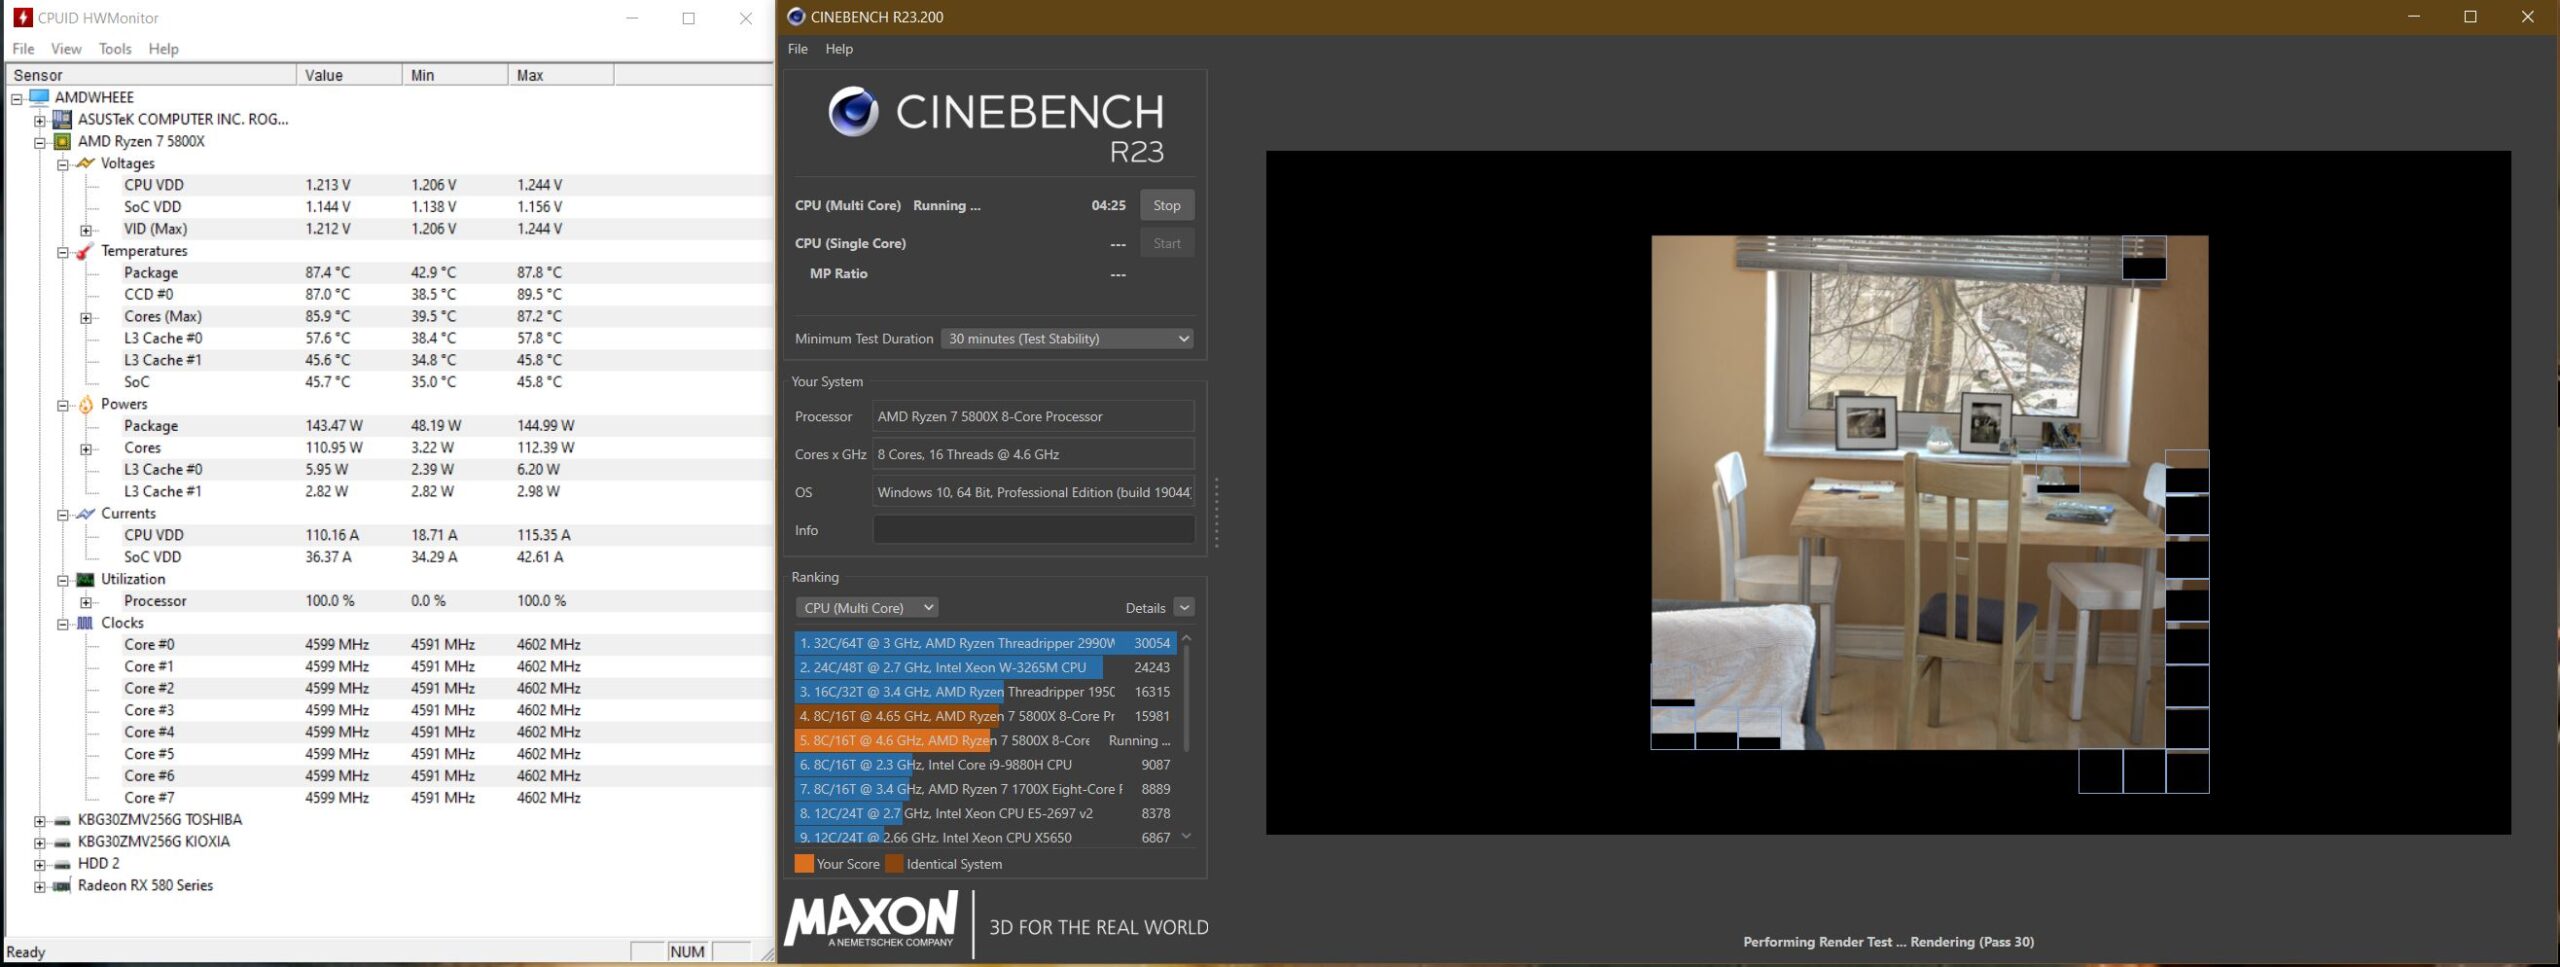
We can see my previous system’s full load temperatures using a competitor branded 240mm AIO. My previous AIO tested here was a EK AIO Basic 240, which I had also used upgraded Arctic P12 PWM PST CO fans on it. As we all know, EKWB should set the bar pretty high already out of the box. Here, we see 87.8*C peak full load temperature on the CPU package with basically 145w power draw at set clocks and voltages. Acceptable temperatures (sadly) for a Ryzen 7 5800x, but I think we can do better.
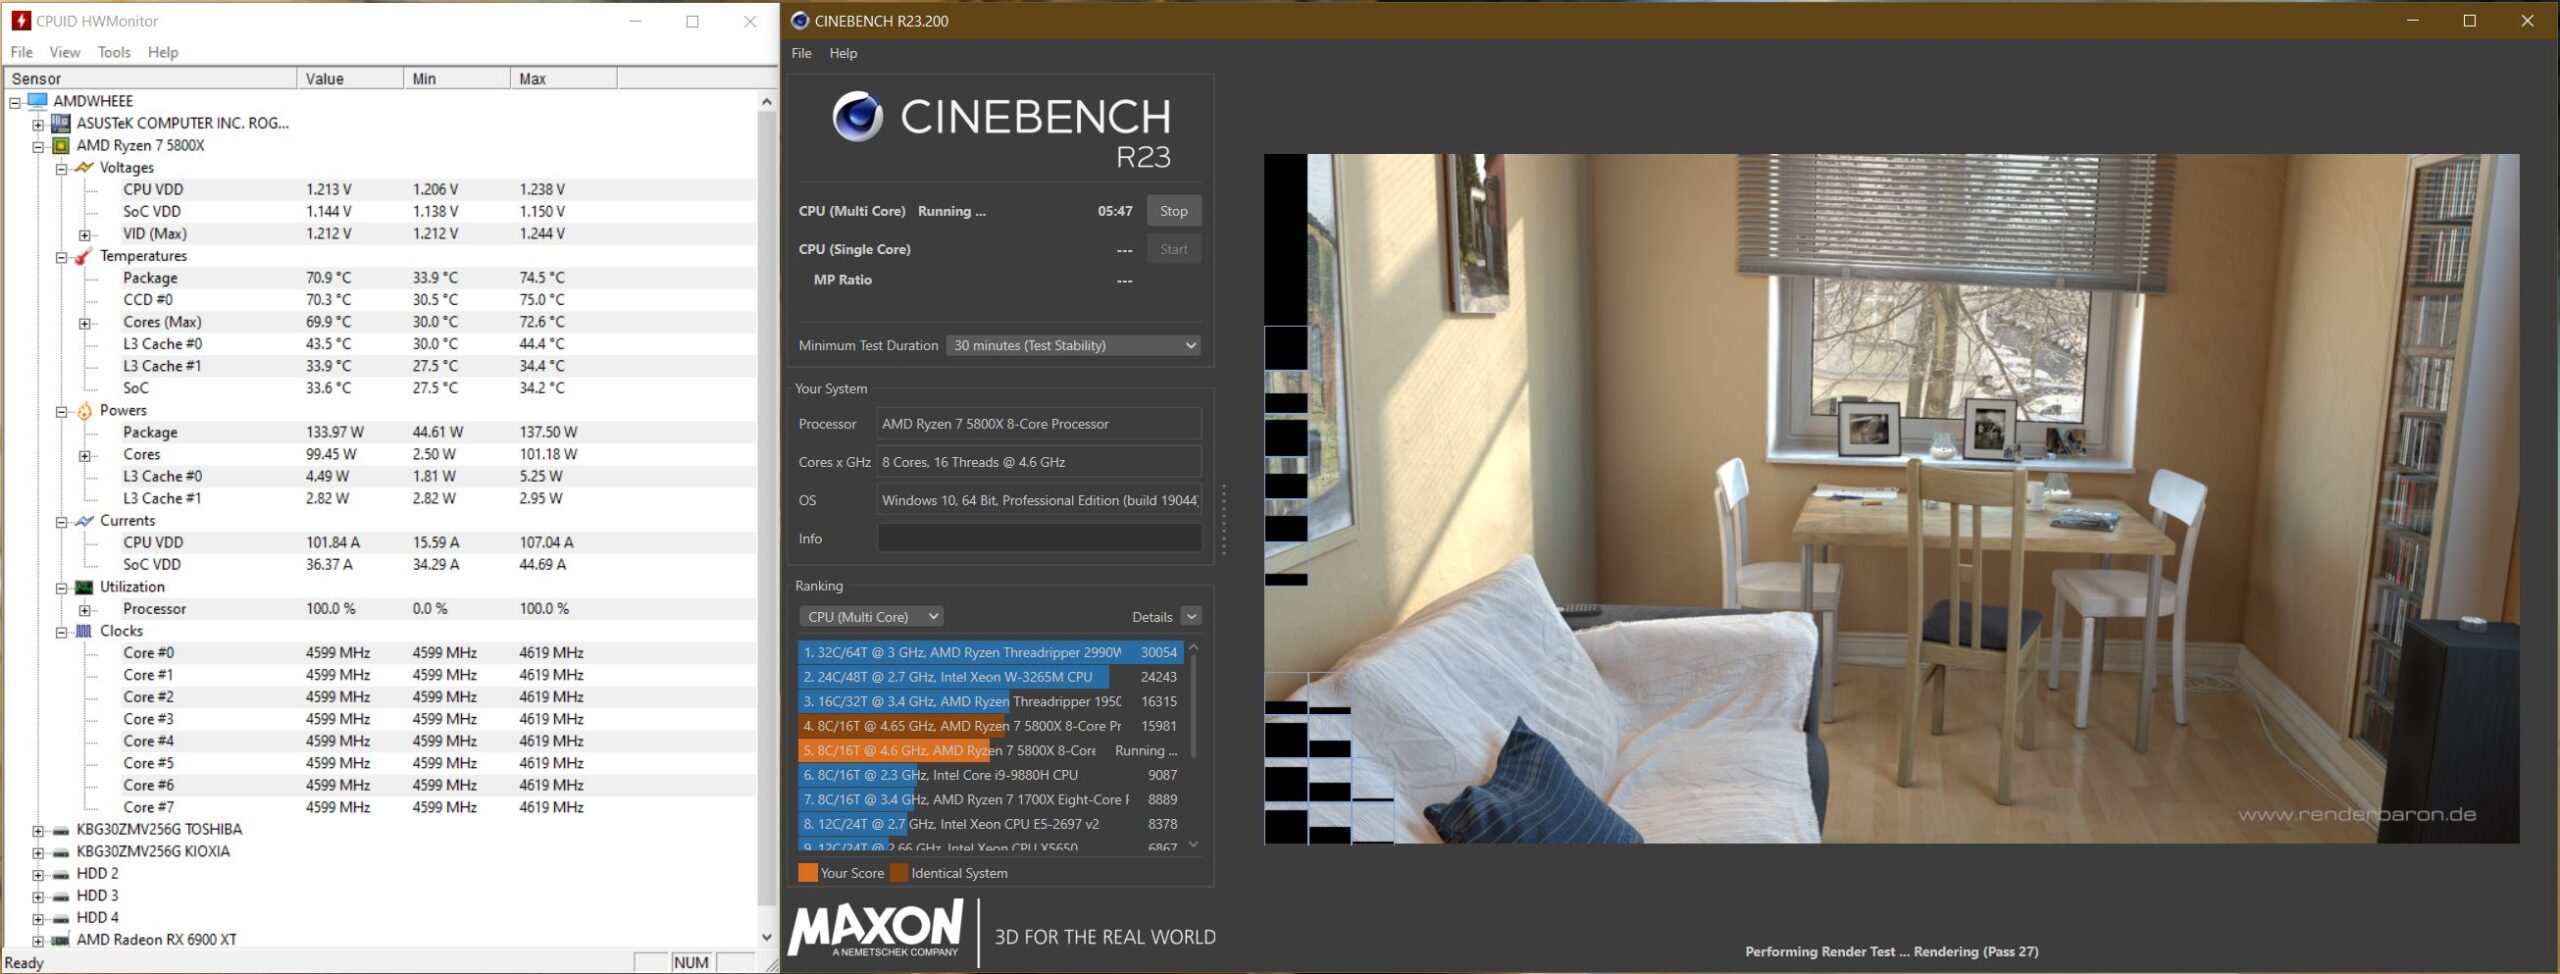
Here we see a vast decrease in temperatures! 74.5*C peak maximum full load temperature on the CPU package with a major decrease in wattage draw as well! Only 137.5w power draw due to the decrease in heat! Absolutely amazing, I’m at a loss for words here. Reading so far in my review, I’m sure you know I usually have at least “half” a smart remark to make, but no. I’m absolutely floored at these results. Way to go Cooler Master!
As far as fan noise, these 2300 RPM PL Flux series fans do make an audible noise at full tilt. I think anybody who’s been around 2000+ RPM fans would expect that, so no surprise there. The noise however is not whiny, its just a gentle whooshing of air noise. They’re completely silent (to my ear) at idle, and when set with software temperature monitoring, these fans hardly ever reach over 50% at full system tilt which is even less of an audible problem.
MasterLiquid PL360 Flux Final Thoughts:
Okay, so not everyone is into RGB’s. I understand that, I’ve been hesitant as well. But seriously, these temperatures speak for themselves. If you have room for a 360mm AIO cooler, and you don’t want to mess with the hassle of a proper full on loop, get this cooler. You will not regret it. The only complaint I have with this cooler, I’ve rail gunned on over and over again in the above portions of this review…..the RGB software. And to be fair to Cooler Master, that’s not necessarily a problem with them particularly, its the entire RGB community as a whole since there’s clearly no standards for software compatibility. Overall, honestly I have nothing bad to say about this cooler. It’s the best AIO I’ve ever used to date.
[table id=117 /]
HAF: A Cooler Master Build
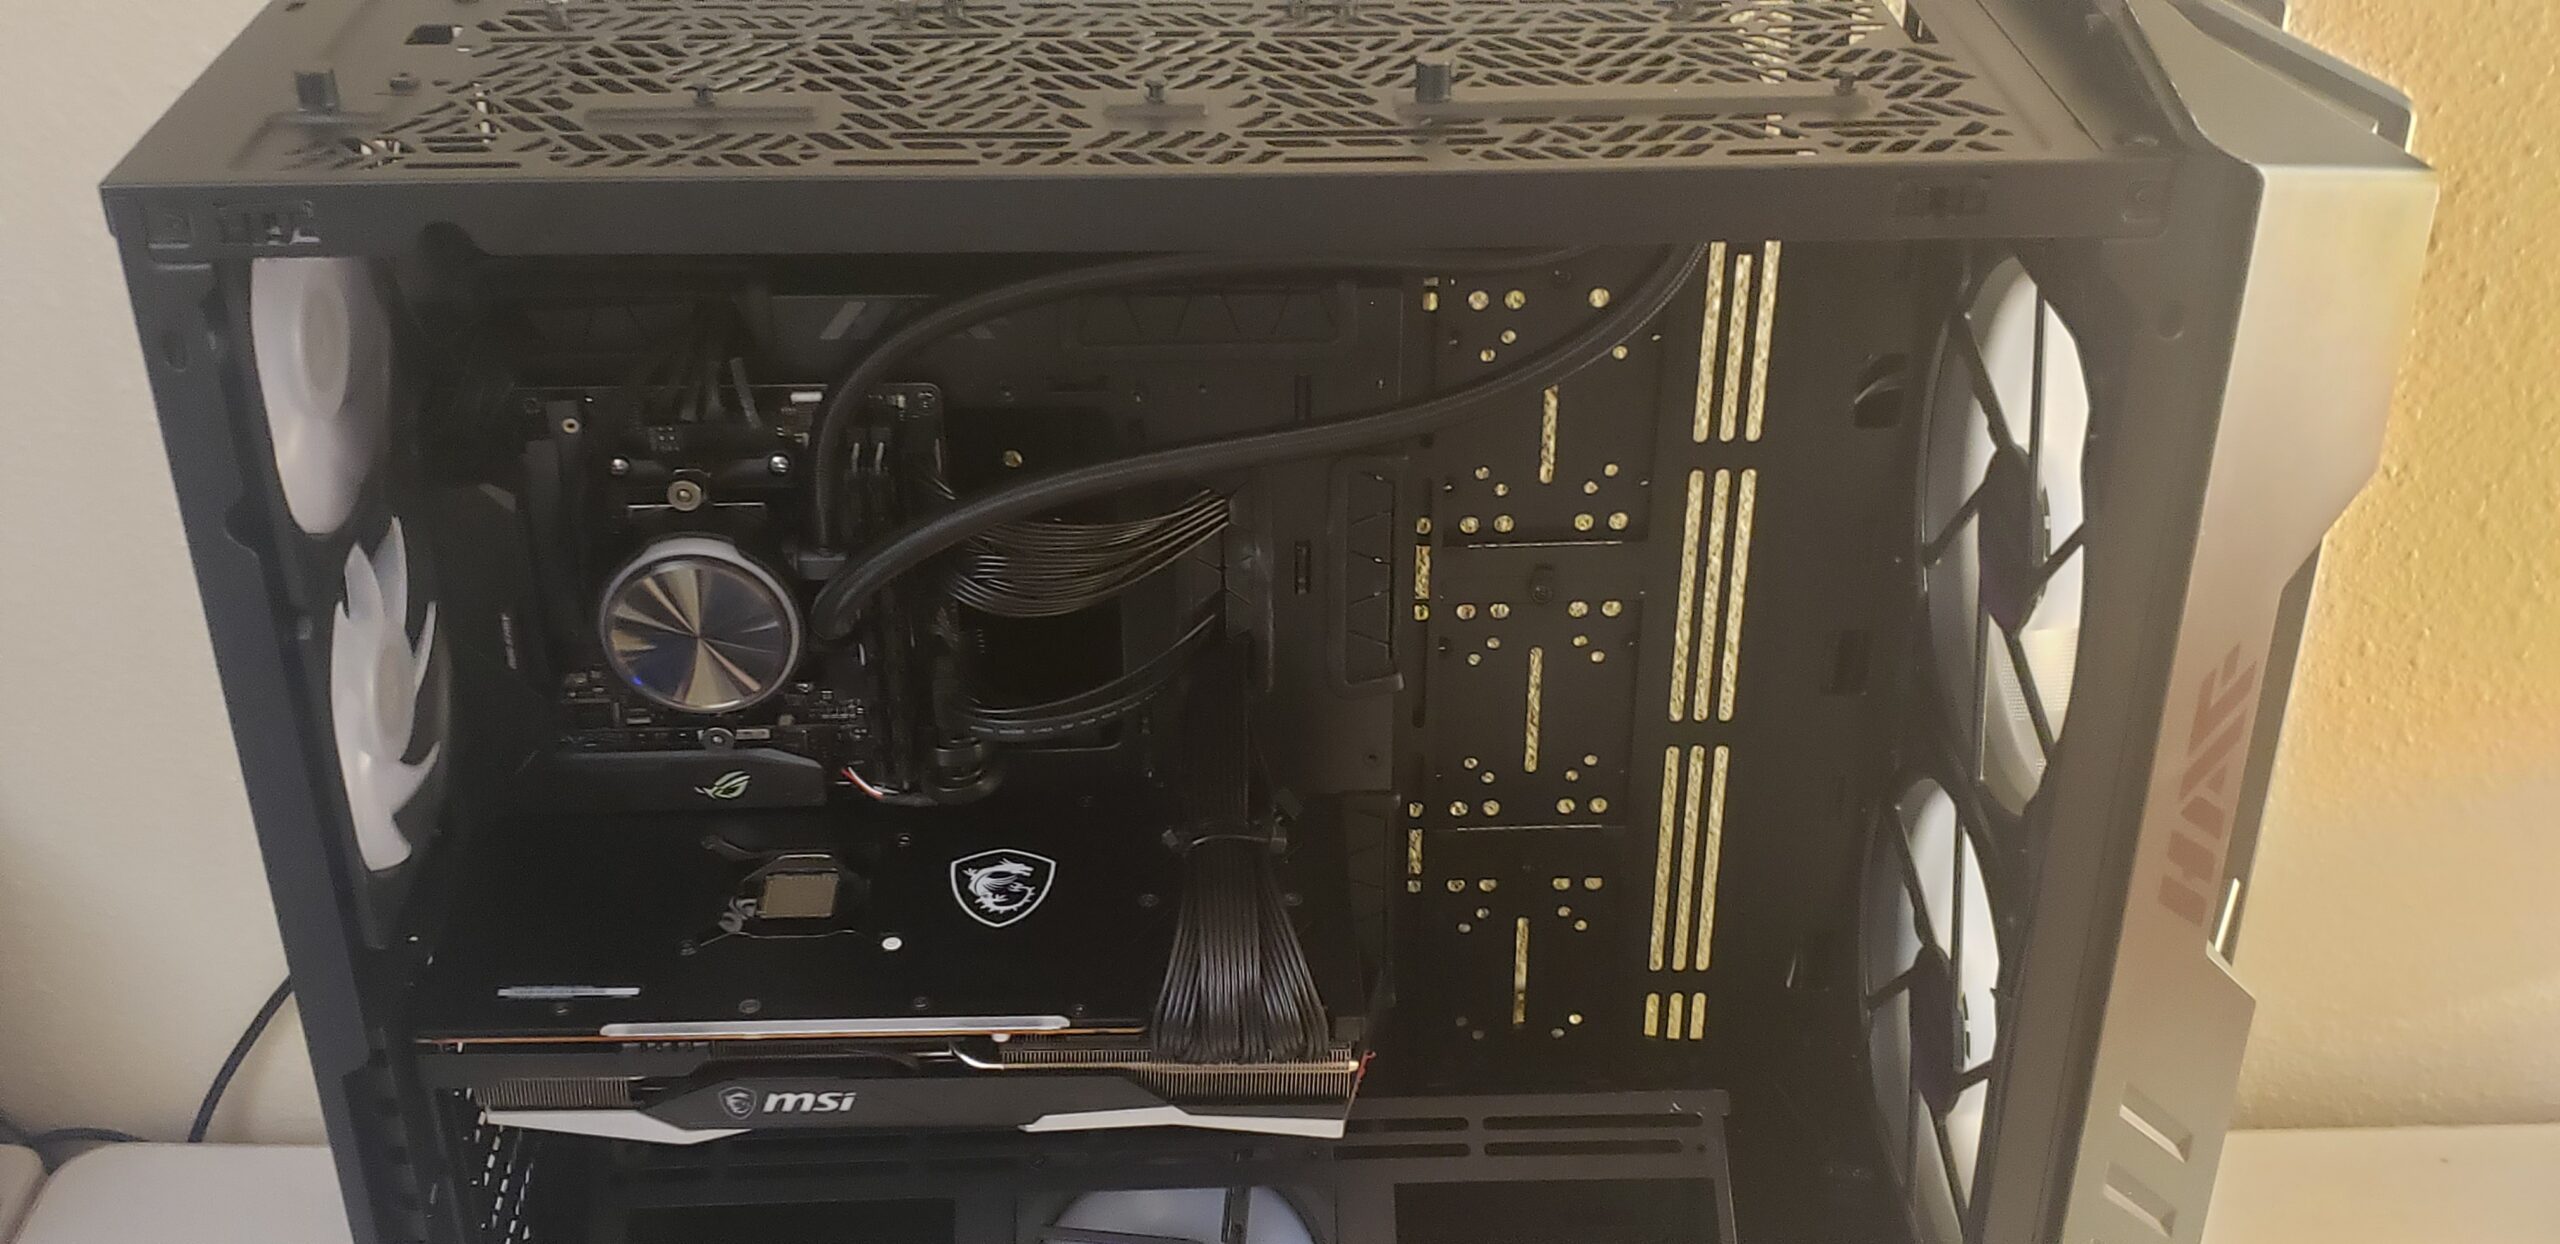
I’ve been making all sorts of HAF jokes, and a touch of Half Life and Portal references here and there throughout this review. What gives, am I right? Well, due to only having an ITX board on hand that was worthy of going into this HAF a build, courtesy of Cooler Master, I absolutely had to figure out what to do with the other “half” of the case. The company provided such a giant work space, I couldn’t let it go to waste!
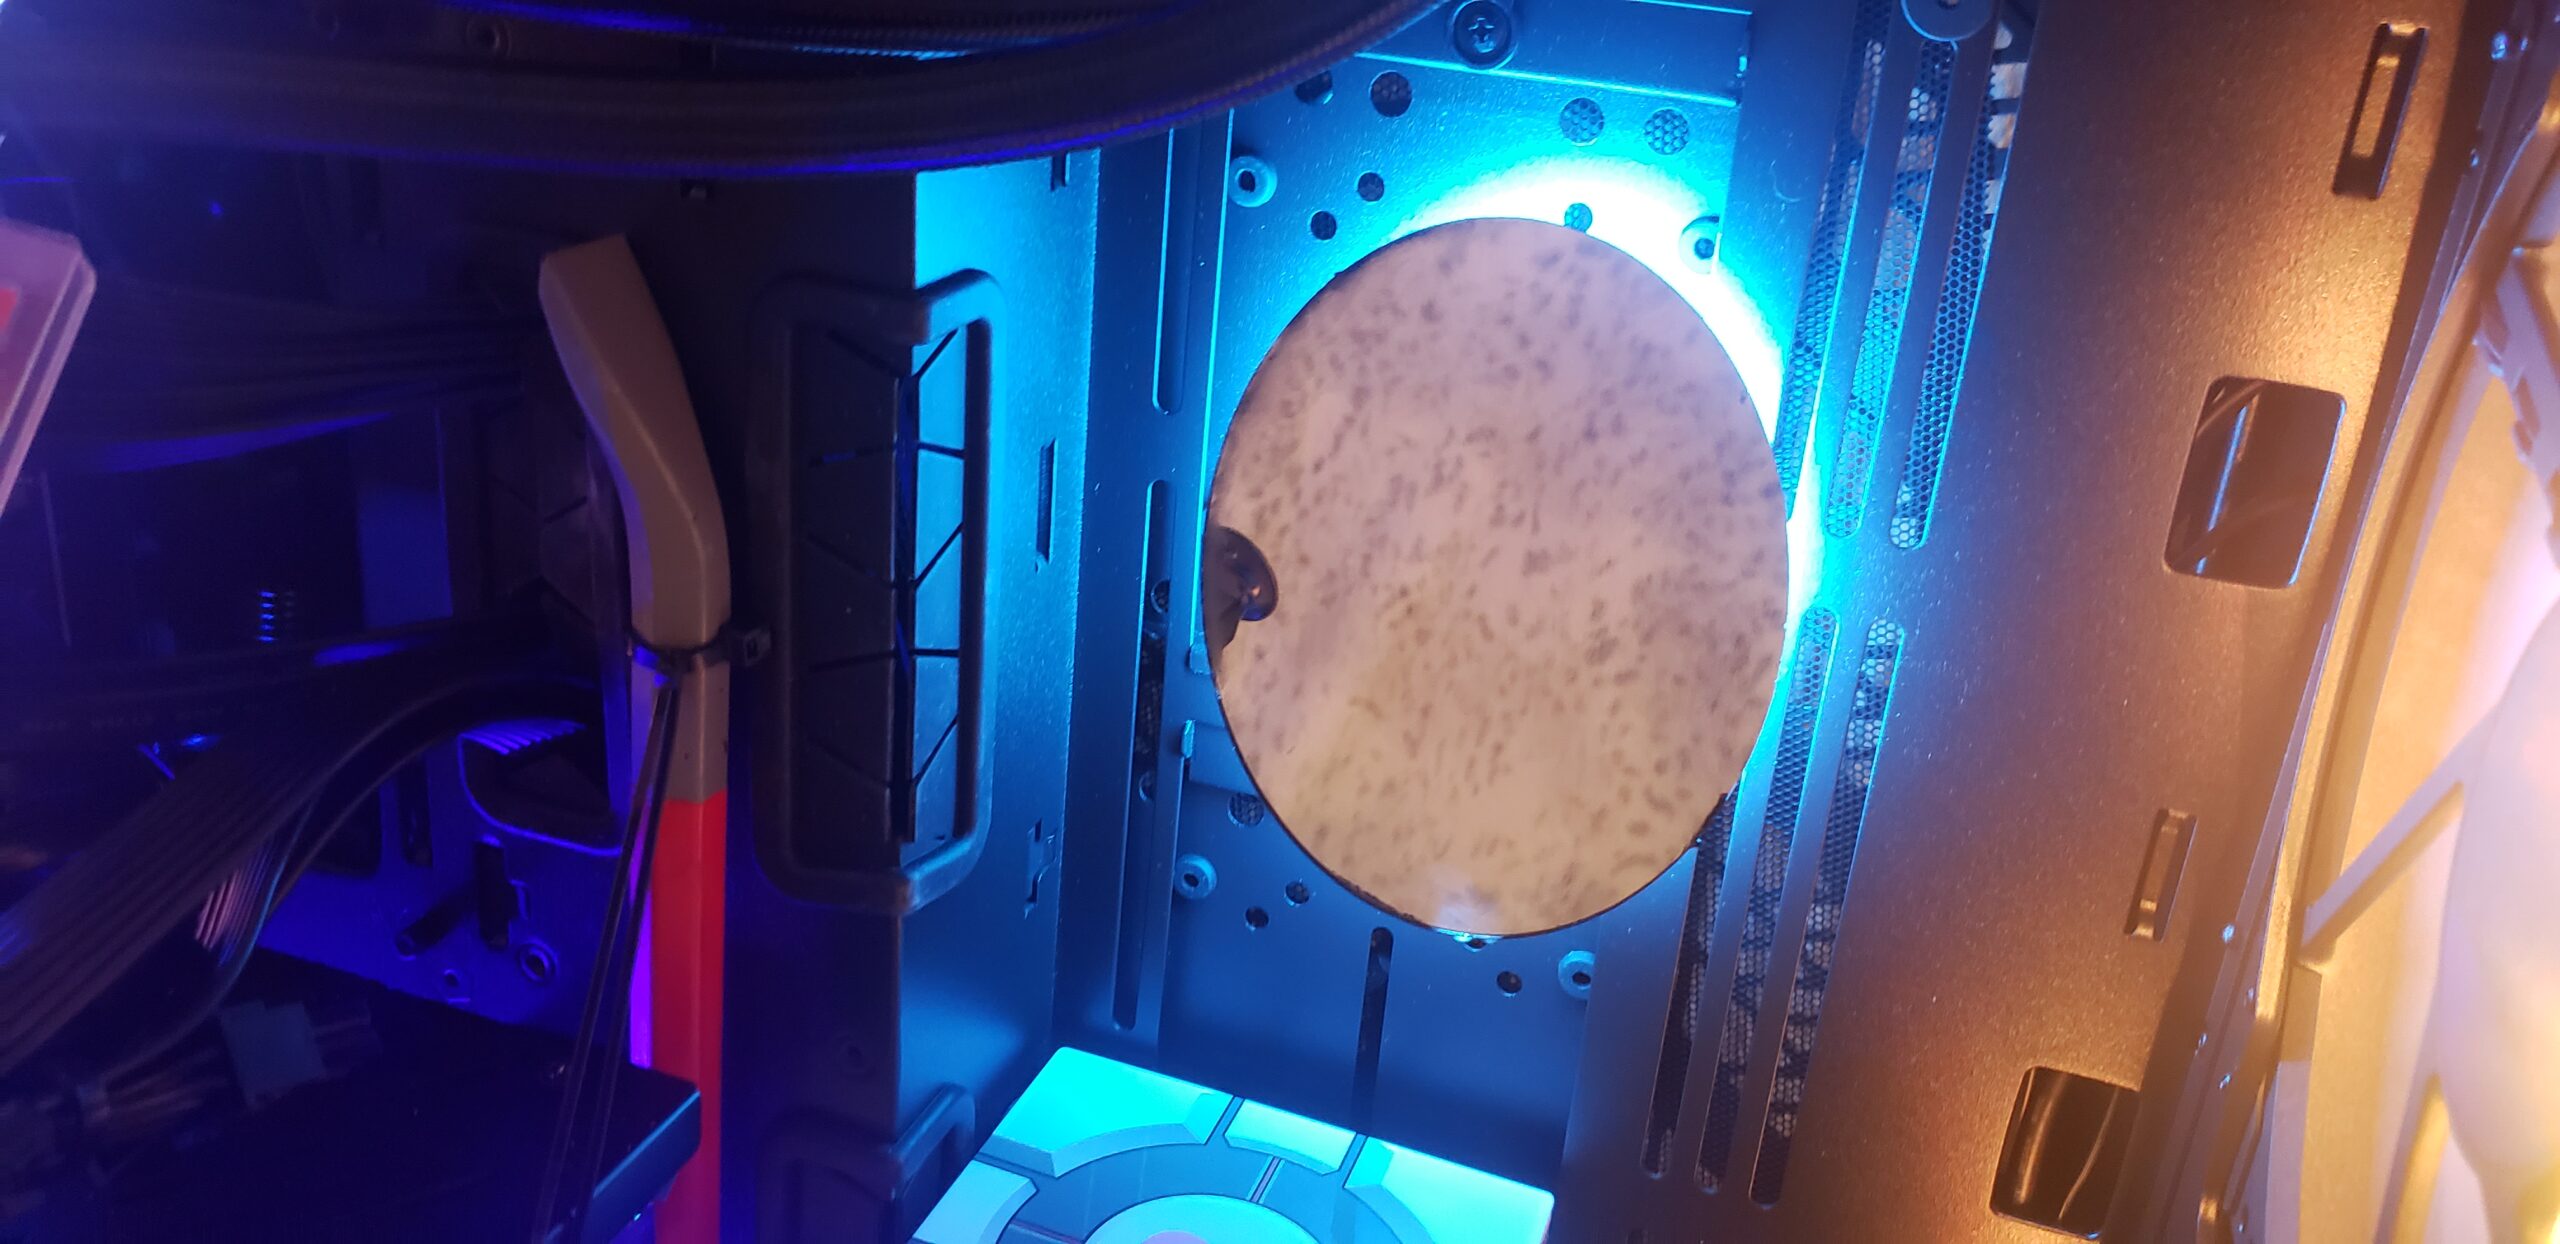
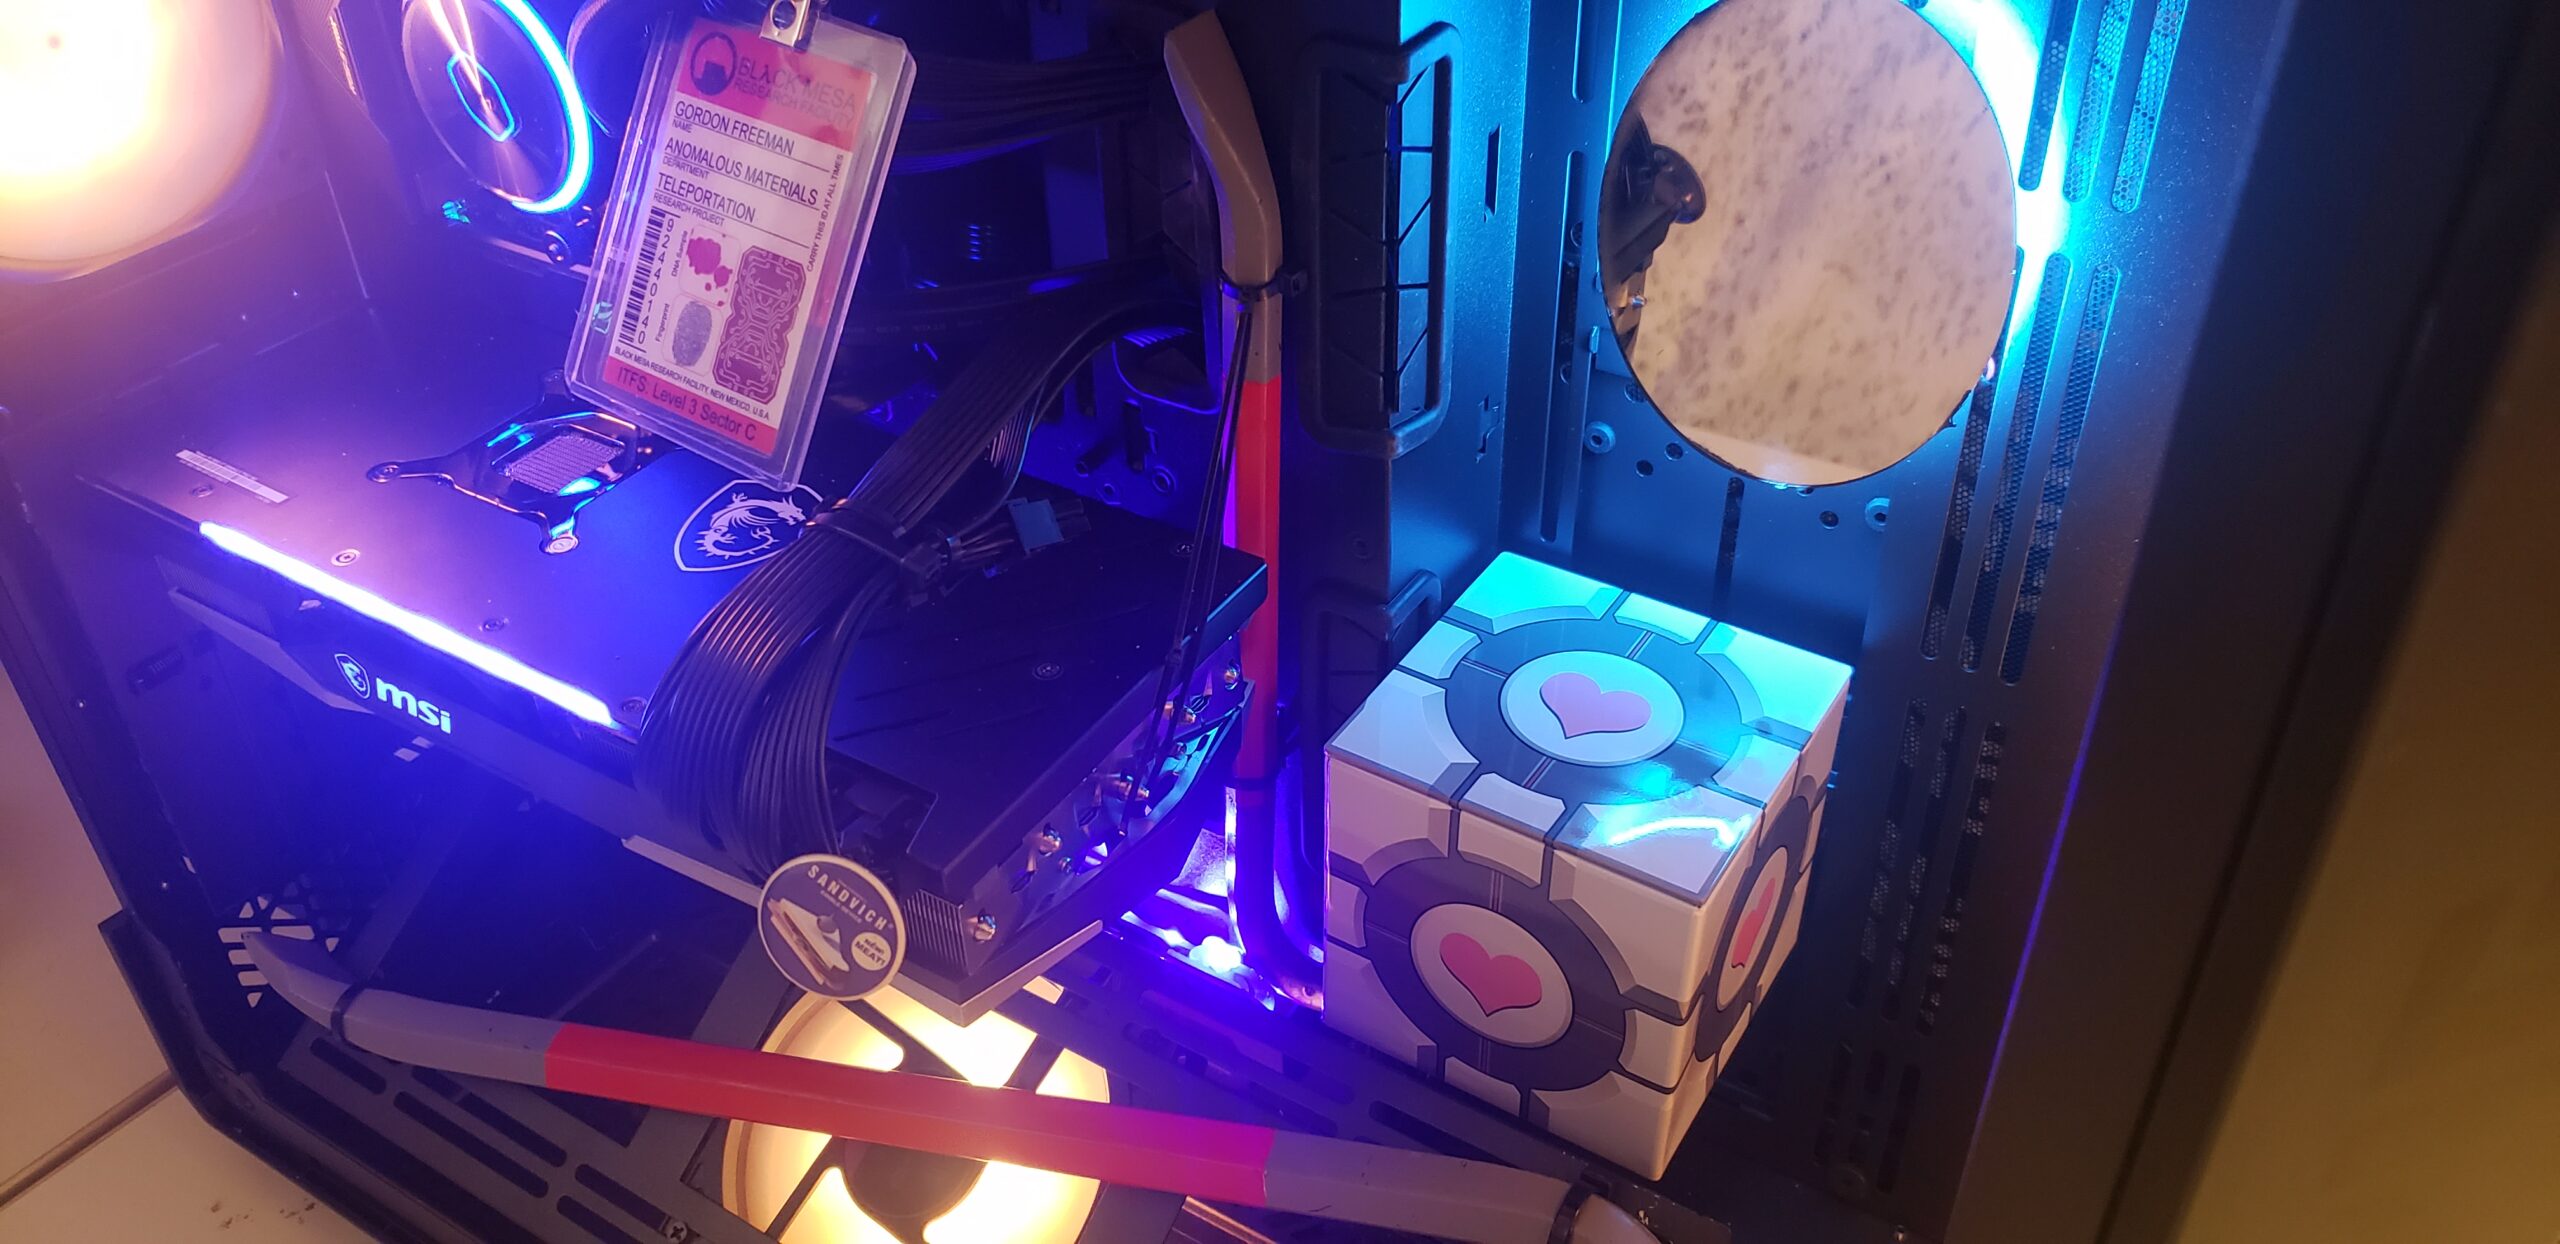

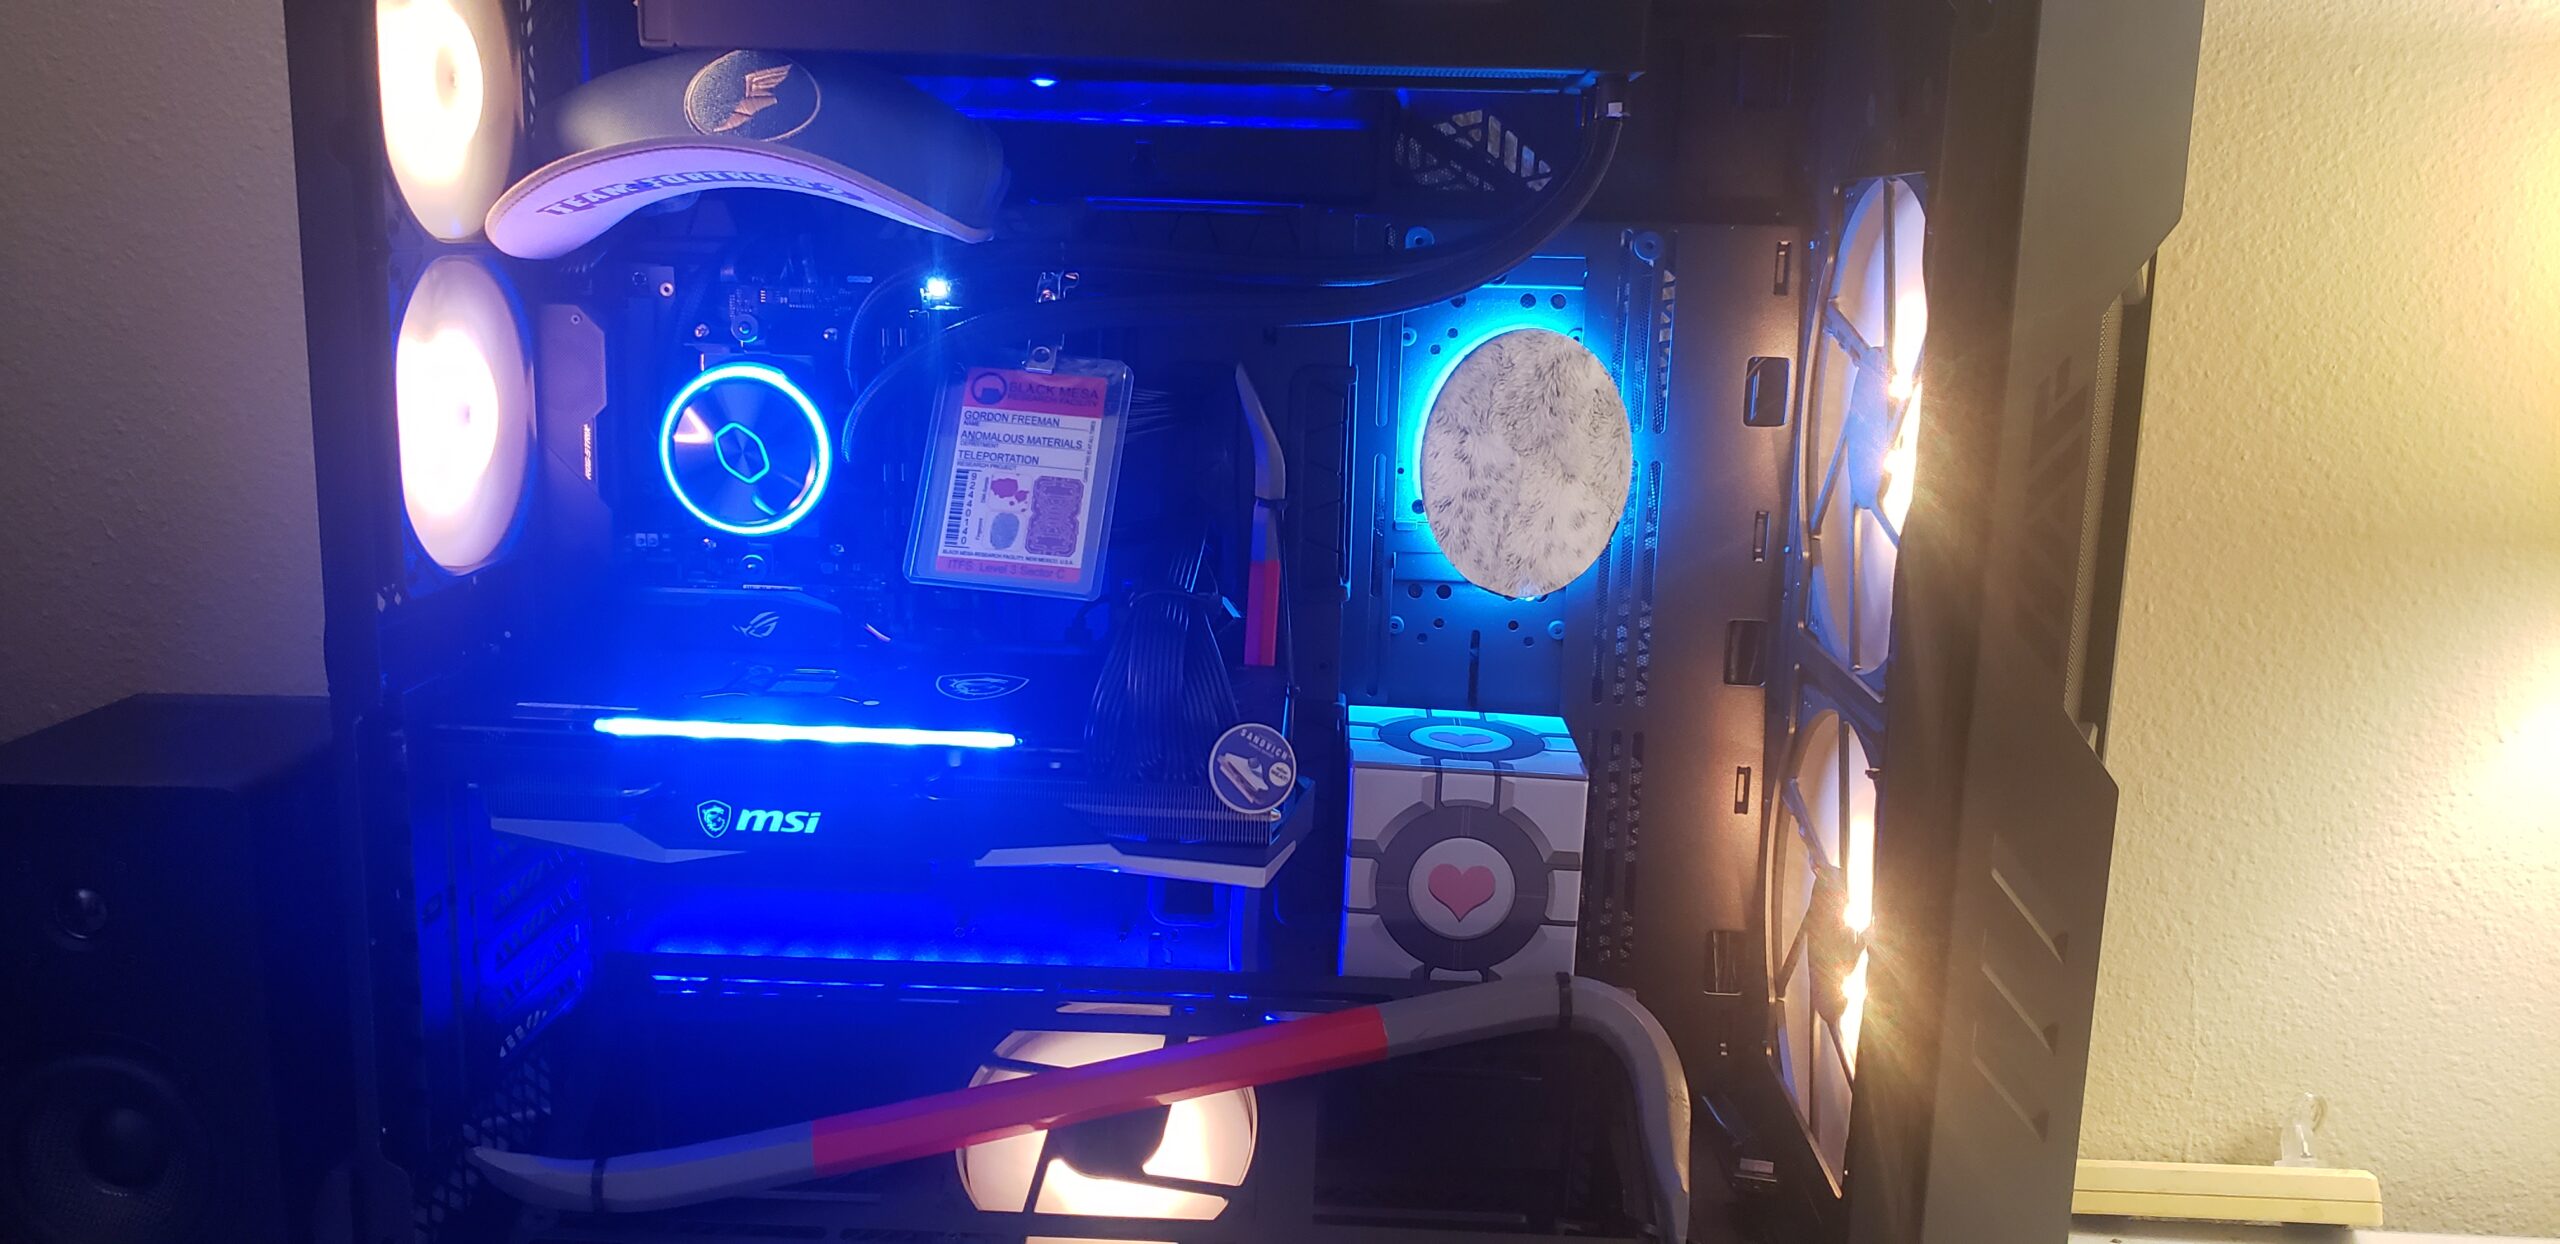
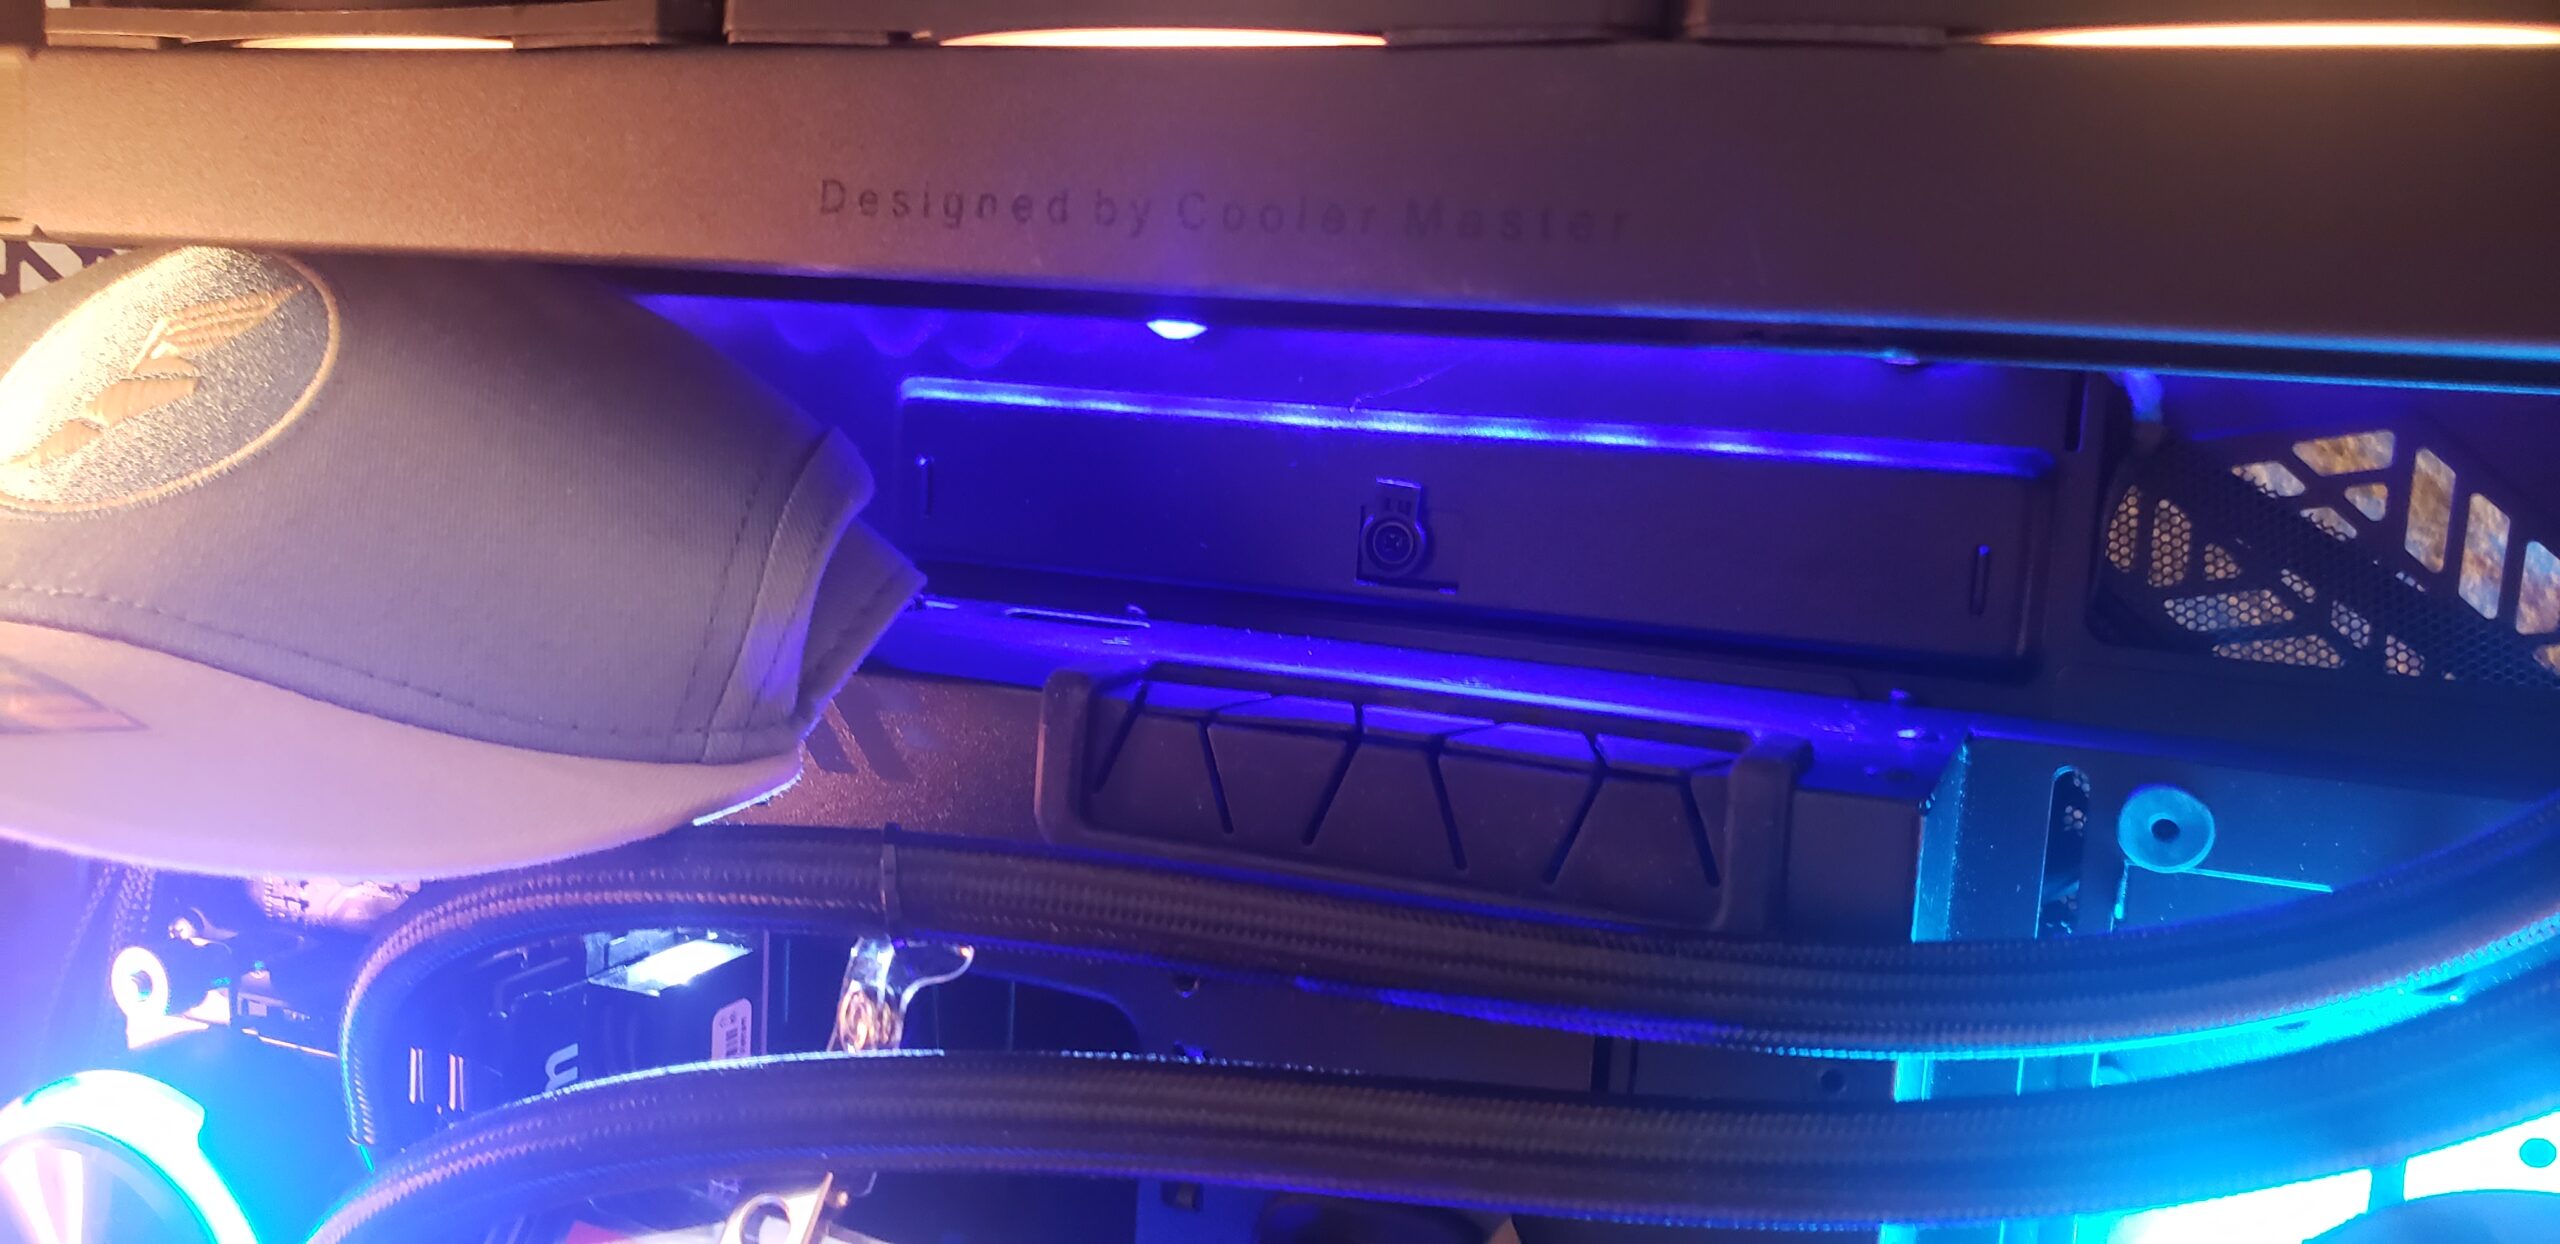
I won’t bore you with the details of the mods too terribly much, but thanks to this giant HAF 700 case and accessories, I was able to make this happen. One thing I noticed during initial install (before mods), my GPU was sagging pretty horribly in this giant case. So I was able to utilize a 12″ crowbar, zip tied very securely to the motherboard tray as a GPU support bracket. Only reason I’m including these images here at the very end of this review is to show you that when Cooler Master provides such an amazing canvas to work on, let your imagination go wild! Cooler Master does say “Make it yours”, and you absolutely should do the same with your own builds.
Specifications:
- Cooler Master HAF 700
- Cooler Master XG850 Plus Platinum
- Cooler Master Master Liquid PL360 Flux
- Asus ROG Strix B550-I Gaming
- Ryzen 7 5800x
- Mushkin Blackline 2x16GB DDR4-4000
- MSI Radeon RX 6900XT
- 2x 256GB NVME RAID0
- 2x Western Digital Black 500GB RAID0
- 2x Seagate Baracuda 2.5″ 4TB RAID0
- And of course, making it mine per Cooler Master
Final FINAL thoughts:
Okay, so with three very wordy reviews, “half” a month’s worth of work or more, some spray paint, zip ties, and a little bit of creativity, what have I learned here today? Cooler Master is absolutely a top notch company, and they take their customers very seriously with research and design. This system was such a treat to put together, even if a little bit daunting due to the overall size. I can honestly say that I have never put a system together like this before, not to this caliber. The RGB’s, while I complain about the software, look absolutely fantastic. The fans blow, no really that’s a good thing. The power supply unit held up to very heavy full system loads on a top shelf system, and looked great doing it. The case held incredible potential for customization, and it can for you too. And this cooler, wow, 13*C drop.
I’d like to be frank for just a moment here and state that when I don’t like something, especially hardware, I’ll say it. No shame. If I do like it, well either I just like it or I’ll rave and rave about it. This is one of those scenarios. Would I recommend Cooler Master in your build? Absolutely I would after this experience. I’m always about trying new things and new ideas, which clearly I was intending on going ITX with my build (hence the tiny board). Cooler Master is amazing at providing that canvas, and its up to you to fill the voids, which is a unique approach in today’s cookie cutter world. This was absolutely not how I ever pictured this build to turn out, but I’m so very pleased that it did. And I want to tell Cooler Master personally a huge thank you for giving me this opportunity to take a look at this equipment today!
Want to discuss this product or give your views and feedback from your own usage ? Discuss now on the ExtremeHW Forums
Like our content ? Please consider Donating to help us to continue our writing.
Related Posts
This Post Has 4 Comments
Leave a Reply
You must be logged in to post a comment.
Nice comprehensive review. While I probably wouldn’t need something that large,it definitely has lots more options than my current large case (InWin 509 that I won here 🙂 ) The PSU and Cooler look sick and perform well while doing it which is harder and harder to find anymore.
I couldn’t agree more! The case was certainly huge, but that just let me fill it up with more cool, personalized stuff. Not in the review, but the cooler performance allowed me to go from 4.60GHz all core OC at 1.225v to 4.75GHz all core at 1.325v! And that was coming off an EKWB 240mm! Cooler Master definitely outdid themselves with this equipment. TY for reading!
Excellent review. Wonderful job.
I love the case. It is huge and that is one of the reasons I like it so much. I want one. My Corsair 5000D Airflow irritates me because it is not big enough.
Wow, 4 for the price of 1. Great comprehensive reviews Pio! You’ll have to tell me how you got the spacing of the Pros and Cons tables even between the two columns. 😉
HAF a nice day!