
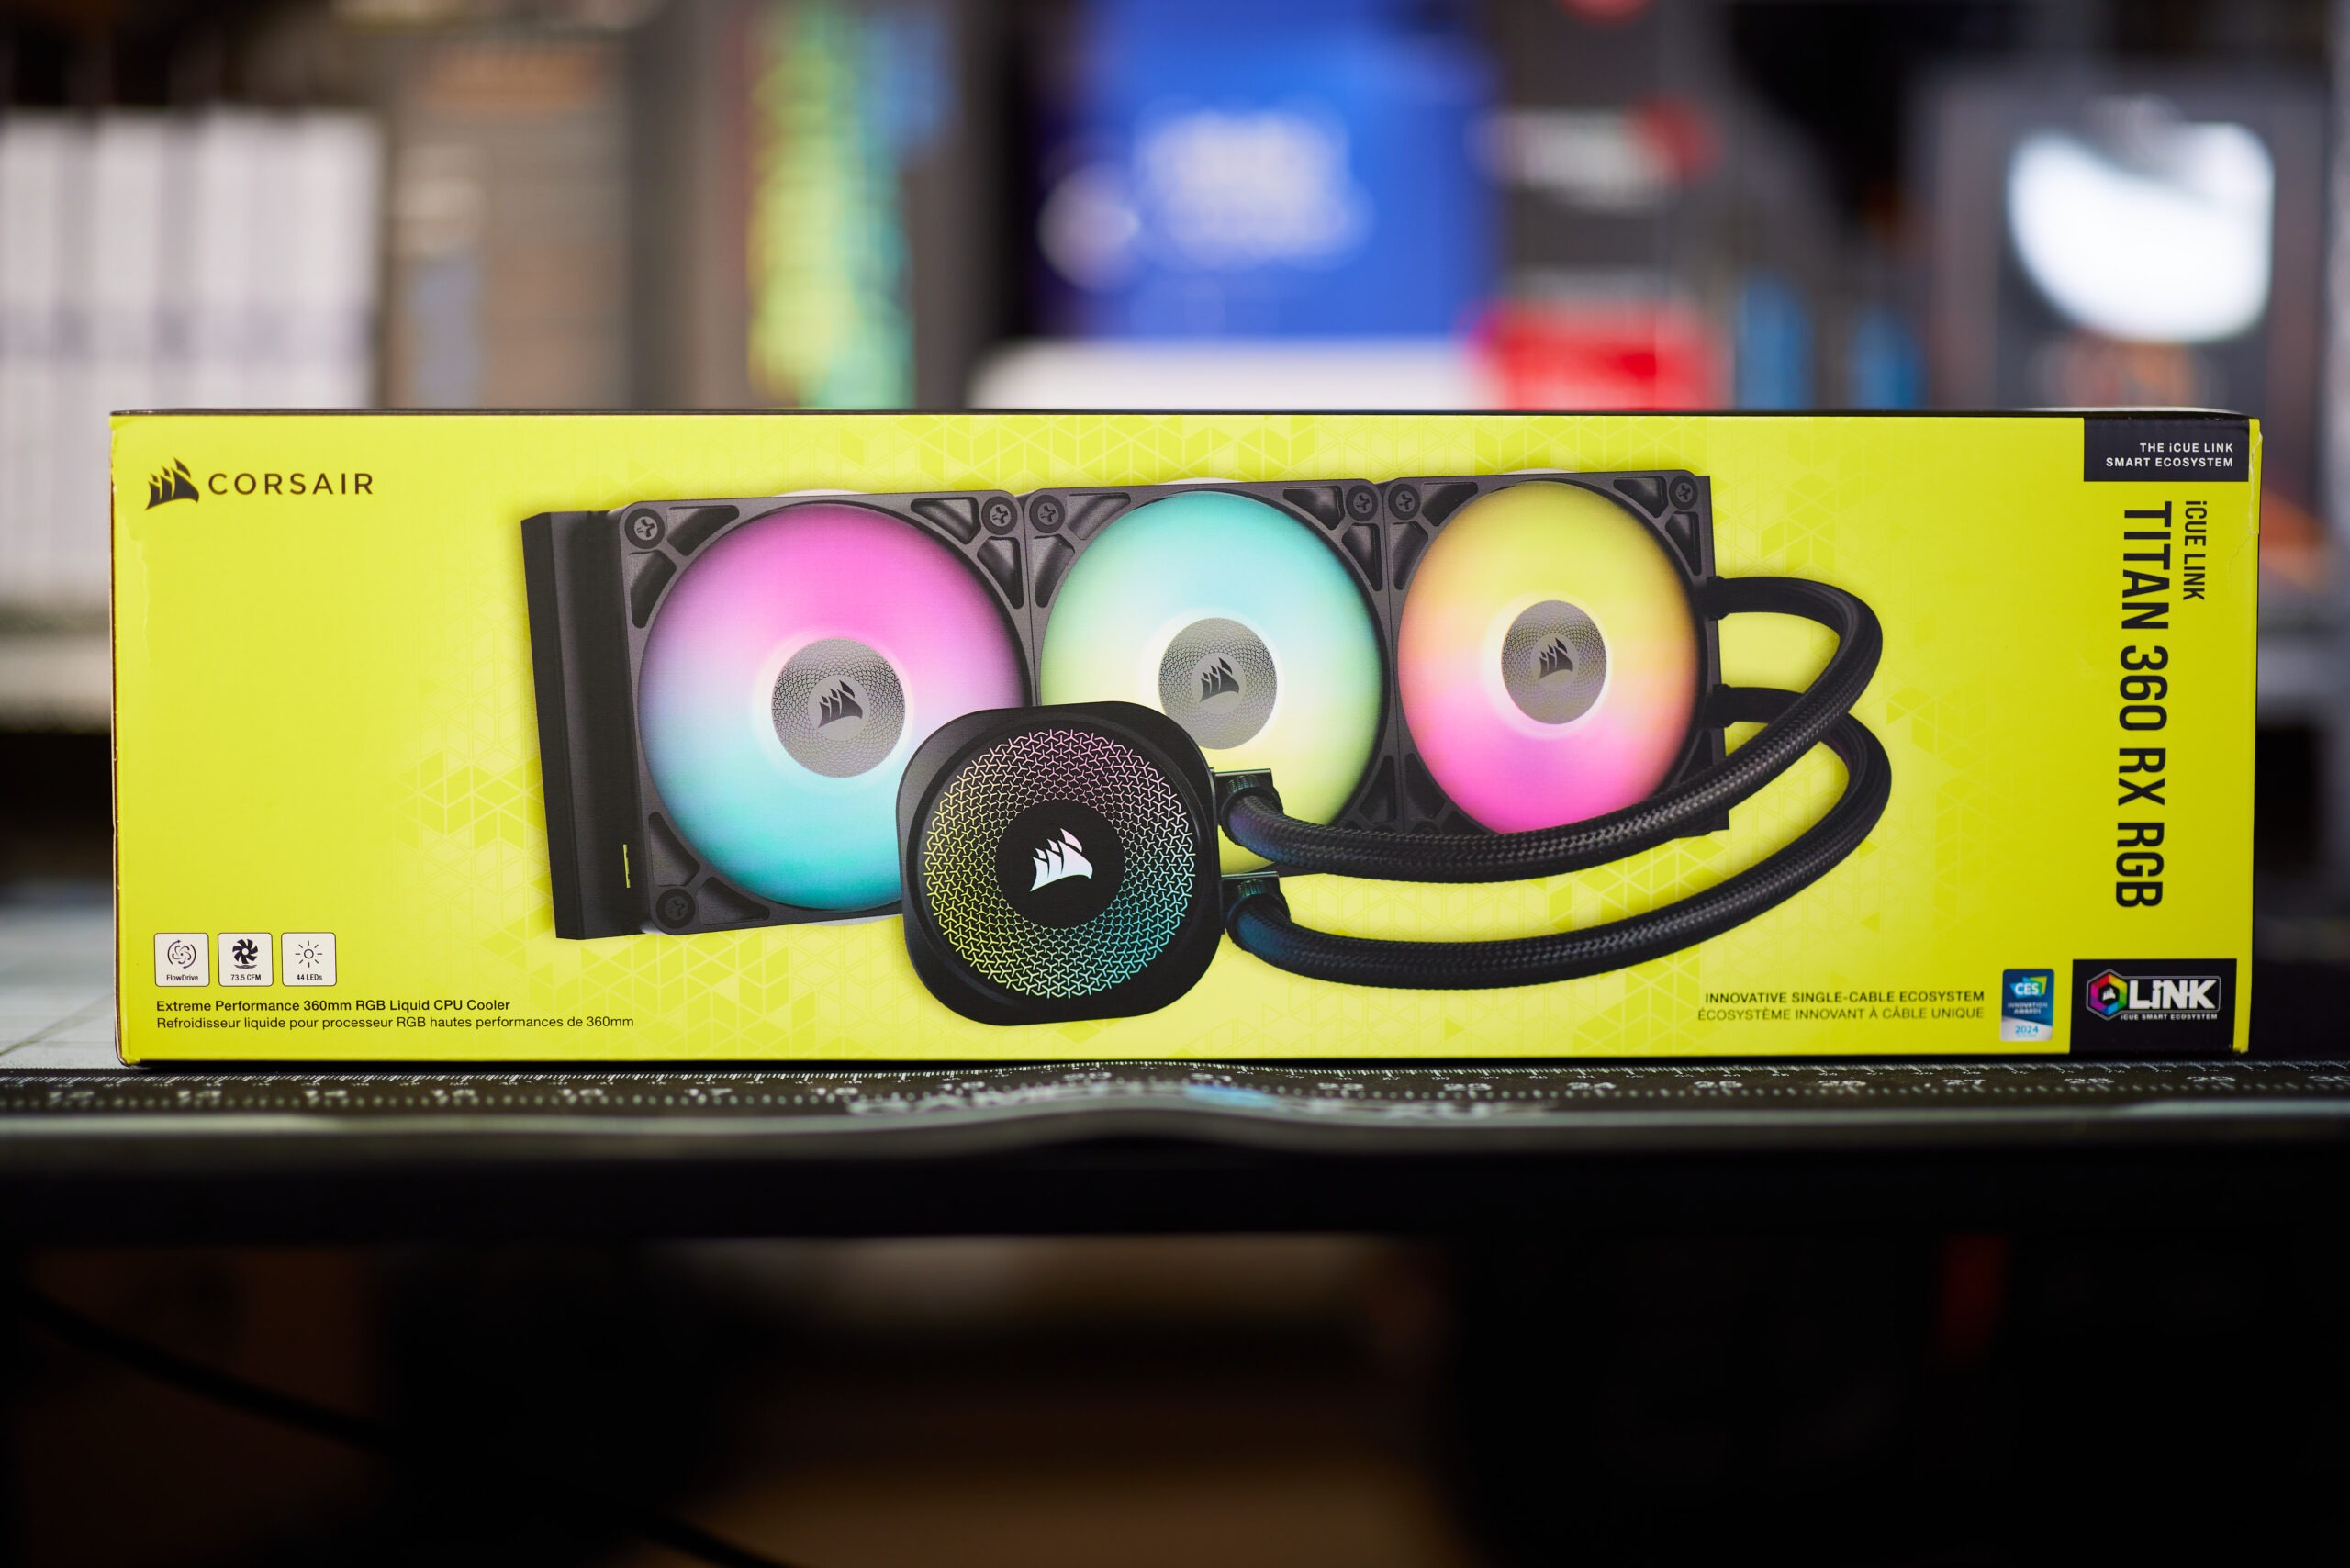
The discussion around All-In-One (AIO) CPU coolers versus custom loops will always be ongoing. However, recently there has been a lot of innovation in the AIO market by manufacturers to try to match the performance and customizability of custom loops. Corsair, not to be outdone by its competitors, is launching its next-generation AIO CPU cooler, the iCUE LINK Titan RX RGB. The Titan combines Corsair's latest advancements in cooling engine technology, replaceable pump caps, and iCUE LINK RX120 fans in hopes of being your next CPU cooler.
In addition to the Titan AIO, Corsair supplied me with three of its CapSwap modules. This review will examine the iCUE LINK LCD Screen, VRM Fan, and Pump Cap Groove modules. Is the Titan good enough to topple another AIO I've recently reviewed, the Cooler Master 360 Ion? Continue reading to find out.

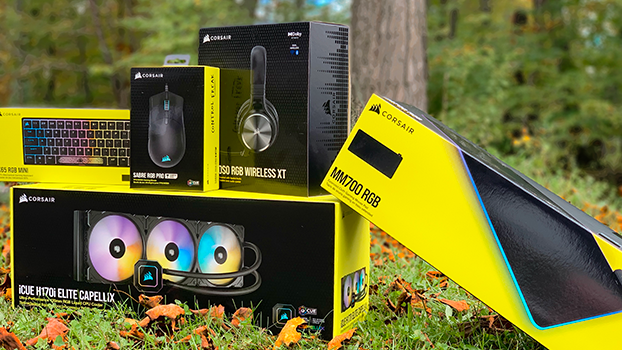
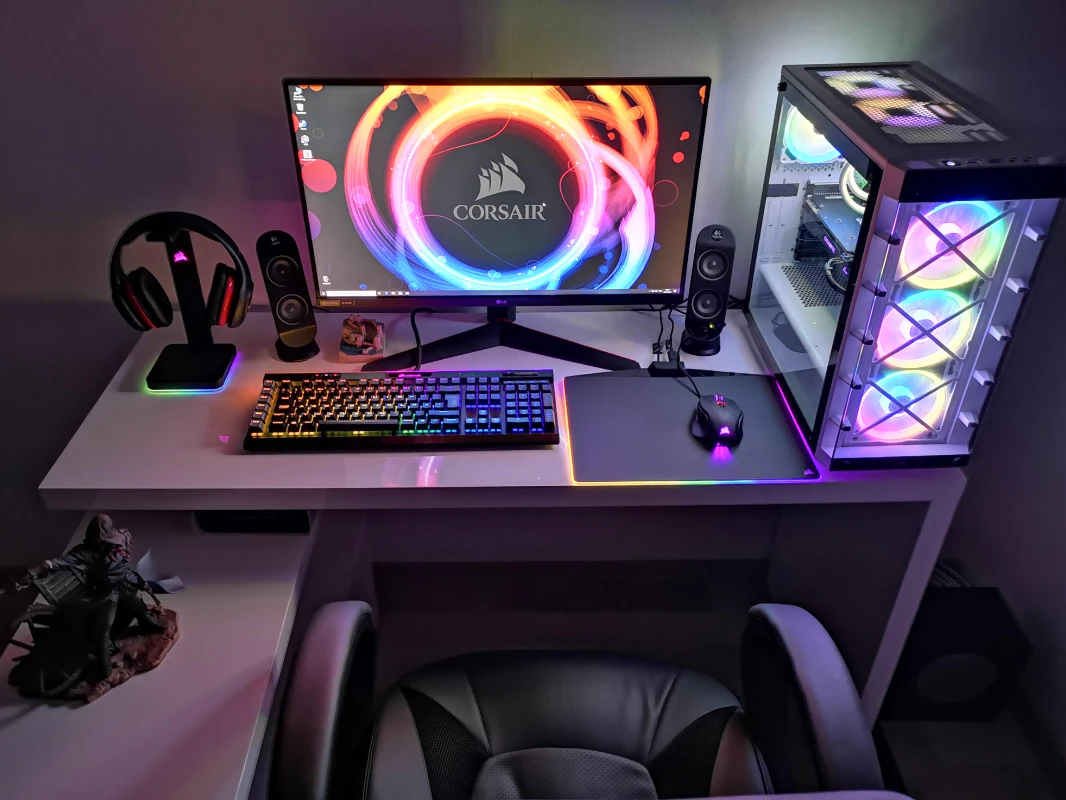
Corsair has been here for about 25 years and is one of the largest manufacturers of high-performance gear for gamers, streamers, and content creators. It has evolved over the years and includes subsidiary brands like Elgato, SCUFF Gaming, and Origin PC. Today we will be doing something a little different. Instead of looking at products individually, we will be looking at a stack of corsair products in relation to its revamped iCUE software. This is more of a look into how iCUE has changed and how their own products integrate with the software. Their product stack includes peripherals, PC hardware / Systems, streaming equipment, and RGB lighting. We will be covering the K65 Mini, Sabre RGB Pro, MM700 RGB Mouse Pad, Virtuoso RGB Wireless XT, MP 600, vengeance RGB PRO, and H170i / H150i Elite Capellix AIO Coolers. iCUE inextricably creates an eco-system that will unite all your Corsair products in one place. The next level of control is here with iCUE, so let’s see how this can inspire you to customize all your Corsair products.
What is iCUE?

The newest version of iCUE is version 4. You can find the download here. You might ask why should I care about iCUE? The simple truth is if you own Corsair products you should. It does not just control lighting, but it offers so much more. You can customize lighting, tune products like mouse sensitivity / DPI settings, fan curves, Sound settings, monitor performance, and it even integrates with some games. Corsair is constantly working towards adding more features and it’s evident when you see how much control they give you. iCUE offers customizable profiles, 3rd party product integration, and partners. FarCry 6 is one of the latest games that will offer full integration. Installing iCUE is super simple and easy to setup.
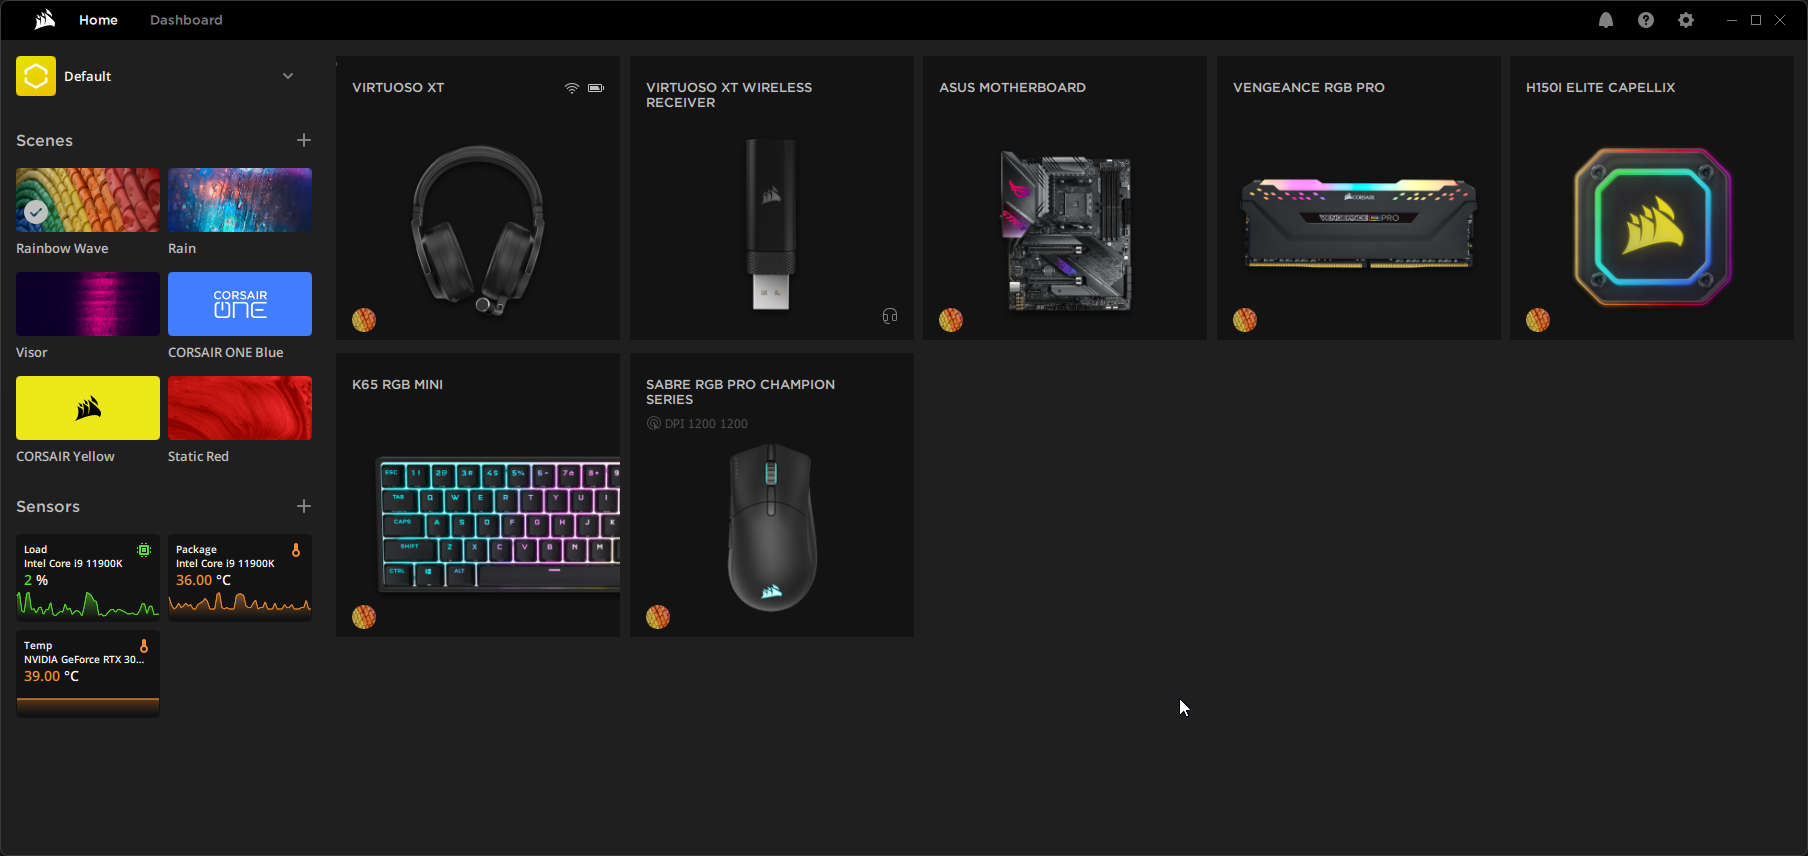
Looking at the main “Home” screen we can see what iCUE has to offer. You will get a layout of all your compatible hardware as well as customizable sensor panels you can quickly monitor. The Dashboard is the more information friendly page that shows a lot more monitoring. Scenes offers the ability to set custom preset colors, or you can create your own. The scenes are used to synchronize across all your devices but if you want to customize everything separately you can. You will need to disable “Scenes” for this to happen. If you want to customize a specific product all you need to do is click on the indicated box and it will show any settings and features related to that product.
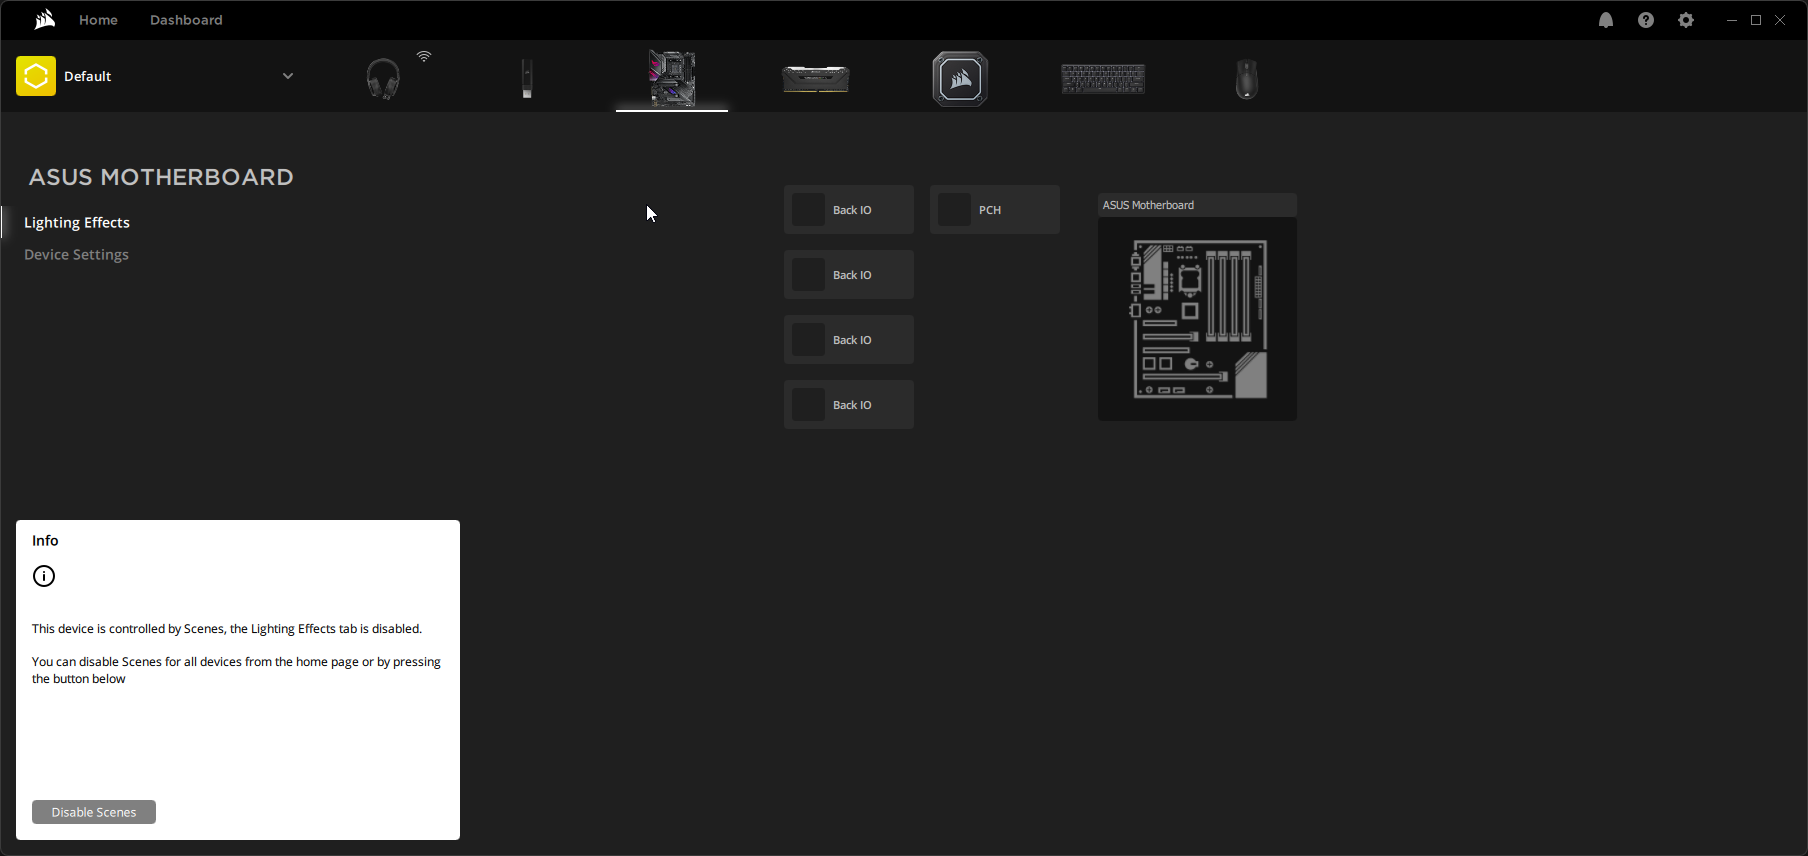
iCUE does offer compatibility with some non-Corsair products. They have teamed up with ASUS to bring motherboard integration to synchronize with the software. This will give you the ability to control the RGB on a compatible motherboard. You can synchronize the RGB or control each zone individually.
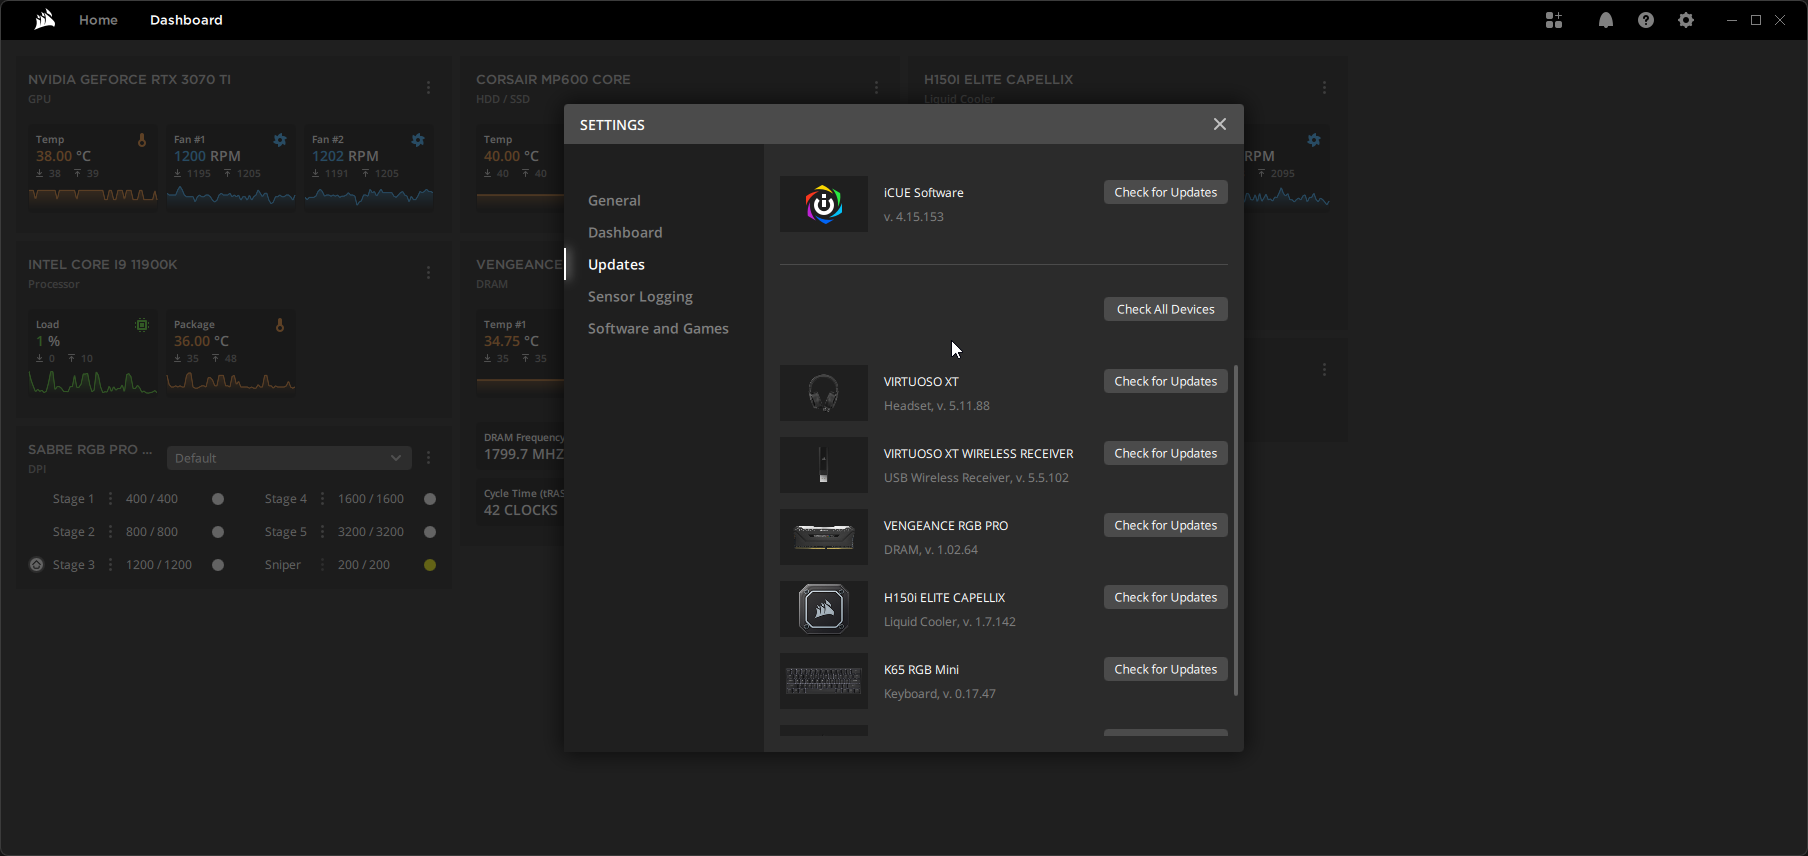
One of the best features of iCUE is the complete control over all your products in one place. iCUE allows updating of the firmware of all your Corsair products and your iCUE software. This is crucial for keeping your hardware and software revisions current for optimal performance.
Hardware Showcase
K65 Mini
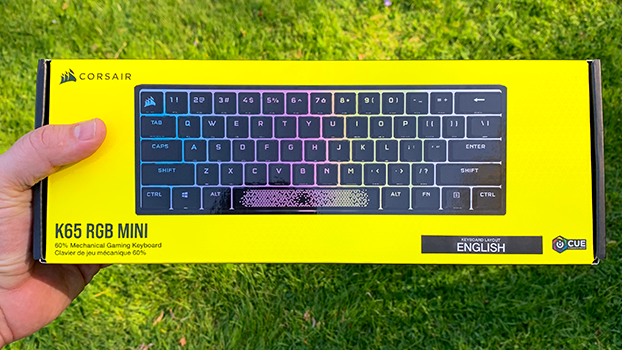
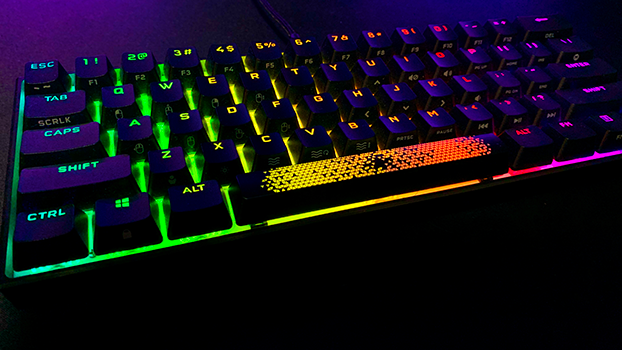
The K65 Mini comes in either black or white and is a 60% keyboard. The grandiose thing here is that it offers a compact design, Cherry MX speed switches, and AXON Hyper-processing. It’s a small size but offers all the best features that its larger brothers do. It has dynamic per key RGB and custom keycap sets. The best part of the keyboard is its robust set of shortcuts available through iCUE and built right into the key sets themselves. It offers 30 unique quick keys for lighting, profiles, macros, media, mouse, and volume. You can also create “FN” macro shortcuts without giving up your standard assigned ones.
The Axon hyper processing offers a 4x faster polling rate at 8,000 and 4,000 rates. This has a minimal latency of 0.25S when other gaming keyboards can go up to 8MS, respectively.
The K65 Mini specifications are as follows:
-
Keyboard Warranty: 2 Year
- Weight: 0.5
- keyboard Layout: NA
- USB Polling Rate: Up to 8,000Hz with AXON
- Key Switches: CHERRY® MX SPEED
- Matrix: 61 Keys
- Connectivity: Wired | USB 3.0 or 3.1 Type-A
- Additional Keycaps: Radiant Space Bar, CORSAIR logo
- Form Factor: 60%
- Onboard Memory: 8MB up to 50 profiles
- Software: iCUE controlled
The MX speed switches are going to provide extremely short 1.2mm actuation and 100 million keystrokes guaranteed. You can get the K65 mini here for $109.99.
iCUE Integration:
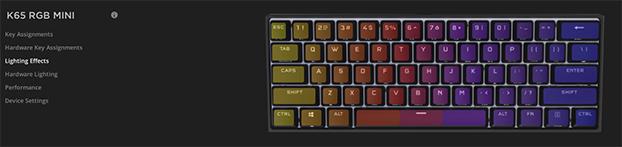
iCUE will allow a lot of customization with key assignments, lighting, and performance options like “Disable Winkey & Alt F4”. You can either customize per key backlighting or choose “Scenes” which synchronize your choice of presets across all compatible devices.
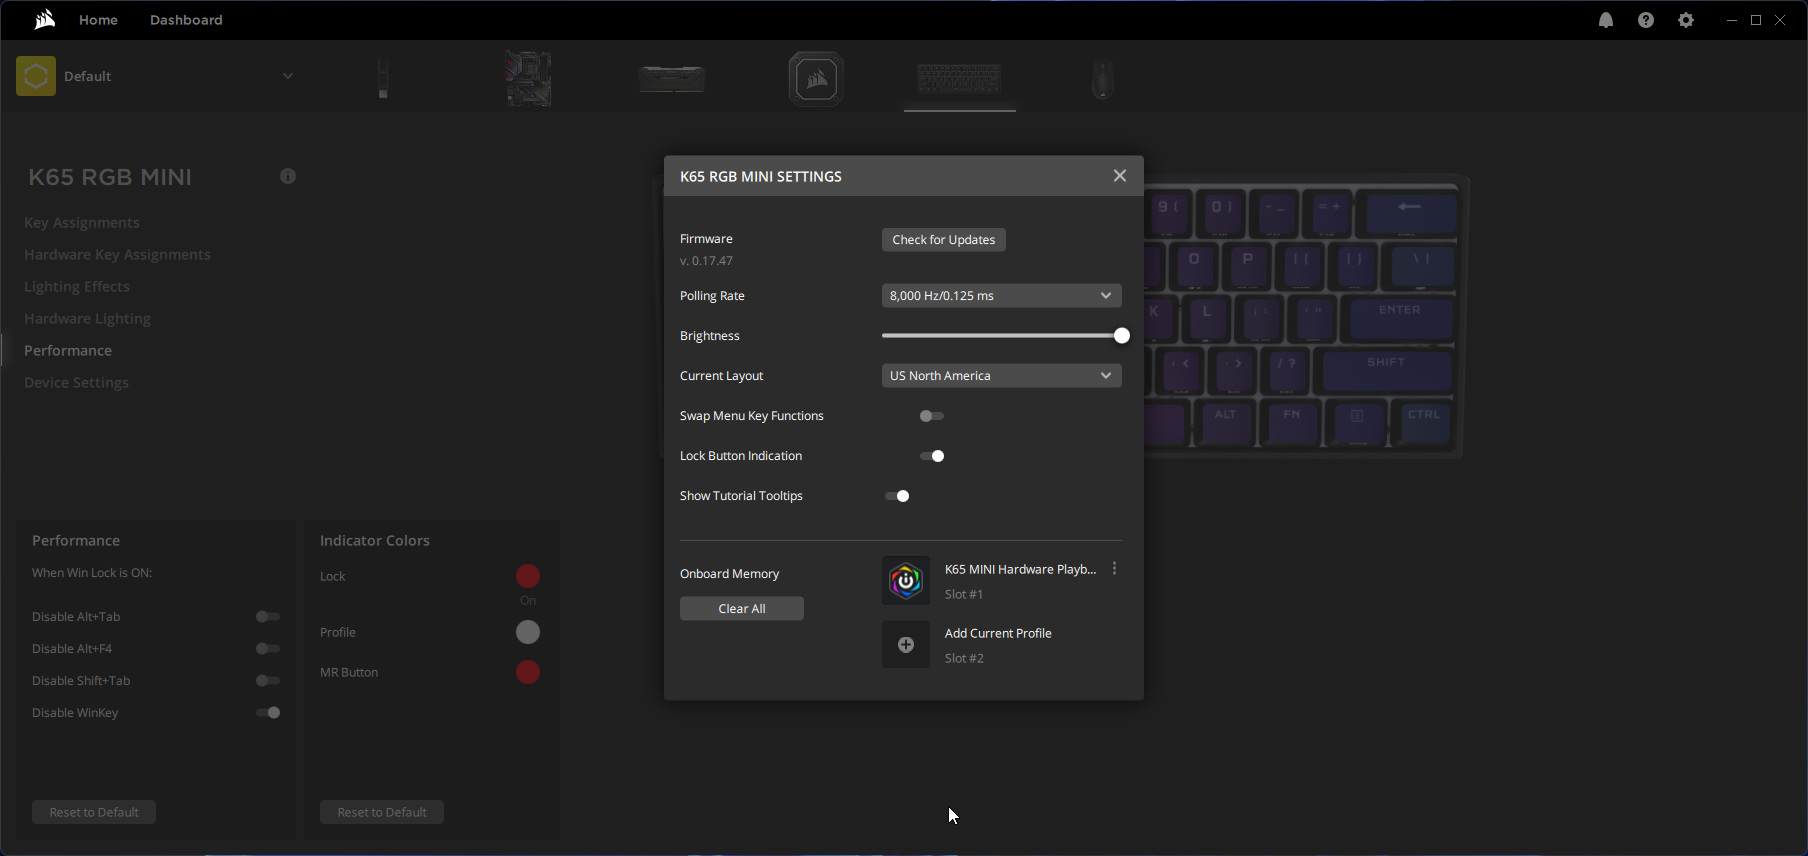
The K65 can set a polling rate up to 8,000Hz which offers a reduced latency of 0.125ms. You can also change settings like “Swap Menu Key Functions” and check for updated versions of firmware. I was impressed with how many options you can change with software when most keyboards offer on board functions but iCUE makes it easier to customize anything related to your specific product.
SABRE RGB PRO
The Sabre RGB mouse is one of my favorites. It’s designed for eSports professionals and only weighs 79g. Corsair has built their champion line of products for eSports professionals and gamers who care about the best possible performance for competitive gaming. The mouse itself its extremely light, equipped with a paracord cable, and quick strike buttons. This mouse is ergonomic shaped with replaceable 100% PTFE glide pads. The Sabre PRO is 60mm wide at the front and 70mm wide on the palm rest area. For the height, the front is 26mm tall from the front button area, 43mm mid, and rear 129mm.
This mouse is serious because it comes with short actuation with zero gap clicking. Your covered up to 50 million clicks guaranteed. The responsiveness comes from utilizing springs and metal hinges that reduce the gap from the OMRON switches. Then there is the AXON hyper-processing which covers a polling rate of 8,000HZ and a reduced latency of 0.125ms.
The Sabre PRO specifications are as follows:
- 6 programmable buttons
- Up to 18,000 DPI
- Sensor: PMW3392
- Sensor Type: Optical
- 2 zone RGB lighting
- Onboard memory
- Omron Switches: 50M L/R Click
- Wired version but wireless is available
- Palm/Claw grip style
- Weight: 74g (w/o cable)
- Cable Length: 2.1m Drag-Reducing Paracord
- iCUE integration
- FPS/MOBA designed mouse
- Report rates: 8000Hz/4000Hz/2000Hz/1000Hz/500Hz/250Hz/125Hz
You can get the Sabre PRO here for $59.99.
iCUE Integration:
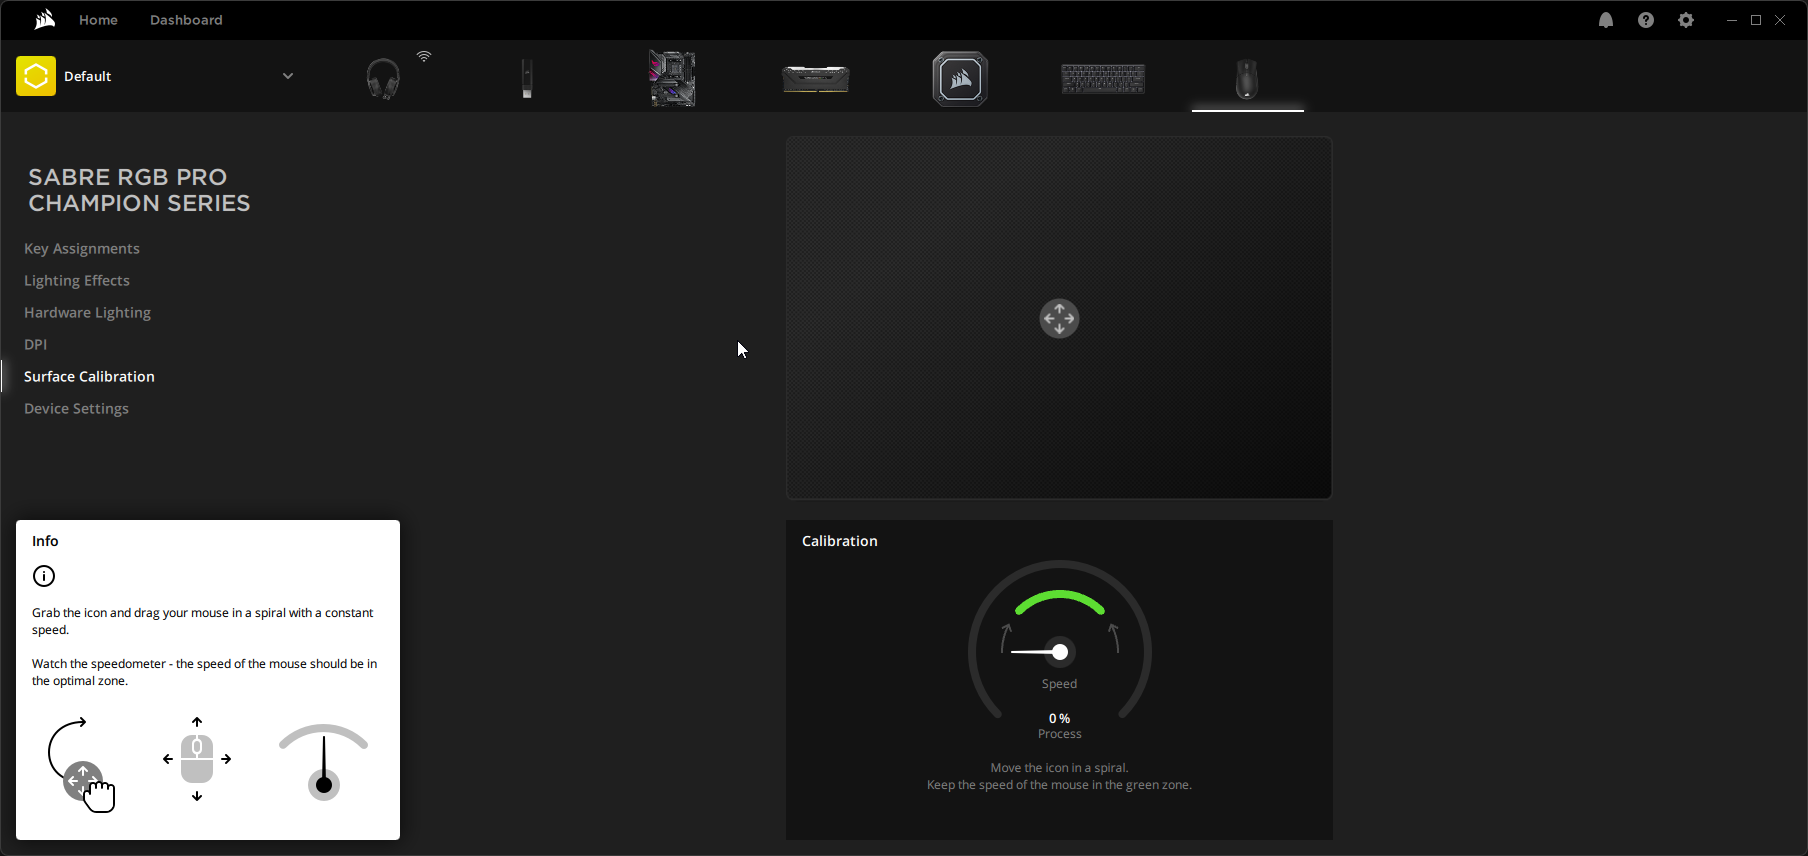
The Sabre PRO offers some extra settings for getting the mouse tuned to perfection. For starters just like the K65 it offers an 8000Hz polling rate and reduced latency. One of the more interesting settings is the ability to calibrate your surface area for better mouse traction and movement.
PRO Tips: For tuning your mouse I will give you what I recommend, and this can be applied to a wide range of gaming mice.
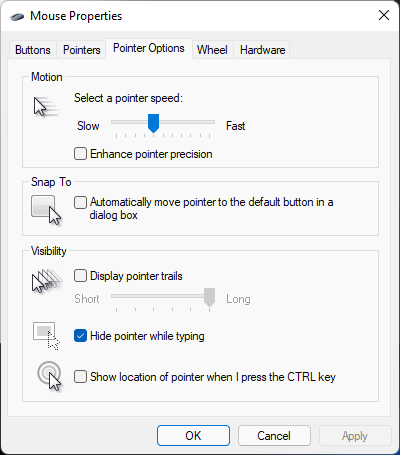
Start with reducing your mouse speed before tuning DPI to your comfort level. This can be adjusted in iCUE and in your Windows mouse settings under “Control Panel”. I would recommend setting a mid-level setting for a more accurate representation of speed/DPI. If your unfamiliar with DPI look here. Also, disable “Enhance Pointer Precision”. This is Windows version of mouse acceleration and can interfere with some games. It’s best to let the mouse accelerate at the hardware level. Mouse acceleration can be bad for gaming because the mouse will move at the rate of how fast your input movements are. On the hardware level your mouse will move exactly at the rate you move it without hardware acceleration, and when enabled It makes your movement less precise.
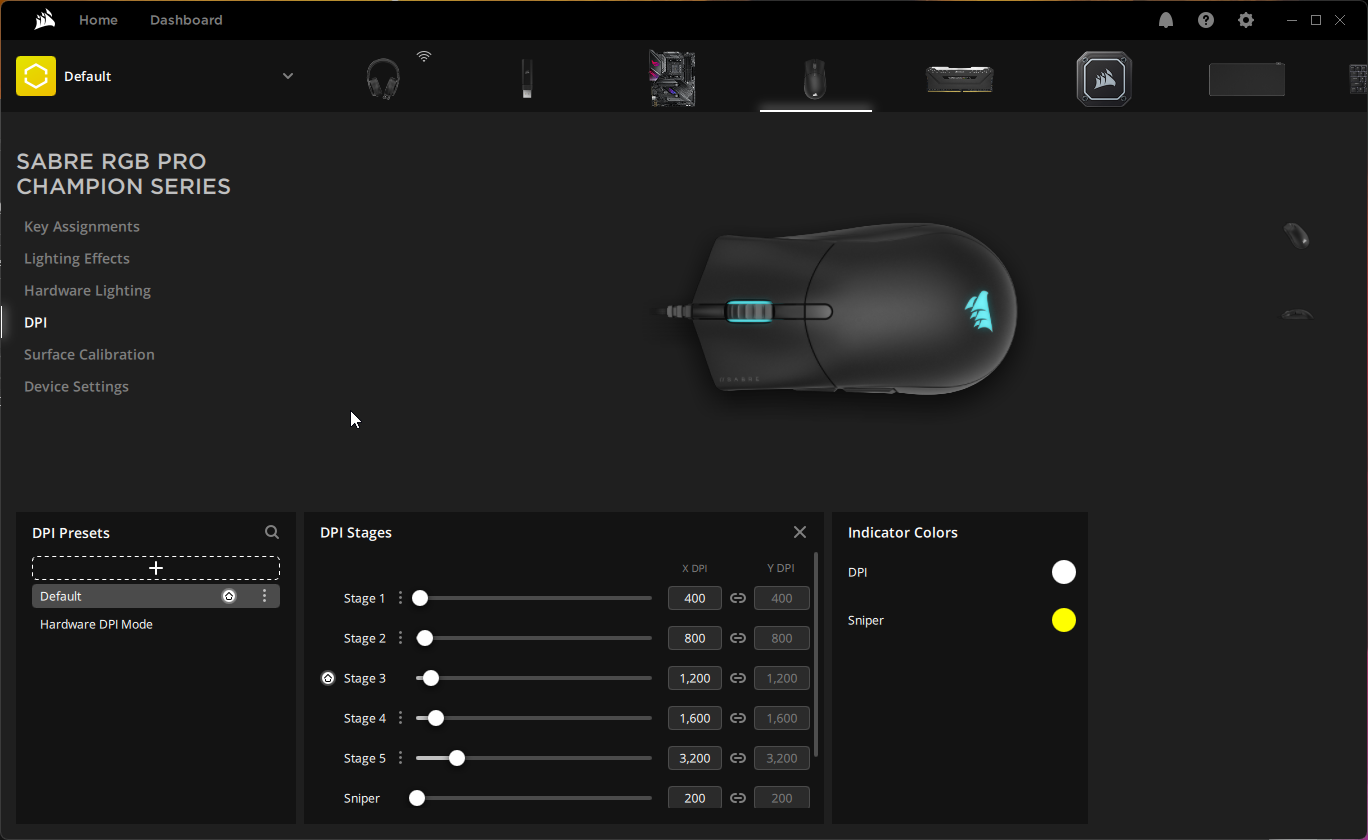
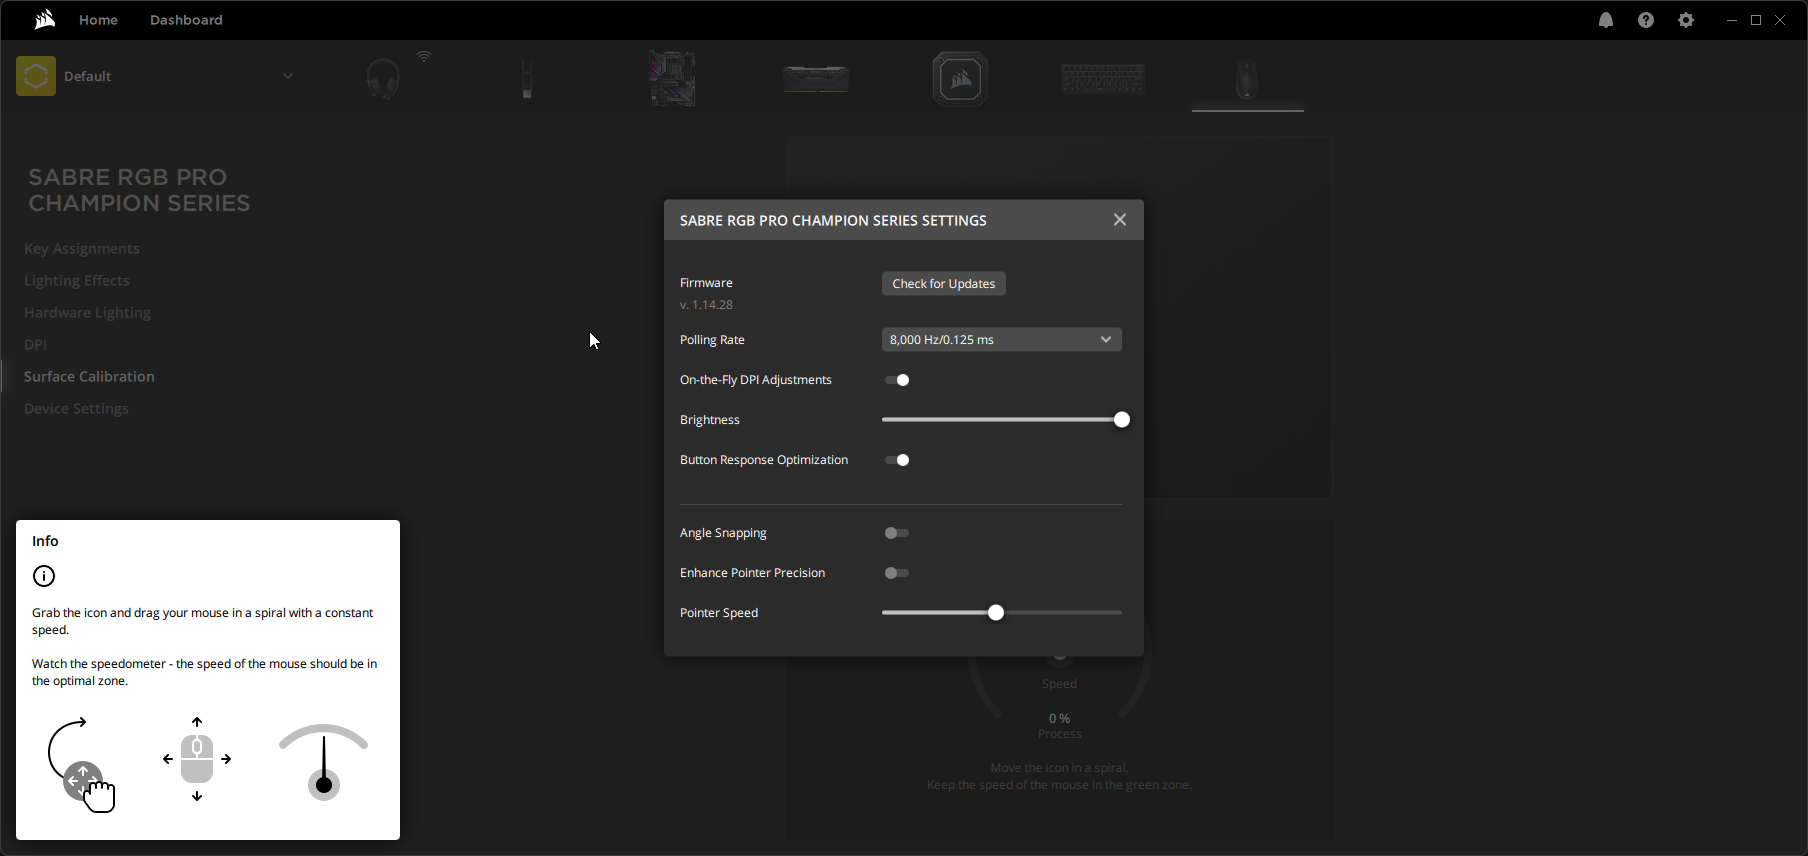
The best way to adjust mouse speed is by setting your DPI to your desired level. I find for the Sabre PRO “Stage 3” is optimal for a middle ground setting. You’ll have to play around with what you like better but by reducing the pointer speed like we did previously will help make the mouse feel more natural and not too fast or jittery. Monitor resolution can also affect what you may want to set your DPI to. The Sabre PRO has 5 DPI levels but technically 6 with “Sniper Mode”. Sniper mode does exactly what it sounds like, it slows down the DPI to a low level so you can be more accurate while aiming down sights. Therefore, making sure On-the-Fly DPI Adjustments are on so you can assign a button to activate this setting quickly in game.
For the settings in iCUE make sure you have “On-the-Fly DPI Adjustments” > On, “Angle Snapping” > Off, “Enhance Pointer Precision” > Off, “Pointer Speed” to your desired level, and “Button Response Optimization” > On. This combination of settings should give you a great starting point for most games. I like to tune my hardware for first person shooter games, but your mileage may vary depending on your game selection.
MM700 RGB Mouse Mat

The MM700 is a mouse pad but on steroids. The surface area offers 360° of 3-zone dynamic RGB lighting. It offers a huge layout of 930mm x 400mm (36.6” x 15.8”) which can fit a large array of devices with room to spare. Also, the cable hub that is used to connect the device to iCUE also doubles as a two-port USB hub.
The MM700 specifications are as follows:
- Material: Cloth
- Backlighting: RGB
- Mat Size: Extended XL: 930mm x 400mm x 4mm
You can get the MM700 here for $59.99.
iCUE Integration:
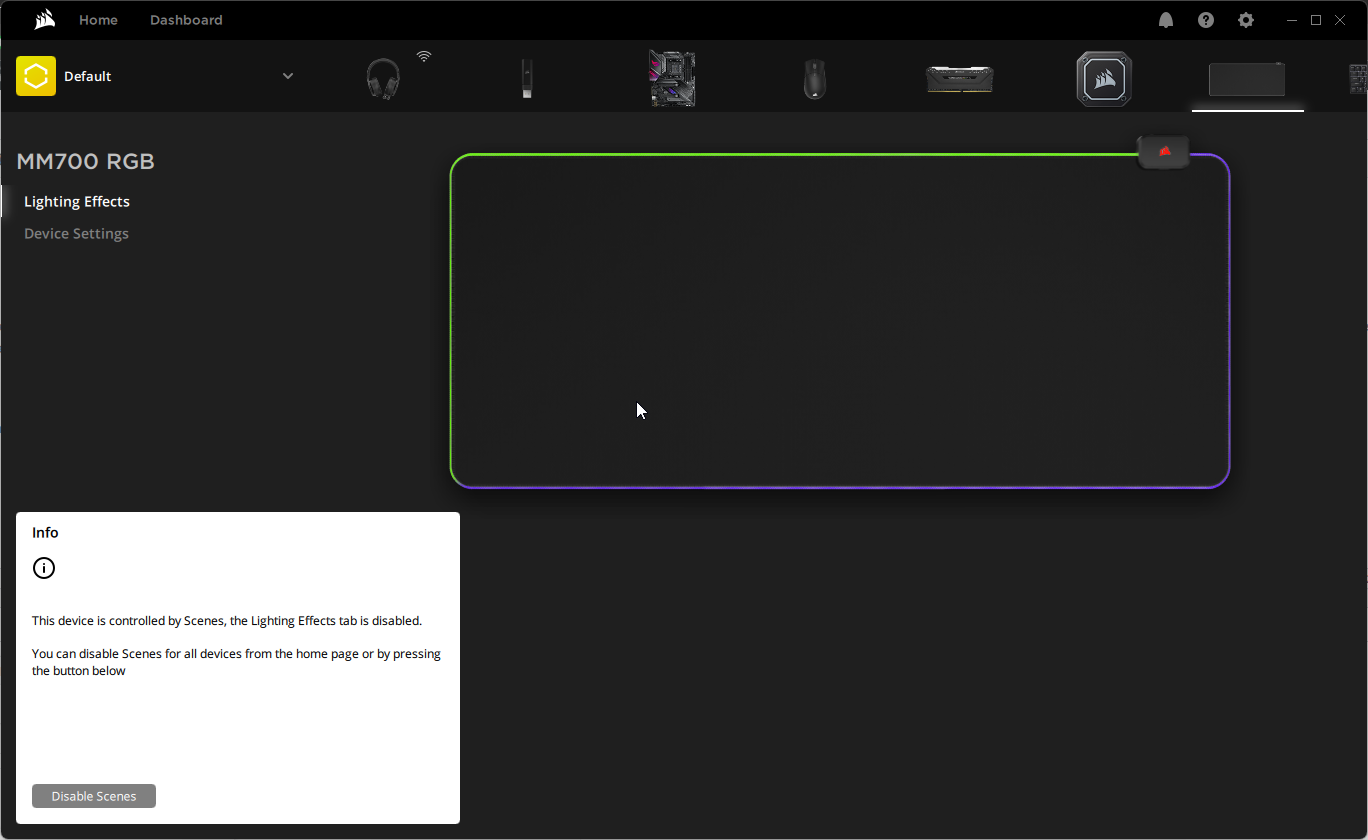
Being a mouse mat there are not a ton of option to configure so iCUE give you control over “Lighting Effects” & “Brightness”.
Virtuoso XT Headset
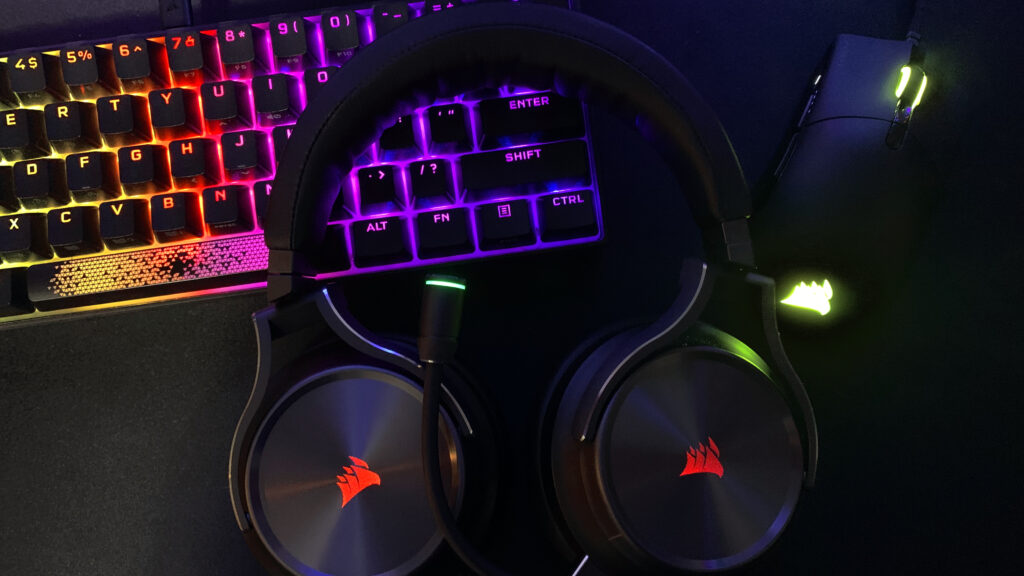
These must be one of the best headsets I’ve used in a long time. I know audio reviews can be subjective and I’ve tested quite a few over the years but these are fluid. The tones are unmatched with precisely tuned 50mm neodymium drivers and a frequency range of 20Hz-40,000Hz. This is about double what you may experience on other gaming headsets.
Comfort is king with headsets and the Virtuoso doesn’t disappoint. They offer a lightweight headband and premium memory foam earcups. The entire headset offers a premium blend of aluminum and comfort.
Img: Credit goes to Corsair (Link)
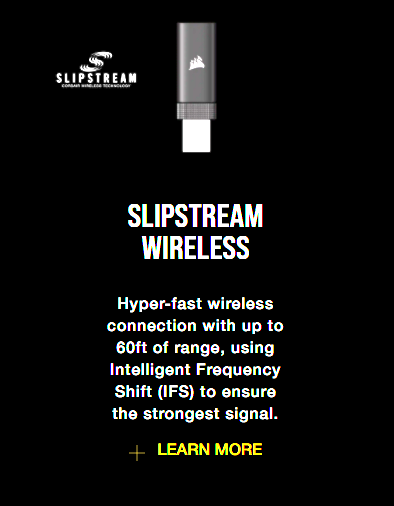
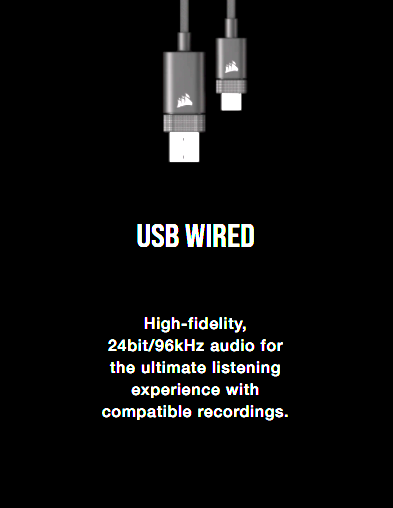
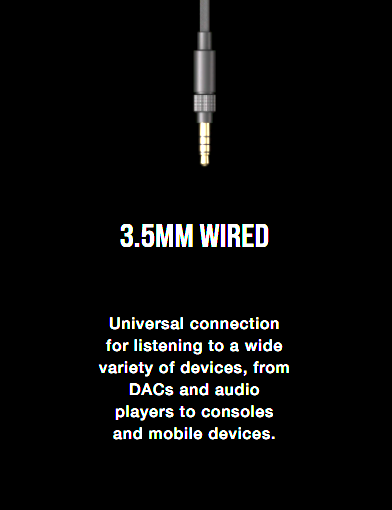
The Virtuoso has 3 distinct connection points. Slipstream wireless for low latency wireless at 60Ft., USB wired with 24bit/96KHz audio fidelity, and 3.5mm for traditional listening and console compatibility.
The microphone is broadcast grade and detachable. It offers high bandwidth for increased frequency response, more accurate and clearer voice, and an RGB LED ring to indicate mute/live status.
Best Features of the Virtuoso XT:
- Smart Sleep & Wake: An internal accelerometer automatically shut down your headset or wakes it up
- 7.1 Surround Sound & Dolby Atmos: You can enable 7.1 Surround Sound or turn on Dolby ATMOS with the Dolby Access APP in the Windows Store. This will enable Spatial Audio for your Virtuoso XT. The best part is it’s Dolby Certified and works flawlessly with the App.
- RGB Lighting: Each earcup offers dynamic RGB lighting
- Battery: The battery is one of the big selling points here because it offers up to 20 hours on a custom lithium internal battery. You can also keep using the headset while it charges over the USB provided cable.
- Machined Aluminum Contruction: The SE version of this headset really shines. It has full aluminum earcups, aluminum microphone head, and gunmetal styling.
- Micro-perforation RGB: The aluminum earcups offer special RGB lighting from micro-perforation. It allows the RGB to shine through the earcups.
- 9.5mm Broadcast Grade Detachable microphone: The 9.5mm microphone is omni-directional and offers exceptional clarity and an improved low-end response.
You can buy the Virtuoso XT SE for $209.99 here.
iCUE Integration:
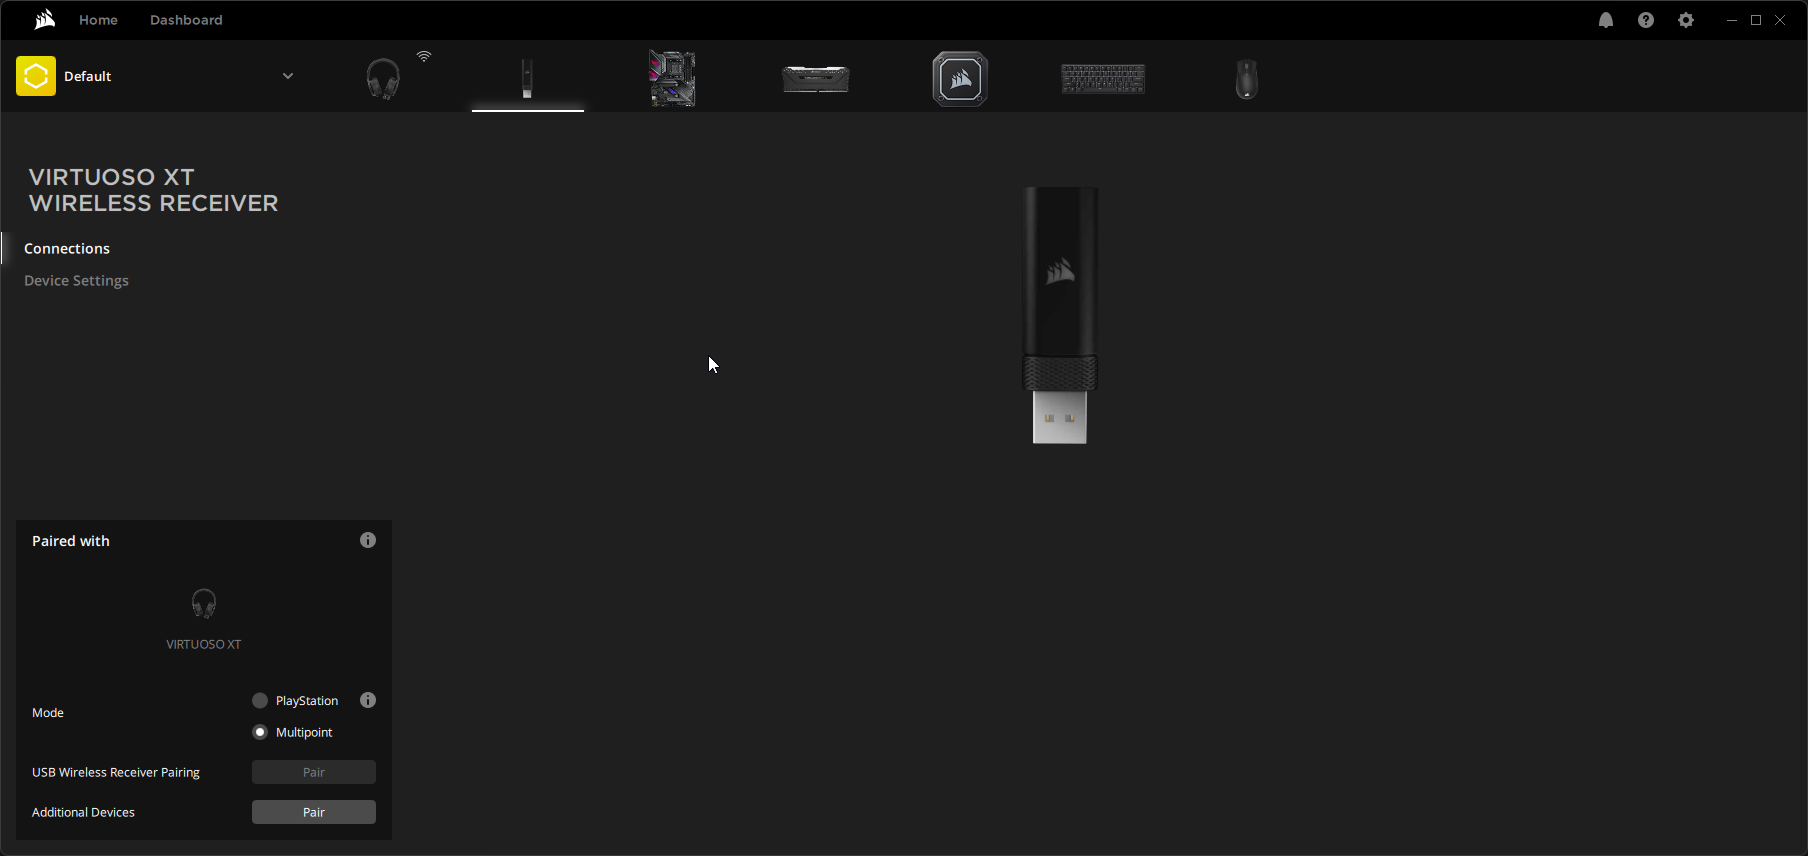
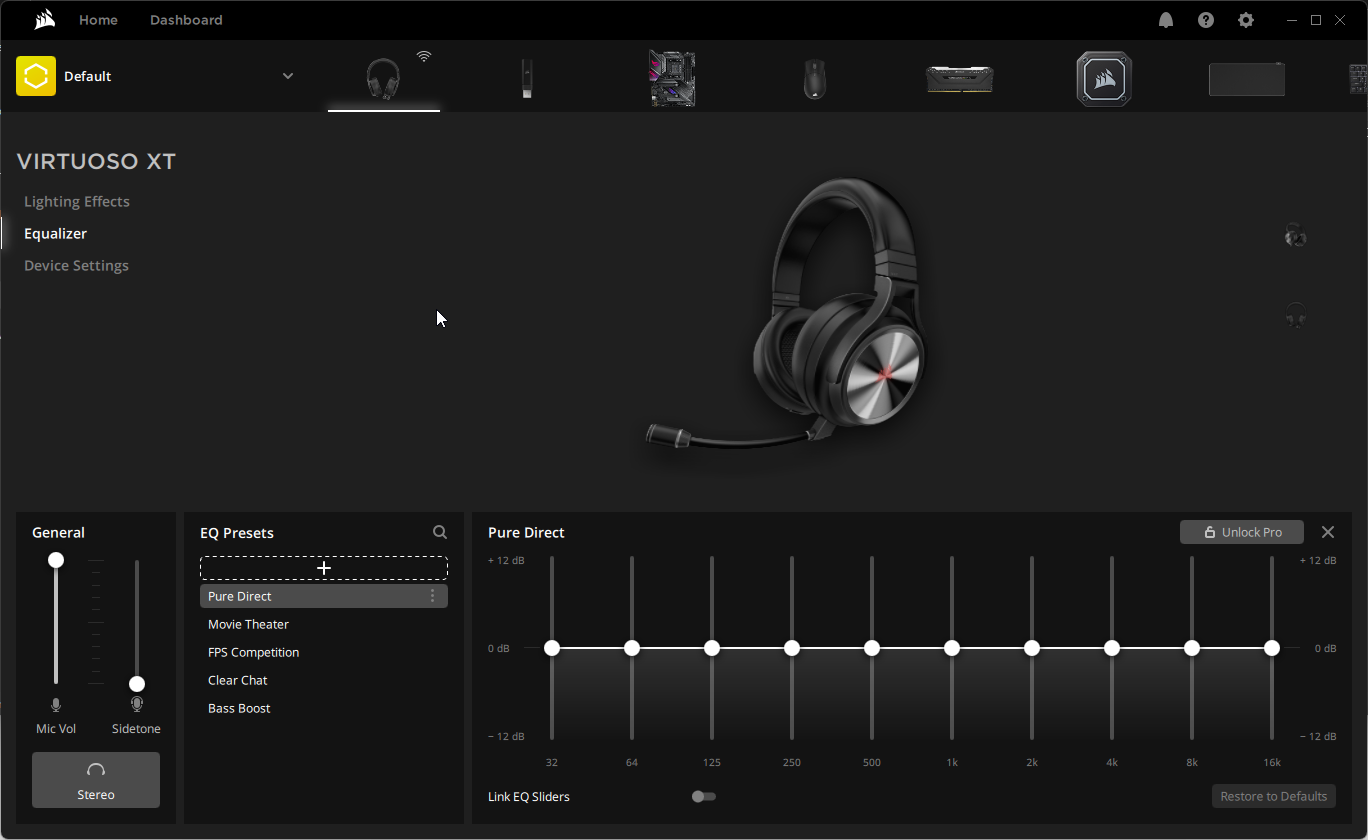
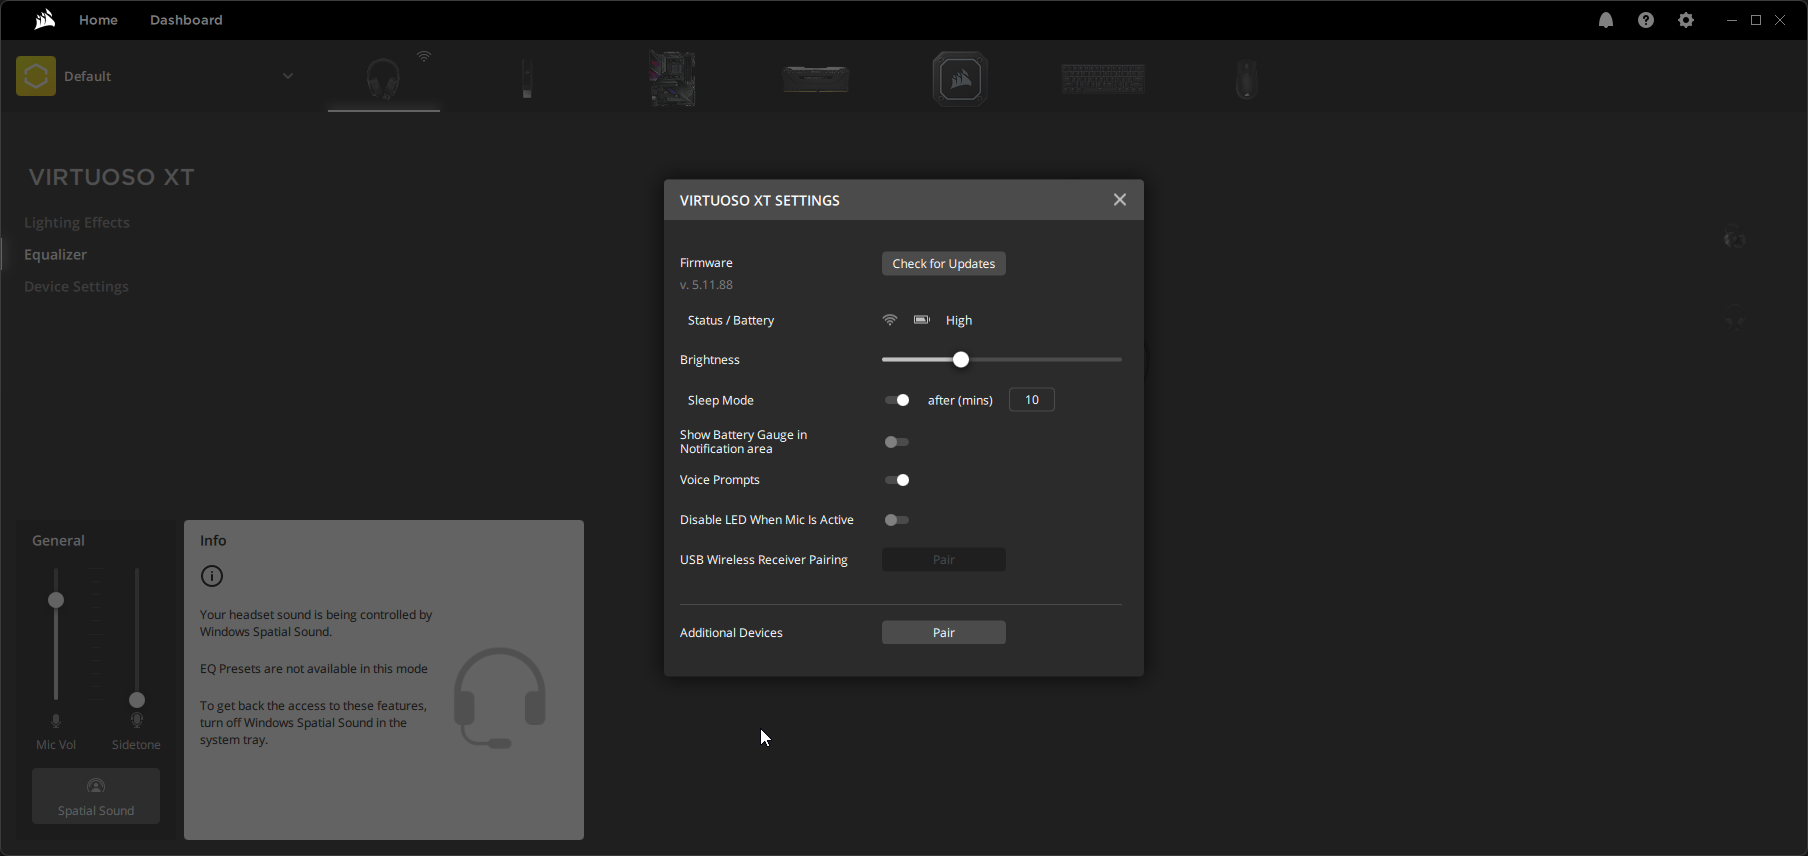
The lighting effects follow the same formula as the rest of the hardware with scenes or individual customizing. The wireless receiver can be customized with iCUE and allow connection prioritizing. “PlayStation” allows wireless connection between PS4 and above. The “Multipoint” connection is for PC users and multipoint connections. You can pair additional Bluetooth devices and with your PC and the wireless USB receiver.
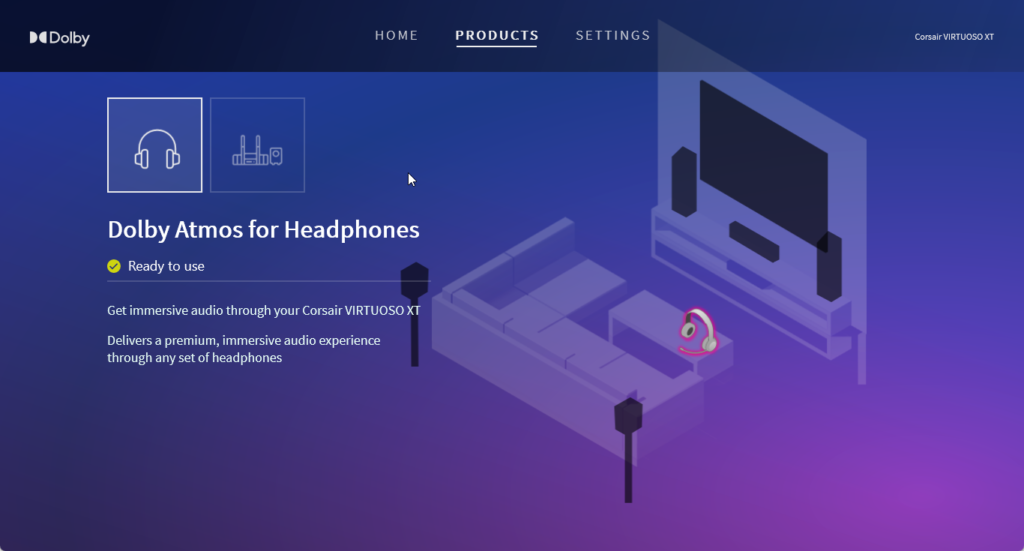
The EQ settings is where all your audio profiles can be tuned. The 5 presets are Pure Direct, Movie Theatre, FPS Competition, Clear Chat, and bass Boost. I personally skip all these and turn on Dolby Atmos (Spatial Audio support). The presets will be disabled when you enable Spatial Audio. You can enable this under your Audio Settings in your Windows Control Panel or even easier through the iCUE software and Dolby Access App.
MP 600
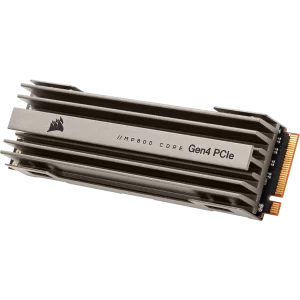
Img: Credit goes to Corsair (Link)
The MP600 Core is a Gen 4 drive capable of delivering performance up to 4,950MB/sec sequential read and 3,950MB/sec sequential write speeds. It includes an aluminum heatspreader for dispersing heat and sustaining the high-performance speeds. This drive uses high density 3D QLC NAND. The thing about QLC NAND is its high endurance which can write up to 1,440TB of data before degradation occurs.
The MP600 specifications are as follows:
- Capacity: 1TB
- SSD Smart Support: Yes
- Weight: 0.034
- SSD Interface: PCIe Gen 4.0 x4
- SSD Max Read: Up to 4,700MB/s
- SSD Max Write: Up to 1,950MB/s
- Max Write QD32 IO Meter: Up to 480K IOPS
- Max Read QD32 IO Meter: Up to 200K IOPS
- Form Factor: M.2 2280
- Dimensions: 80mm x 23mm x 15mm
- Warranty: 5 Year
- NAND: 3D QLC NAND
- Voltage: 3.3V, +/- 5%
- Endurance: 225TBW
- TBW: 225
- MTBF: 1,800,000 Hours
- Temps: -40°C to +85°C
- Shock: 1500 G
You can buy the MP600 for $124.99 here.
iCUE Integration:
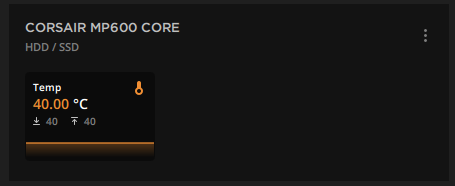
The only real integration for the MP600 is going to come in the form of Temp monitoring in iCUE. This is one area where I do believe iCUE falls a bit short from its representation of having control over all your Corsair hardware. They really should add the ability to check for firmware for your SSDs at the very least. I haven’t tested every SSD, so it is possible another one may show up in iCUE, so let me know if I’m wrong. For the newer m.2 NVMe drives, you only get simple monitoring of temperatures.
Vengeance RGB PRO
The Vengeance PRO offers multi-zone RGB lighting and overclockable ICs. The memory has tightly screened ICs, uses aluminum heat spreaders, and offers iCUE integration.
Our kit for this article is the 32GB (16GB x2) rated for 3600MHz @ CL 18.
The Vengeance PRO RGB specifications are as follows:
- Type: DDR 4
- Size: 32GB
- Latency: 18-22-22-42
- Voltage: 1.35V
- Speed: 3600MHz
- Color: Black
- Compatibility: Intel 300 Series, Intel 400 Series, Intel 500 Series, Intel 400 Series, Intel 500 Series, AMD X570
- Heat Spreader: Anodized Aluminum
- Performance Profile: XMP 2.0
- Pins: 288
You can buy the Vengeance PRO for $152.99 here.
iCUE Integration:
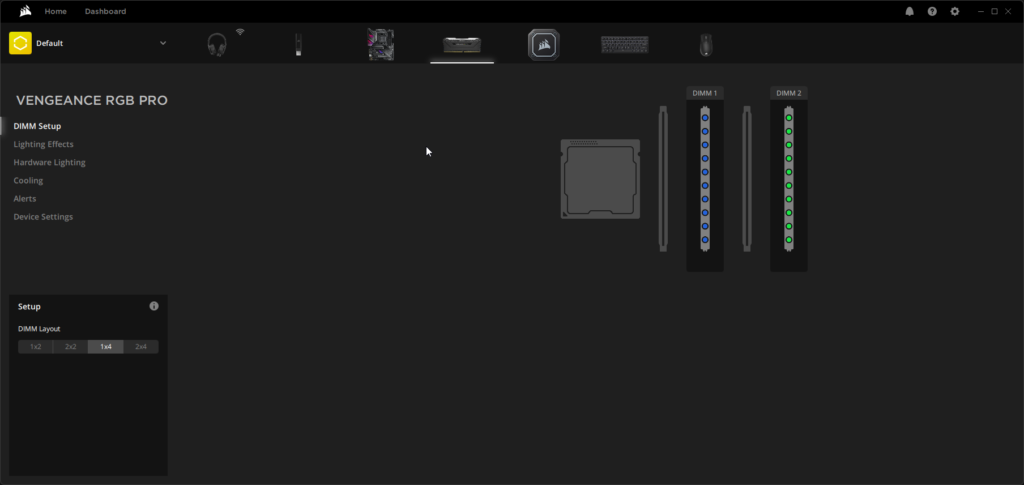
You can set up your RGB memory with “Lighting Effects” or just keep them synchronized with “Scenes”. You can also set up your memory layout through iCUE to reflect how you have them physically installed on the motherboard. This only reflects the picture of it in iCUE, it doesn’t affect anything on your actual motherboard. Cooling is for monitoring temperatures within the “Dashboard”, and you can set up alerts for temperature ranges to set up emergency shutdown thresholds. Device Settings will allow you to change “Brightness” and check for firmware updates.
H170i / H150i Elite Capellix AIO Coolers
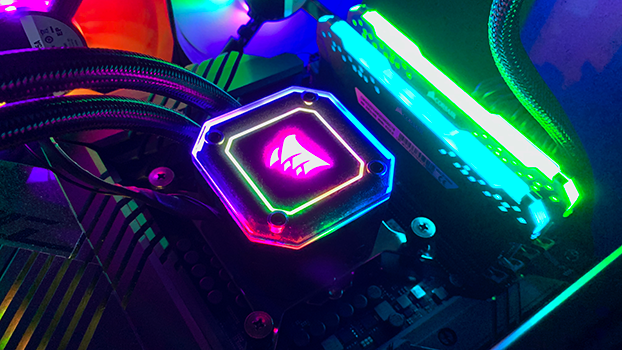
My favorite AIO is the H150i, but they do offer the H170i and even some newer models with an LCD display. The H150i is better because it offers the most volume of cooling potential but at the cost of louder fans. To me I would rather have faster fans to push more air than larger fans and radiator. The H170i fans are slower but the advantage is it’s quieter. So, there are advantages/disadvantages to 120mm vs 140mm style of coolers. It’s not a dramatic difference but the speed will be faster on the 120mm variants of these coolers. The H150i I’m using is the 360mm version with 3x 120mm Mag Lev fans. The H170i offers a 420mm Radiator compared to the H150is 360mm.
The reason the pump head is so effective is because it offers a split-flow copper plate. It stacks 128 micro fins for more efficient cooling. The pump can deliver a flowrate of up to 0.82L/min and offer a low noise level of 20 dBA.
The unique part of the Cappelix is the ability to swap pump caps. It comes with the traditional black or transparent ones for easy customization.
Part of the reason iCUE is so masterful for this product is the iCUE Commander. You control up to 6 fans in iCUE. This gives you the ability to tune their speeds and RGB lighting.
The included Magnetic Levitation RGB Fans are designed for cooling the CPU efficiently and offer 8 RGB LEDs per fan. You also get Zero RPM mode which can stop the fans from iCUE at low temperatures.
The Vengeance H150i/H170i specifications are as follows:
- H150i: Warranty: 5 Years | H170i: 5 Years
- H150i: Cold Plate: Copper | H170i: Cold Plate: Copper
- Radiator: 360mm Aluminum | H170i: 420mm Aluminum
- H150i: Cold Plate Dimensions: 56x56mm | H170i Cold Plate Dimensions: 56x56mm
- H150i: Fan Dimensions: 120mm x 25mm | H170i: Fan Dimensions: 140mm x 25mm
- H150i: Fan Speed: 2400 RPM | H170i: Fan Speed: 2000 RPM
- H150i: Lighting: RGB | H170i: Lighting: RGB
- H150i: Noise Level: 10-37 dBA | H170i: Noise Level: 10-37 dBA
You can buy the H150i for $189.99 here & H170i for $229.99 here.
iCUE Integration:
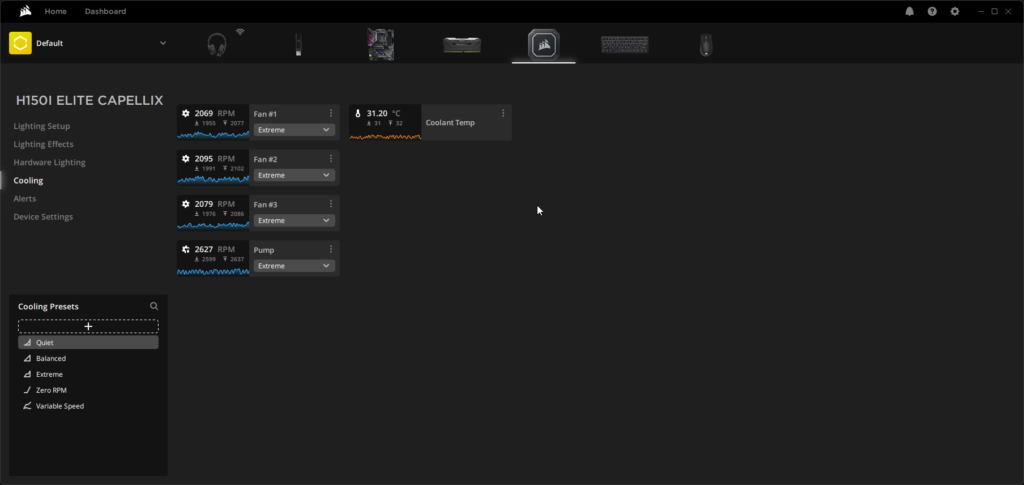
The biggest reason to use iCUE is for RGB but the real gem is the granular control for your coolers. Both the H150i and H170i behave in the same manor so these settings and tips apply to both or really any of Corsairs cooler line-up. You can monitor your temperatures, pump speed, from the lighting all from the dashboard but you can also set custom fan curves and selectable presets from the Capellix page.
I would recommend personally to set everything to “Extreme” for the best cooling potential, but it will be loud. You can finely tune your fan curves here manually if you prefer but you can also select “Zero RPM”, “Balanced”, and “Quiet”.
For the most part “Extreme” will have the fans running around + or – 2
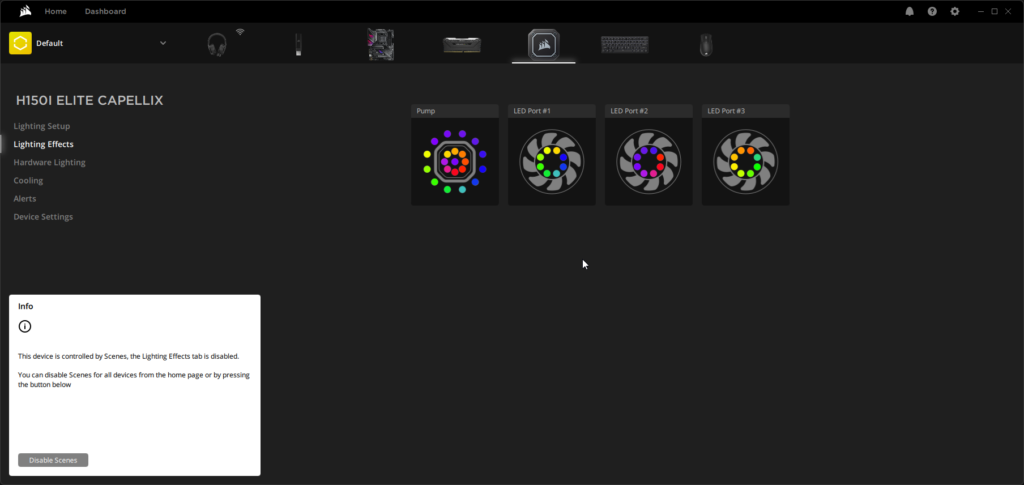
The Capellix cooler has individual RGB zone lighting which can be controlled in iCUE or you can have the cooler synchronized with “Scenes” like everything else. You can control individual RGB LEDs on the fans and the pump head. I don’t think I address “Hardware Lighting previously”. It allows you to set what the device will show lighting wise when iCUE is NOT running, like during boot. You can also set alerts in iCUE like with the Vengeance pro that can target temperature thresholds and “Emergency Shutdown”.
Dashboard
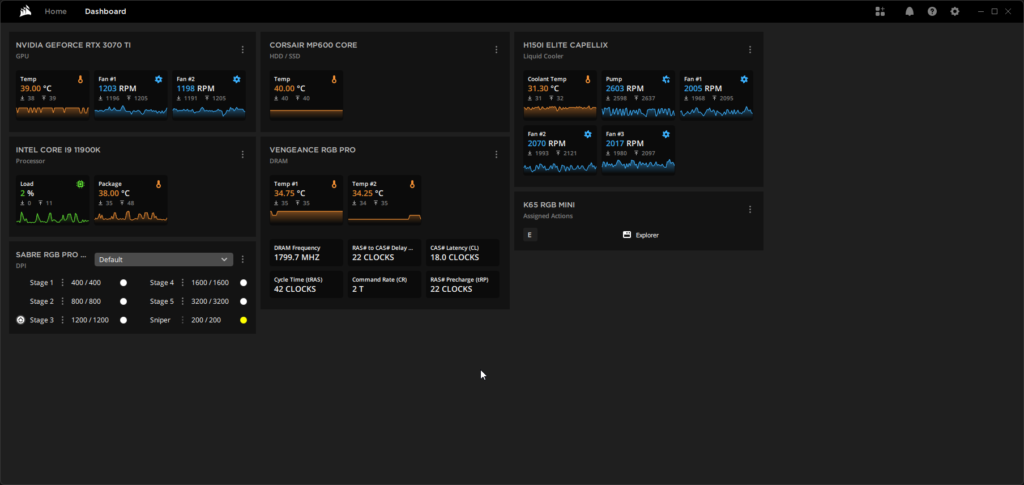
My favorite part of iCUE is its ability to monitor everything compatible with the software. You can see your hardware’s temperatures, speeds/ timings, CPU information, Graphics card temperatures/fan speeds, even some motherboard info like voltage. This can be customized to show or hide what you like to monitor. You can also customize each panel to hide individual items like only showing CPU package temperatures and load percentage. For peripherals you can assign shortcuts here for the K65 and display specific information for settings like the SABRE PRO. The MP600 just shows the basic temperature reading. There is layout customizing too. You can make the graphs larger or smaller depending on your preference.
If you love the monitoring portion of iCUE, you can assign individual “Sensor” panels to the “Home” tab of iCUE. Another neat feature is the ability to manage your iCUE software backgrounds and even set videos to enhance your software profiles.
Conclusion
Img: Credit goes to Corsair (Link)
Nearly 6 years ago Corsair developed the “Utility Engine” and it has evolved into a piece of software that nearly covers all their products. I would say Corsair really created something special here. iCUE takes the best parts of controlling your hardware and puts it all in one place. If you’re the type of person who wants one piece of software to control everything then iCUE is really going to appeal to you. There is some room to grow and evolve the software further, but Corsair is off to a good start and has one of the best gaming related software suites currently.
Uniting your setup is a vision that’s come to fruition. You have scenes that let you synchronize everything in one place, Monitoring real-time performance with the dashboard, customizable profiles/presets, and the ability of a single interface for massive convenience.
If you’re interested DIY control, check out iCUE here. It’s worth trying and you’ll soon realize its value. I don’t think it is going anywhere anytime soon. iCUE brings simplified control across Corsairs range of products.
A huge thanks goes out to Corsair for sending us the products for this article.
Want to discuss this product or give your views and feedback from your own usage? Discuss on the ExtremeHW Forums
Like our content? Please consider Donating to help us to continue our writing.
Related Posts
This Post Has 0 Comments