

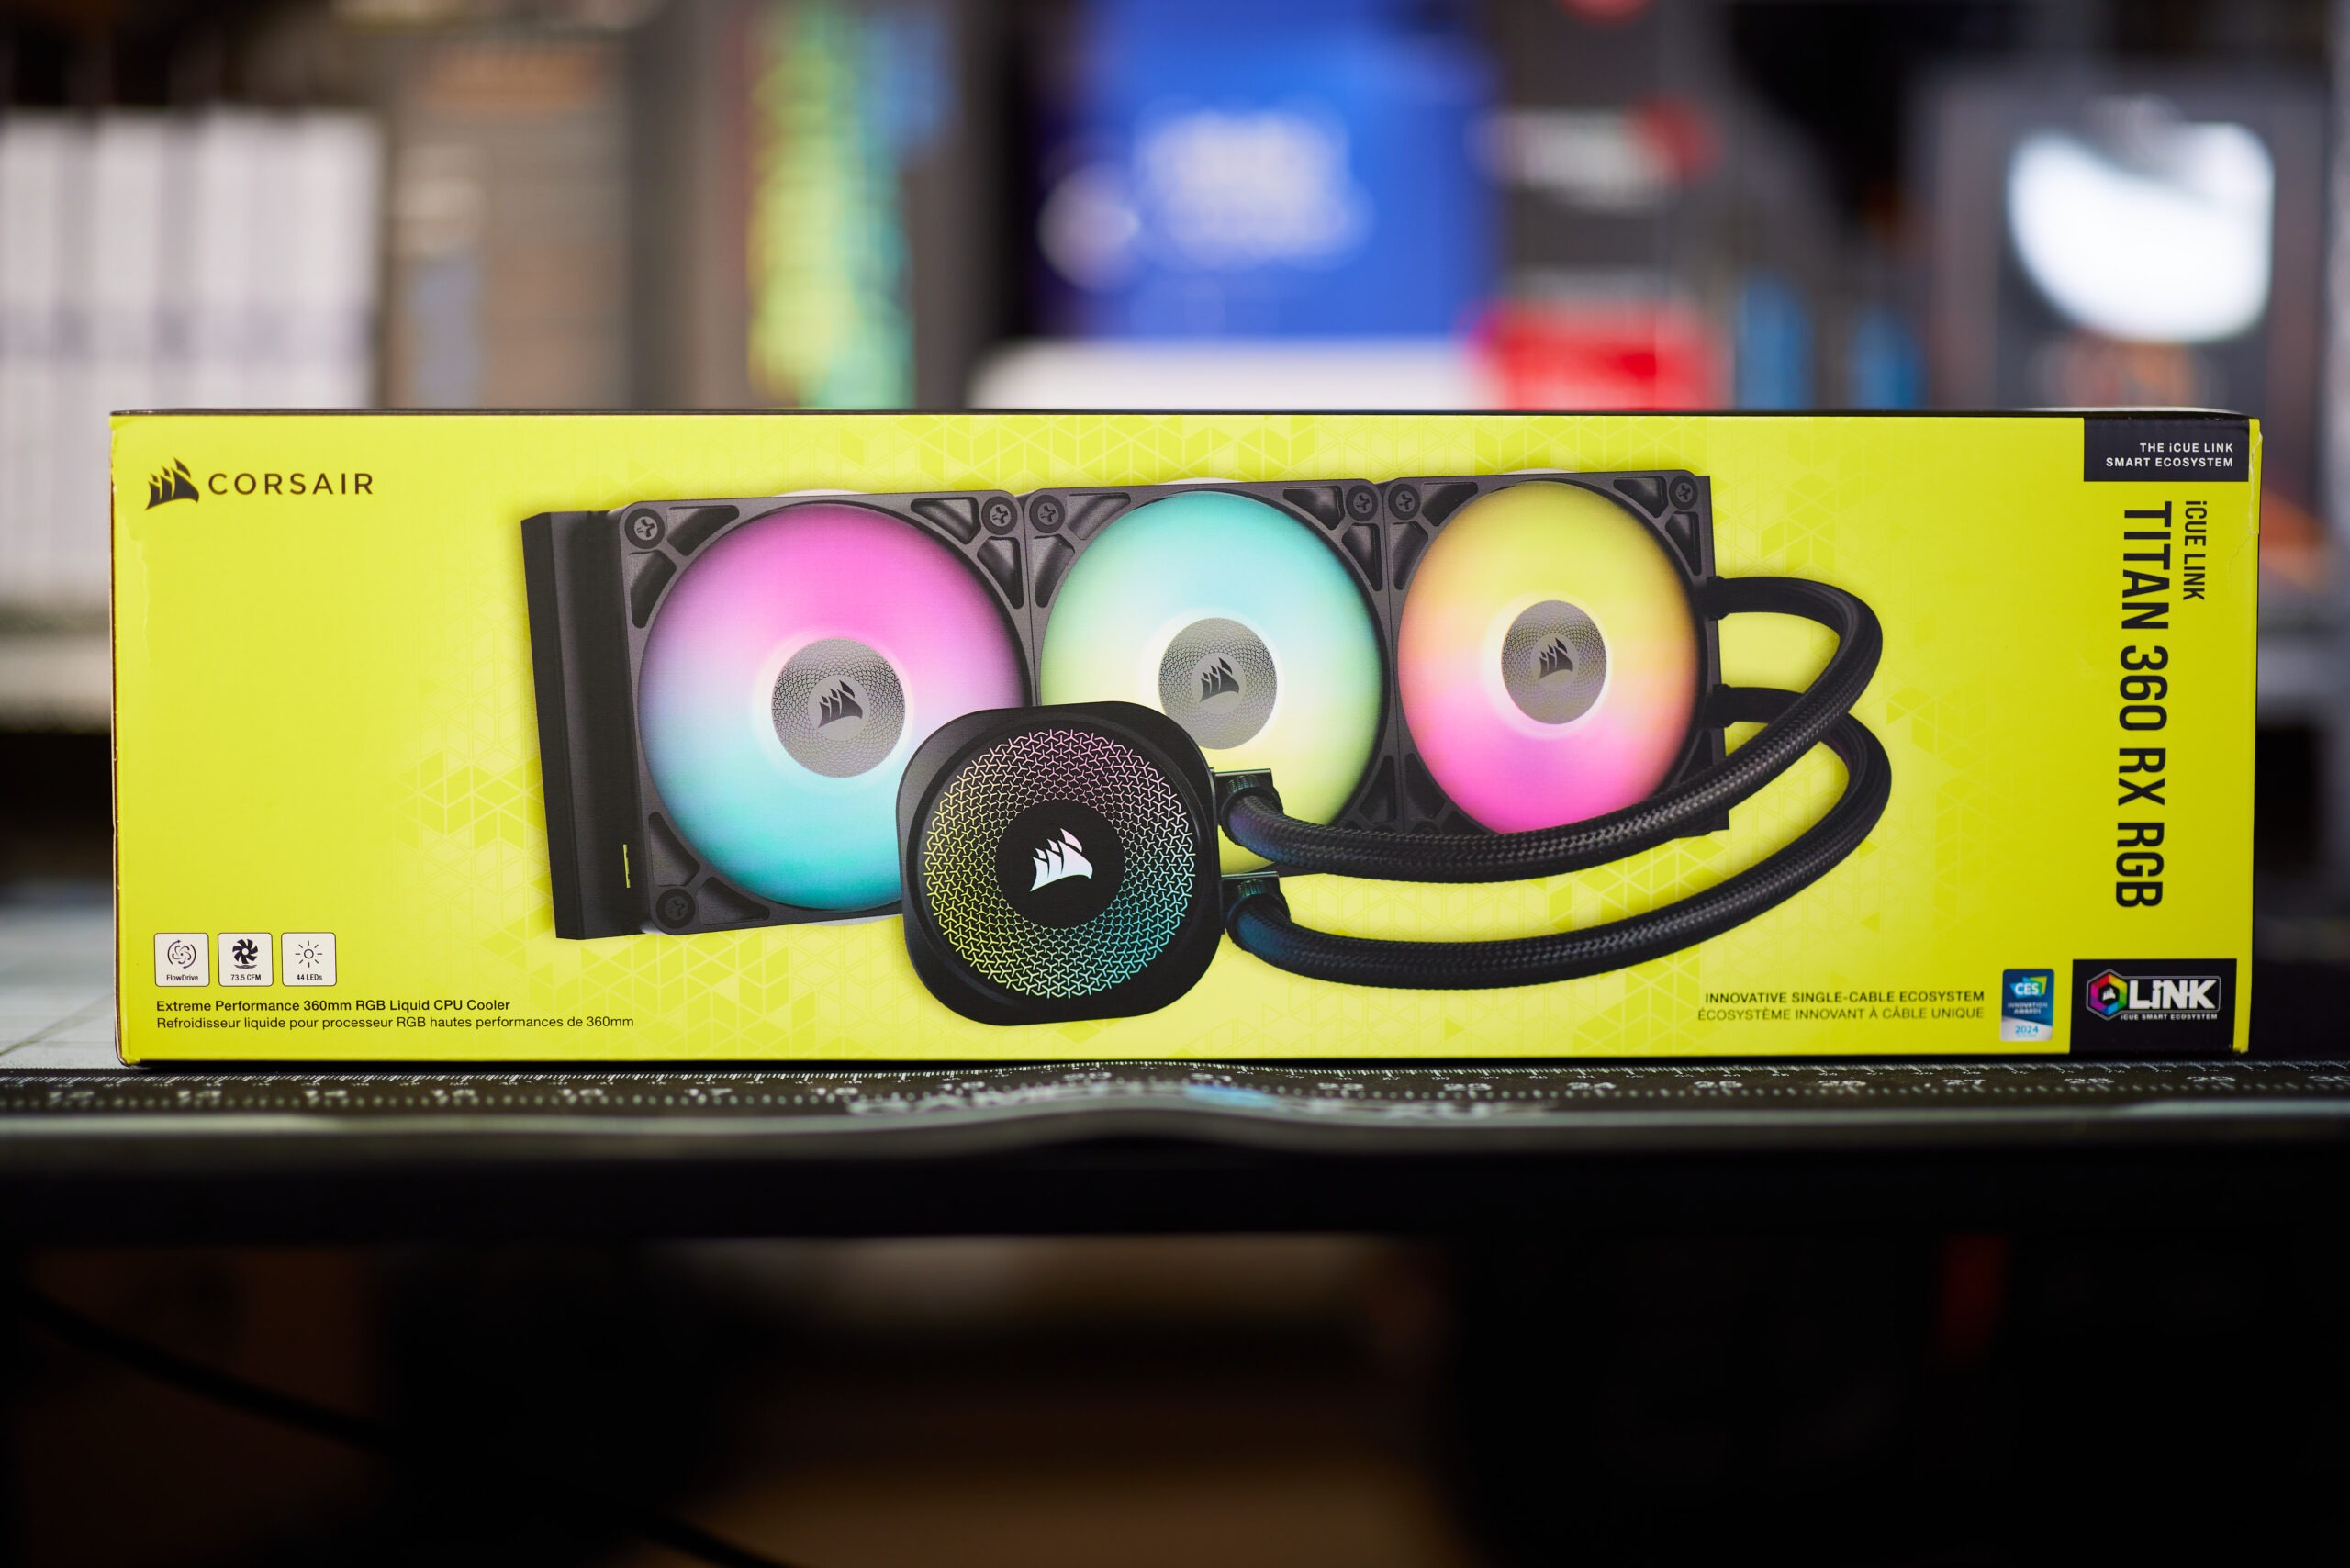
The discussion around All-In-One (AIO) CPU coolers versus custom loops will always be ongoing. However, recently there has been a lot of innovation in the AIO market by manufacturers to try to match the performance and customizability of custom loops. Corsair, not to be outdone by its competitors, is launching its next-generation AIO CPU cooler, the iCUE LINK Titan RX RGB. The Titan combines Corsair's latest advancements in cooling engine technology, replaceable pump caps, and iCUE LINK RX120 fans in hopes of being your next CPU cooler.
In addition to the Titan AIO, Corsair supplied me with three of its CapSwap modules. This review will examine the iCUE LINK LCD Screen, VRM Fan, and Pump Cap Groove modules. Is the Titan good enough to topple another AIO I've recently reviewed, the Cooler Master 360 Ion? Continue reading to find out.

As some of you might not know, I have a weakness when it comes to cases. I’ve owned cases from pretty much every single manufacturer, from small cases like the InWin Chopin up to the biggest case ever made, the CaseLabs TX10. (I had the -V). Today’s build will be featuring the InWin 309 case, InWin Crown & InWin Aurora fan products.
InWin is one of those manufacturers that go above and beyond to constantly create something different from the rest, constantly innovating and pioneering cases in one way or another. The InWin 309 is one of those examples.
The InWin 303 is known by most for it’s unique layout, the 309 is a sort of RGBified version of it, including a built in RGB matrix as the front panel.
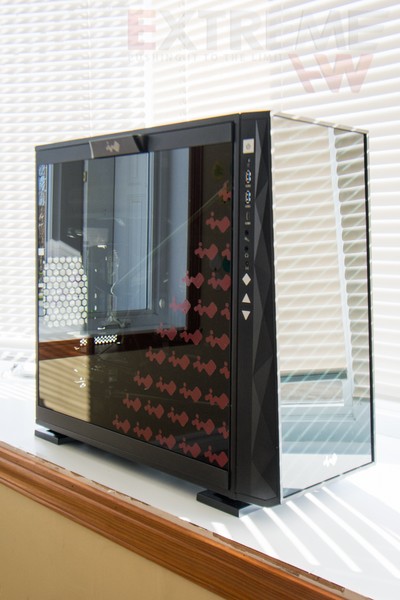
This case is a mid tower, so sized what I’d say is normal for an ATX case and can accept up to 12″ x 11″ motherboards with 7 expansion slots total (no vertical slots). Made of SECC steel with a tempered glass and ABS front bezel surrounding the front ARGB pixel matrix. This case is 65.8L if you include screws (500 x 238 x 553 mm / 19.7″ x 9.4″ x 21.8″ / H x W x D) and weights in at 13.65kg or around 30 pounds for us North Americans.
Compatibility
- Maximum Compatibility VGA Card Length: 350mm
- CPU Heatsink Height: 160mm
- 7 fan slots total, three bottom, one rear and three on the top PSU shroud placed vertically. All of them are for 120mm fans. If you’d going for watercooling, you need to opt for a slimmer rad, you’ll see why in my build.
- Vertically positioned ATX PSU slot with one single potential orientation unless your PSU has 8 screw holes, because of the cable management holes, you’re limited to 200mm length, which is plenty for most high end PSUs.
- Total of two 3.5″ drive caddies and two 2.5″ drive caddies (but has three places it can be mounted)
Front panel connectivity
- 1 x USB 3.1 Gen 2 Type-C
- 2 x USB 3.0
- HD Audio
- LED & Fan Mode Button
- LED & Fan Control Buttons
With that out of the way, let’s dive deeper into these specifications. Let’s start from the rear!
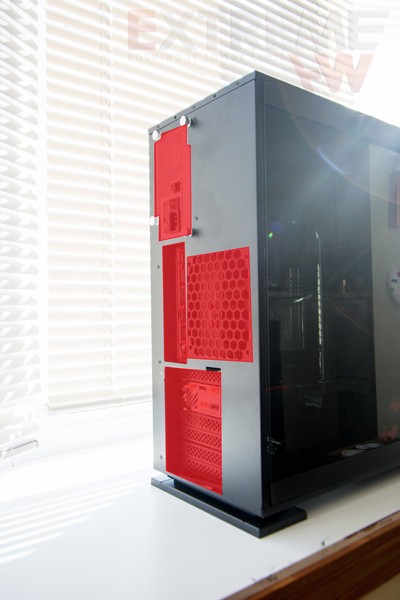
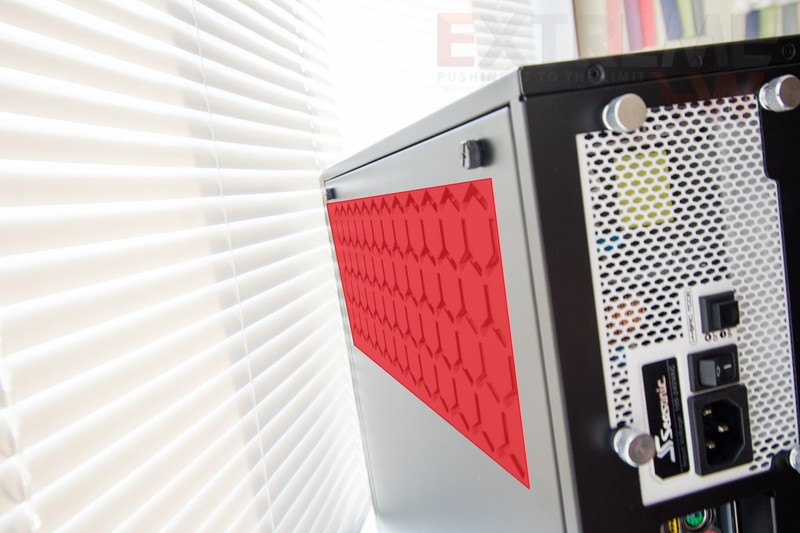
We can see the seven expansion slots, which when you remove the expansion slot covers, don’t have metal bars between them, so if you remove them all and place a vertical PCIE bracket, you don’t have any modding to do, I prefer this a lot more than traditional bars between each slot. This also helps when plugging any expansion device as sometimes the metal bar are a bit in the way as if the device is a bit too high or low, y’know what I mean right?
The fan grill sticks out a bit, which helps with airflow restriction from grills. Although the quantity of open space on InWin grills isn’t very restrictive to begin with.
The vertical PSU slots fits perfectly with this case and InWin choose to have it at the top to have the cleanest possible exterior (unvented top).
![]()
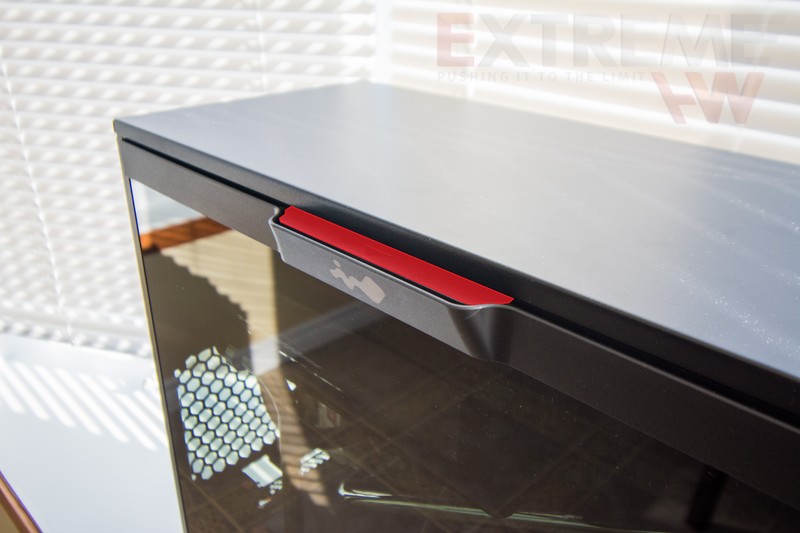
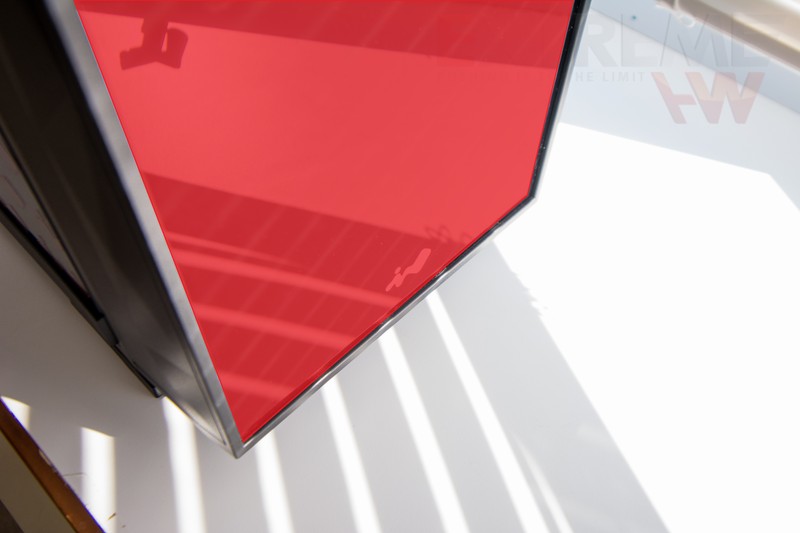
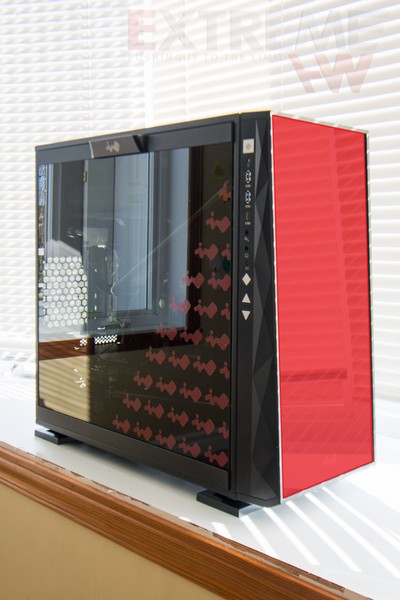
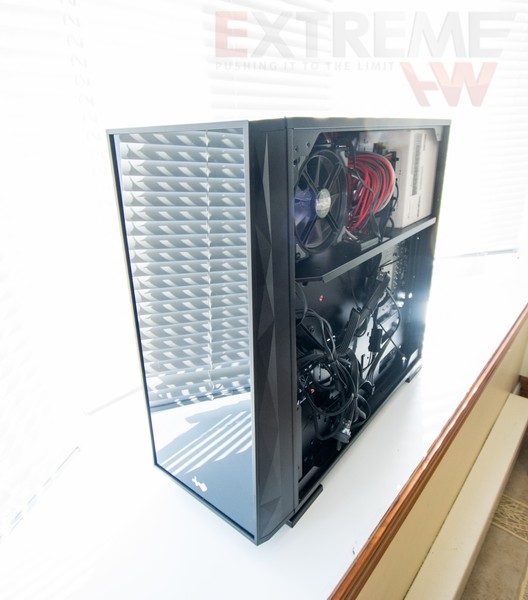
The front covering the pixel matrix is of tempered glass, as is the side panel. InWin still to this date have from my experience, the easiest mechanism to remove the glass. A simple switch which unlocks the locking mechanism to free it and it opens up from the top.
The case has a subtle centred logo in the bottom of the glass.
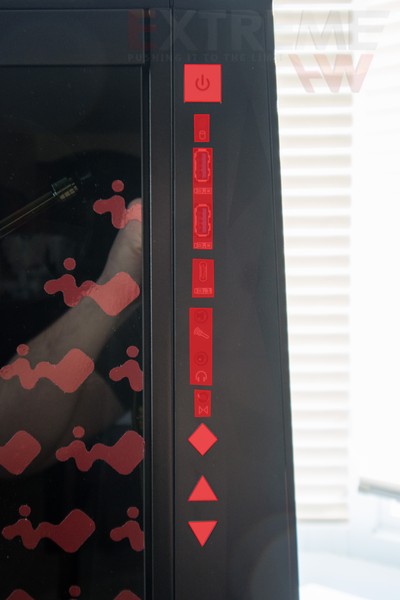
I/O on this case isn’t lacking by any means, really accessible (I personally prefer having it on the side like this rather than on top or on the front). The whole Matrix can be controlled by the bottom three buttons, which is quite convenient.
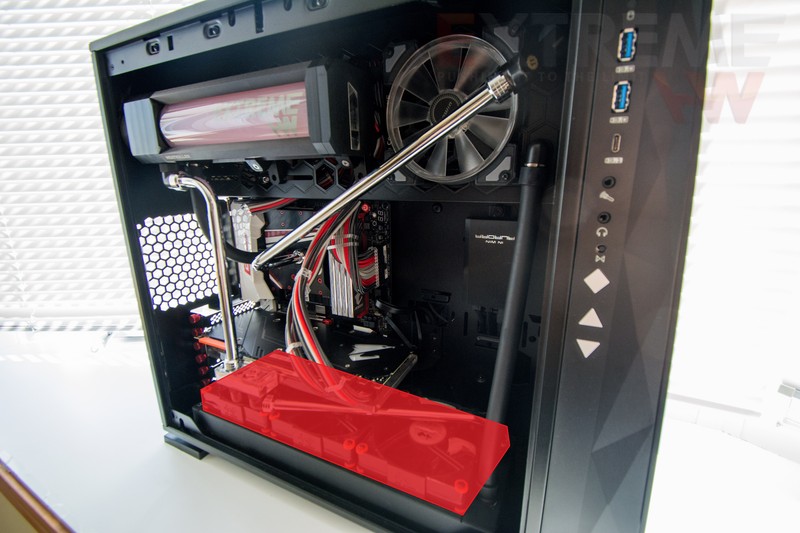
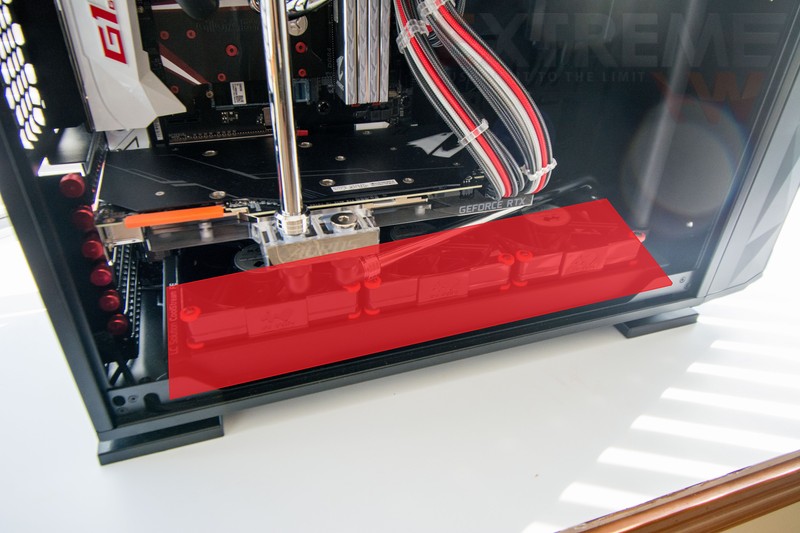
As I said in the specs, the top and bottom both fit up to 3 x 120mm fans, while the rear has one 120mm fan slot. When you’d placing a radiator on the bottom of this case like shown in my build, don’t forget to have the I/O connectors plugged because it’s near impossible after you’ve installed a radiator because of the overlap. You can also see why a thinner radiator is preferred, this is an EKWB Coolstream PE 360, which measures 38mm thick with fans we’re looking at 63mm total. The fan screw did touch the fitting a tiny bit, so that was basically my limit in terms of size (fan+radiator) as I was using three of the four GPU ports (in, out and drain valve (bottom left)).
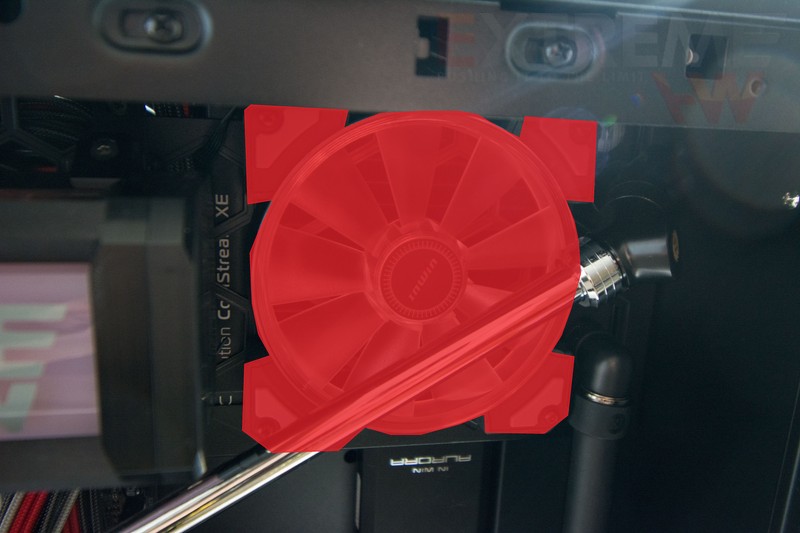
The top is vented through the top rear portion where you see the highlighted grill. I choose to place my reservoir here and hide a 120mm EKWB Coolstream XE in push/pull with only one fan on the front of the shroud. I think with a bit of modding, one could potentially fit a 420mm radiator here! :O
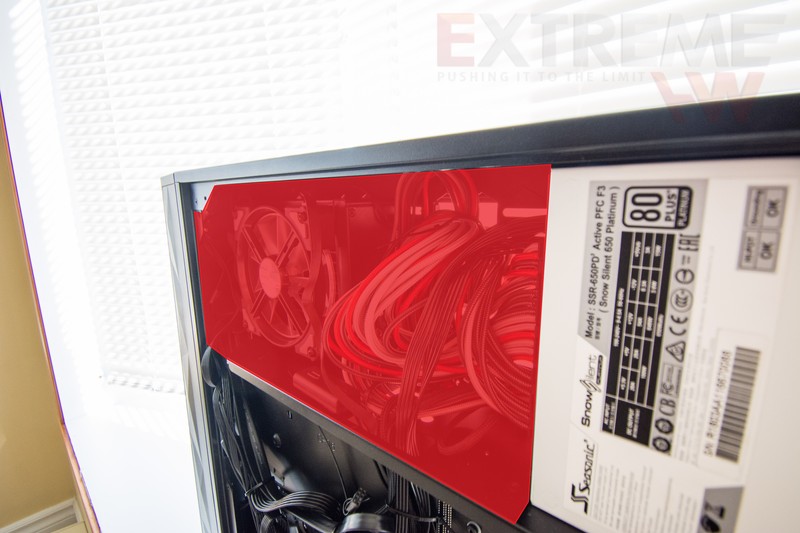
Behind this shroud is also where we have room to hide cables, I fit a lot of stuff behind that shroud with more than two thirds filled by the PSU and radiator/fan (these custom CableMod cables are THICC)

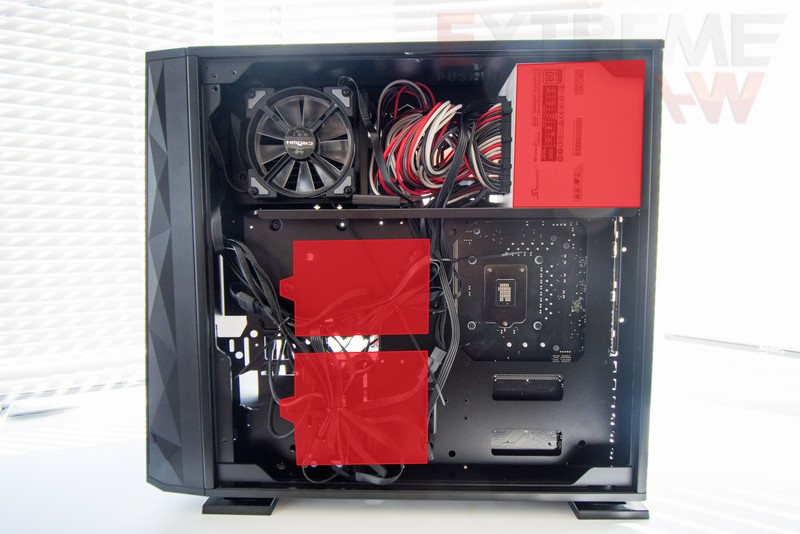
Storage caddies can be placed where highlighted and the 2.5″ ones has an extra spot under the right most caddy seen (hint, it’s upside down).
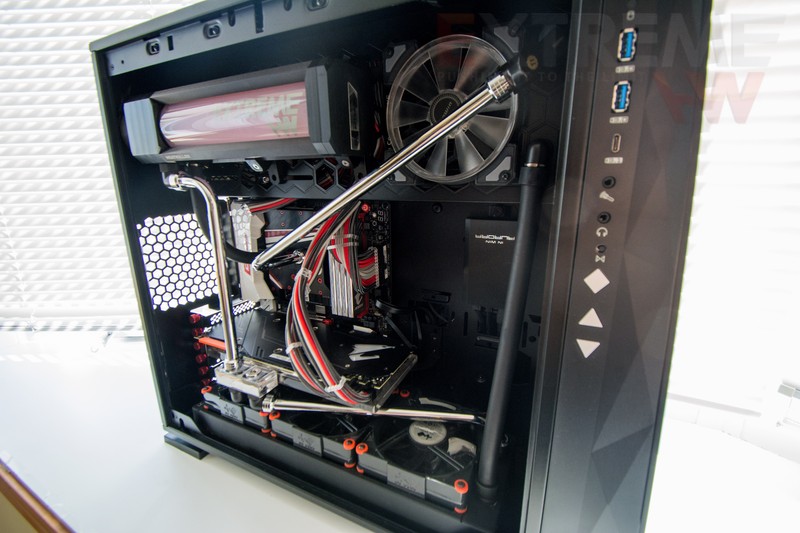
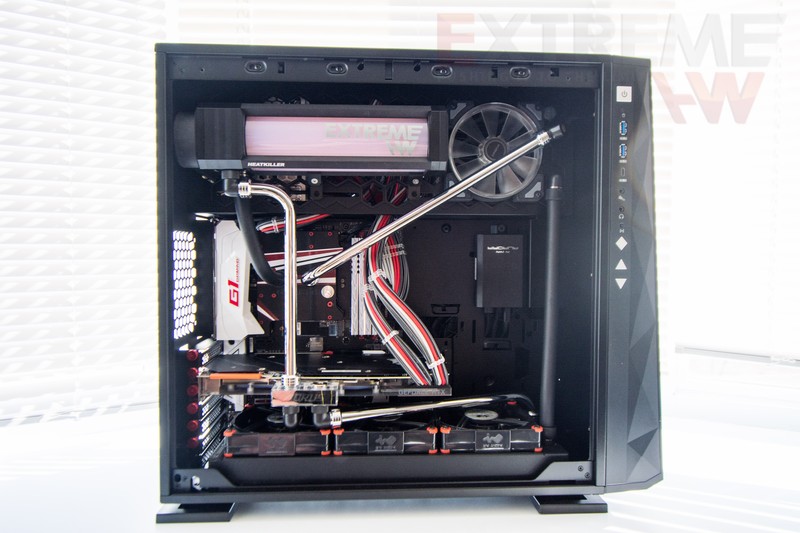
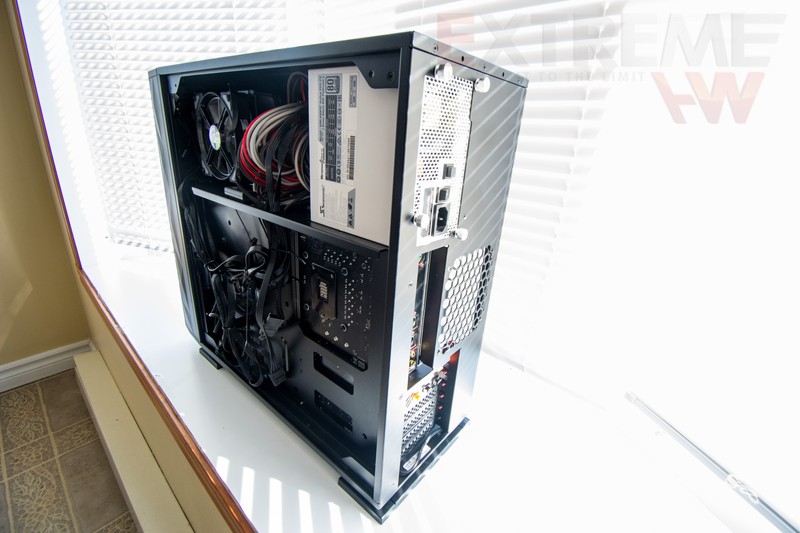
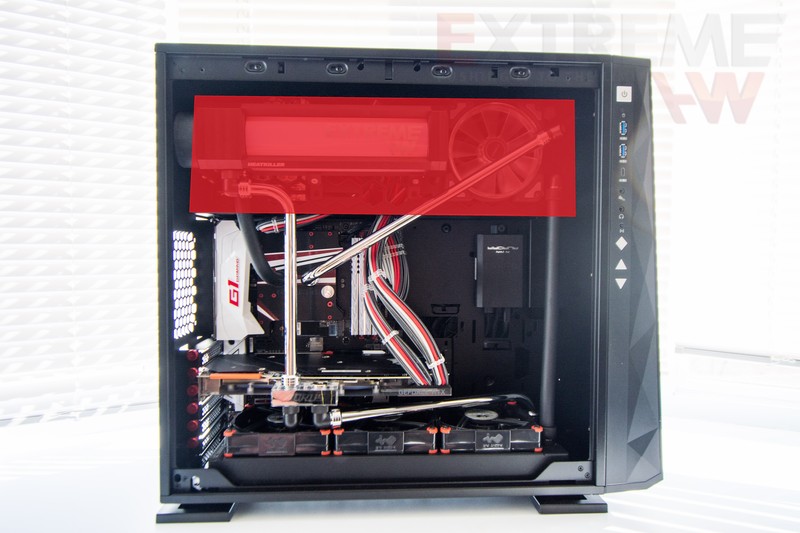
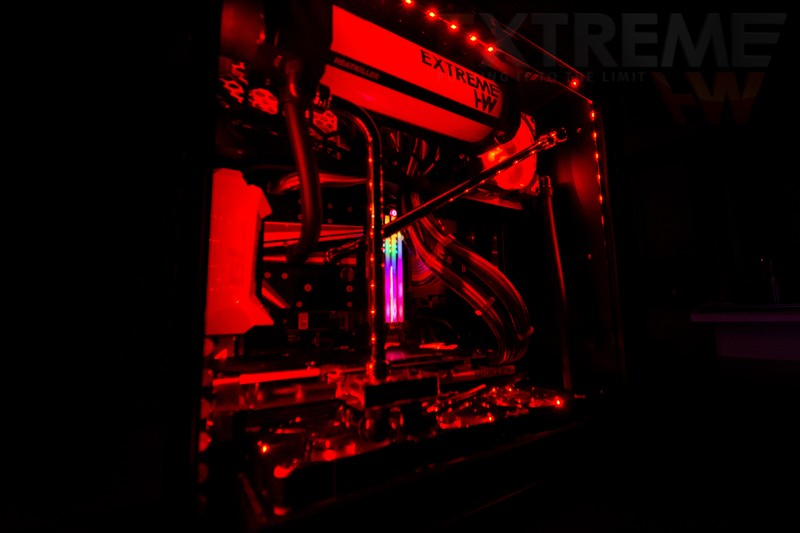
This is the build I did in it, super easy to do, with both hard tubing and soft tubing. I was also very familiar with the InWin 303, so that made hardware selection easier too (for the cooling loop)!
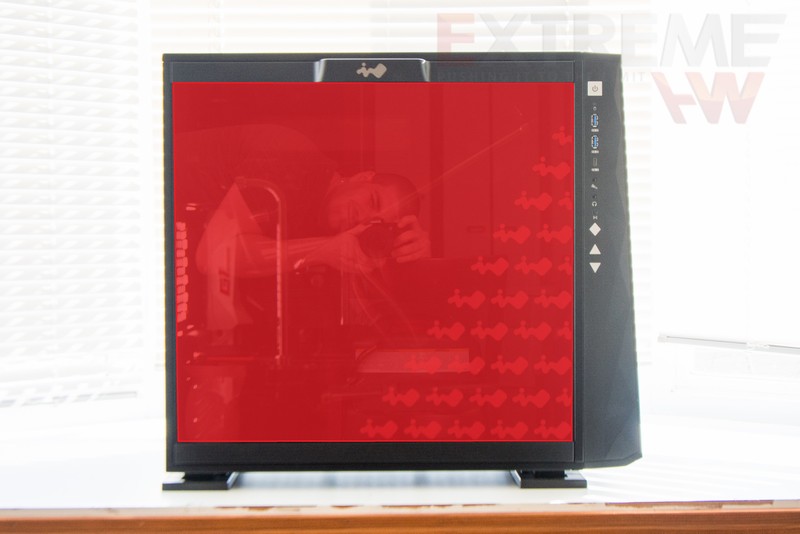
Now for the moment everyone has been waiting for, the LEDs!
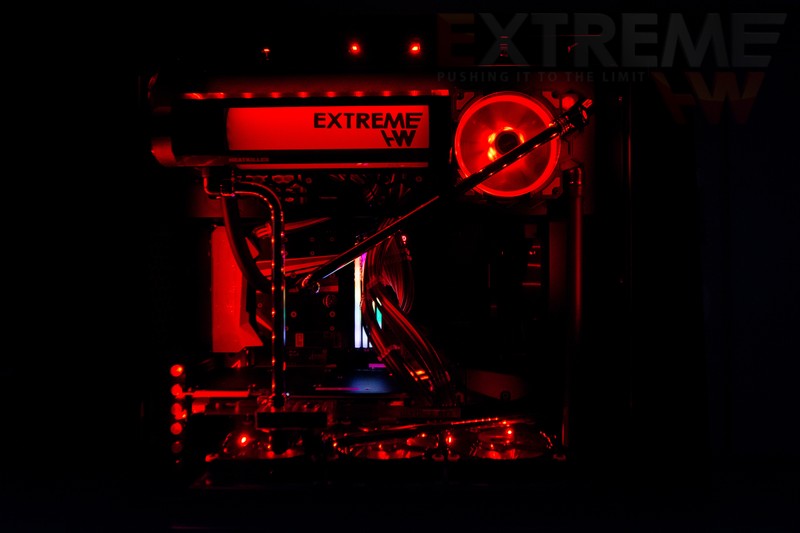
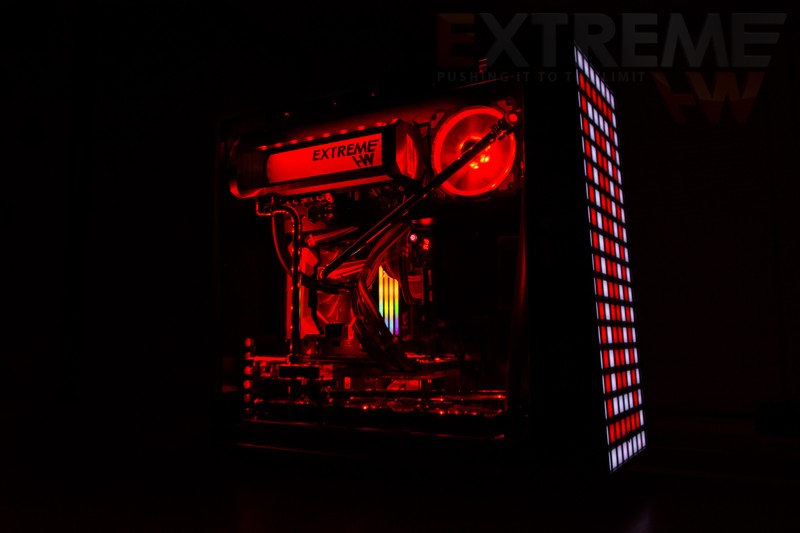
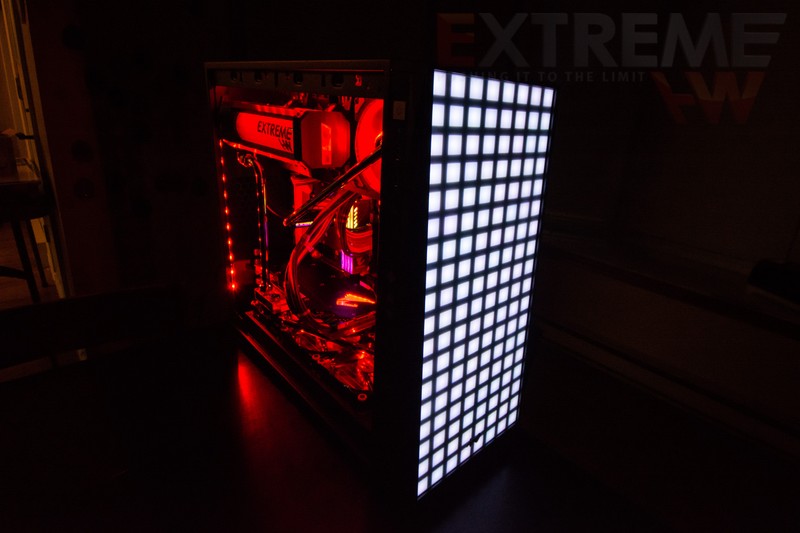
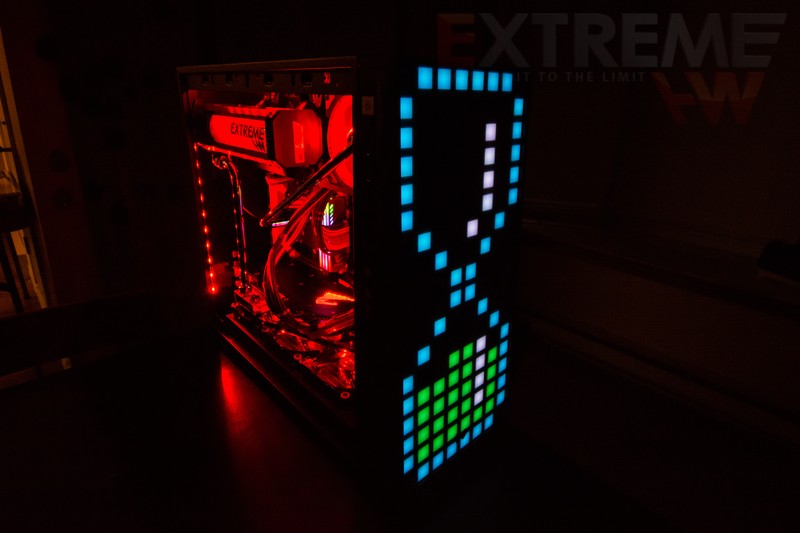
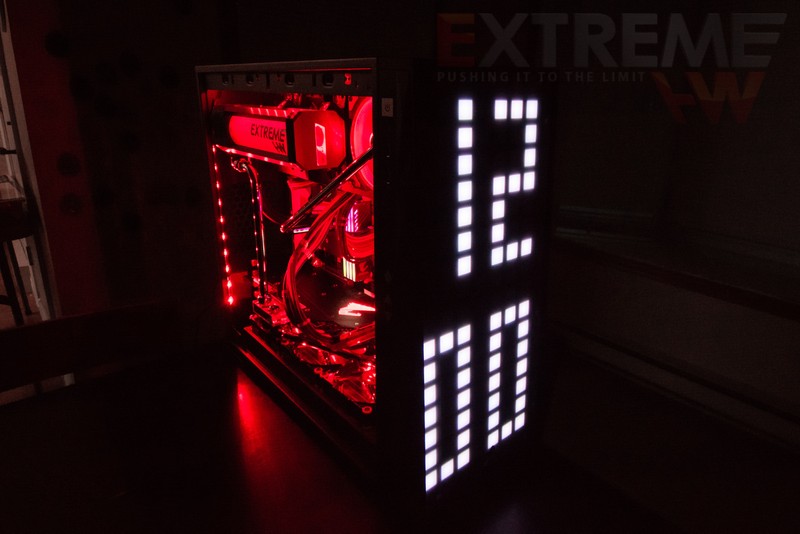
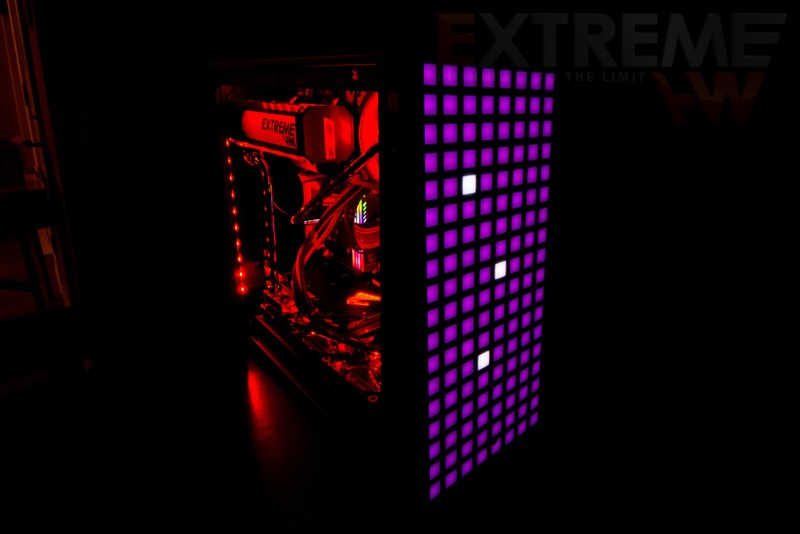
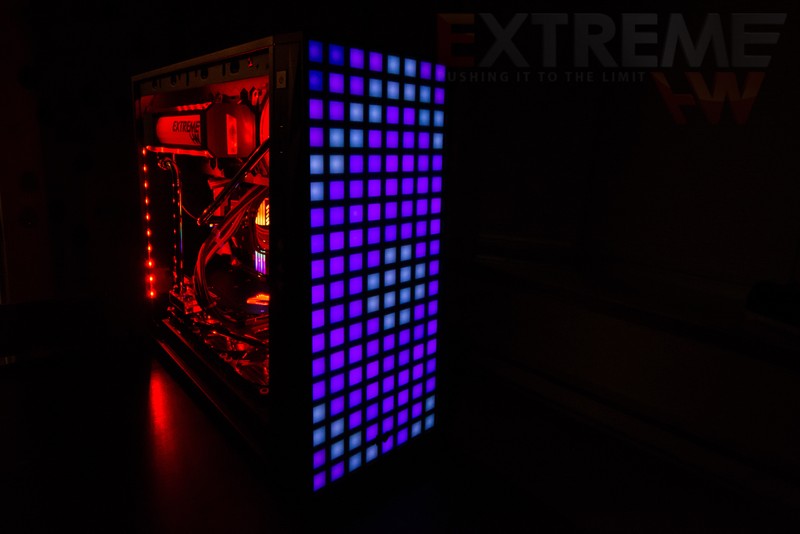
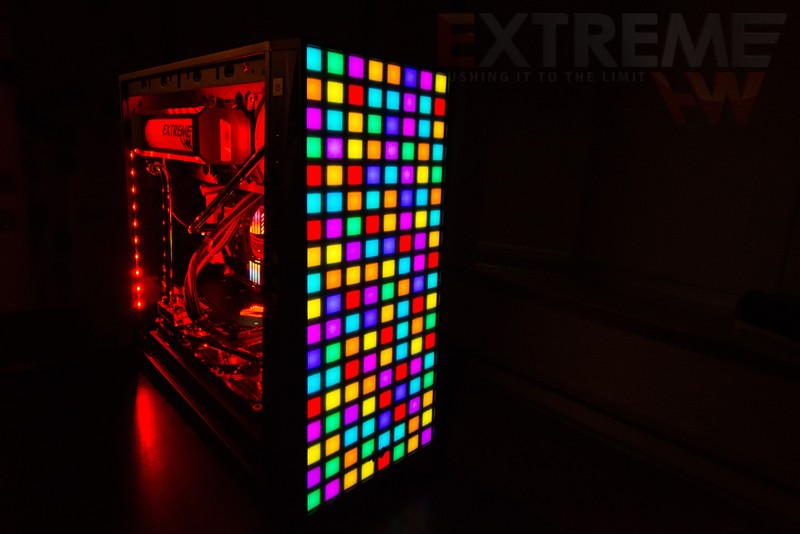
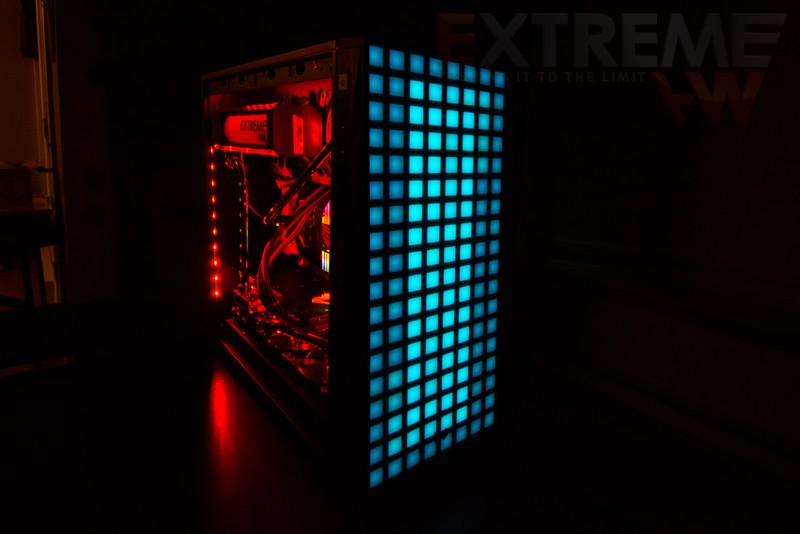
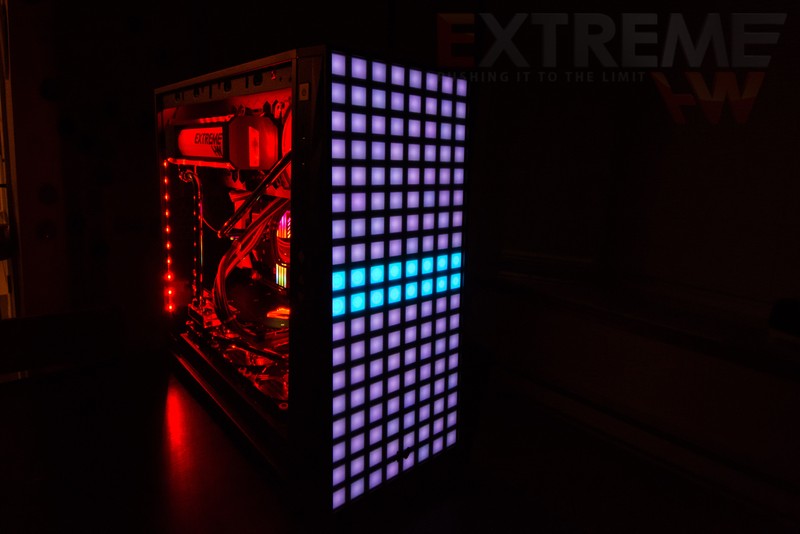
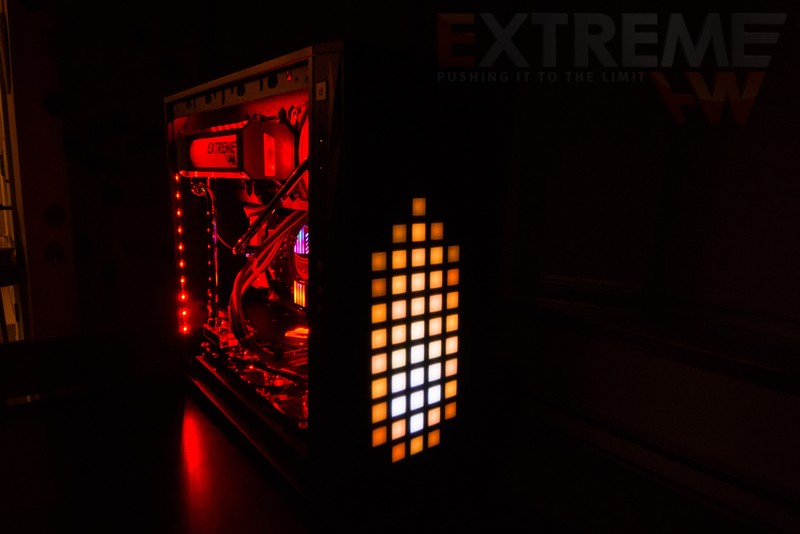
Many preset modes exist as shown here, each have either brightness settings and/or color settings. You can have from what I’d consider blinding bright down to almost off brightness, which is great as it let’s users create anything they desire (within the pixel count of the 8 x 16 matrix).
This case is an easy recommendation if you want something unique on the market as no one else offers this sort LED matrix. Keep it up InWin, cases like this are the reason why many still choose your products over others! Thanks to InWin for providing this sample (and fans) for us to make this review, we really appreciate the support!
InWin products shown :
- InWin Crown 120mm pressure optimized fans on the top radiator,
- InWin Aurora 120mm fans on the bottom radiator with two LED strips all connected to the Aurora hub on one of the 2.5″ caddies
- InWin 309 black case.
A huge thanks to InWin for supplying us with the products for review. If you like InWin you may also like our review on the InWin Alice case.

Want to discuss this product or give your views and feedback from your own usage? Discuss on the ExtremeHW Forums
Like our content? Please consider Donating to help us to continue our writing.
Related Posts
This Post Has 0 Comments