Skip to content

In recent years we have witnessed a renaissance underway in the computer case world. The days of ugly beige steel cases that hide computer components are gone. We have seen case modders and builders actually shape the retail market for cases in the last 10 years. From extravagant water cooling monstrosities, to major advancements in small form factor, off-the-shelf computer cases now come in a myriad of styles.

Today we are taking a look at a new case from InWin that’s pushing the boundaries even further. The ALICE case from InWin, promises to deliver something different than most users might be expecting.


The Alice is not just another glossy case with glass windows to cram water cooling parts in and put on display, it’s a whole new concept. Similar to what we saw with the advent of HTPC computer cases, the InWin attempts to blend function and style and make the computer case part of the furniture in a new and inventive way. The Alice a new generation of chassis.

We are thinking indicatively to improve the traditional heavy chassis. Alice not only possesses a light frame, but maintains the durable and sturdy standard that we’ve set for ourselves. -InWin

With no steel casing and no side panels, you might be asking yourself how is it a case? In fact, there are no side panels. The Alice is a fully open air skeletal computer case structure, with a stylized dust cover that encapsulates the entire computer case.

We’ve heard from the community, and the desire for a variety of vivid colors are in demand. To those that are bold enough to be different, let’s make pastel colors, intricate designs or something totally distinct! -InWin

The Alice is a lightweight and inexpensive case, but you wouldn’t know that by the box. If the shipping carrier left the box on your doorstep, like he did for ours, then you will be pleasantly surprised when you see the artfully printed cardboard box and not a generic one.

The internal packaging is sparse, we assume this might have something to do with the lightweight nature of the case. Aside from a plastic bag and a small piece of foam covering the top, there is no actual padding to support the structure during shipping. That being said, our case was perfect out of the box with no defects of any kind.

Both ends of the box are printed with the prototypical product details that we would expect to see here. Our review sample case comes with a grey top and a grey fabric sock.


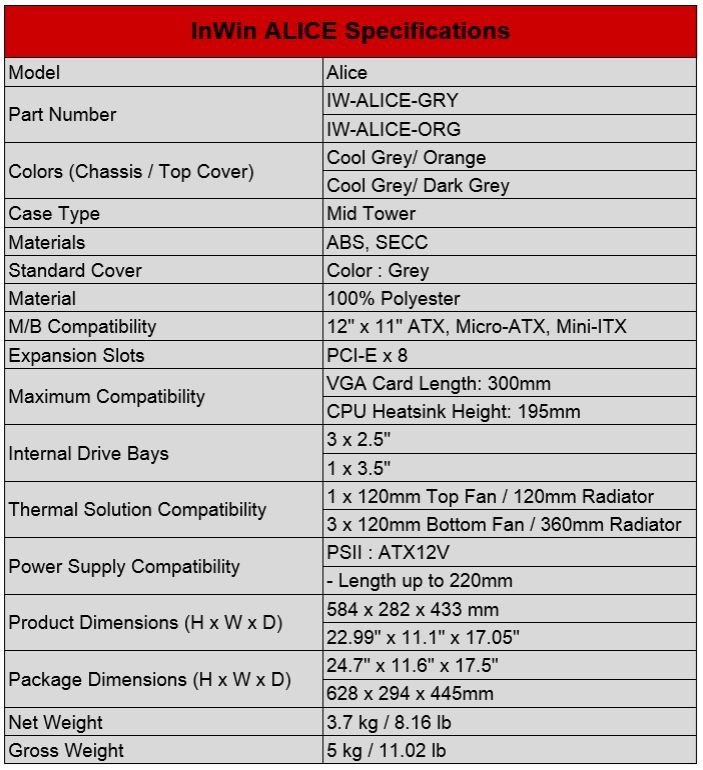
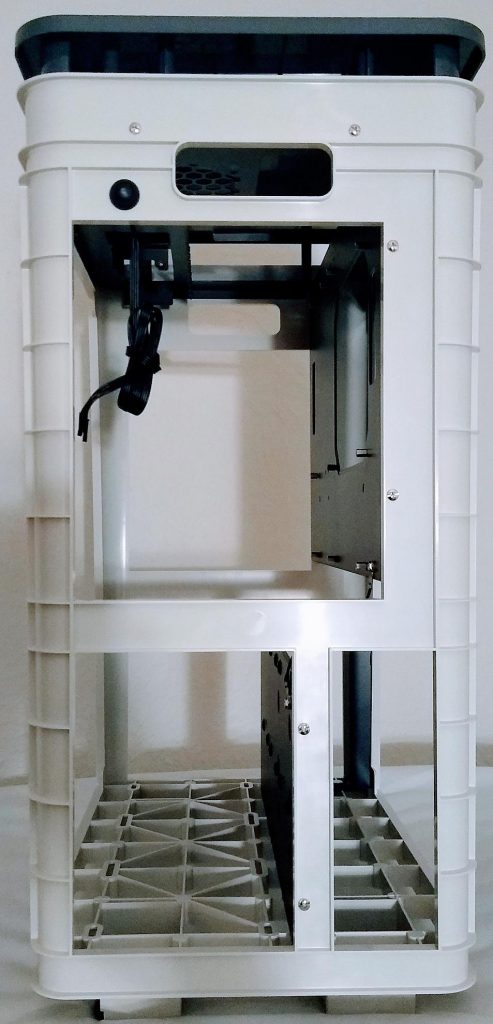
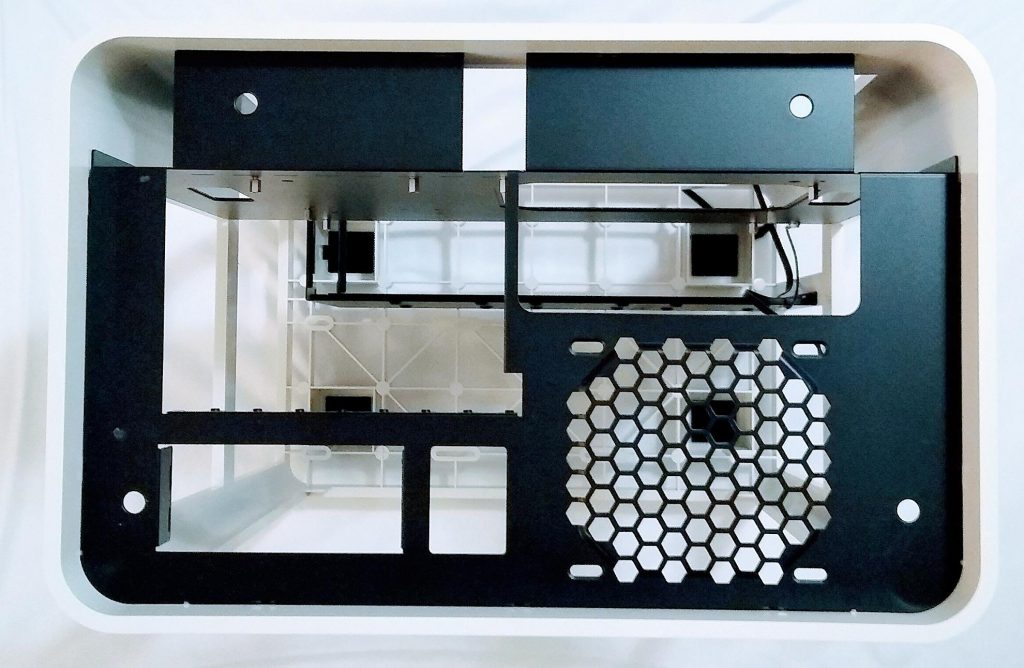
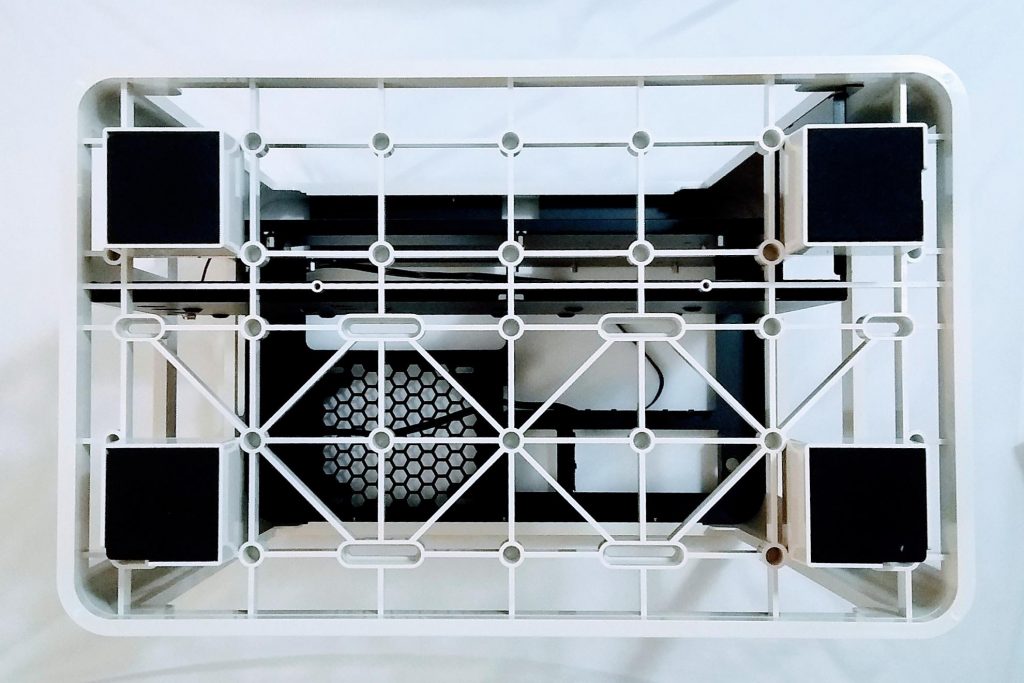
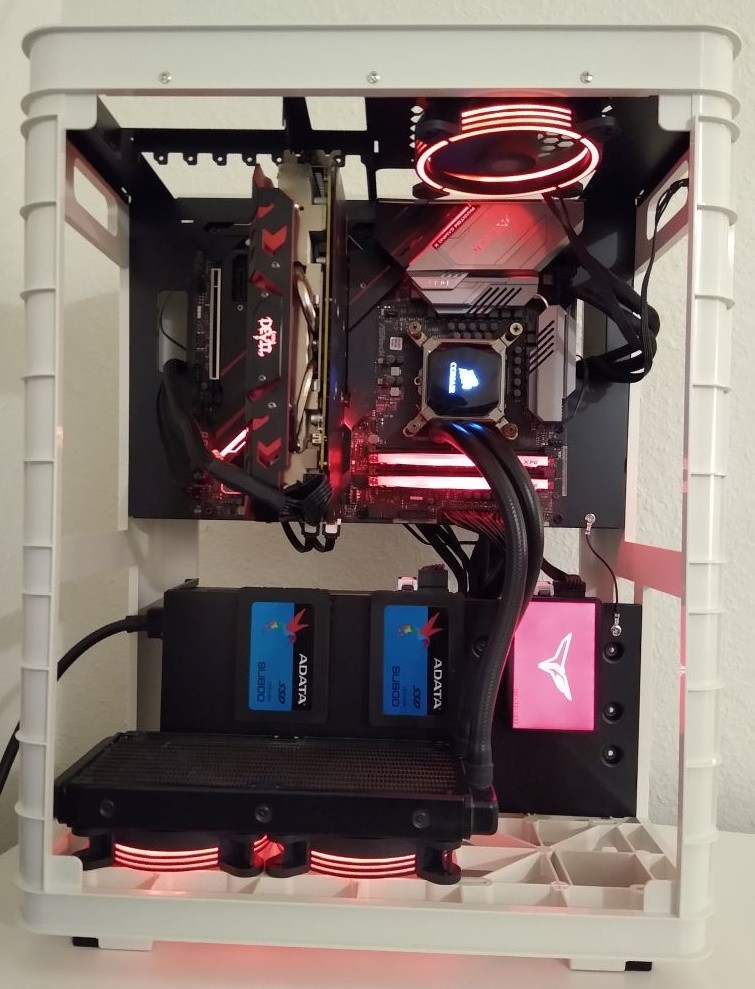
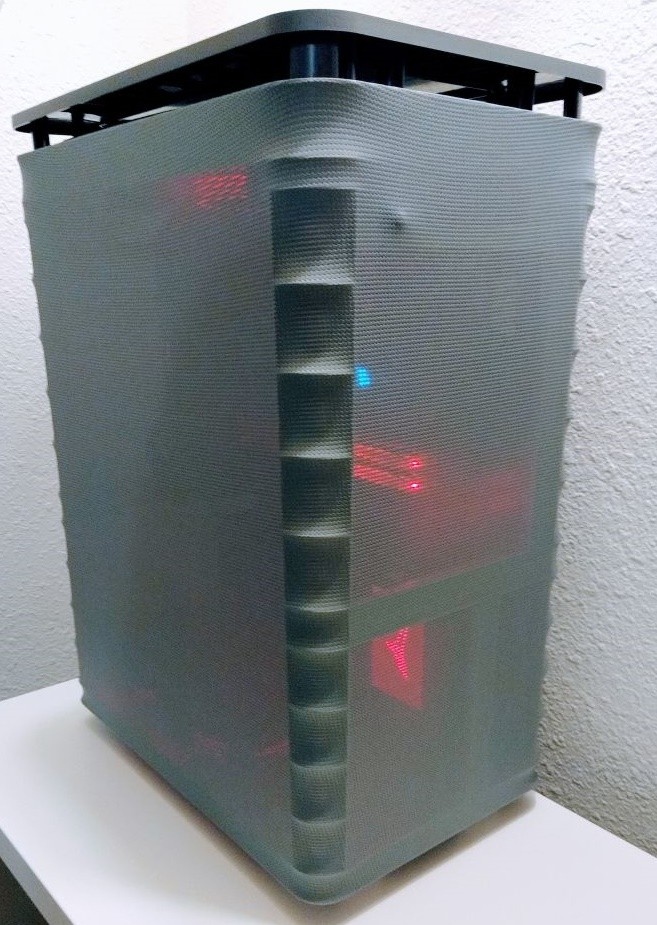
Out of the package we get a look at the Alice for the first time. The structure is very lightweight but it feels sturdy. There are two main sections. The motherboard tray is on top, which supports 12″ x 11″ ATX motherboards, and the lower section that supports the PSU and storage.

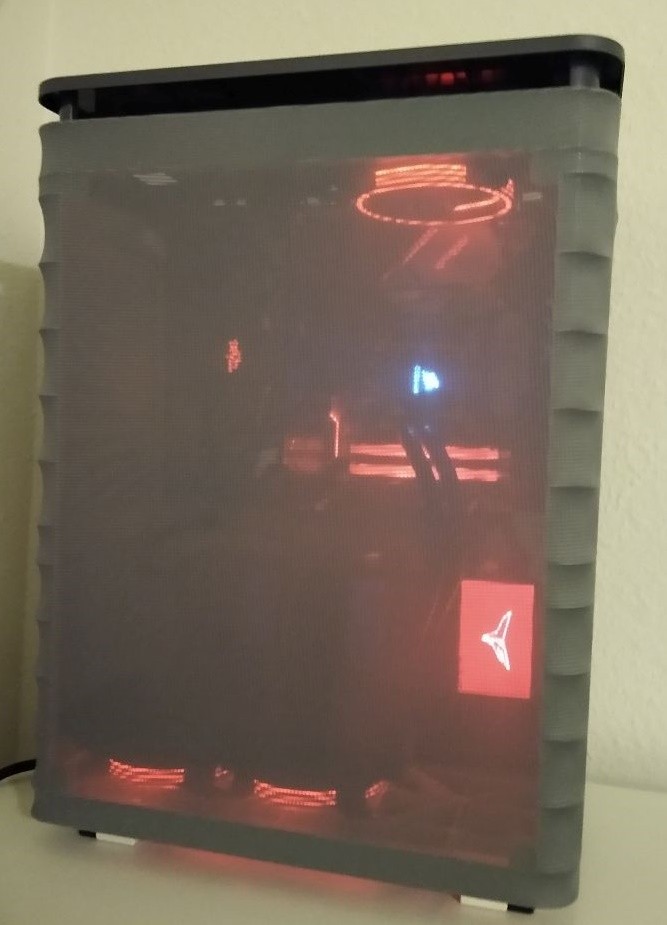
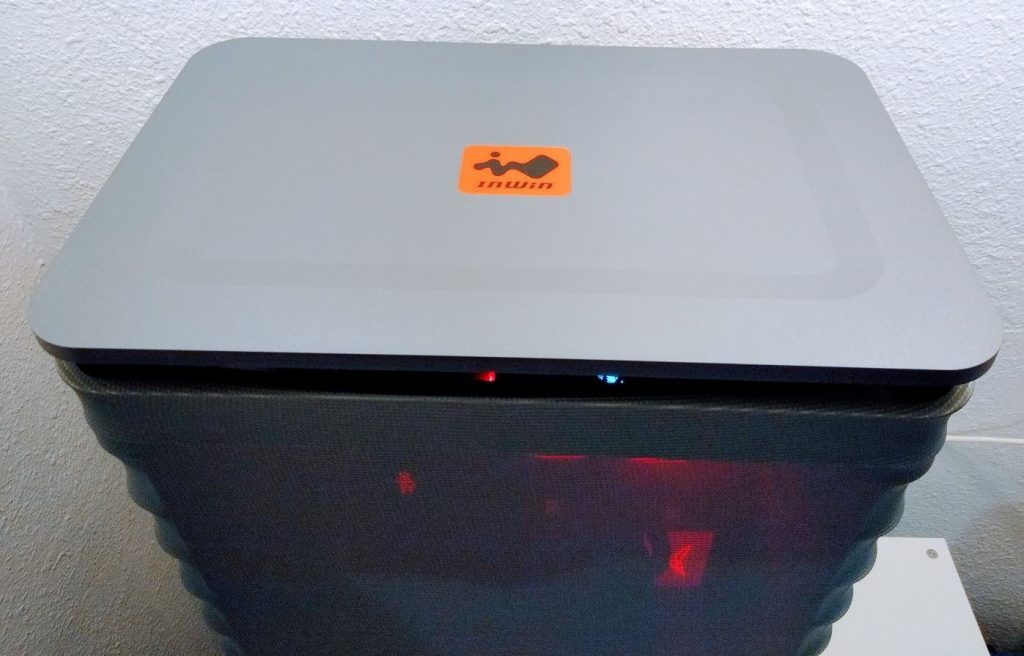
On the front of the case there is a single power switch. The switch is illuminated with an LED at it’s center if you choose to wire it up. Contrary to what we normally see on cases, there is no front panel for audio, USB, and other removable media connectors. A simple action of inserting a USB flash drive or plugging in headphones might consist of removing the top dust cover.

Not having an external port for headphones might pose some difficulties for users who have desktop speakers and also use headphones. Furthermore, some users rely on the external USB sockets as the motherboard IO can tend to get used up with peripherals such as printers.

Front View


The front of this case is as simple as it gets. There are no 5.25″ expansion bays, and nothing up front except for the power button. Once the dust-cover is installed, the power button will be hidden.

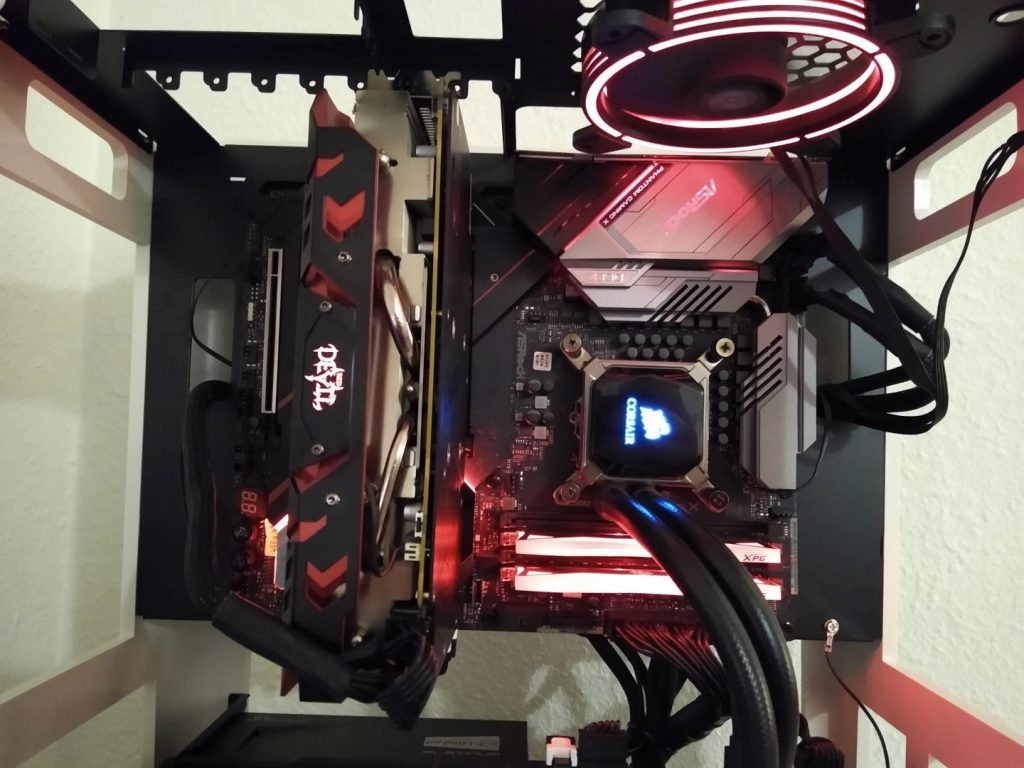
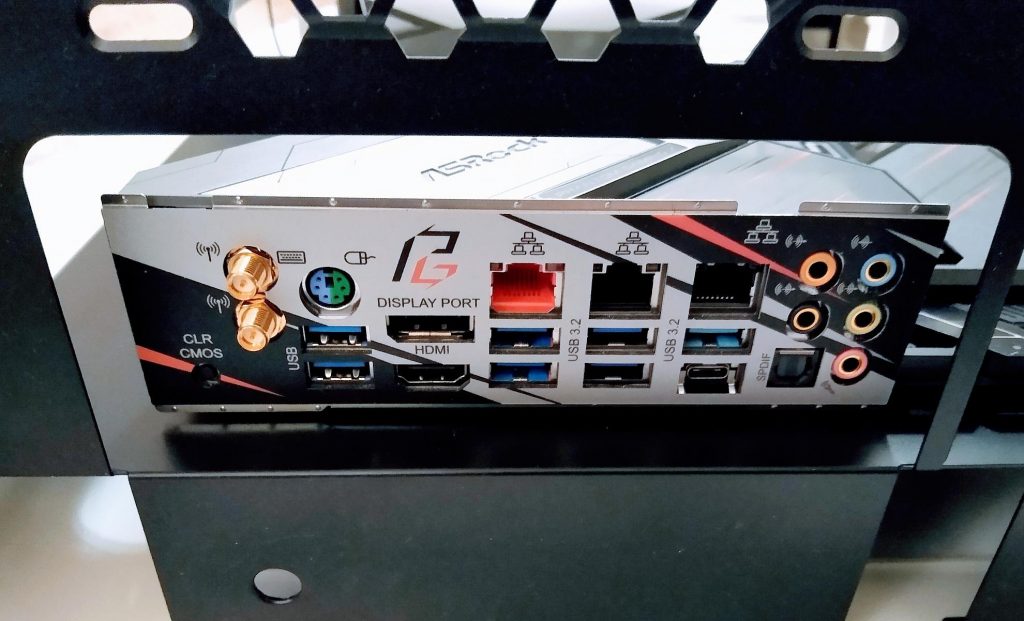
The motherboard is oriented so that the IO ports are on top. This also means that the graphics card IO ports will be on the top as well. There is a plastic dust shield that covers the IO ports. Later on we will take a look at how that function works and what the user experience will be for accessing the motherboard and graphics IO ports.

Side View (Motherboard)


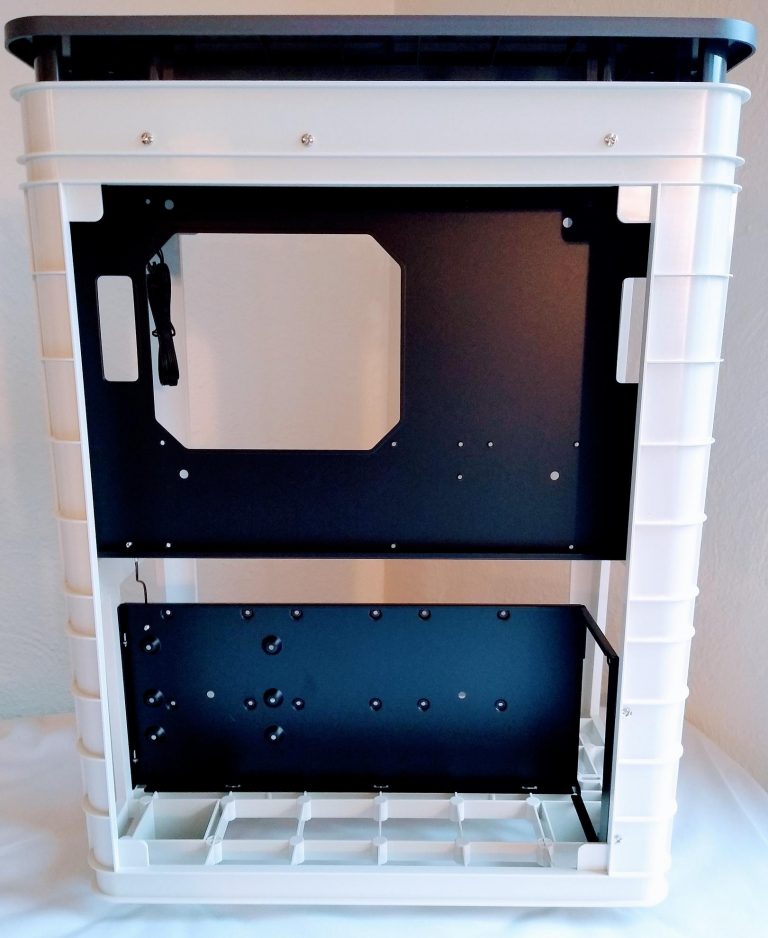
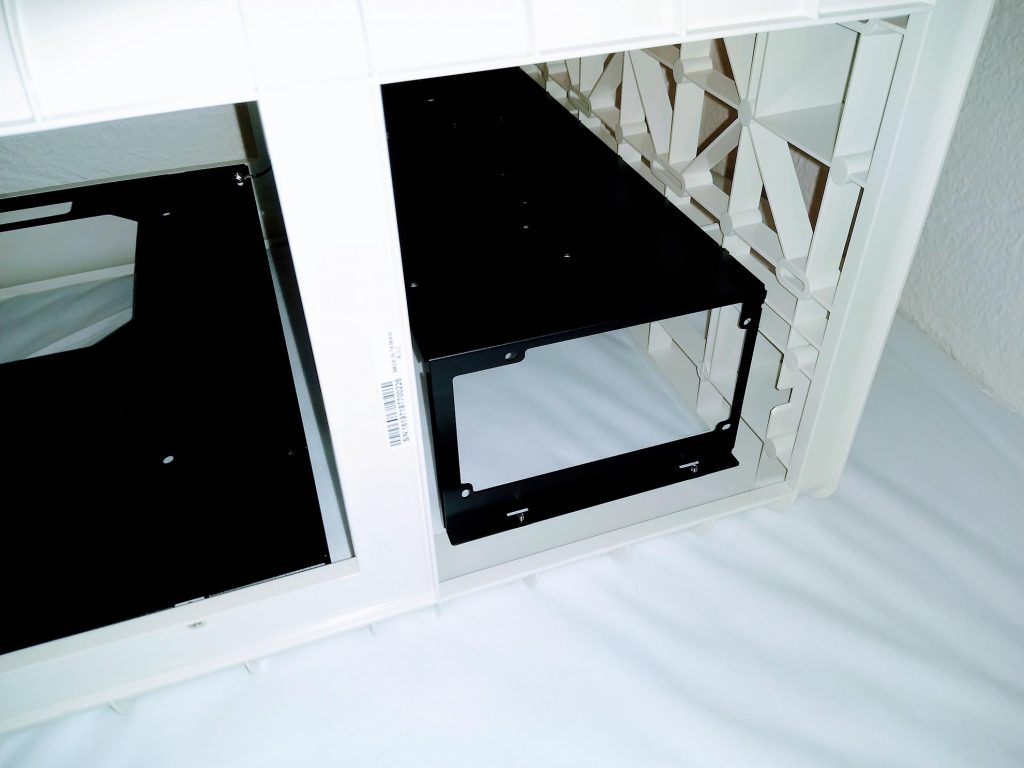
In the back we have ample room to mount a large PSU. The specifications state a maximum PSU length of 220mm, but it seems apparent that this case can accommodate just about any computer PSU length.

In terms of cable management there appears to be more than enough room. The lower PSU tray also includes mounting holes for 3x 2.5″ drives which are visible from the motherboard side and 1x 3.5″ drive which is hidden with the PSU.

We would like to point out that once a standard size PSU is installed, the screw holes for two of the three mounting locations for 2.5″ hard drives will be blocked. To remove or add a drive in thees locations, the PSU will need to be removed to access the screws. Even with a short power supply, at the very least one of the 2.5″ hard drive screws will be blocked. It’s not a big problem, but it does require some forethought when building the PC.

Side View (PSU)


As seen in the back view, the PSU does not get flush mounted with the outside of the case. Rather, the PSU is inset which will allow the AC power cord to be connected and run thought the bottom. This might seem strange, but once the exterior sock is installed, the power cord will be nicely hidden.

Back View


The top of the case is what we would normally consider the back. All of the IO is up top and this will serve as the main exhaust for the case. There is one 120mm fan location for the main exhaust. We would have liked to see the ability to mount a 140mm fan here too.

We would like to point out that the motherboard IO shield hole is bigger than standard ATX. If the motherboard you have chosen to build with this rig does not have an integrated IO shield, then you will not be able to use one at all. Why do we need IO shields? With this case being oriented a little differently you will access the USB ports from the top. In that situation there is nothing to stop items, like a USB drive, from dropping inside the case and potentially shorting on something.

Furthermore, there are no covers on any of the expansion ports either. With the top of the case off, the components are very exposed.

Top View


The design of this case is bottom-up airflow. The feet lift the case off the floor by 2 inches. This should provide ample air intake, even when the case is placed on carpet.

As we see here, the bottom of the case is setup to accept 3x120mm fans and radiators. There is no possibility of mounting 140mm fans or radiators without some extra mounting brackets.

Bottom View

PSU Location

As stated earlier, the PSU is inset from the outside edge of the PC. Users will need to plug in the AC power cable and run it trough the bottom of the PC before installing the dust sock.

As for hardware, InWin includes everything you need to get started. They have included all the screws you will need for mounting the various hard drives, PSU, and the motherboard.

They did not include any hardware for mounting a radiator or fans. For AIO coolers, the longer screws required will typically come with the cooler, so there shouldn’t be an issue there. Builders who are using this case for a custom water loop will need to source their own radiator screws.

Hardware


Dust Covers

Our review sample shipped with two different dust covers.


We had originally intended to build out this case with an NZXT Kraken X68 all-in-one CPU liquid cooler. However, that radiator uses 140mm fans only, so we had to go with the backup cooling option, an older Corsair model.

Another limitation to the build was the graphics card. Due to the fact that we could not add a second radiator, we were forced to exclude the 2080Ti Kingpin Edition from this build. That particular card uses a 2x120mm AIO for cooling and there was simply no way to mount a second radiator without modding the case.

Here are the specific details of our build.

Once the parts were selected, assembly was a easy. The open nature of this case makes it very easy to work on. There is plenty of room to hide fan controllers, accessories, and excess cables behind the hard drives.

The build is fairly clean, but in this case it doesn’t matter as it will be hidden by the dust cover.


Here is a closer look at the motherboard. The area between the motherboard tray and the PSU section did end up getting a bit messy. There was no easy way to manage the cables, but the mess is minimal and shouldn’t be visible once the dust cover is on.


One aspect of this case that we didn’t understand was the motherboard IO shield. They chose to build this case so that the motherboard IO shield does not contact the case. If the motherboard did not come with an integrated IO shield, then it would have been even more awkward. Some IO shields provide useful information and can be a fundamental aspect of making the build look ‘finished’.

We would have liked to see the conventional ATX standard IO shield size implemented here.


Once the dust cover is on, we were surprised at how much of the structure was still visible. With all the LED’s shining bright, the dust cover is quite see-through. In a way, this allows the builders to still show off the hardware by illuminating the inside of the case
In the picture below, the case was placed in a sunny room, with daylight sun only and no lights.


In the two pictures below, we turned on a light located directly above the case. The addition of the overhead light diffuses the light coming from the case, but it’s still somewhat see-through with bright RGB components.


Thermal Testing

We tested the case under two conditions, with the dust-cover on and off. In each case we measured the idle and load temperature. The load measurements were done taken after running Prime95 stress test for 20 minutes and the 9900K running stock, with no overclocking. The GPU load tests were done with the UL Benchmarks, Time Spy stability test. For the idle measurements, we powered on the system and let the temperature stabilize for 30 minutes before recording the temps.

For both test conditions we set the fans to run at 75%. temperature measurements were conducted with the ASRock Motherboard Utility Ver. 3.0.269. Since the case does not come with any of fans, we will exclude all of the noise testing.

As we might have expected, the InWin Alice performed exceptionally well in the thermal testing. The CPU temperatures were effectively the same as a fully open air case. This was an expected result since the radiator is located at the bottom and pulling in cold air constantly. However, in the graphics department the load temperature did rise a bit once we added the dust cooler.

One consideration of the bottom-up design is that warm air from the radiator is blowing directly on the system, including the graphics card.


Overall we we had a good experience with the InWin Alice. In the days before cases like the Alice, if you wanted something custom looking, you needed to make it yourself. InWin set out to create something different and shake up the computer case world, and that’s exactly what they have accomplished. While it may not be for everyone, the Alice goes a long way in diversifying the computer case lineup and giving builders a unique option.

While it might make a stunning addition to your eclectic home theater decor, the Alice is not without it’s downsides as a regular PC case. The biggest consideration is that there are no easily accessible USB or audio pots. Just to plug in a USB drive or headphones, you will need to remove the top plastic cover, we felt they missed the mark here. We had other smaller grievances such as no reset button, the non-standard motherboard IO shield cutout, and no capability for 240mm fans. However, InWin created a paradigm shift with the Alice and we feel those details might not matter for the intended usage of this case.

With a price of just $55 + Free Shipping on Amazon, it’s certainly a low-cost case. InWin delivered an open-air, mid-tower case that flips conventional case designs on their heads and ships with an incredibly favorable price tag. With exceptional cooling capabilities, ease of use, and a unique look, we feel this case would be a good choice for casual PC users and water cooling enthusiasts alike.

Lastly a huge thanks to InWin for providing us with the Alice Case for review. Be sure to check out the product page here: https://www.in-win.com/en/gaming-chassis/alice

Want to discuss this product or give your views and feedback from your own usage? Discuss on the ExtremeHW Forums

Like our content? Please consider Donating to help us to continue our writing.


Author

This Post Has 0 Comments

Leave a Reply

Back To Top