
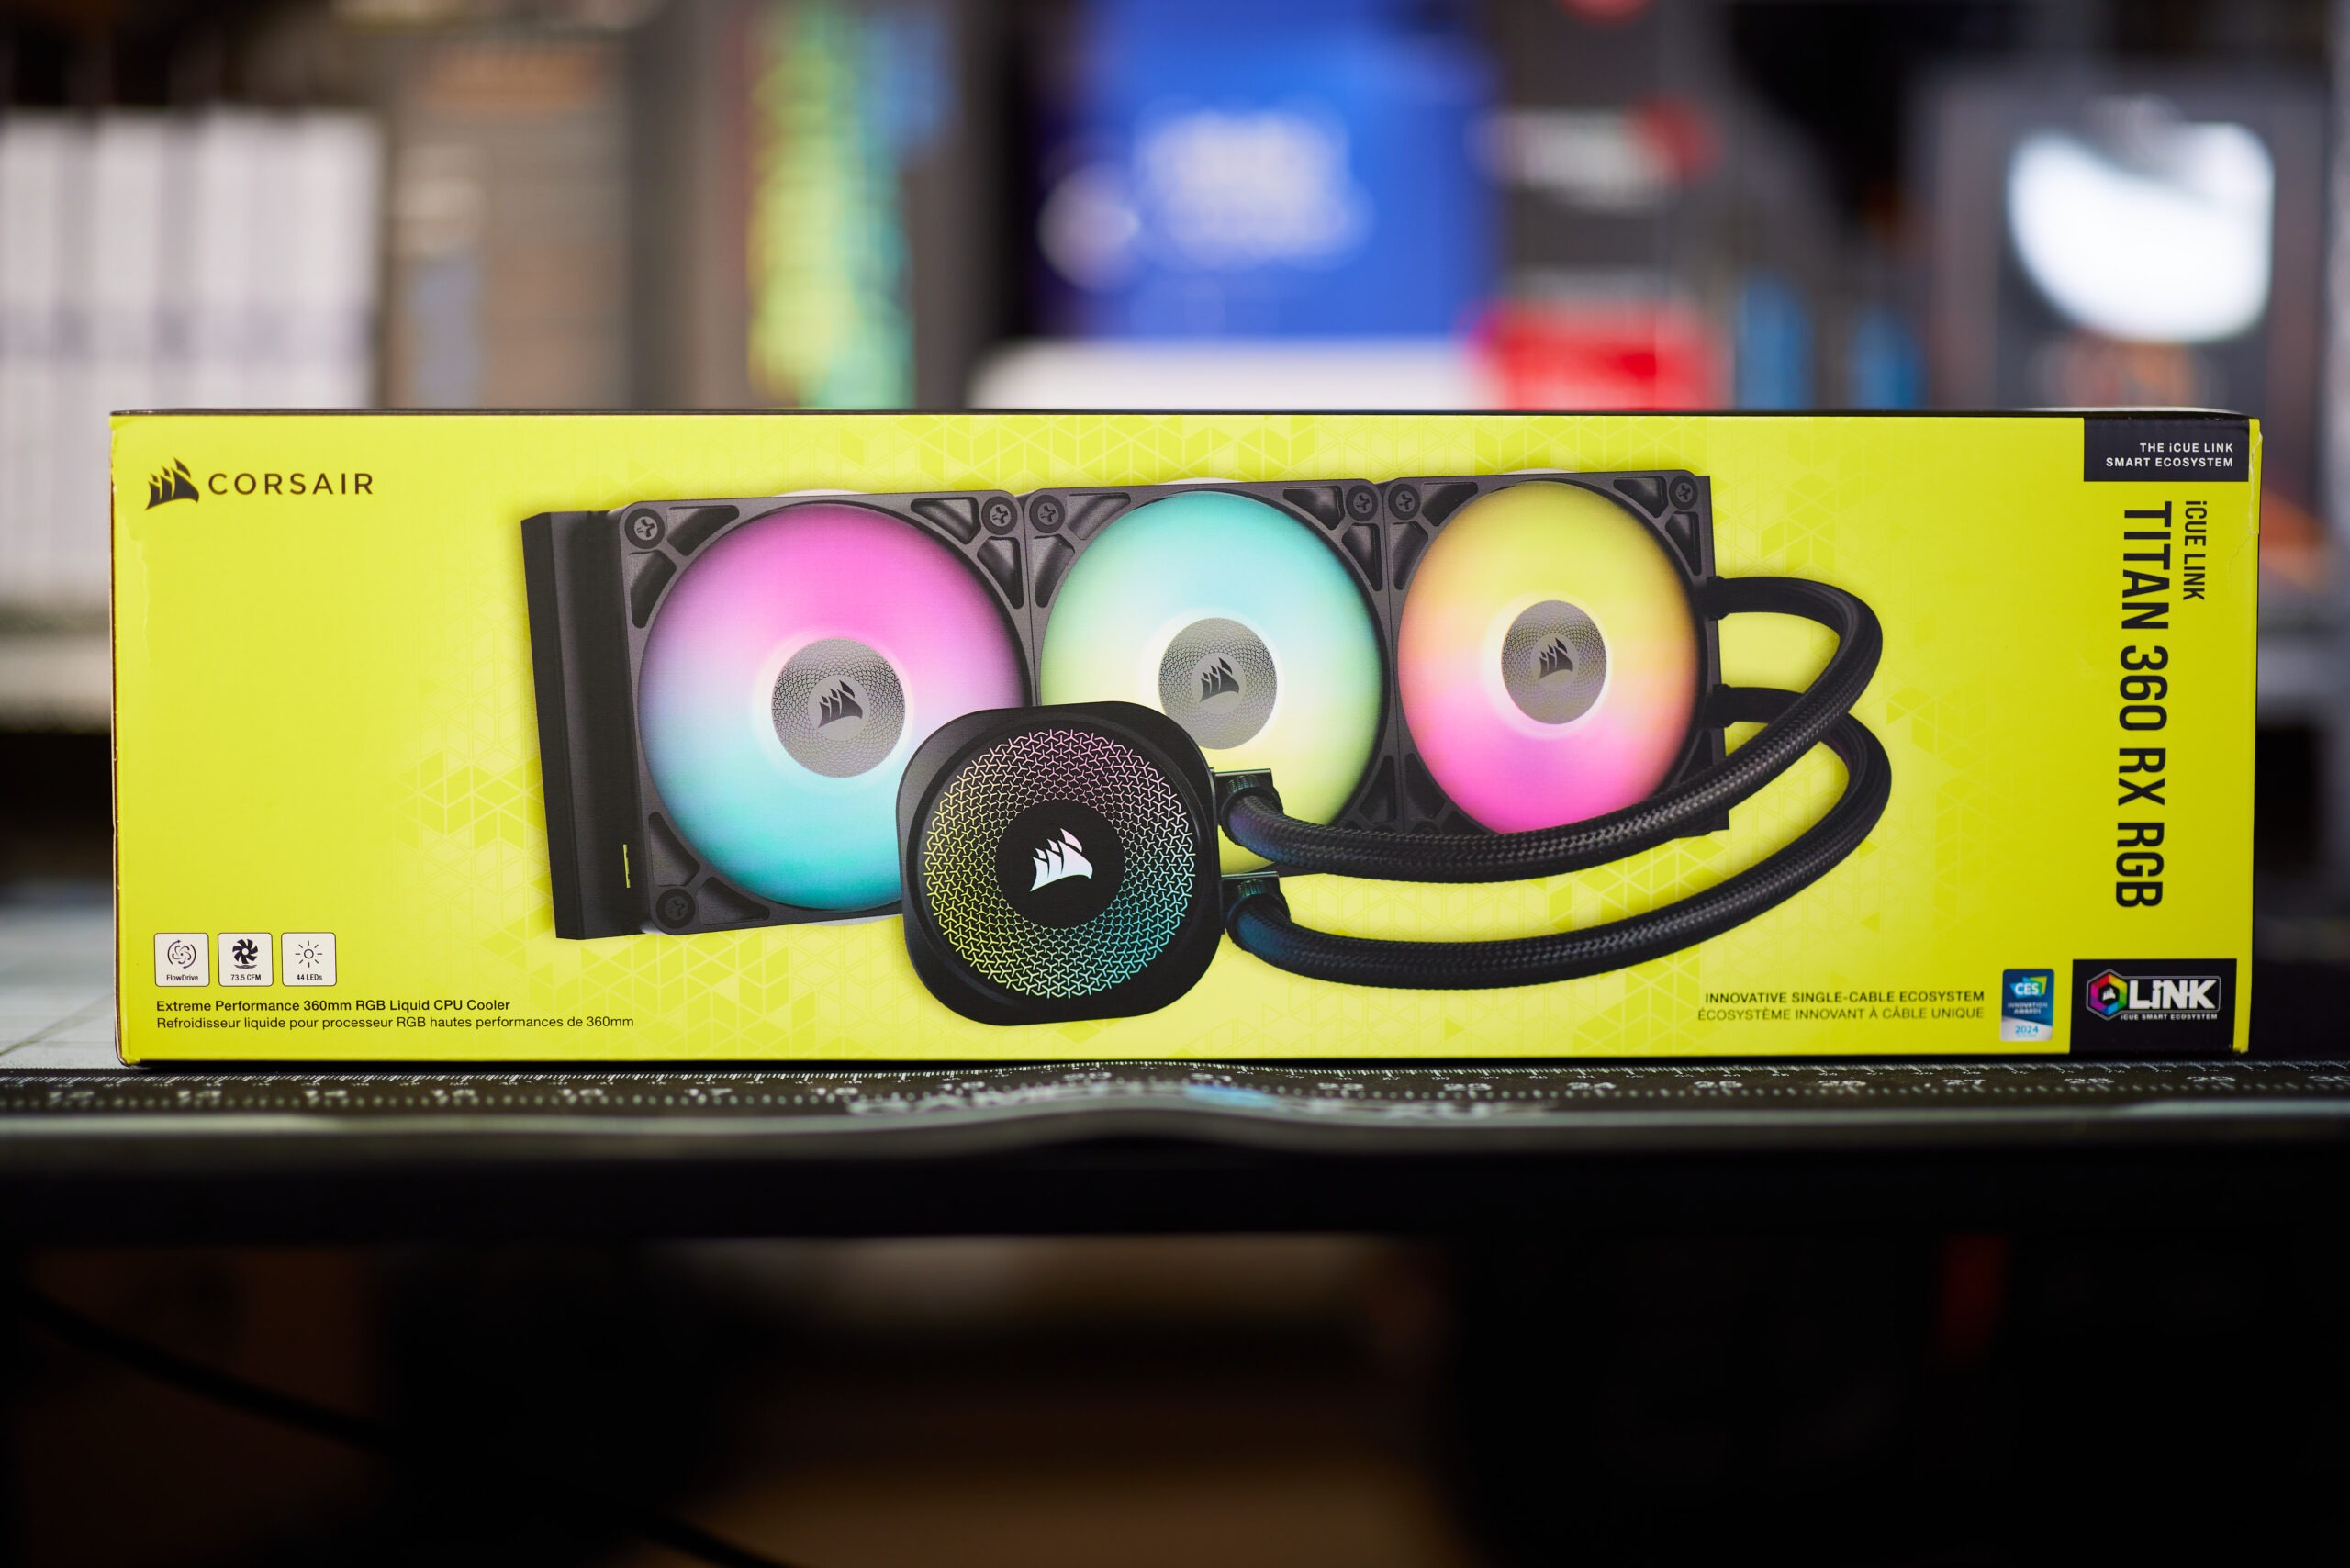
The discussion around All-In-One (AIO) CPU coolers versus custom loops will always be ongoing. However, recently there has been a lot of innovation in the AIO market by manufacturers to try to match the performance and customizability of custom loops. Corsair, not to be outdone by its competitors, is launching its next-generation AIO CPU cooler, the iCUE LINK Titan RX RGB. The Titan combines Corsair's latest advancements in cooling engine technology, replaceable pump caps, and iCUE LINK RX120 fans in hopes of being your next CPU cooler.
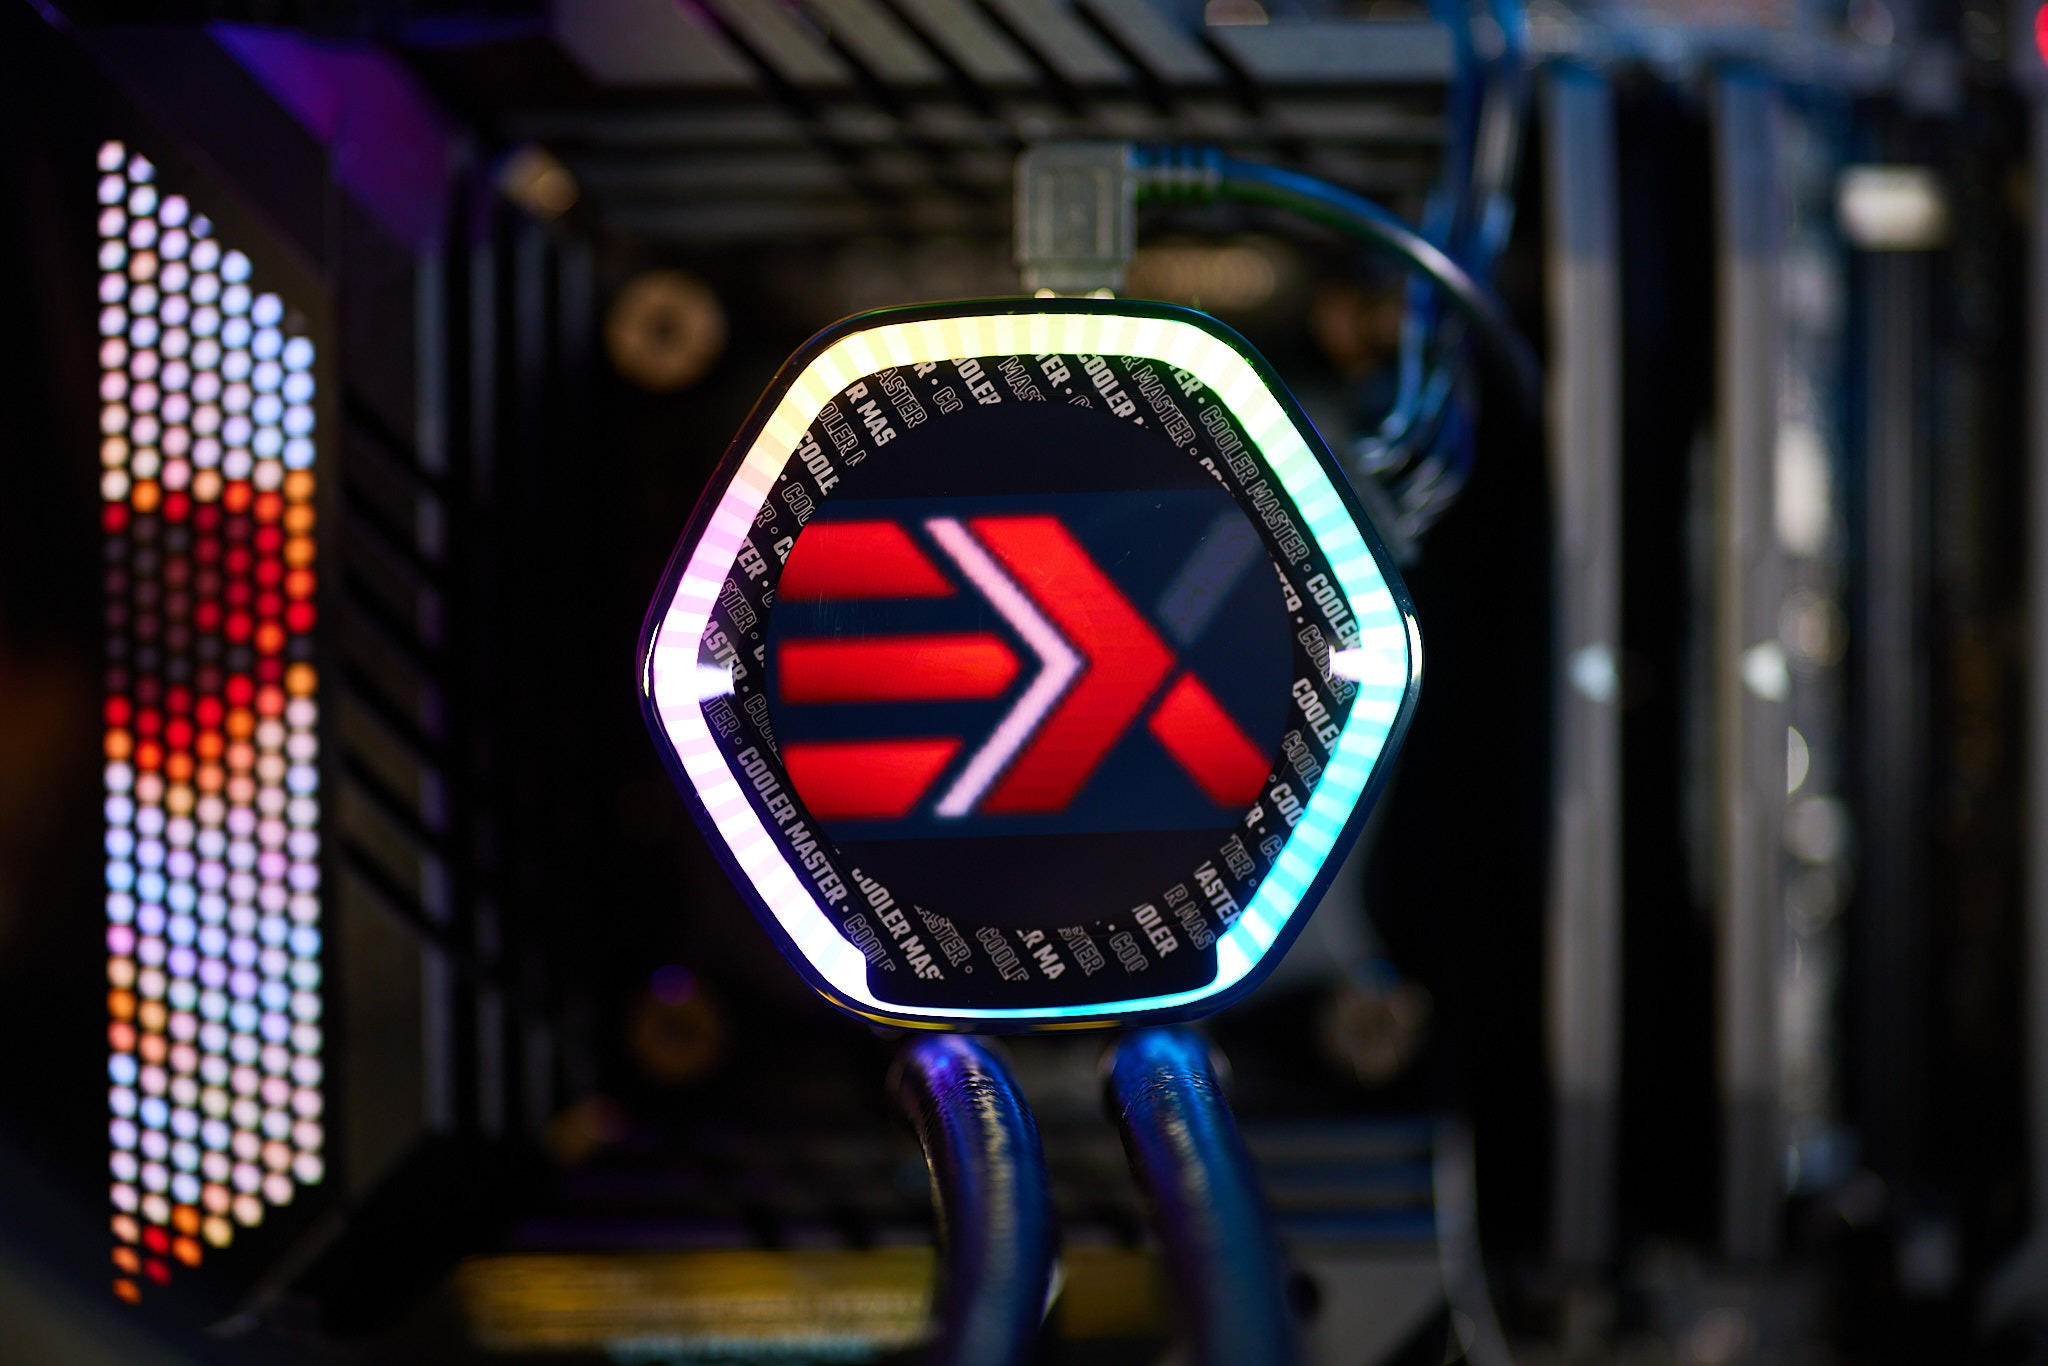
In addition to the Titan AIO, Corsair supplied me with three of its CapSwap modules. This review will examine the iCUE LINK LCD Screen, VRM Fan, and Pump Cap Groove modules. Is the Titan good enough to topple another AIO I've recently reviewed, the Cooler Master 360 Ion? Continue reading to find out.
Design | Internals & Build
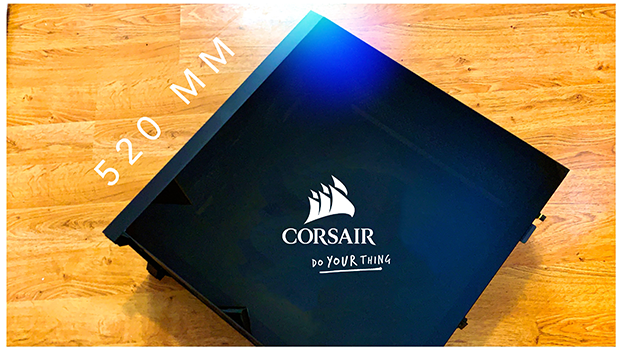
The case itself is 520mm Tall & 245mm Wide. The dark tempered glass covers the entire side of the case and offers a border less delineation. It is worth noting that the tempered glass is not clear and is tinted, so this is something to be aware of when purchasing.
The CORSAIR 5000D AIRFLOW is a mid-tower ATX case that shows off your PC, and not its cables. Hidden cable management and an airflow-optimized front panel make building a clean, cool PC easy, with two included CORSAIR AirGuide fans. – Corsair

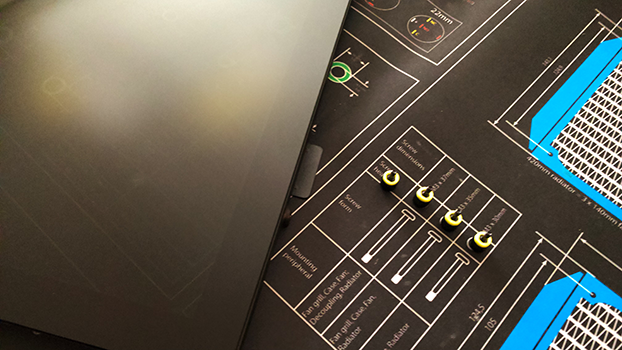
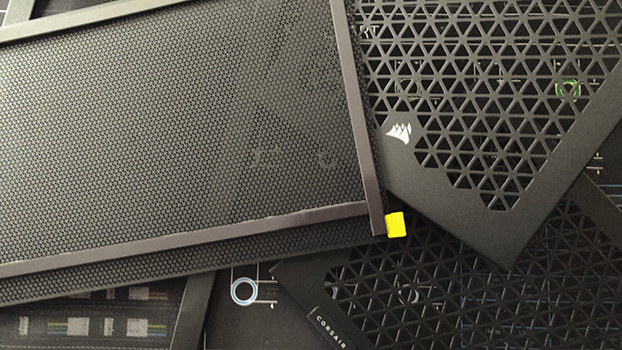
Every panel and filter in the case is removable. The filters are mounted with magnetic strips but the panels are pressure mounted. Removing the tempered glass side panel is difficult because of the force required to unhinge it. Each side panel is held on with tabs and uses thumb screws with yellow washers.


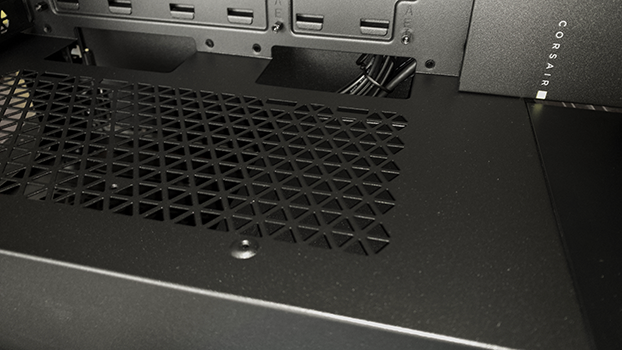
The top I/O includes a power button, two USB 3.0 ports, USB type C, 3.5mm, and a reset button. The bottom includes a slid-able/removable dust cover for the PSU, raised feet with rubber pads, and plenty of ventilation holes.
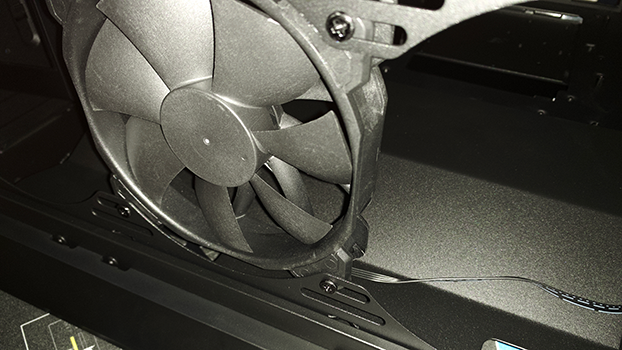

The 5000D includes two pre-installed 120mm fans. We will be replacing these with a pack of Corsair 120mm RGB LL fans. The included fans are decent enough if you don’t have room in your budget for additional cooling but are basic & black with no RGB, though they would get the job done.
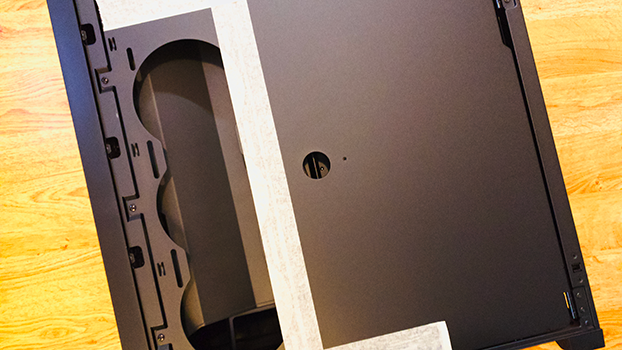
Inside is a ton of expansive room to plan out your build process. The power supply shroud is cohesive to the rest of the case but only the front end is removable with the additional panel. The front plate with the Corsair logo that covers your right side motherboard cables was a pain to work with. This was problematic because I was working with an EATX motherboard. I ended up having to remove a lot of the additional covers and HDD cages because of clearance issues. The rear side of the case houses a door to cover your cable management and a spot to mount additional cooling. I can appreciate the door to cover your cables but it feels unnecessary considering the rear panel covers the cable area.
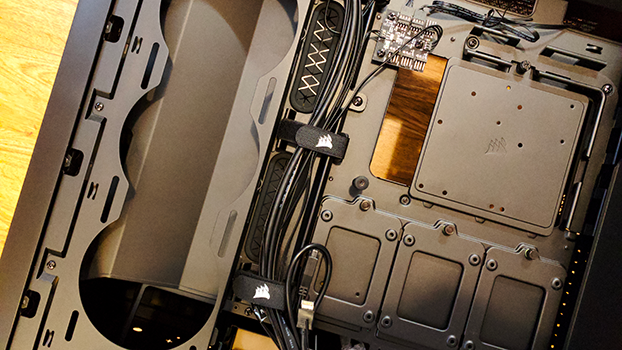
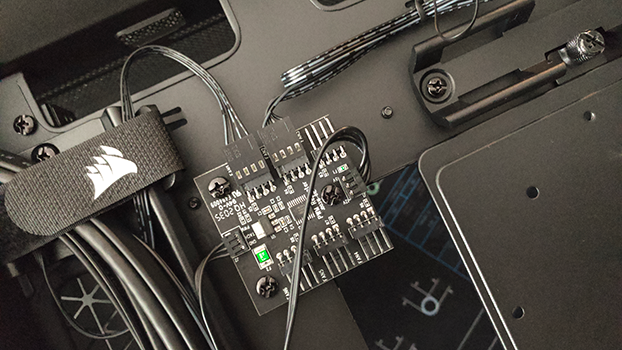
Looking at the rear of the case shows a clear channel for cable routing. The additional straps are a nice touch and help keep your cables secure. There is an additional fan hub included making multi-fan configurations easier. When it came time to plan out my build, I had to consider the layout for an extra-large EATX motherboard. I had to remove a lot, including the cable routing straps, backplates, Side cooling panel, HDD cages, and even the fan hub. The reason I removed the fan hub was because of the additional LL fans. These fans require their own RGB/Fan hub for power and control through iCUE. While most of the cable guards and doors are supposed to conceal, I found the majority of them a hindrance and had to remove and rearrange the layout of the case.
If you are planning on housing lots of additional storage the 5000D does have several locations for 4 SSDs & 2 3.5 HDDs.
 Credit: Corsair
The 5000D is also vertical GPU mount ready. The PCI-Express extension cable is sold separately.
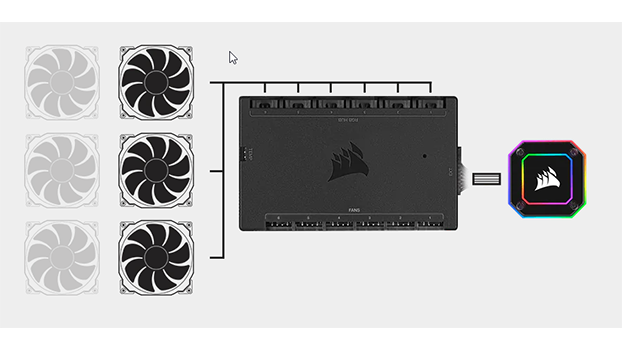
The first part of my build logic was to figure out my airflow and hub mounting. I decided to go for a direct airflow approach since the 5000D offers a high airflow front panel. With the removal of the included fan hub, I was able to use my H150i Commander hub to attach the LL fans and AIO. This helped minimize hubs and streamline the control with iCUE. I decided to mount the 360 H150i as front intake and the rear LL fan as exhaust.
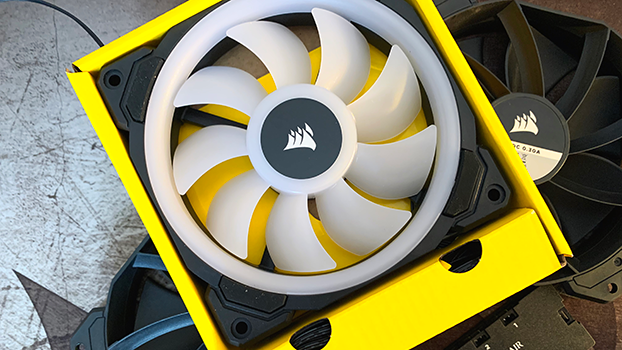
The LL 120mm fans are great because they can work with any of Corsair’s hubs and offer individual RGB LED control through iCUE. The speed ranges from 600-1500 RPM.
Corsair LL 120mm specifications:
- Fan Size: 120mm x 25mm
- Bearing Type: Hydraulic
- Flow Type: Static pressure
- LED: RGB
- PWM: Yes
- Weight: 0.163
- Sound: 24.8 dBA
- Power draw: 0.3A
- Airflow: 43.25 CFM

During the build process, I decided to mount the PSU first and then the motherboard. You’ll notice the issues I mentioned above with clearance. It was difficult to use any of the panels because there wasn’t enough room with my motherboard and cables. I also had to remove the HDD cage to have enough room for my PSU and cable routing.


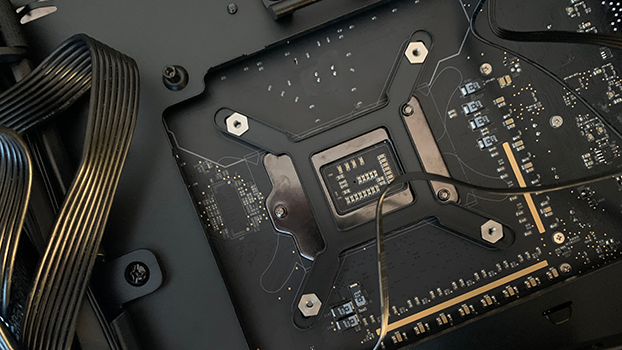
After I mounted the motherboard and CPU (9900K), I mounted one of the 120mm LL fans as exhaust in the rear of the case. I also needed to make sure I had the radiator ready for the H150i with the included 3 magnetic RGB levitation fans. Luckily the 5000D radiator cages make it easy to install radiators in the top or front of the case. They can be removed to add the fans. Its also extremely easy to install the backplate because the 5000D offers a removable rear panel. This is definitely ideal when you have a motherboard already installed or your upgrading.
For the H150i I’m using 115x and it will require the Intel bracket as well as the 115x spacers for the water block. Once you check the instructions and determine the appropriate parts, you can take the backplate and place it through the mounting holes on the motherboard. make sure when screwing in the spacers you do NOT over tighten because the screws that secure the water block will finish that process for you. If you over-tighten you could snap or break the backplate or worse damage your motherboard or CPU.
The H150i Capellix is a premium AIO cooler that offers zero RPM mode, Capellix LEDs, a 360mm radiator, and split flow copper cold plate. If you’re unfamiliar with Capellix, it’s a brighter LED that consumes less power. They are just better overall!
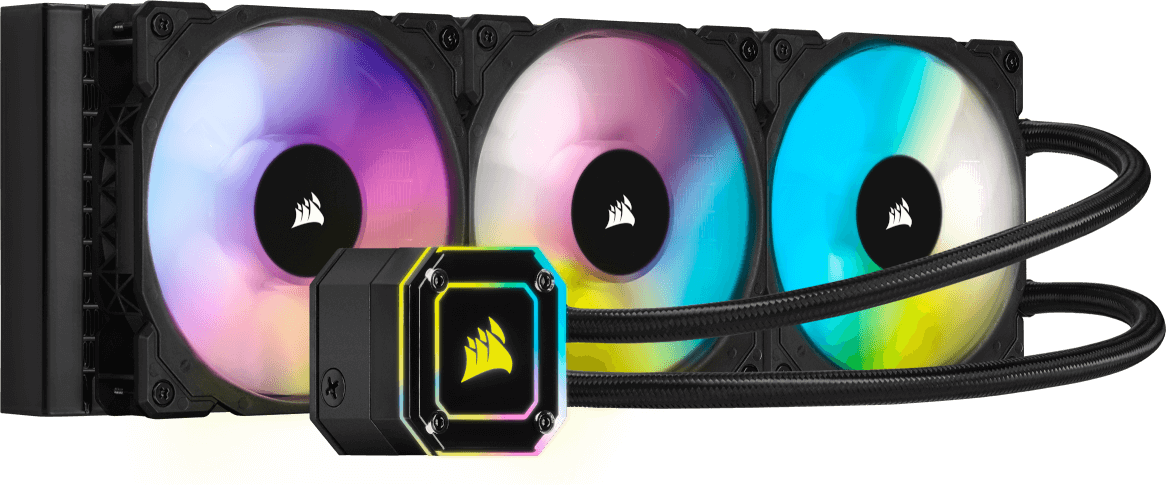 Credit: Corsair
H150i Specifications:
- Cold Plate: Copper
- Radiator: Aluminum
- PWM: yes
- Tubing Length: 400mm
- Cold Plate Dimensions: 56 x 56 mm
- Tubing material: Black Sleeved Low-Permeation Rubber
- Radiator dimensions: 397mm x 120mm x 27mm
- Fan dimensions: 120mm x 25mm
- Fan speed: 2400 RPM
- Socket support: Intel 1200, 1150, 1151, 1155, 1156, 1366, 2011, 2066
AMD AM4, AM3, AM2, sTRX4, sTR4 - Lighting: RGB
- Radiator size: 360mm
- Airflow: 75 CFM
- Static pressure: 4.2 mm-H2O
- Noise level: 10 – 37 dBA
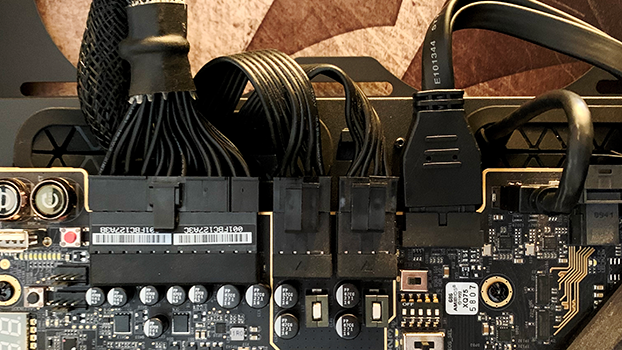
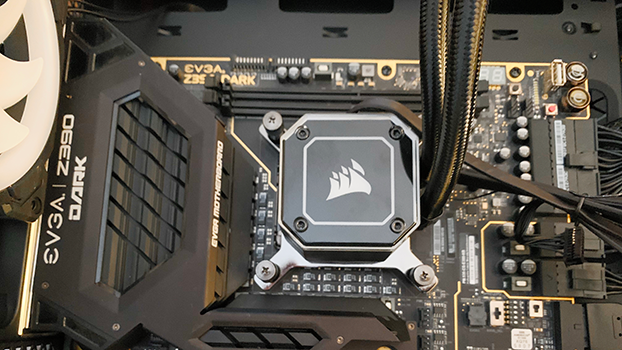
Once I had the radiator mounted as front intake, I secured the AIO CPU block with the included hardware. Don’t forget to plug in your AIO header to the motherboard and any connections for your fans. Be sure to reference your manual when installing your hardware. I ended up using the adhesive tape to secure the RGB/Fan hub from the h150i to the removable rear backplate panel. This will make it easier to route cables to the hub as it’s in a central location in the case. I was able to route all the fans from the H150i and the LL fan to this single hub. Once I had everything connected it was time to test the 5000D for temperatures and noise levels.
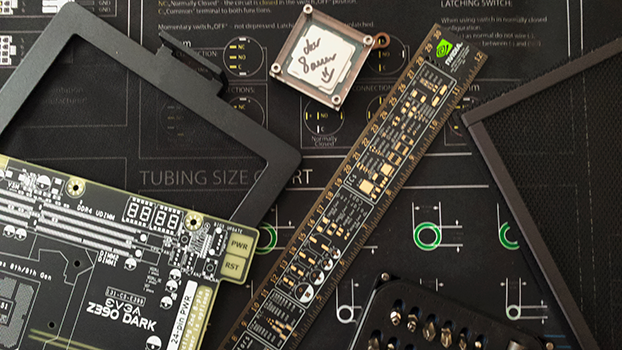
The last step is to install the kit of the Corsair 32GB Vengeance PRO RGB RAM. The Z390 dark only offers two DIMM slots, mainly for increased overclocking potential.
Continue Page 3: Testing / Conclusion
Related Posts
This Post Has 0 Comments