
Today we have been given the opportunity to review an entire "half" a computer package, if you will, courtesy of Cooler Master. This review will incorporate the newly released HAF 700 "Berserker" PC chassis, the XG850 Plus Platinum power supply, and their MasterLiquid PL360 Flux AIO water cooling kit. Cooler Master was founded in 1992, so they're definitely not new to the table when it comes to PC components. They produce computer cases, power supplies, PC cooling for both CPU's and GPU's, laptop cooling pads, and computer peripherals. They've also produced cooling solutions for other major brands in the industry, and they're a major sponsor of eSports competitions. Do these components we have today stand up to the ExtremeHardware standards? Well, let's dive in and see!


So I decided to change things up. I previously had a Threadripper 2990WX paired with an MSI MEG Creation X399 which I was not using to its full potential as a workhorse and found that more over it was being used for a mixed workload and gaming. The latter (Gaming) does not make sense on this type of CPU, and as I was not using the CPU in workload point of view often enough.
What an expensive set of gear to have not doing what it is intended for ! So it was time to switch up and move over to Zen 2 with the Asrock Aqua X570 Aqua & AMD Ryzen 9 3950X.
My Prior Build
CPU: Ryzen Threadripper 2990WX
Motherboard: MSI MEG Creation X399
RAM: 32GB Gskill Trident Z
Drive: 2x Samsung 970 NVME (256GB)
Drive: 1x Samsung 950 Pro NVME (256GB)
GPU: 2x EVGA FTW 3 Ultra 2080TI
PSU: EVGA 1600Watt Supernova P2
Case: Be Quite! Dark Base Pro 900 V2
My New Build
CPU: AMD Ryzen 9 3950X
Motherboard: Asrock X570 Aqua
RAM: 32GB Gskill Trident Z
Drive: 1x Seagate FireCuda 520 NVME (500GB) (PCIe Gen4)
Drive: 1x Seagate FireCuda 520 NVME (1TB) (PCIe Gen4)
GPU: 2x EVGA FTW 3 Ultra 2080TI
PSU: EVGA 1600Watt Supernova P2
Case: Be Quite! Dark Base Pro 900 V2
All I have changed is the CPU,Motherboard & Drives.
So I think it is worth noting that this build heavily features the Asrock X570 Aqua motherboard. A product of which is fairly exclusive as it is a limited run with only 999 available. I happen to have number 783 in the run and this set me back £856. Ironically after purchasing this motherboard, it went EOL on the retailer I bought it from (SCAN) so lucky me for getting the last one !
If you would like to learn more on this product you can visit the Asrock X570 Product Page.
The New Parts
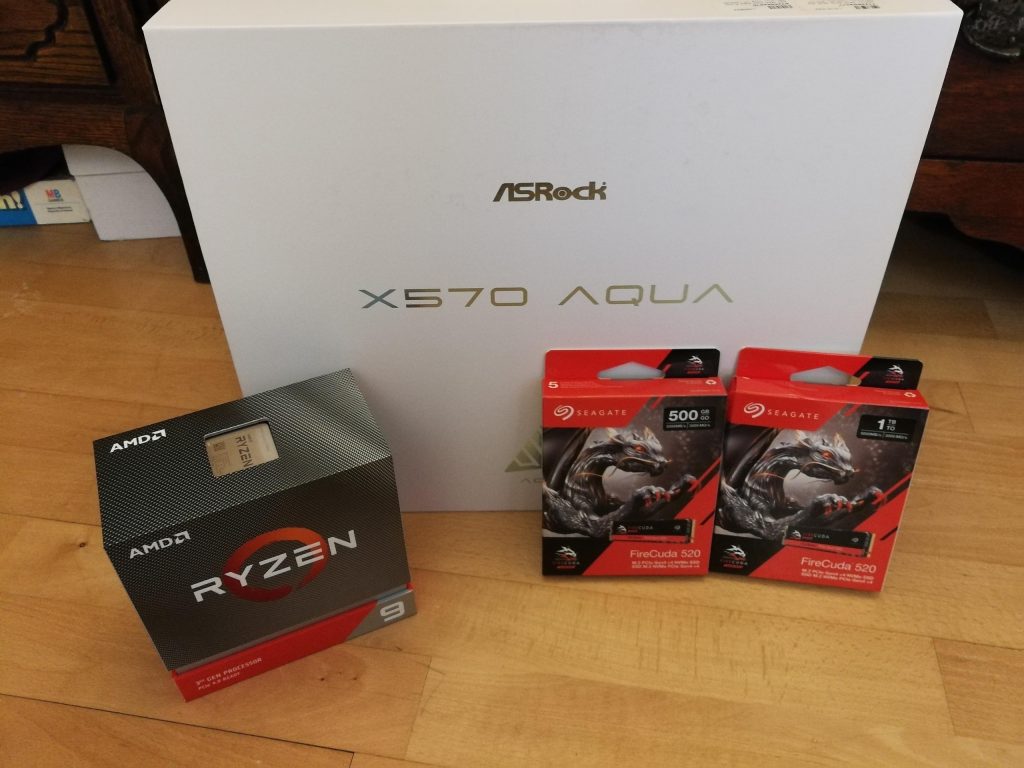
I have to say that the Asrock Aqua packaging was executed very well. It is simple and understated while retaining a very premium look and functionality (a little more on that in a bit). Lets see below some more images of the items.
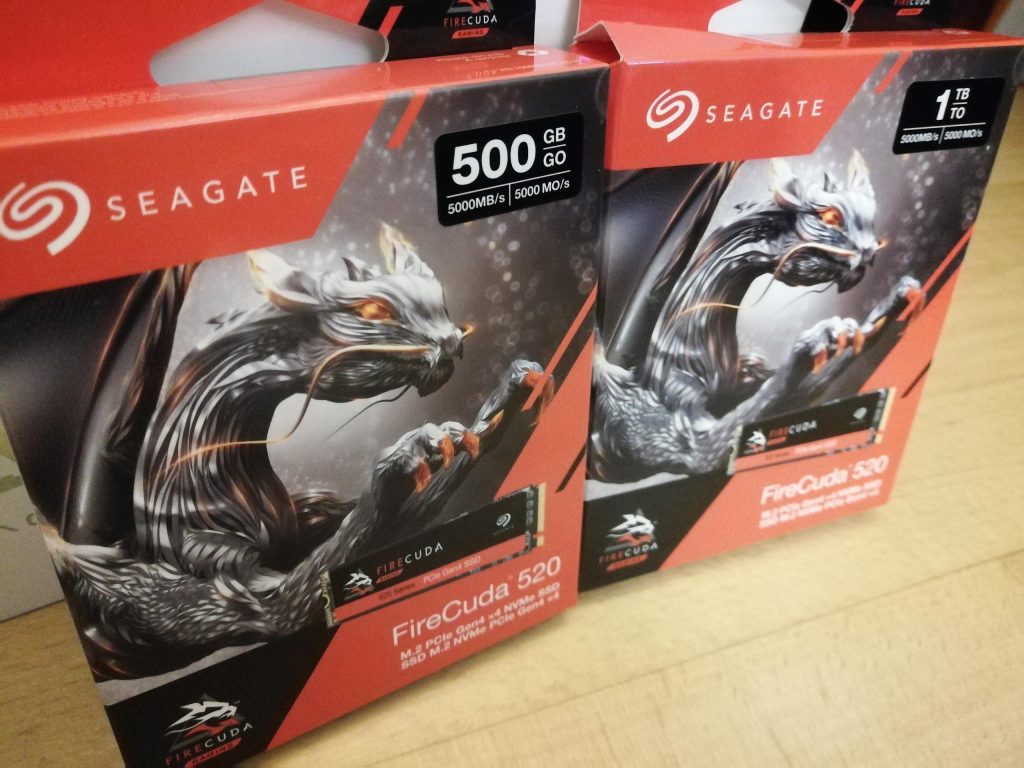
Those speedy PCIe Gen 4 Drives which for the most part are overkill, but when upgrading…why not !
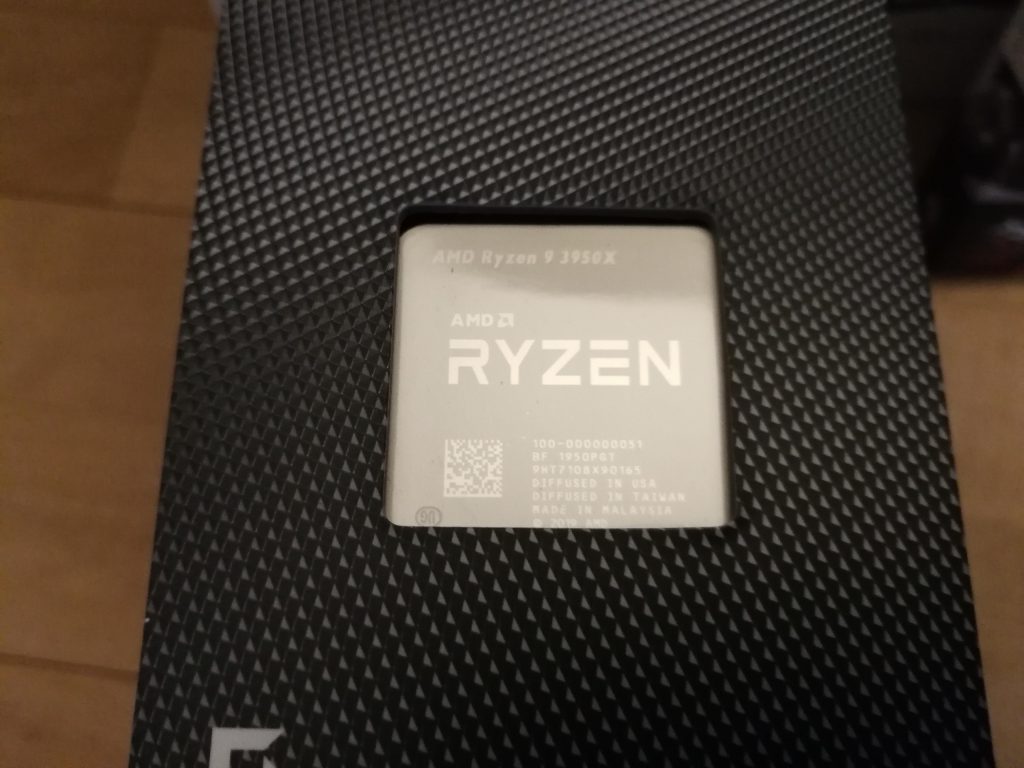
The oh so lovely Ryzen 9 3950X
The Packaging
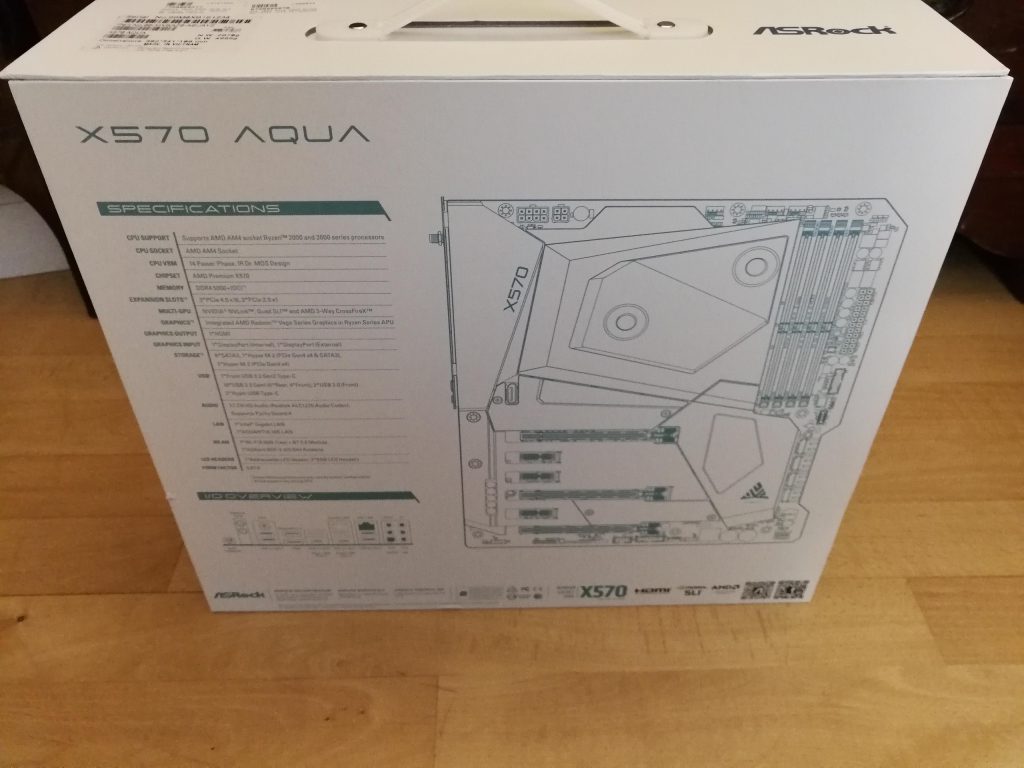
Some of your standard specification details as you would expect to find, but again done in a way that give you this kind of ”White Label” feel.
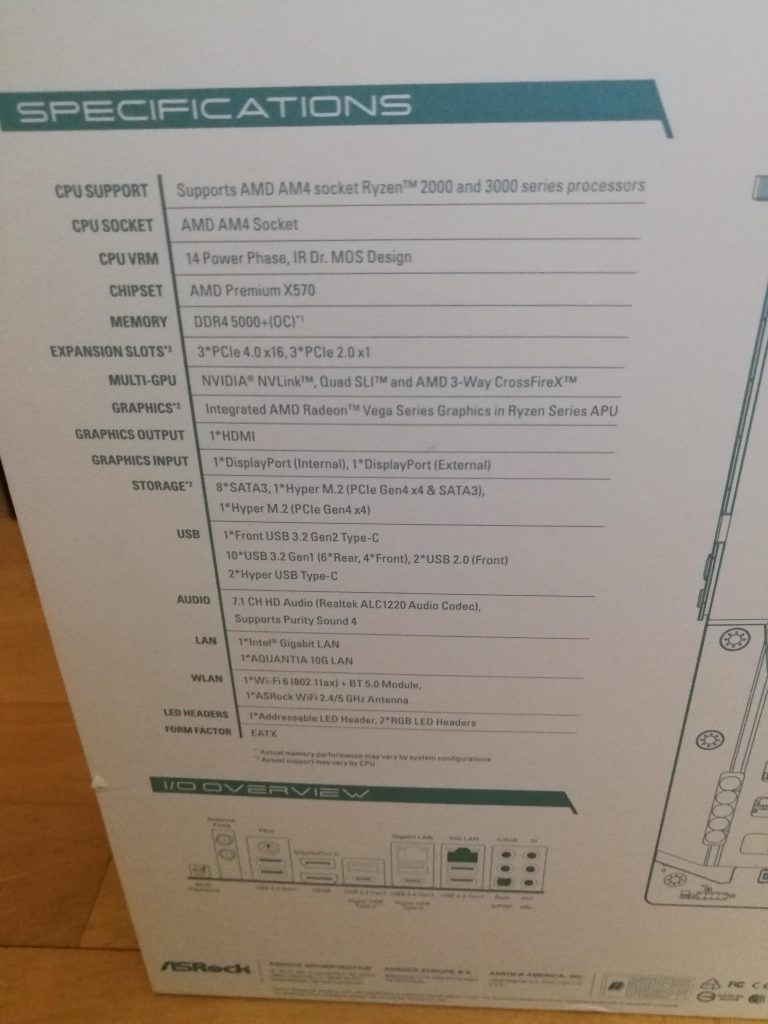
A little close up of the specs for any one interested.
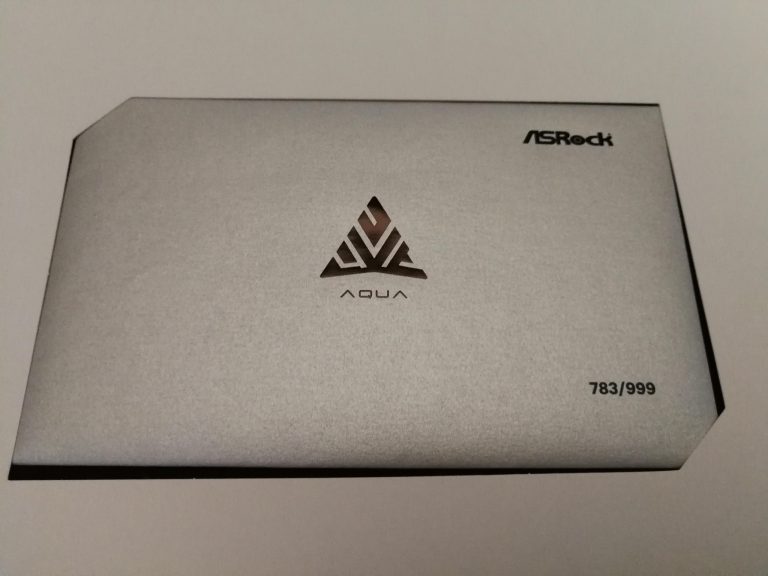
Another nice touch, a nice silver envelope with the series number of my motherboard on (783). I wonder what could be inside ?

So this is what is inside that nice silver envelope, a nice message from the Asrock team and a members card. The card does not actually do anything but it is just a nice touch to the overall message being conveyed and again adds to the overall premium feel.
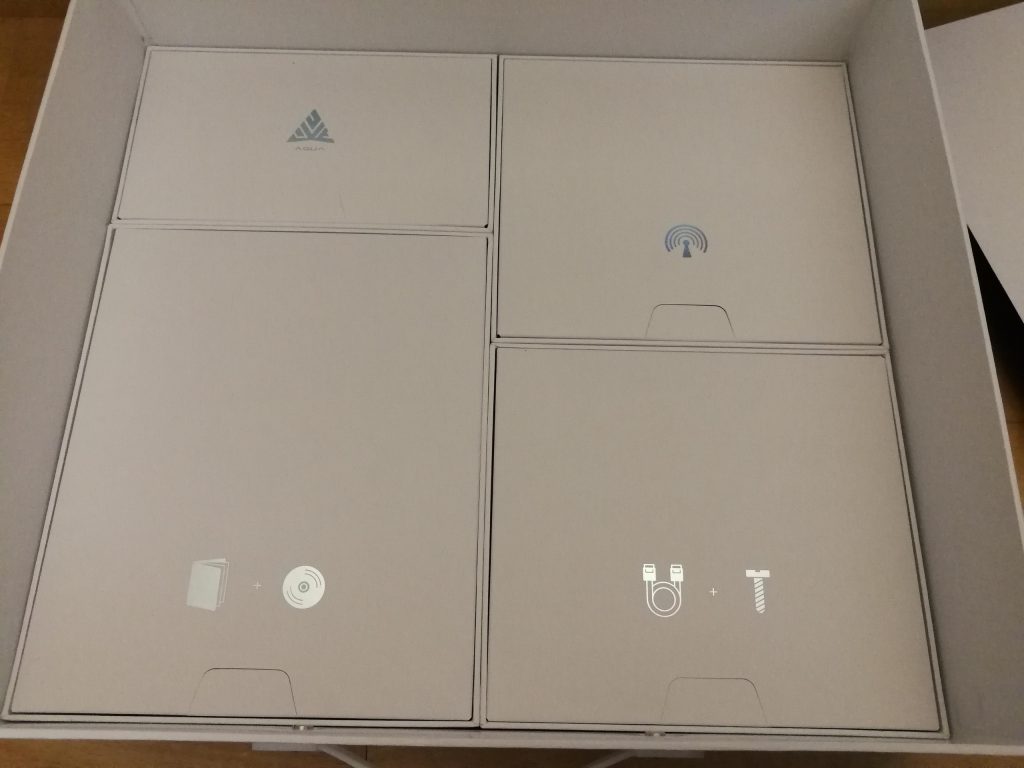
After lifting away the motherboard (Yes you will get to see it soon), you find 4 compartments underneath which holds the various accessories that come with this product. The symbols on the top of each section is a good indication of what you get , so no need to go into huge detail.
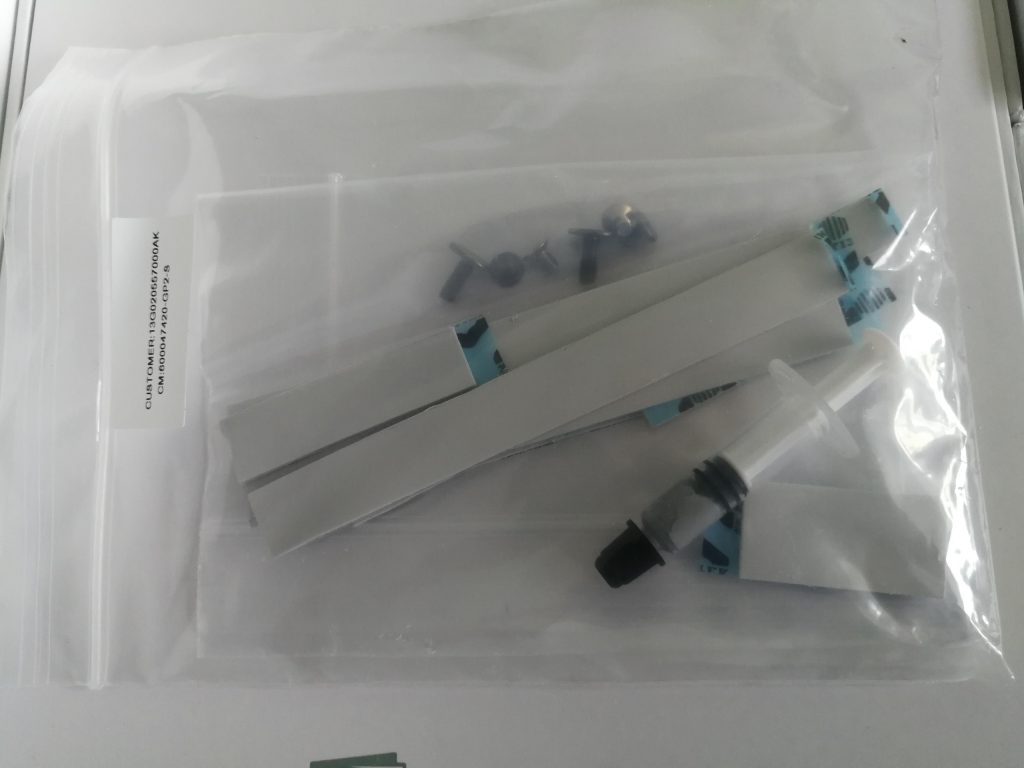
What I do think was a thoughtful move by the Asrock team is that they supply not only thermal compound but also supply a spare set of thermal pads should you damage the pre-installed ones on the waterblock at any point in time as well as a few replacement screws.
Big thumbs up to Asrock.
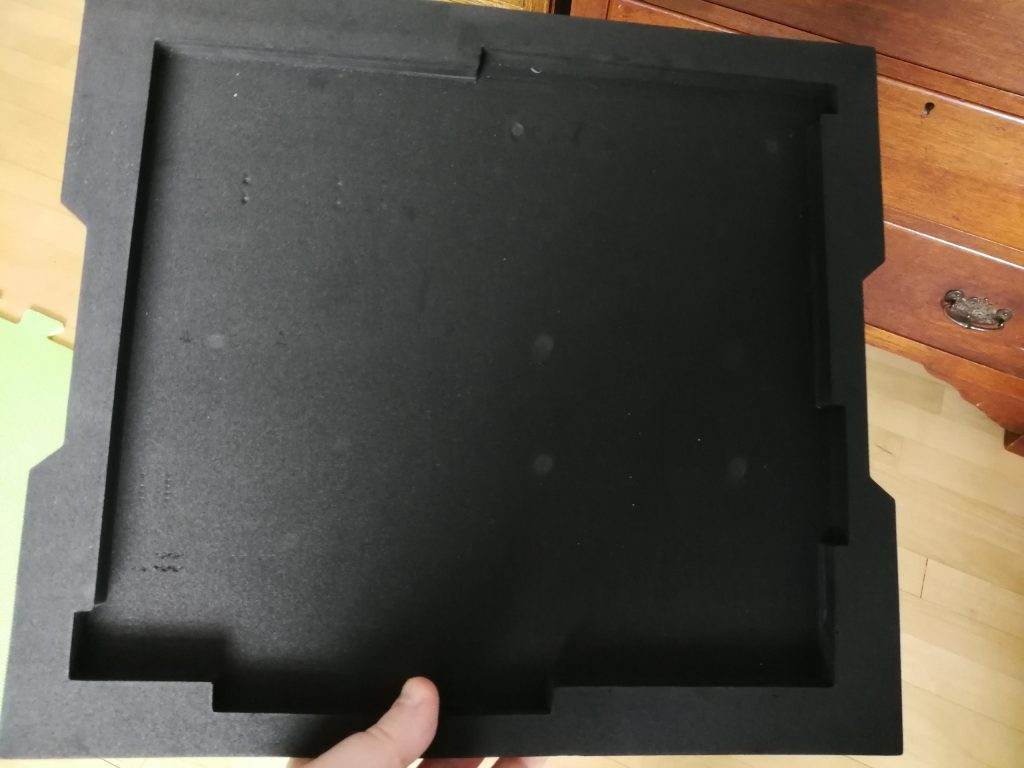
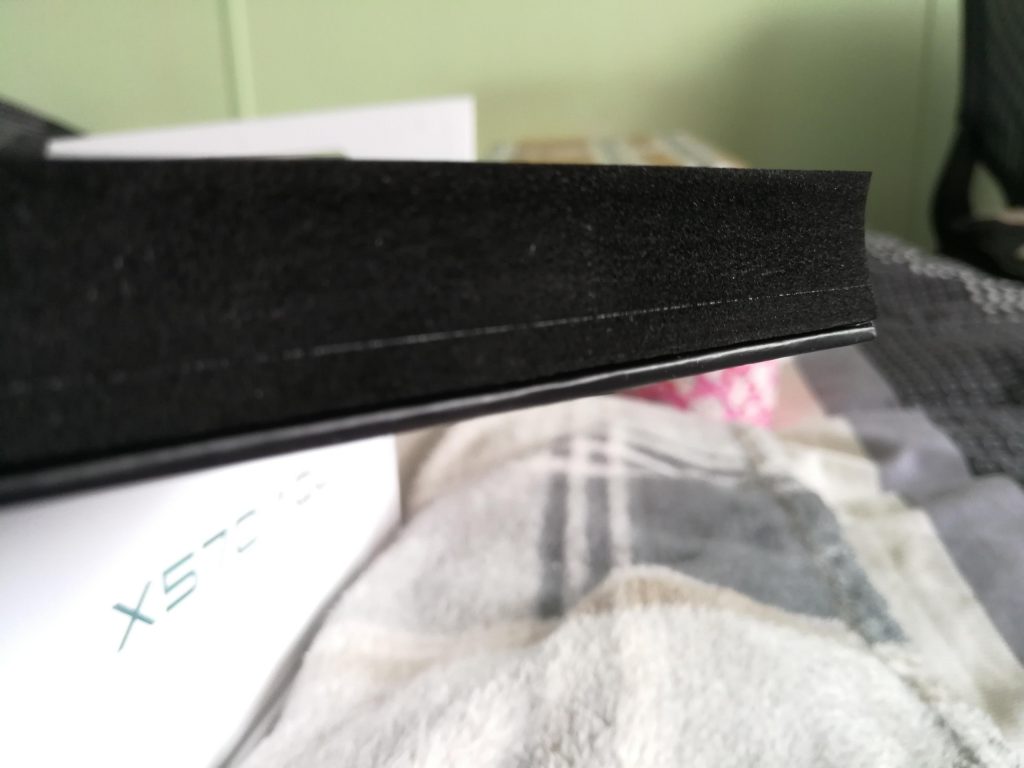
Lastly, something which seems trivial, but ever so important. The motherboard insert tray, hear me out. So something I immediately noticed when removing the motherboard section from the packaging is that it was very sturdy. NO FLEX whatsoever. I think we have all removed our new motherboards
to be met with lackluster packaging that may not only be protective enough but may not even be the best thing to move your motherboard in due to flex or general lack of quality.
Something I love with the motherboard tray you get with the Asrock X570 is that not only is it very well padded and deep so the motherboard has nowhere to go, it has a very stiff cardboard bottom. You could carry your dinner on this thing. So kudos to Asrock for once again just paying that extra amount of attention, which at this price point you would expect.
The Asrock X570 Aqua
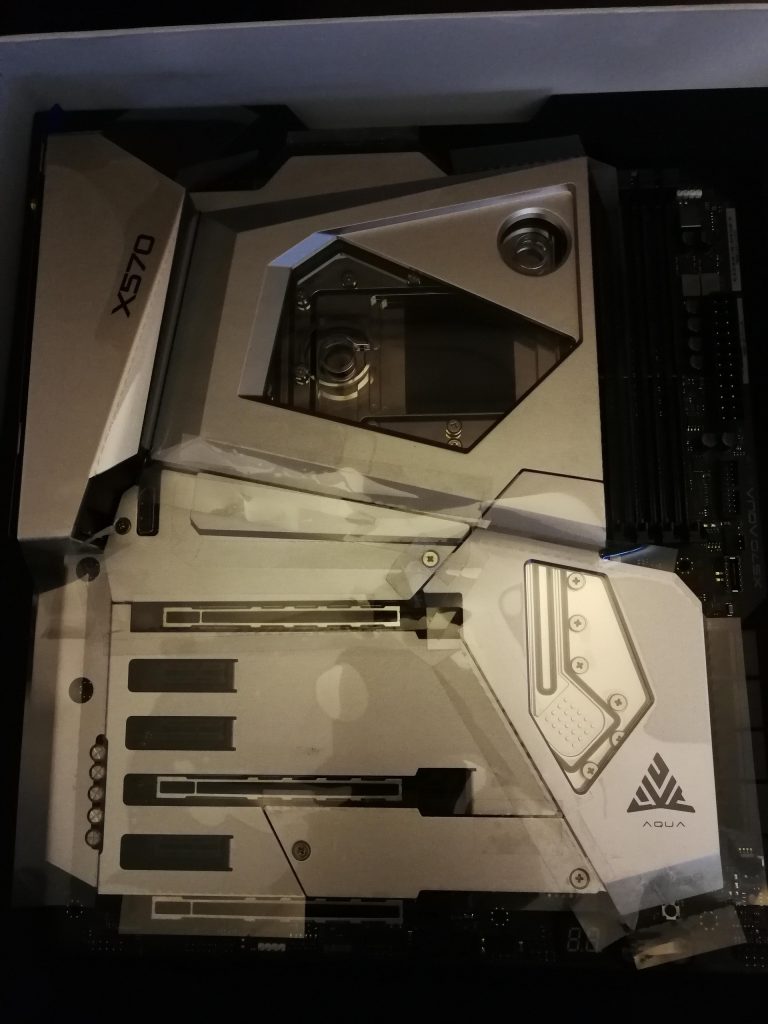
Excuse the picture quality as it is a little dark. So the first thing is that this motherboard comes with a healthy dose of plastic packaging that covers the entire shrouded section of the motherboard.
It is worth noting that the shrouds are made from aluminium. Asrock clearly wanted this thing to arrive looking its best, they succeeded.
Just a closeup of that plastic covering.
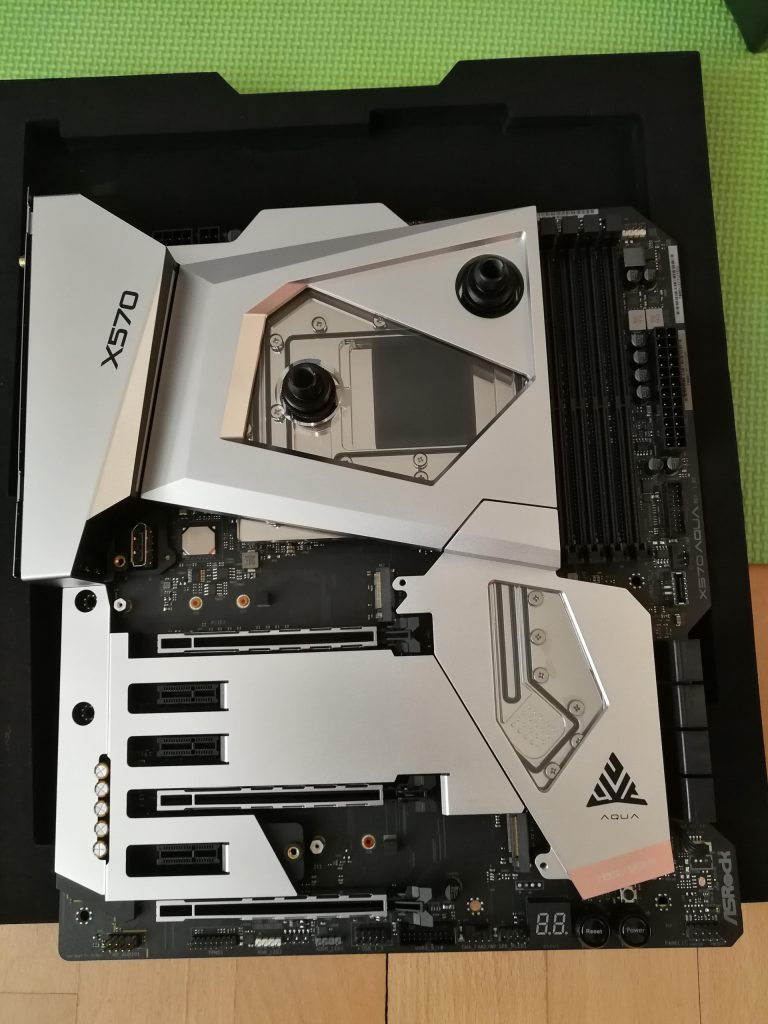
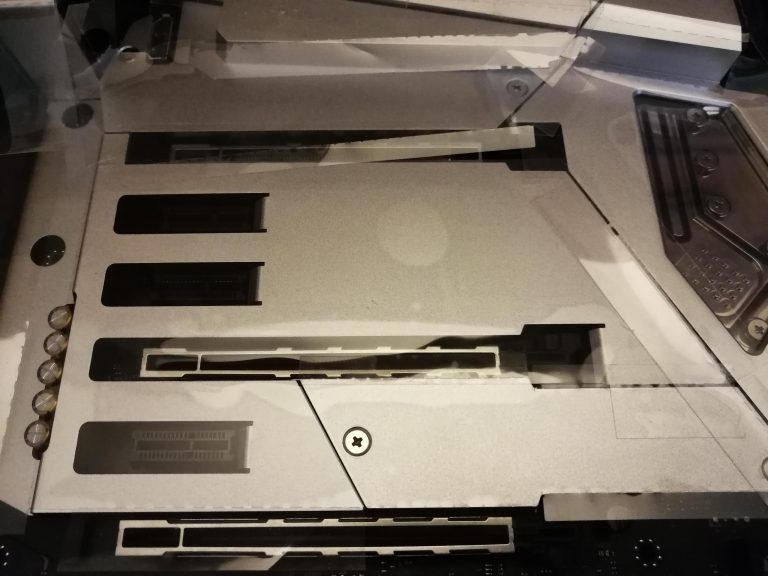
So here she is in now in her underwear after stripping away that outer layer of plastic. You can see I got a little excited and even removed the M.2 drive covers which are SOLID aluminium and come with pre-applied thermal pads.
You will also see the motherboard is laying on that wonderful cardboard insert I was praising earlier….seriously I just carried the board around in that rather than my hands. Once again, another reason for the strong packaging here is that this thing is HEAVY.
Not only does it have aluminium shrouding virtually everywhere, you are also contending with a SOLID COPPER block that covers the CPU, VRM’s & Chipset.
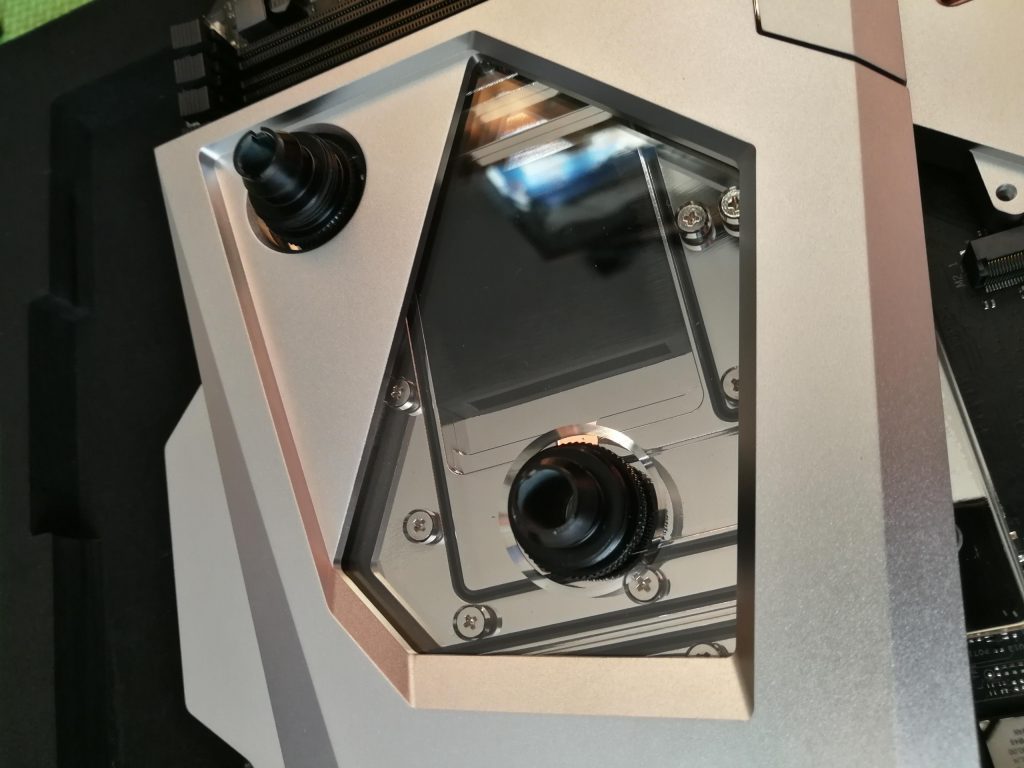
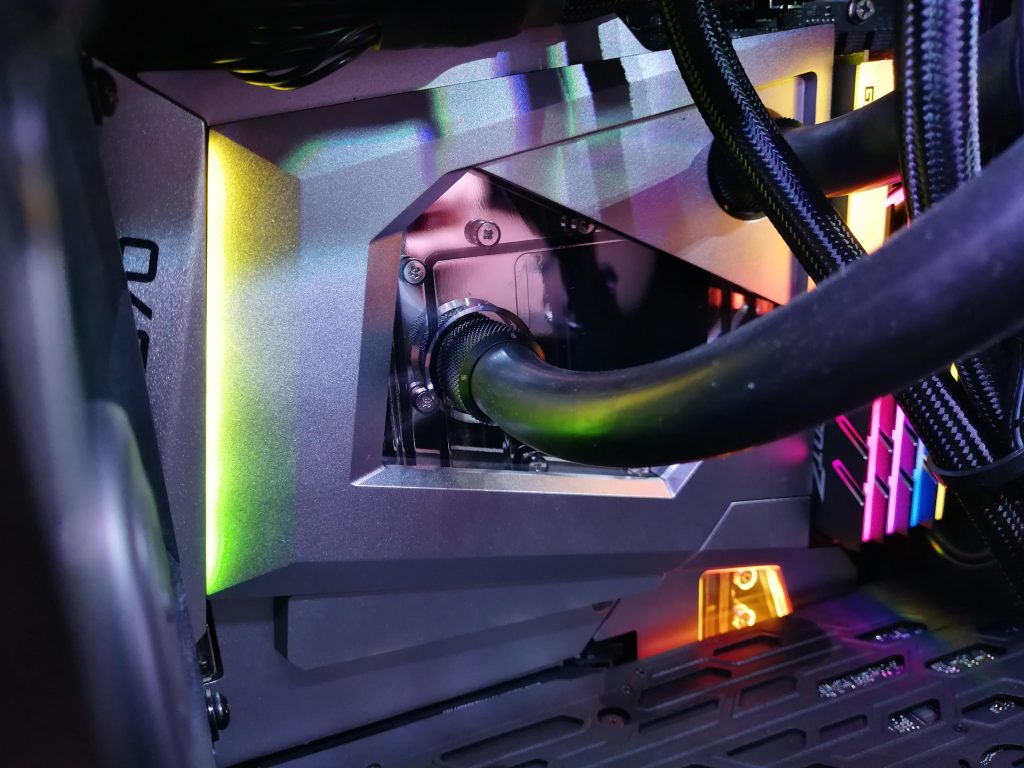
A close up of the CPU WC Block area
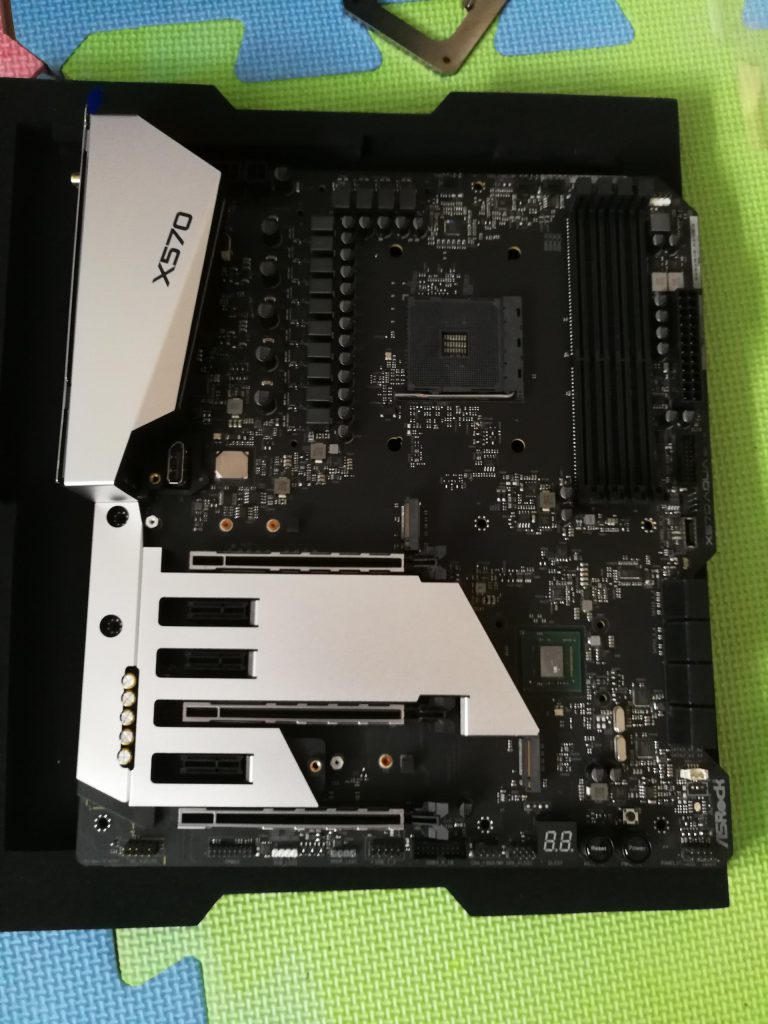
Uh oh….now she is naked. What you are seeing now is the motherboard with the WC Block area and M.2 drive covers removed. In order to reveal the CPU socket you have to first remove the WC block which undertaken by removing the CPU back plate along with some other screws across the rear
of the motherboard that not only keeps it firmly in place (as I said, it is heavy) but also keeps a good retention so all those thermal pads are making good contact with the various components.
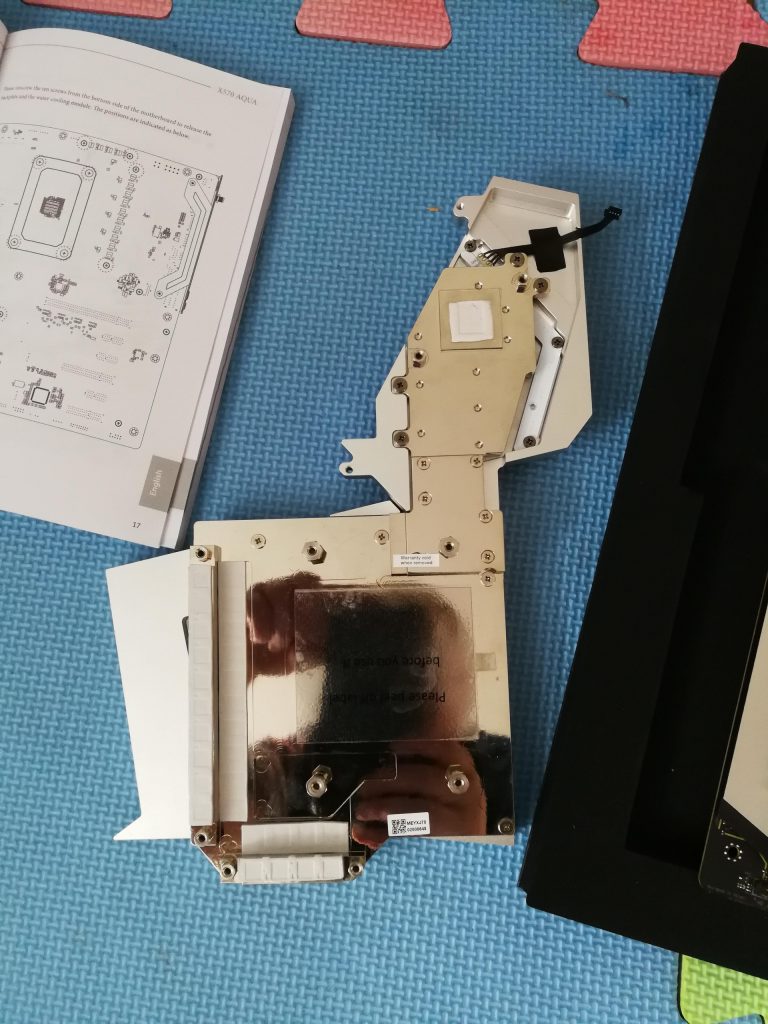
This is what the rear of the WB block looks like in all its shiny glory and pre-applied thermal pads. The size of things thing is just something else. Now if you look just about where my stupid head is, that is the BIG square block that covers the CPU portion.
The funny thing is this block is actually way bigger than what it needs to be in order to cover the CPU IHS surface. I would say it is about 2/3rd’s the size of a WC block for Threadrippers. so rest assured as long as you have a good thermal compound (I recommend Thermal Grizzly Kryonaut), you are very well set.

Now of course it would be foolish to forget to install these.
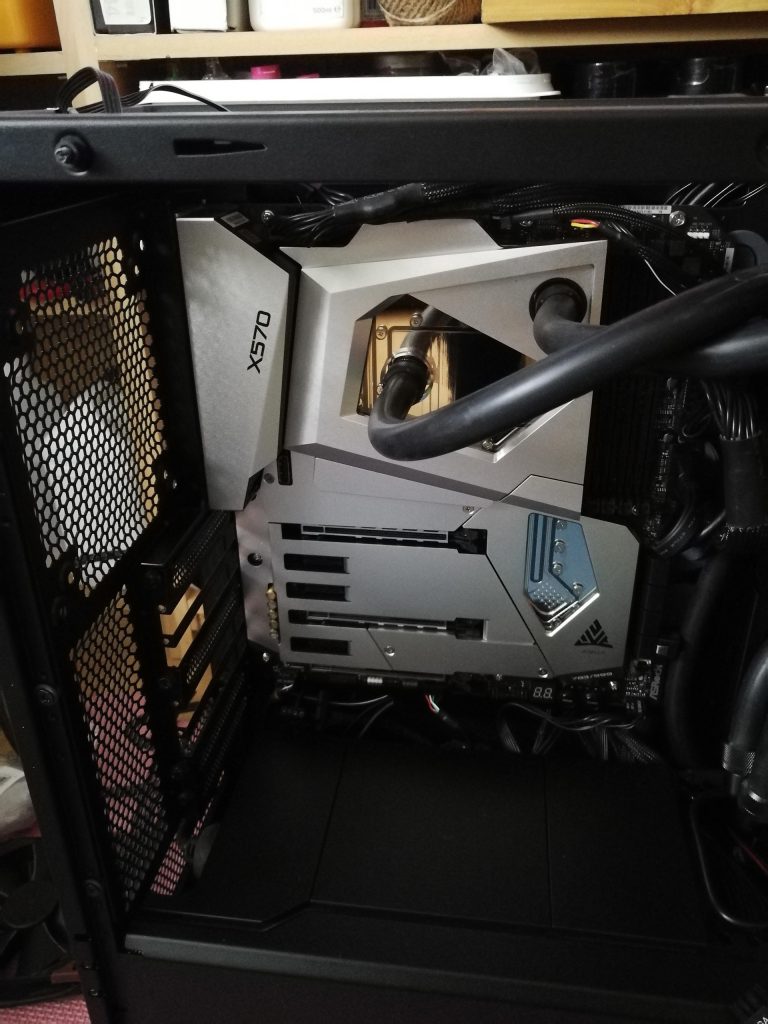
She’s in ! At this point the WC is plumbed in and undergoing a leak test, fortunately no issues. Oh and yes I use boring EPDM tubing. Why you may ask ? (or not ask but I am telling you anyway) I like WC but I also like low maintenance.
I use the Mayhems X1 Clear pre-mixed coolant as it is as per its name pre-mixed so it is good to go right out of the bottle.
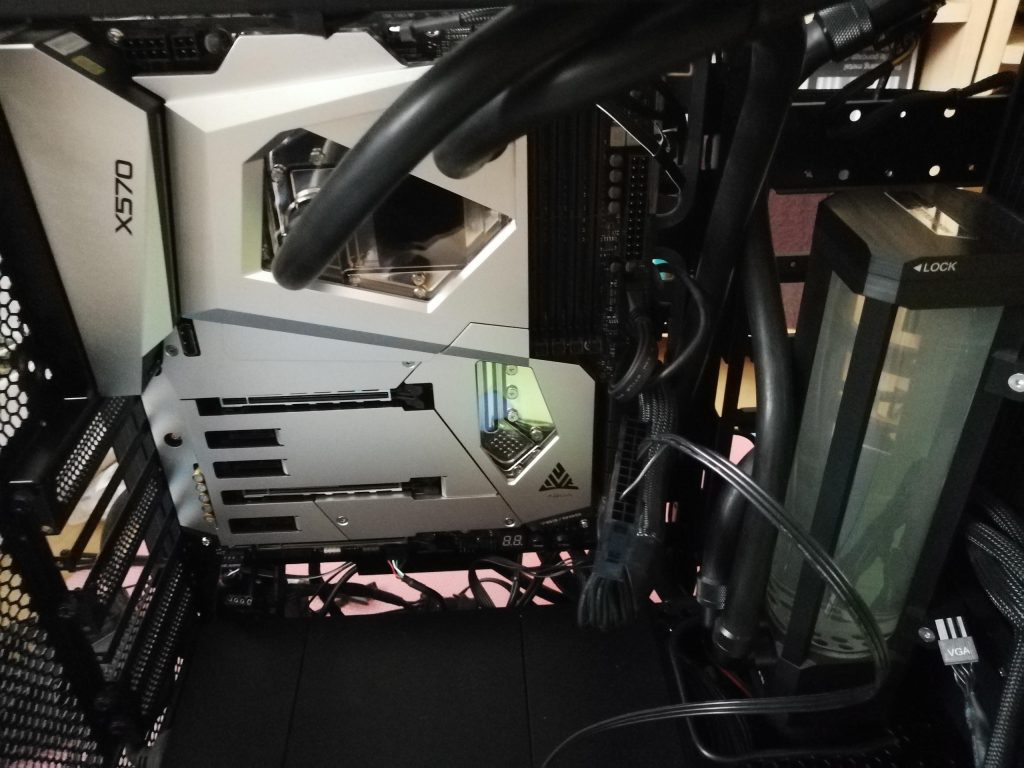
Just another angle that includes my Heatkiller Reservoir. Oh and do not worry about the green tinge…its not algae but simply the fact I was working on a bright green mat at the time, not great for pictures but it was heavy and my back hurt….it was staying where it was lol.
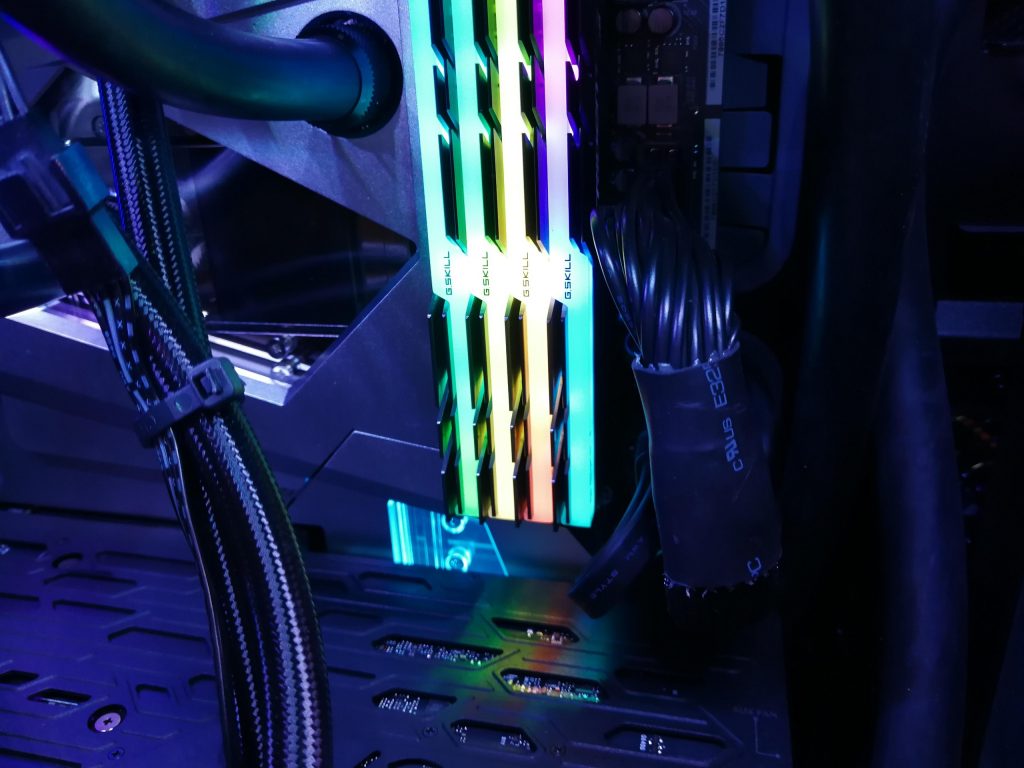
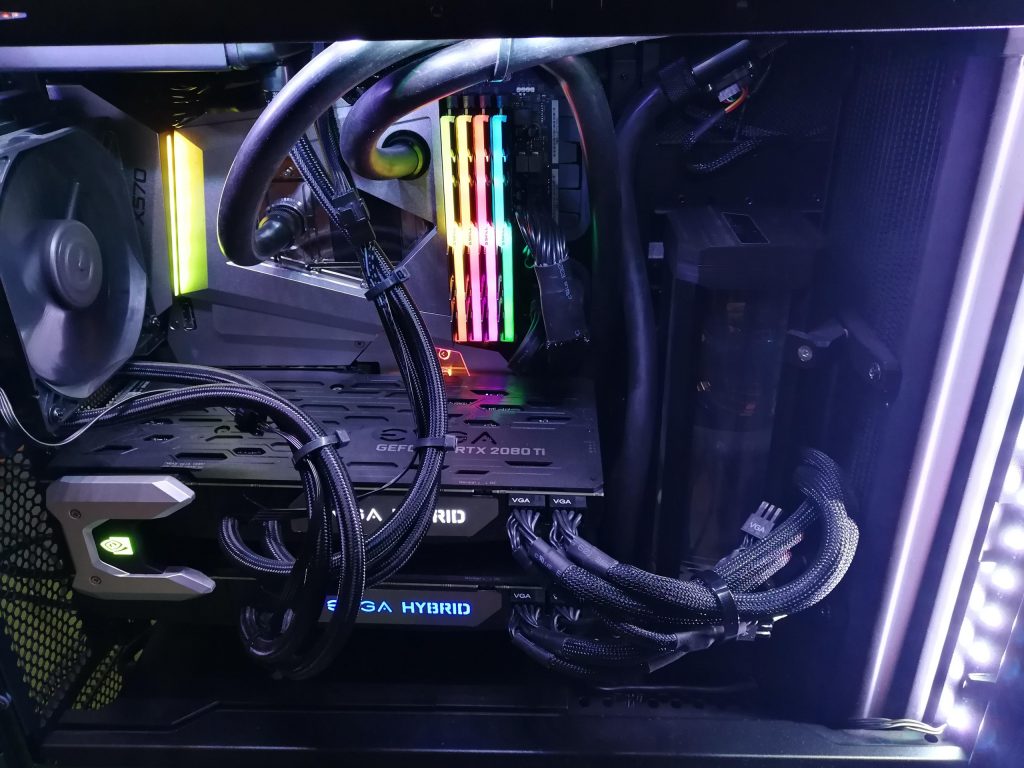
There you have it, the full build completed and ready to go, now time to re-image my drives and overclock this baby !
The Build Experience
So I am not new to builds but I have to say I am new to using a motherboard with a full WC block. I was a little nervous when it came to removing and replacing the block to the motherboard.
Removing it was the least stressful part, however putting it back on making sure you make good contact with the CPU TIM while holding this unwieldy beast was a little more difficult, especially when re-aligning the CPU Back plate etc.
The best approach was actually to locate the motherboard to the WC Block. I had the motherboard with CPU installed and TIM applied. I laid down the WC block on the flat mat and located the board to the WC Block, all while looking through the CPU back plate mounting holes on the motherboard to guide me down to the block so I was correctly aligned.
I would recommend fixing the CPU back plate first as this will ”Fix” the board in place allowing you to add in the other screws to fully fix the WC block to the motherboard and also making sure you have correct retention to all the thermal pads are making good contact.
So that is all folks on what was a brief musing of a build as opposed to a full build log, I hope you enjoyed it as much as I did.
Want to discuss this product or give your views and feedback from your own usage? Discuss on the ExtremeHW Forums
Like our content? Please consider Donating to help us to continue our writing.
Related Posts
This Post Has 0 Comments